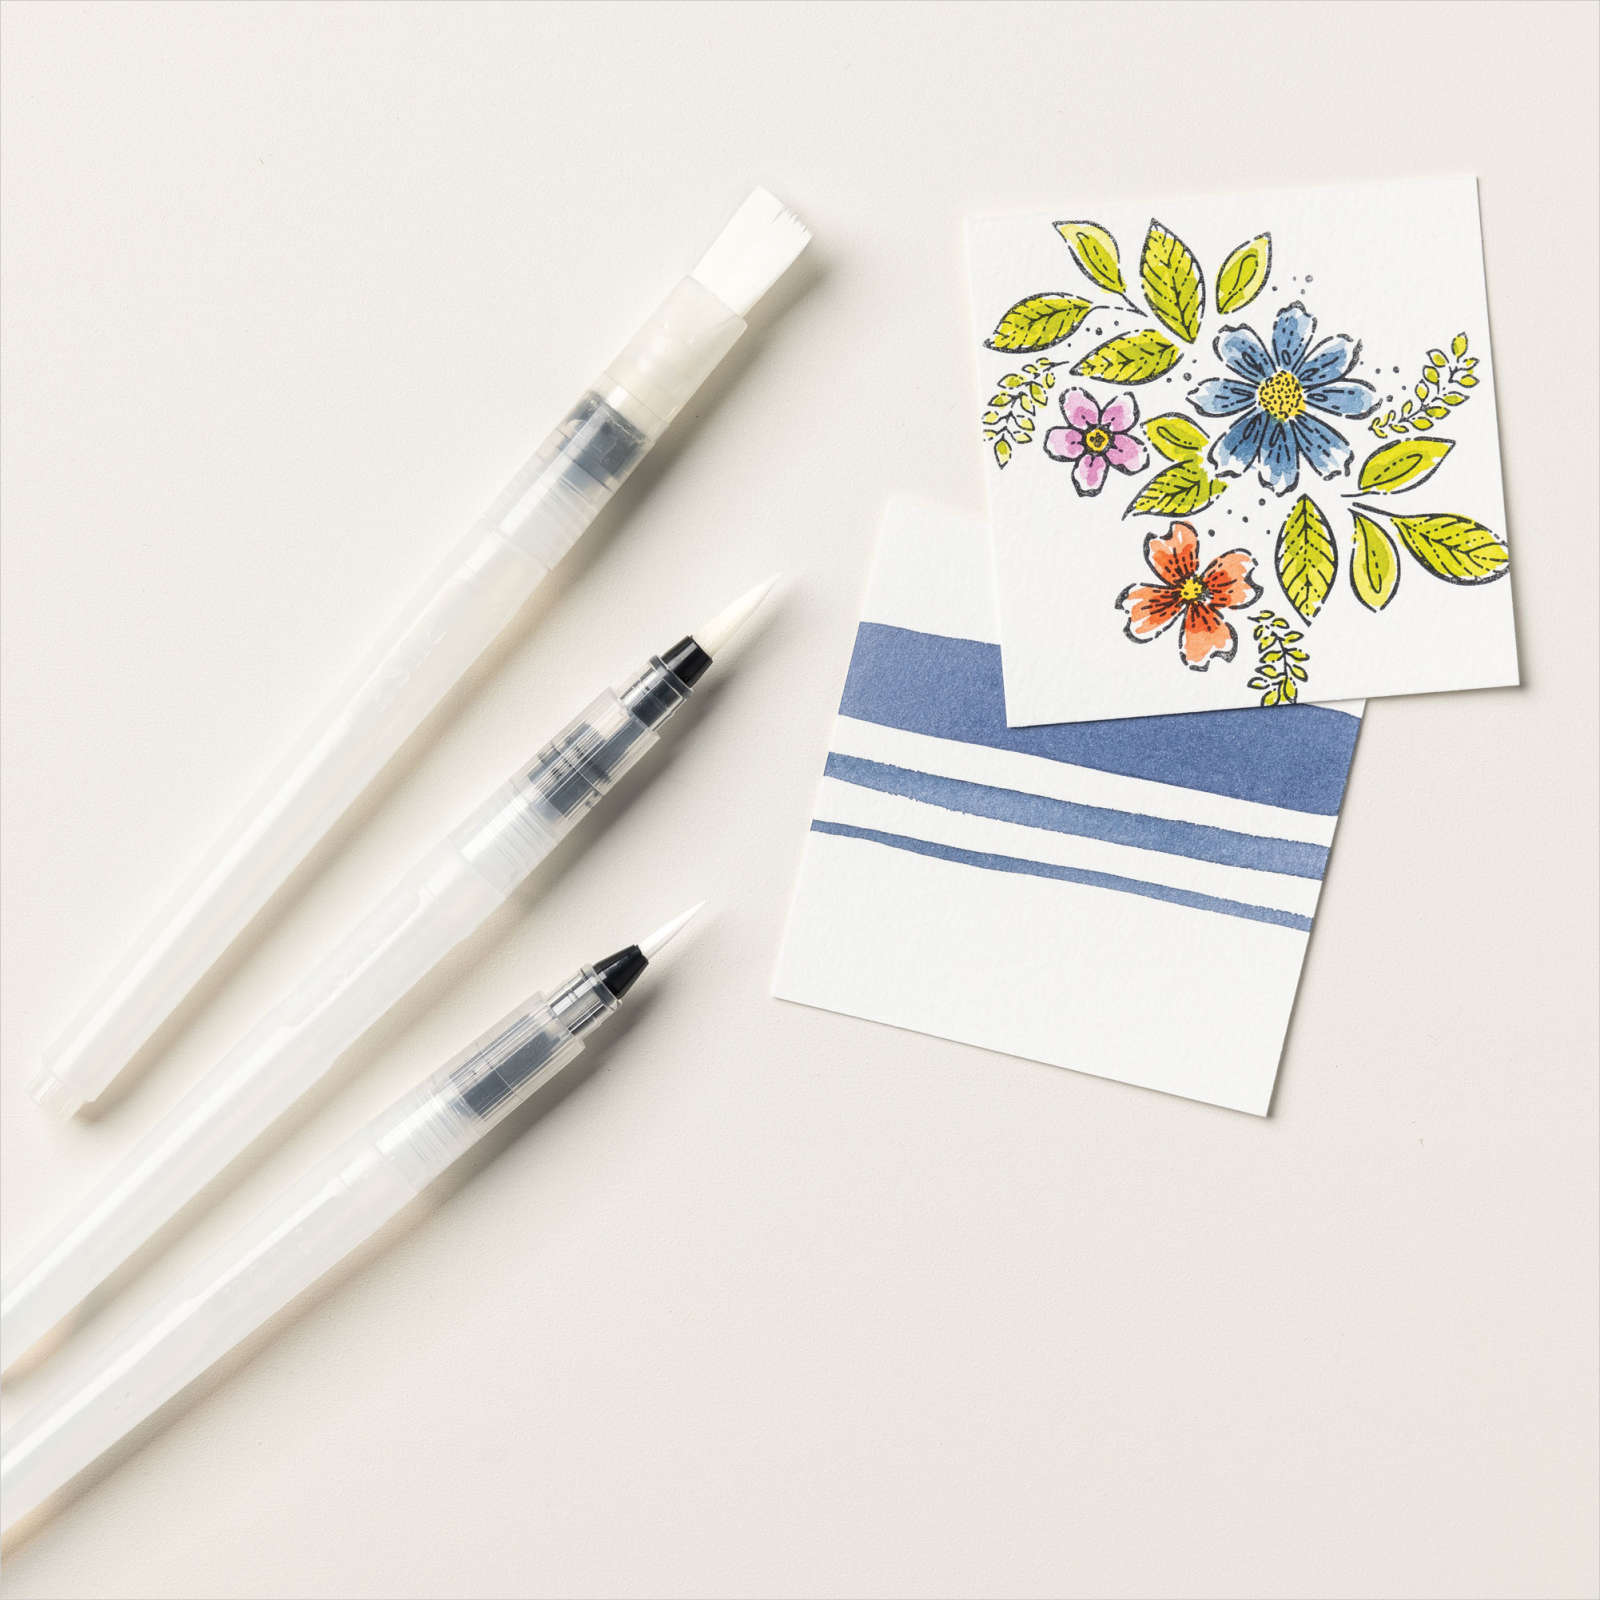
It’s Time For A Card-Again

Hello, fellow crafters! Today I am sharing this It’s Time For A Card-Again card using the Forever Friendship Stamp Set from Stampin’ Up! This Forever Friendship Stamp Set is one of those you probably passed right by several times while looking through the July-Dec 2022 Mini Catalog. I know I did. I finally found it when I was looking for new sentiments. I loved the “Time For A Card-Again.” I am a cardigan fan. As soon as I feel the slightest chill in the air, I pull out my trusty sweaters. I thought this card was my jam! 

It's Time For A Card-Again

To make this card.

  • I stamped the flag image all over the front of the Old Olive card base using Old Olive ink.
  • Glue the 3 1/4″ x 4 1/2″ striped patterned DSP to the 3 3/8″ x 4 5/8″ Blackberry Bliss cardstock and glue it down to the center of the stamped cardbase.
  • Glue down the 3 3/8″ x 1 1/2″ Old Olive crosshatch DSP to the cardbase layers about 1 1/2″ from the bottom edge of the cardbase edge.
  • Stamp the cardigan image onto a corner of the 4 1/2″ x 4 1/2″ Basic White cardstock using Blackberry Bliss ink.
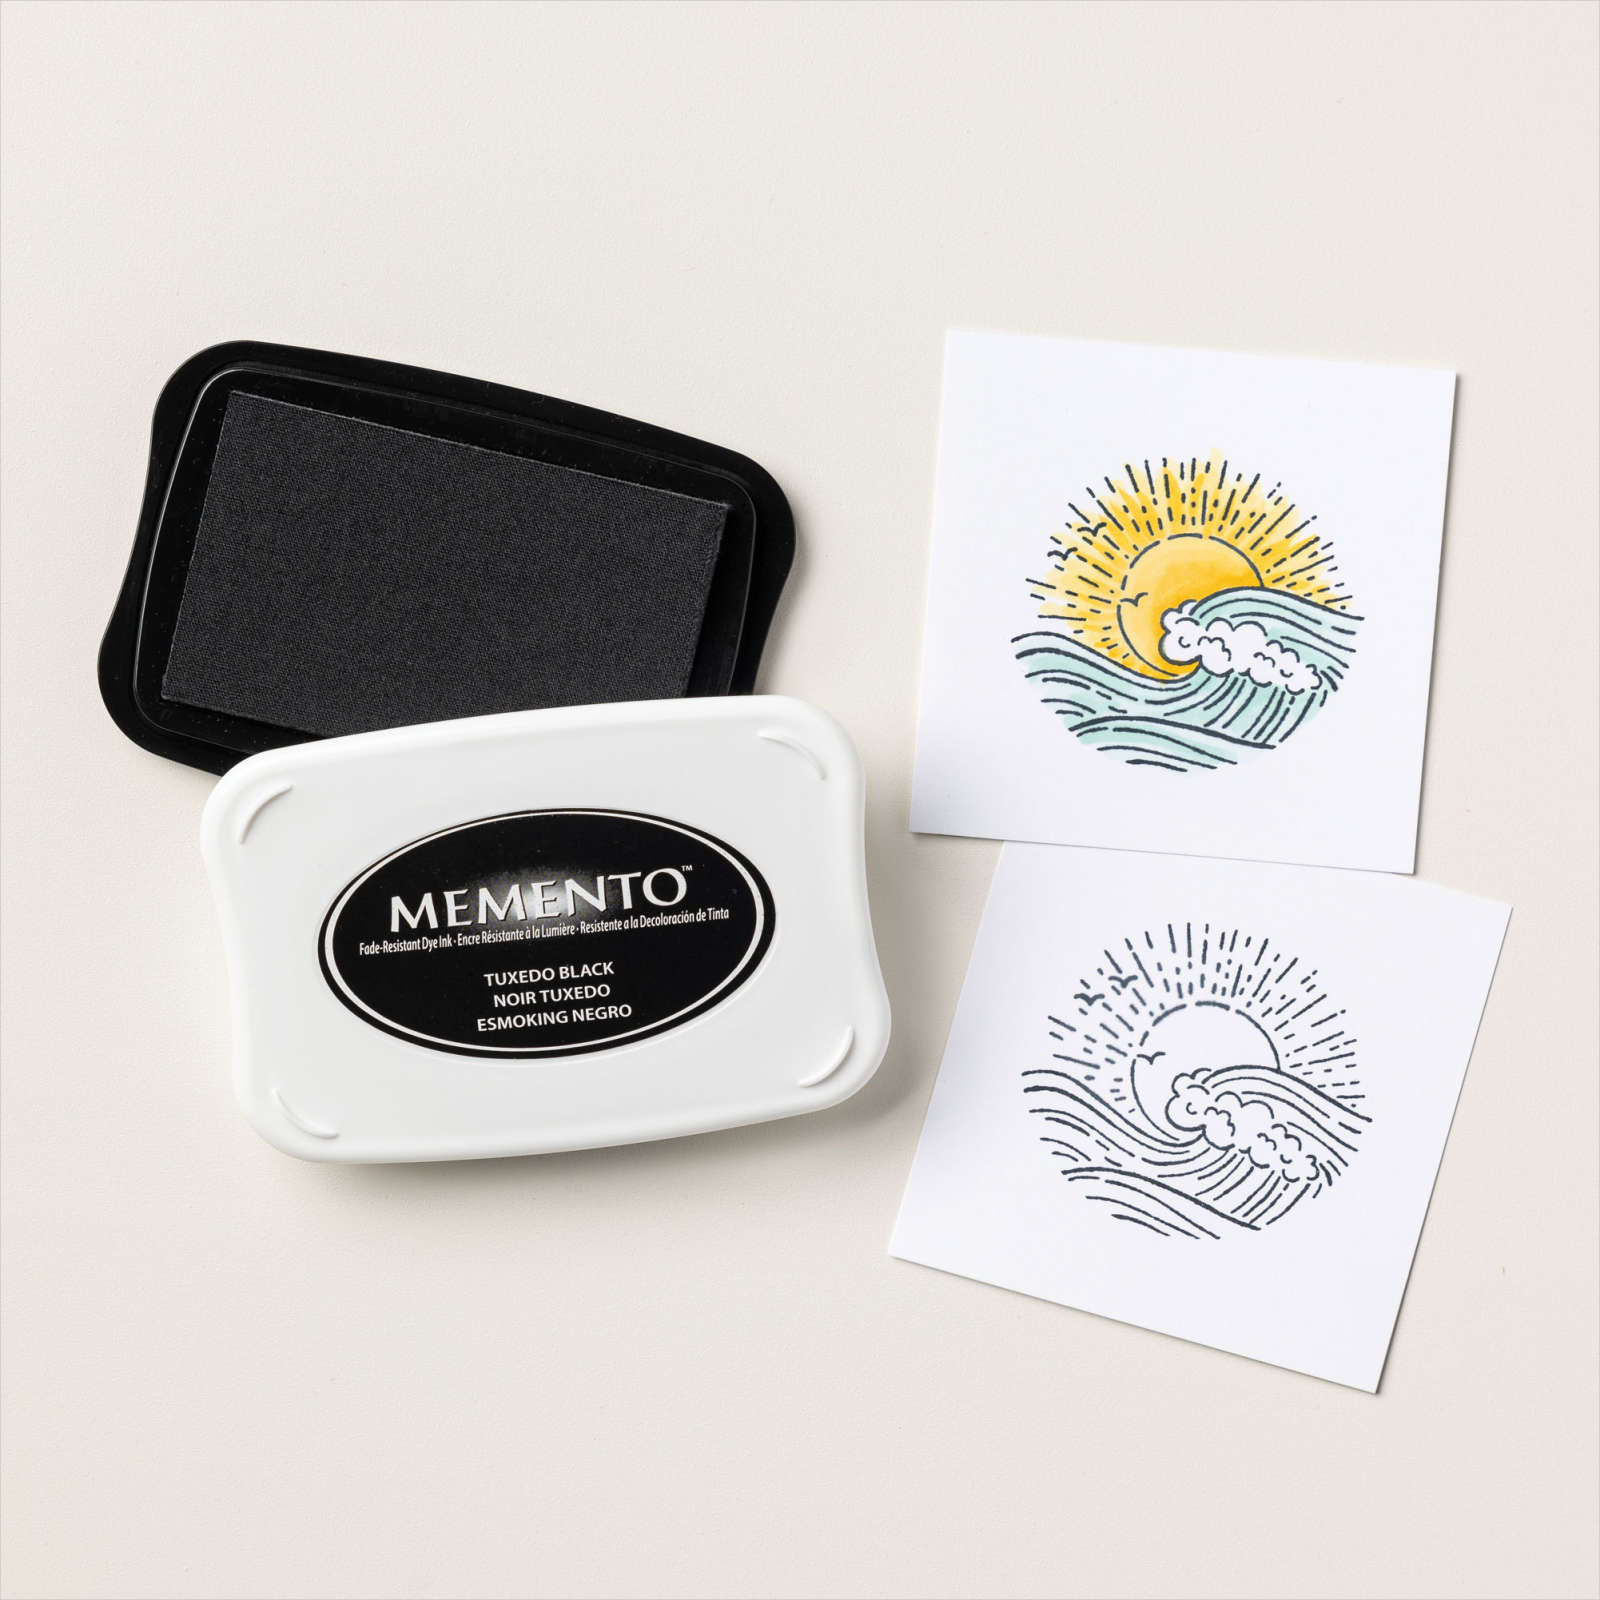
  • Stamp three flags onto the 4 1/2″ x 4 1/2″ Basic White cardstock using Memento Tuxedo Black ink.
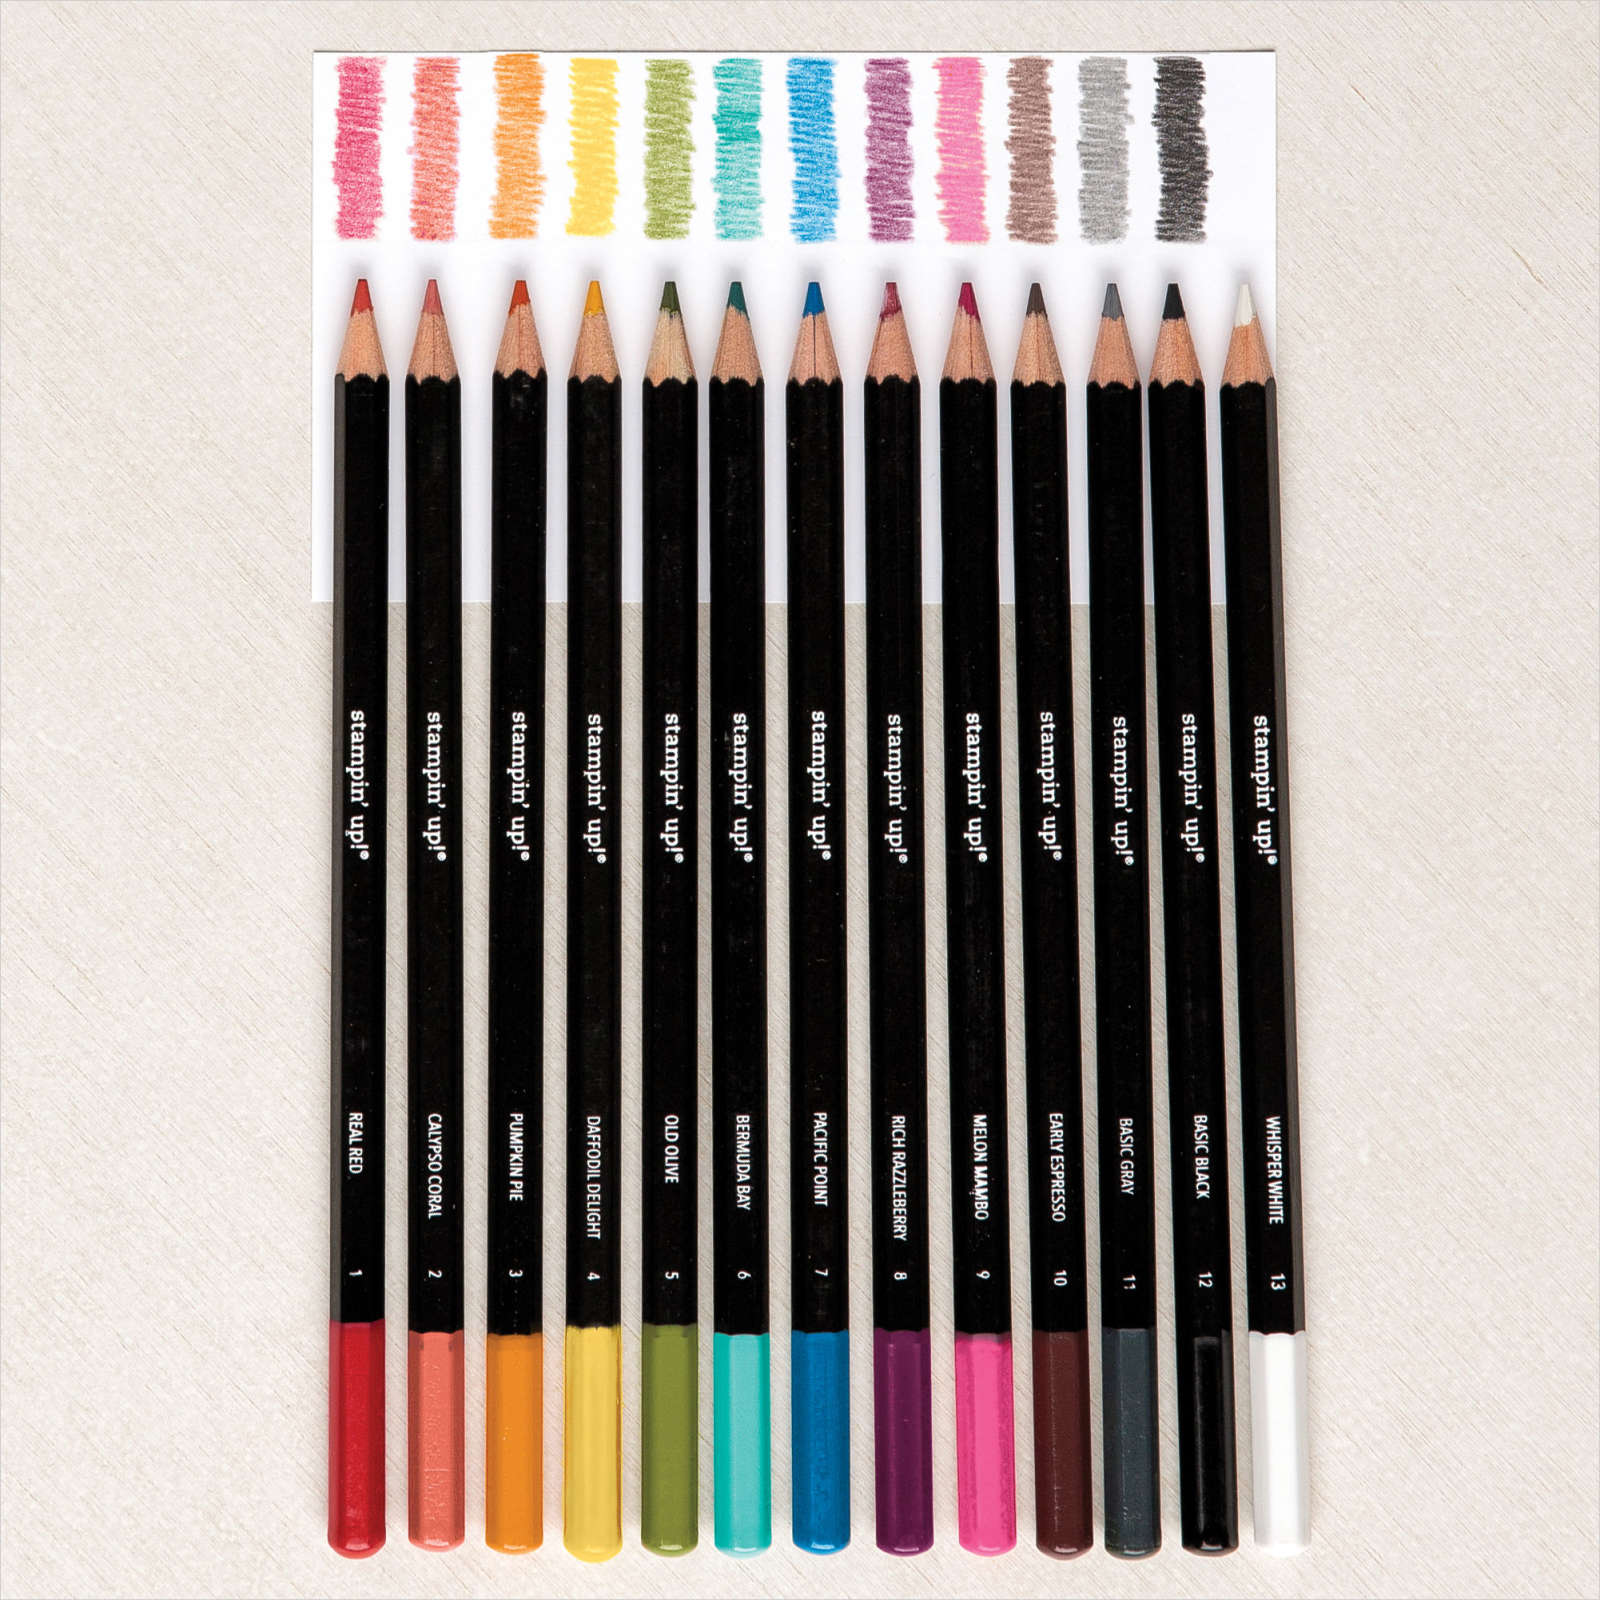
  • I am using the Old Olive Watercolor Pencil to color the color and cuffs of the Blackberry Bliss cardigan.
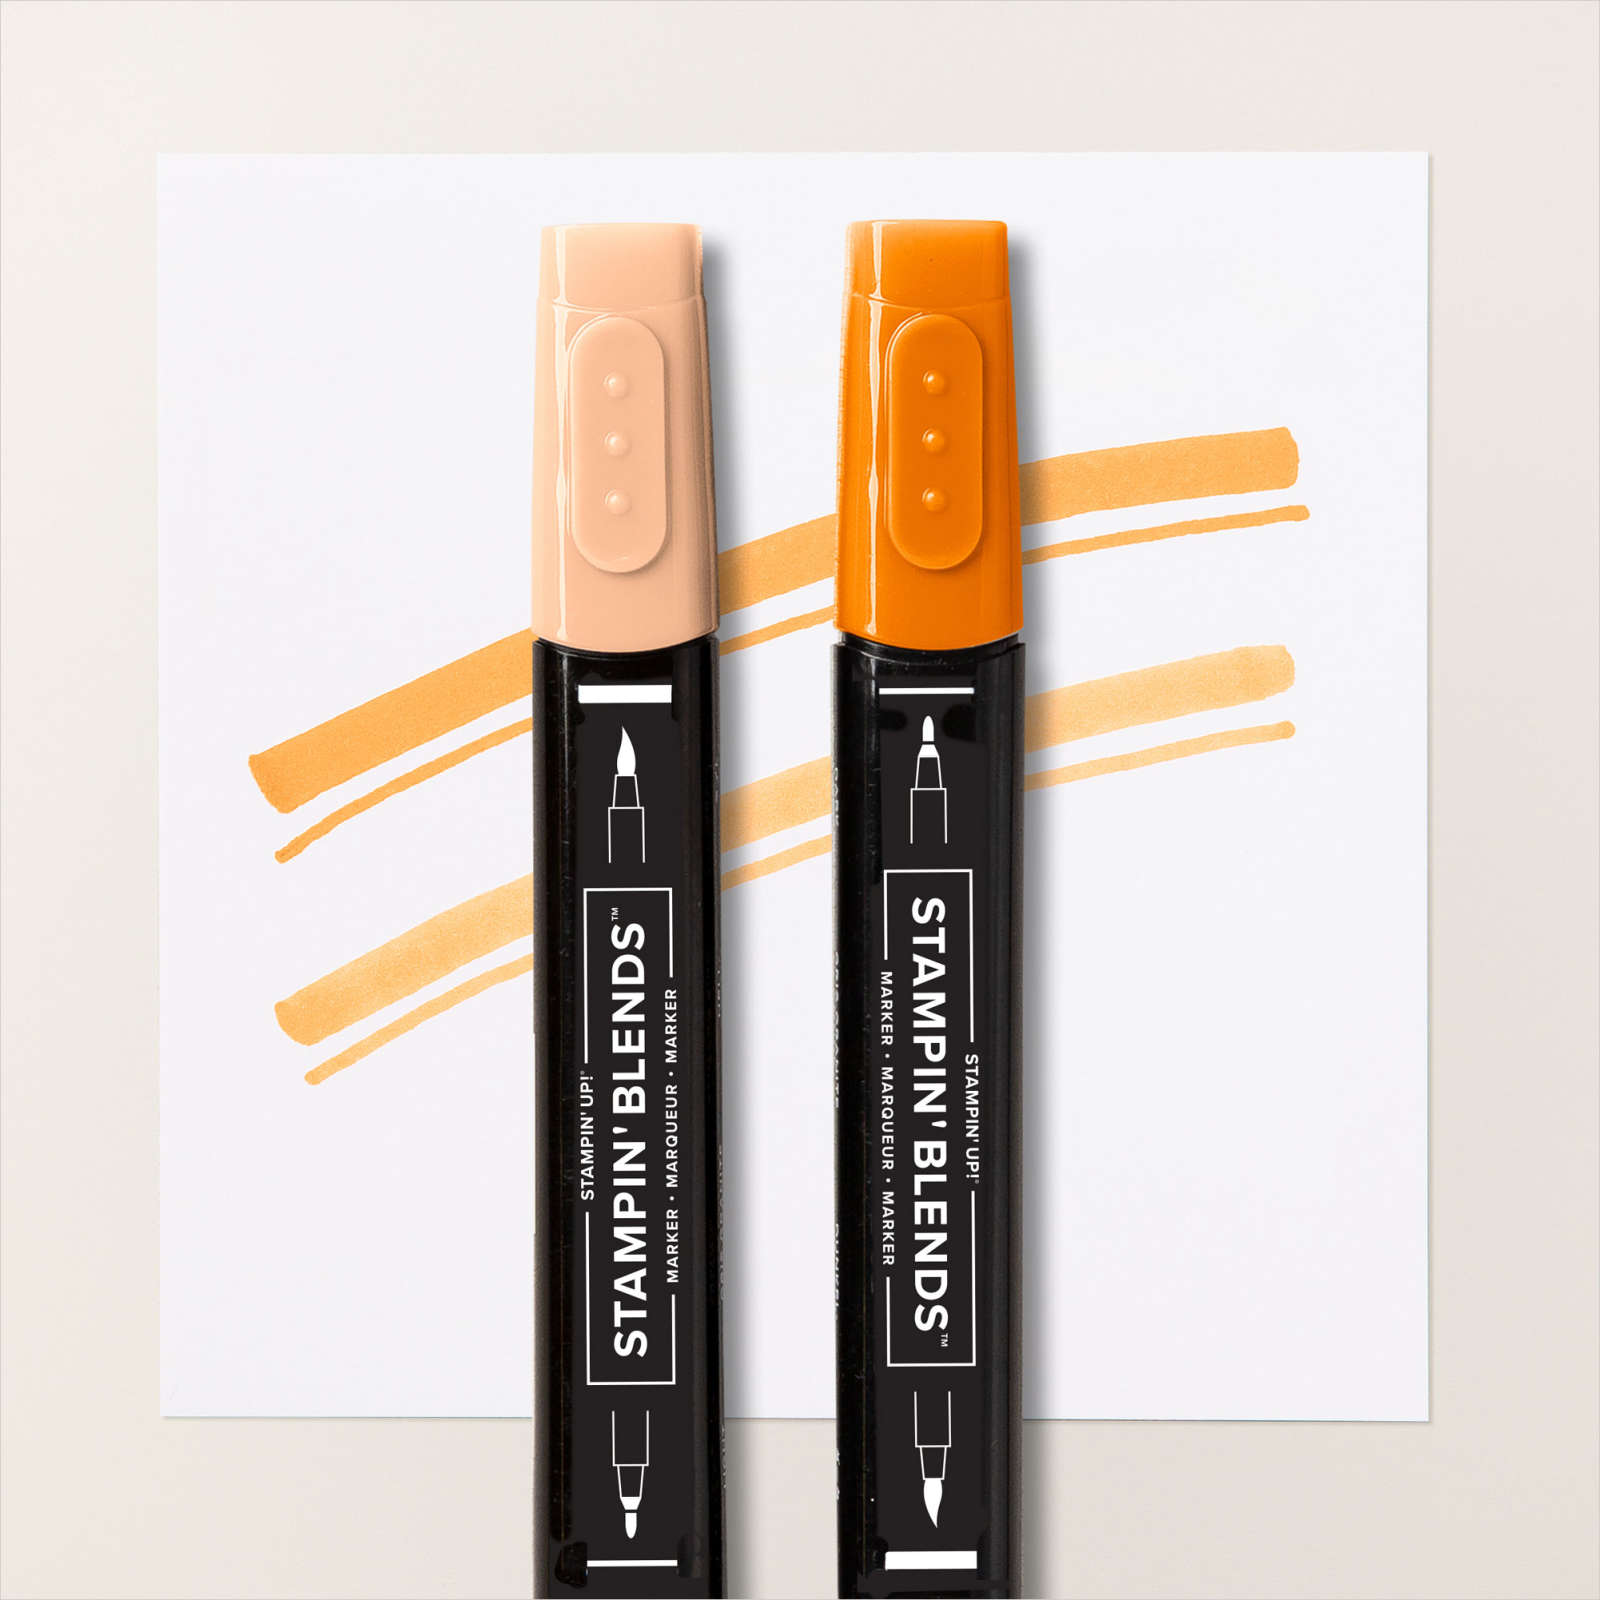
  • I am using the Old Olive, Blackberry Bliss, and Pool Party Stampin’ Blends. Color the flags, one of each color. To color my flags, I color the full flag with the light Stampin’ Blends first, then add shadows with the dark Stampin’ Blends, then come back with the light Stampin’ Blend to smooth out the color edges.
  • Now the part you all dislike…fussy cut out the cardigan and the three flags. wink
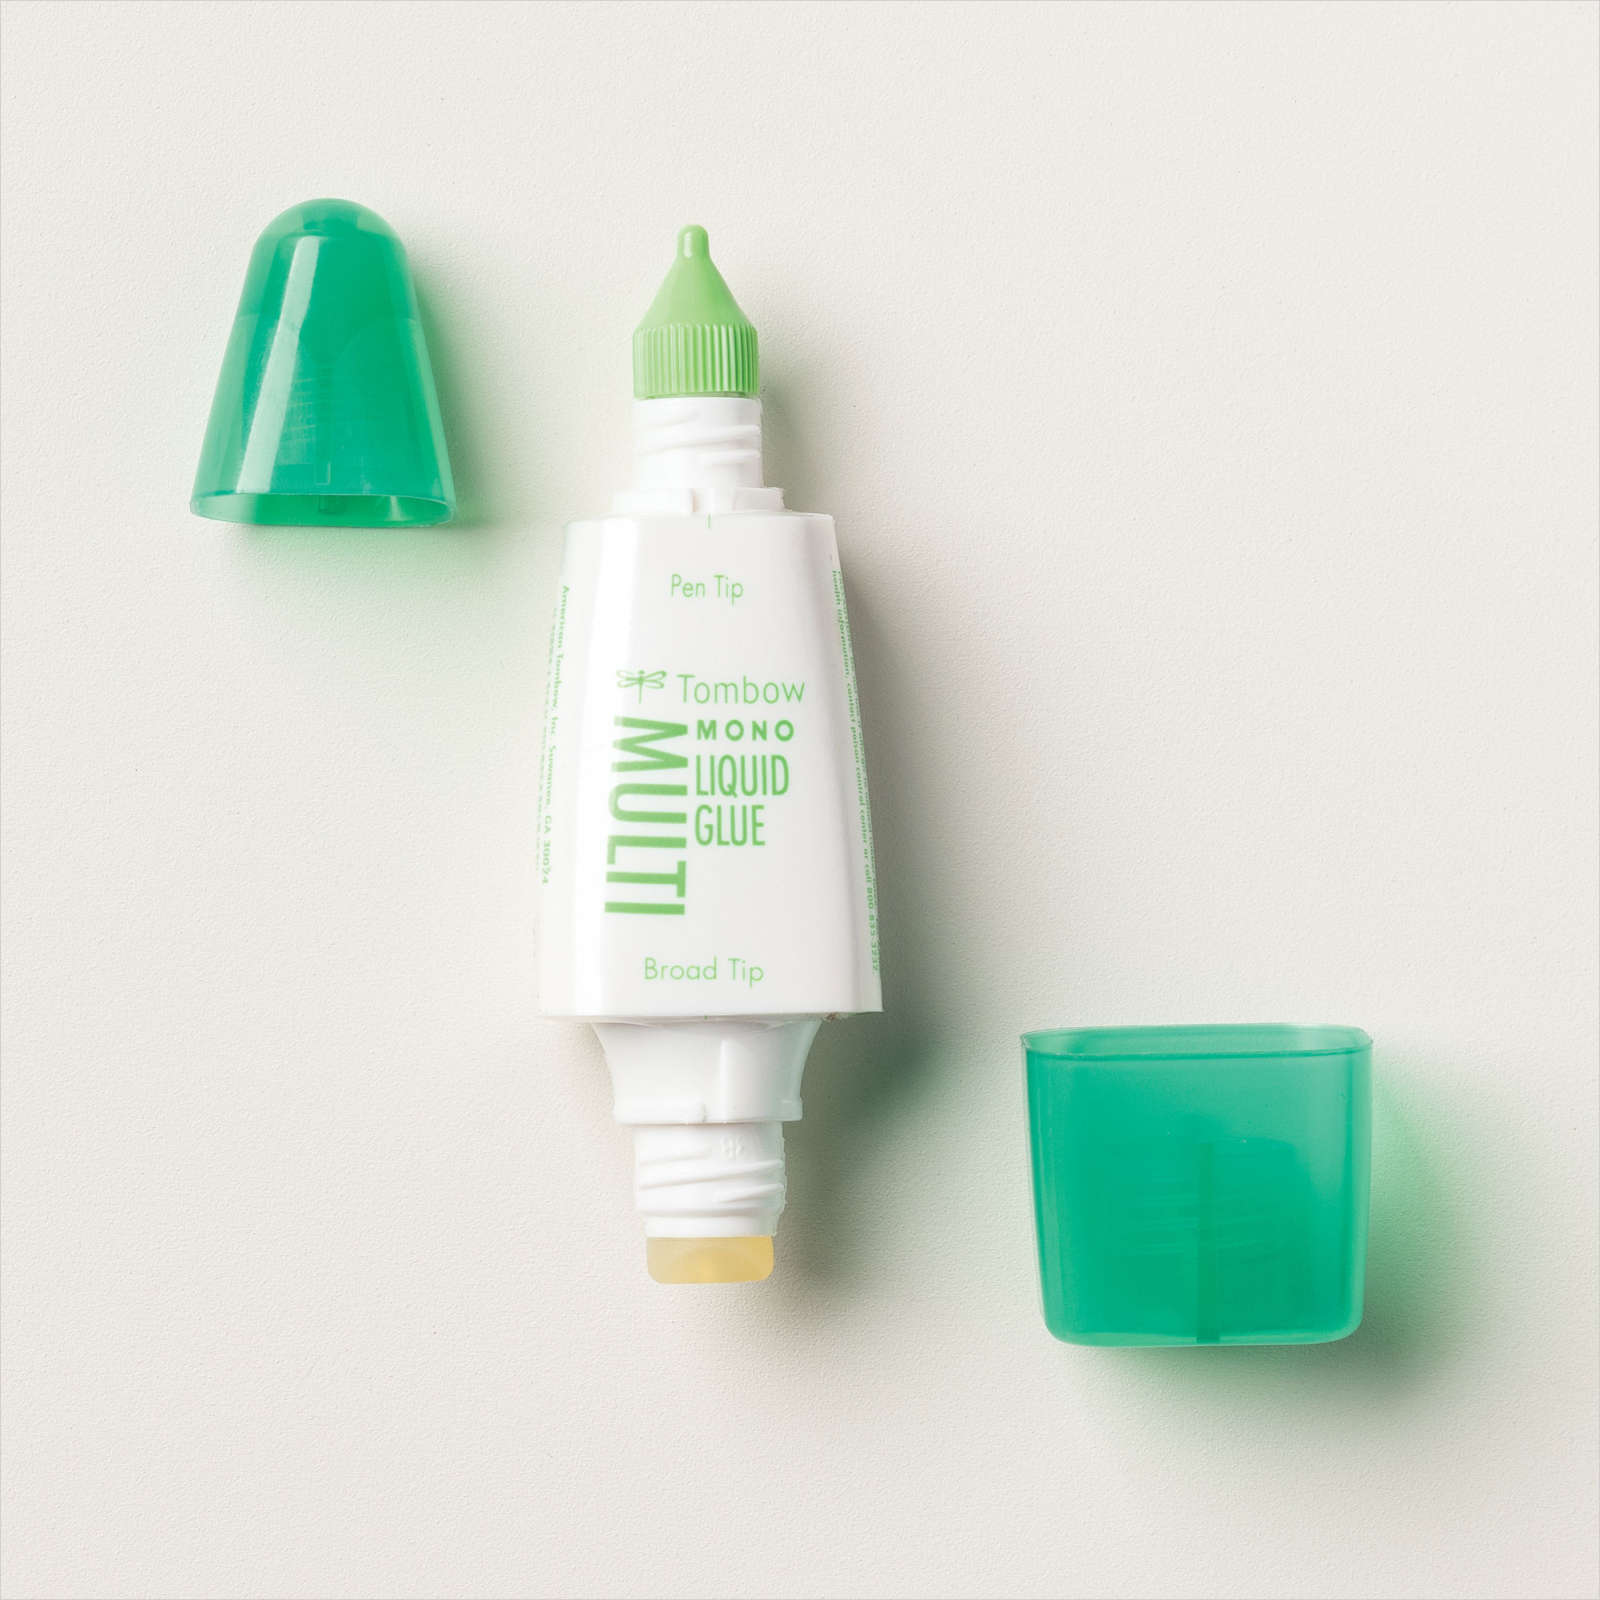
  • I glued down the cardigan, but I only put glue on the bottom 3/4 of the image, leaving the top part with no glue so I could tuck the flags under the top edge of the cardigan.
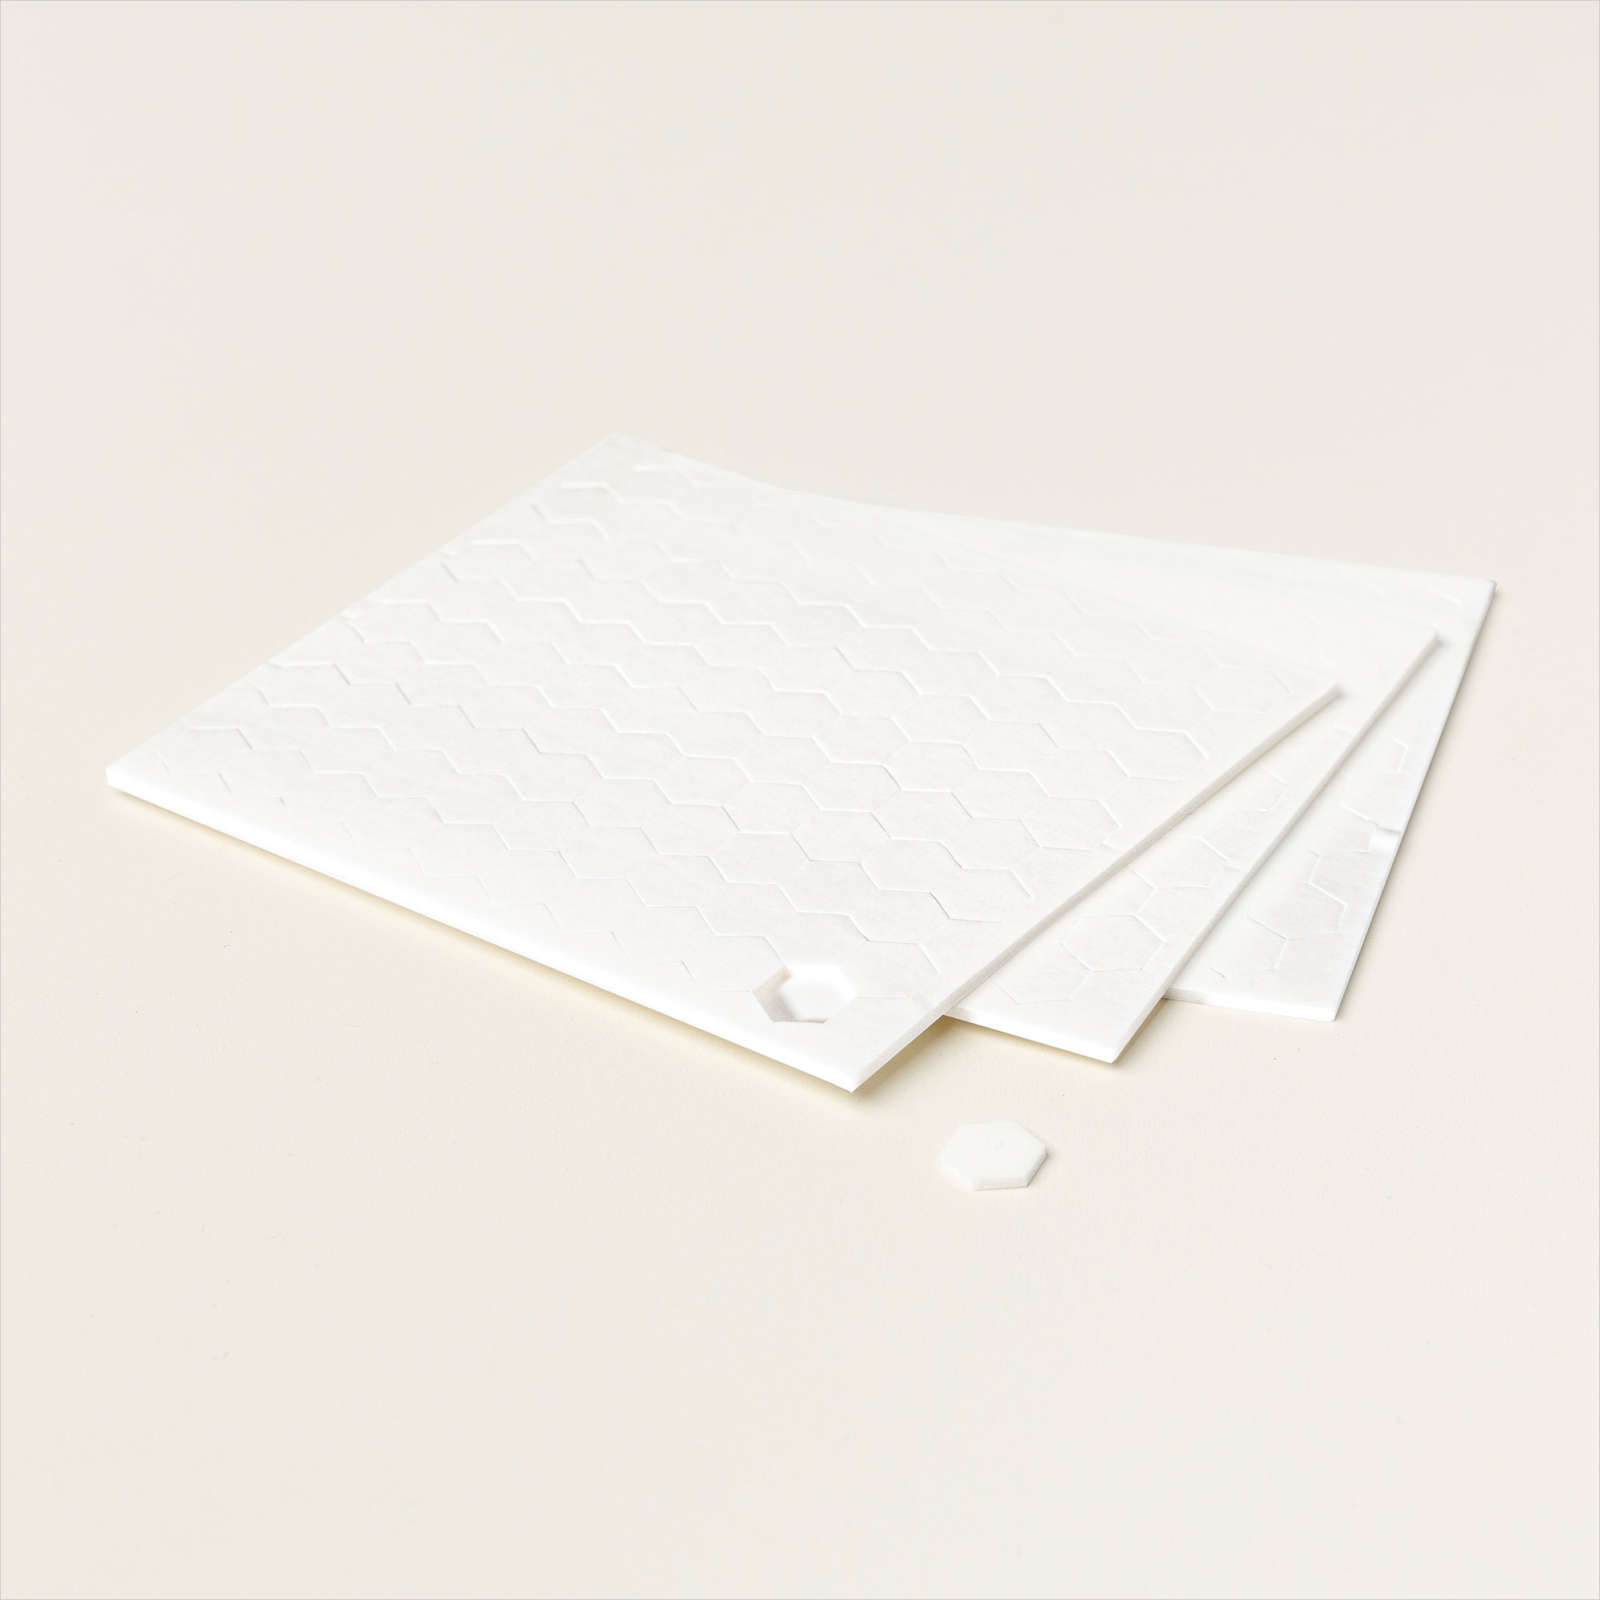
  • Add the flags by adhering with a Stampin’ Dimensional.
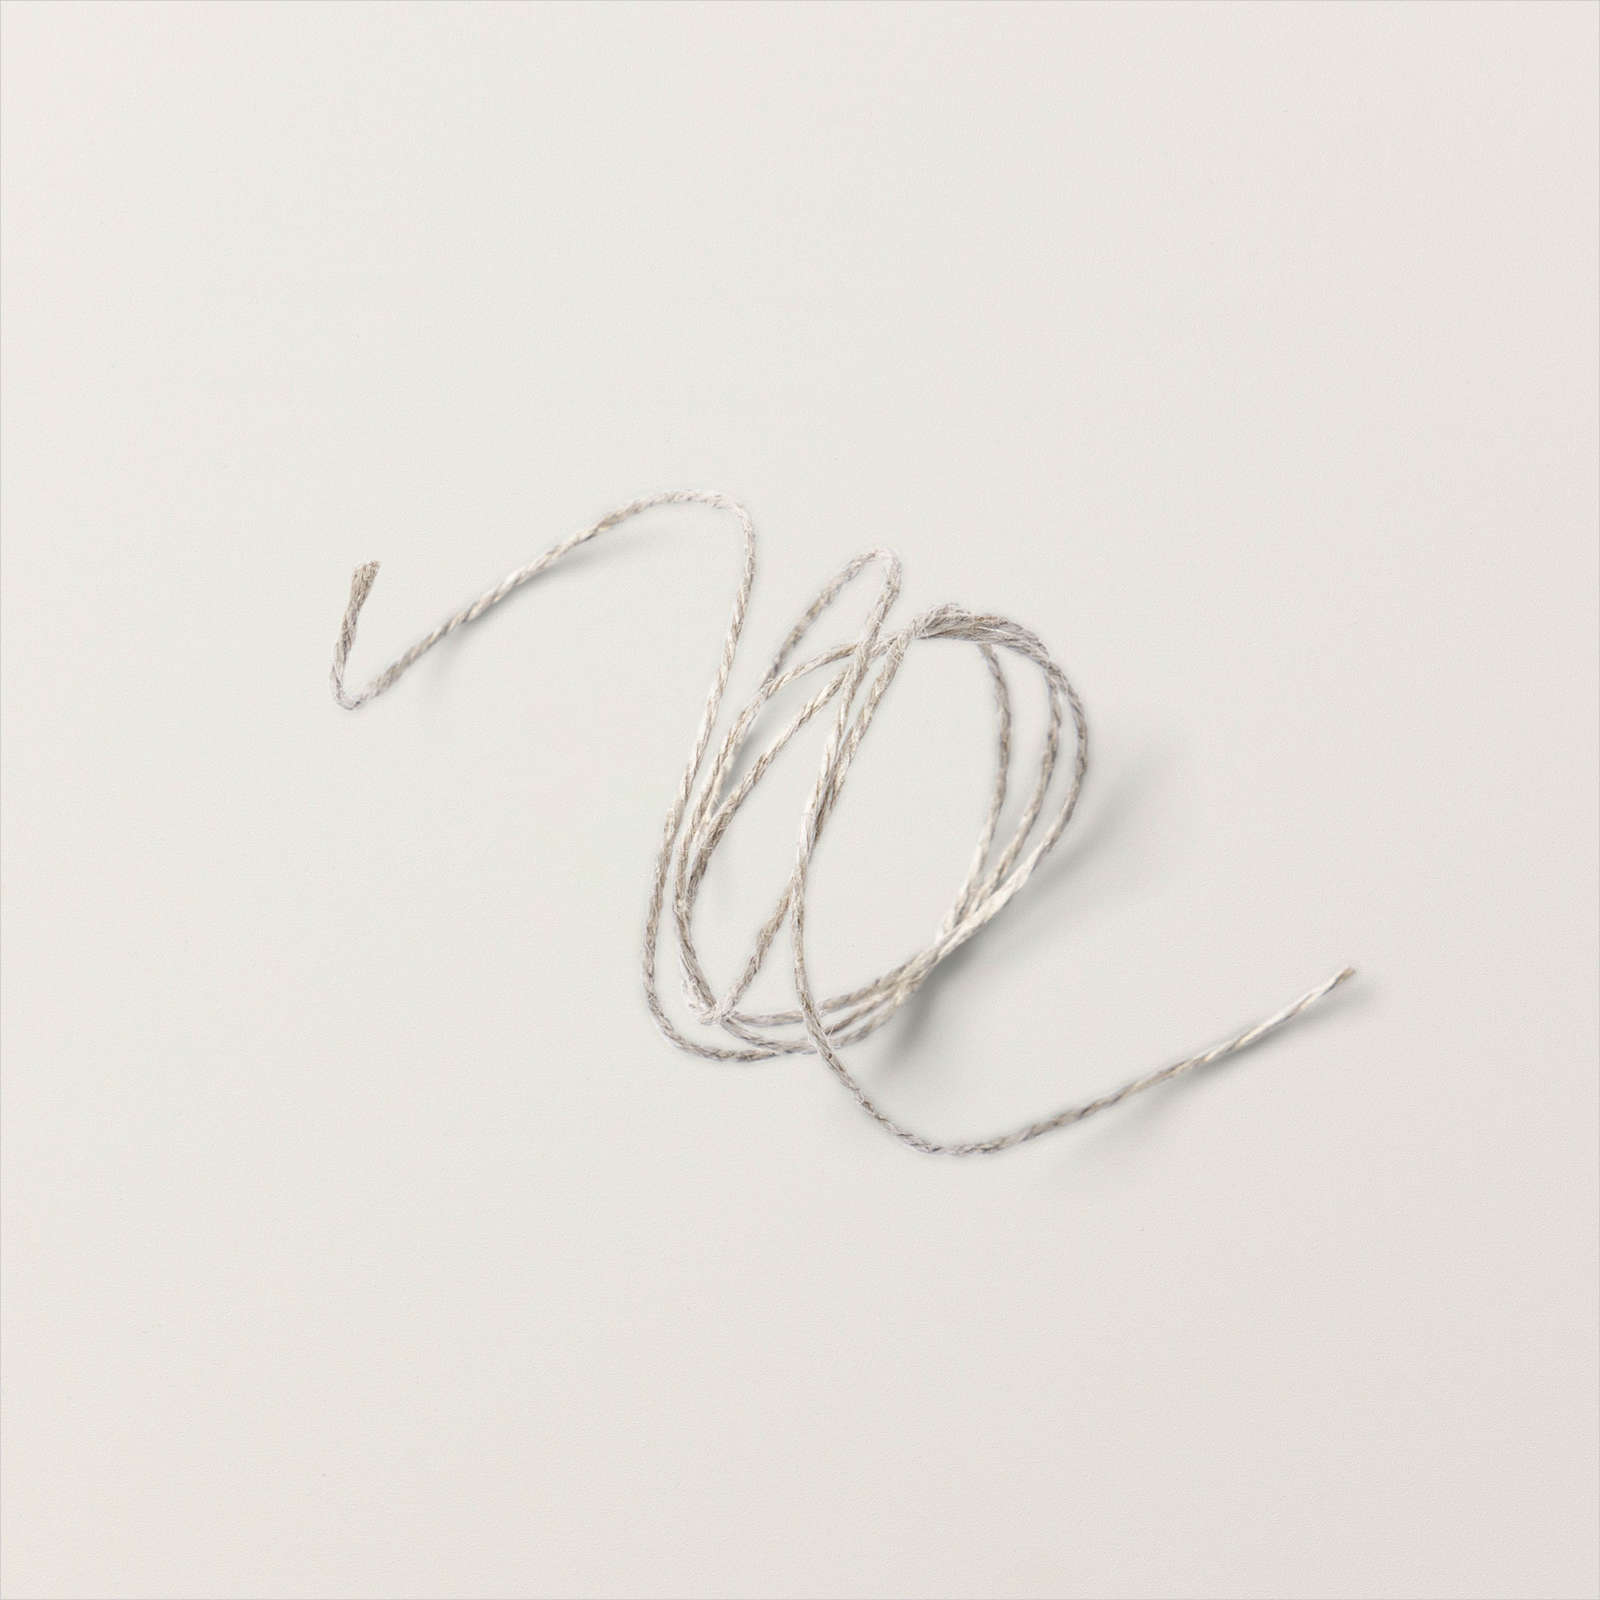
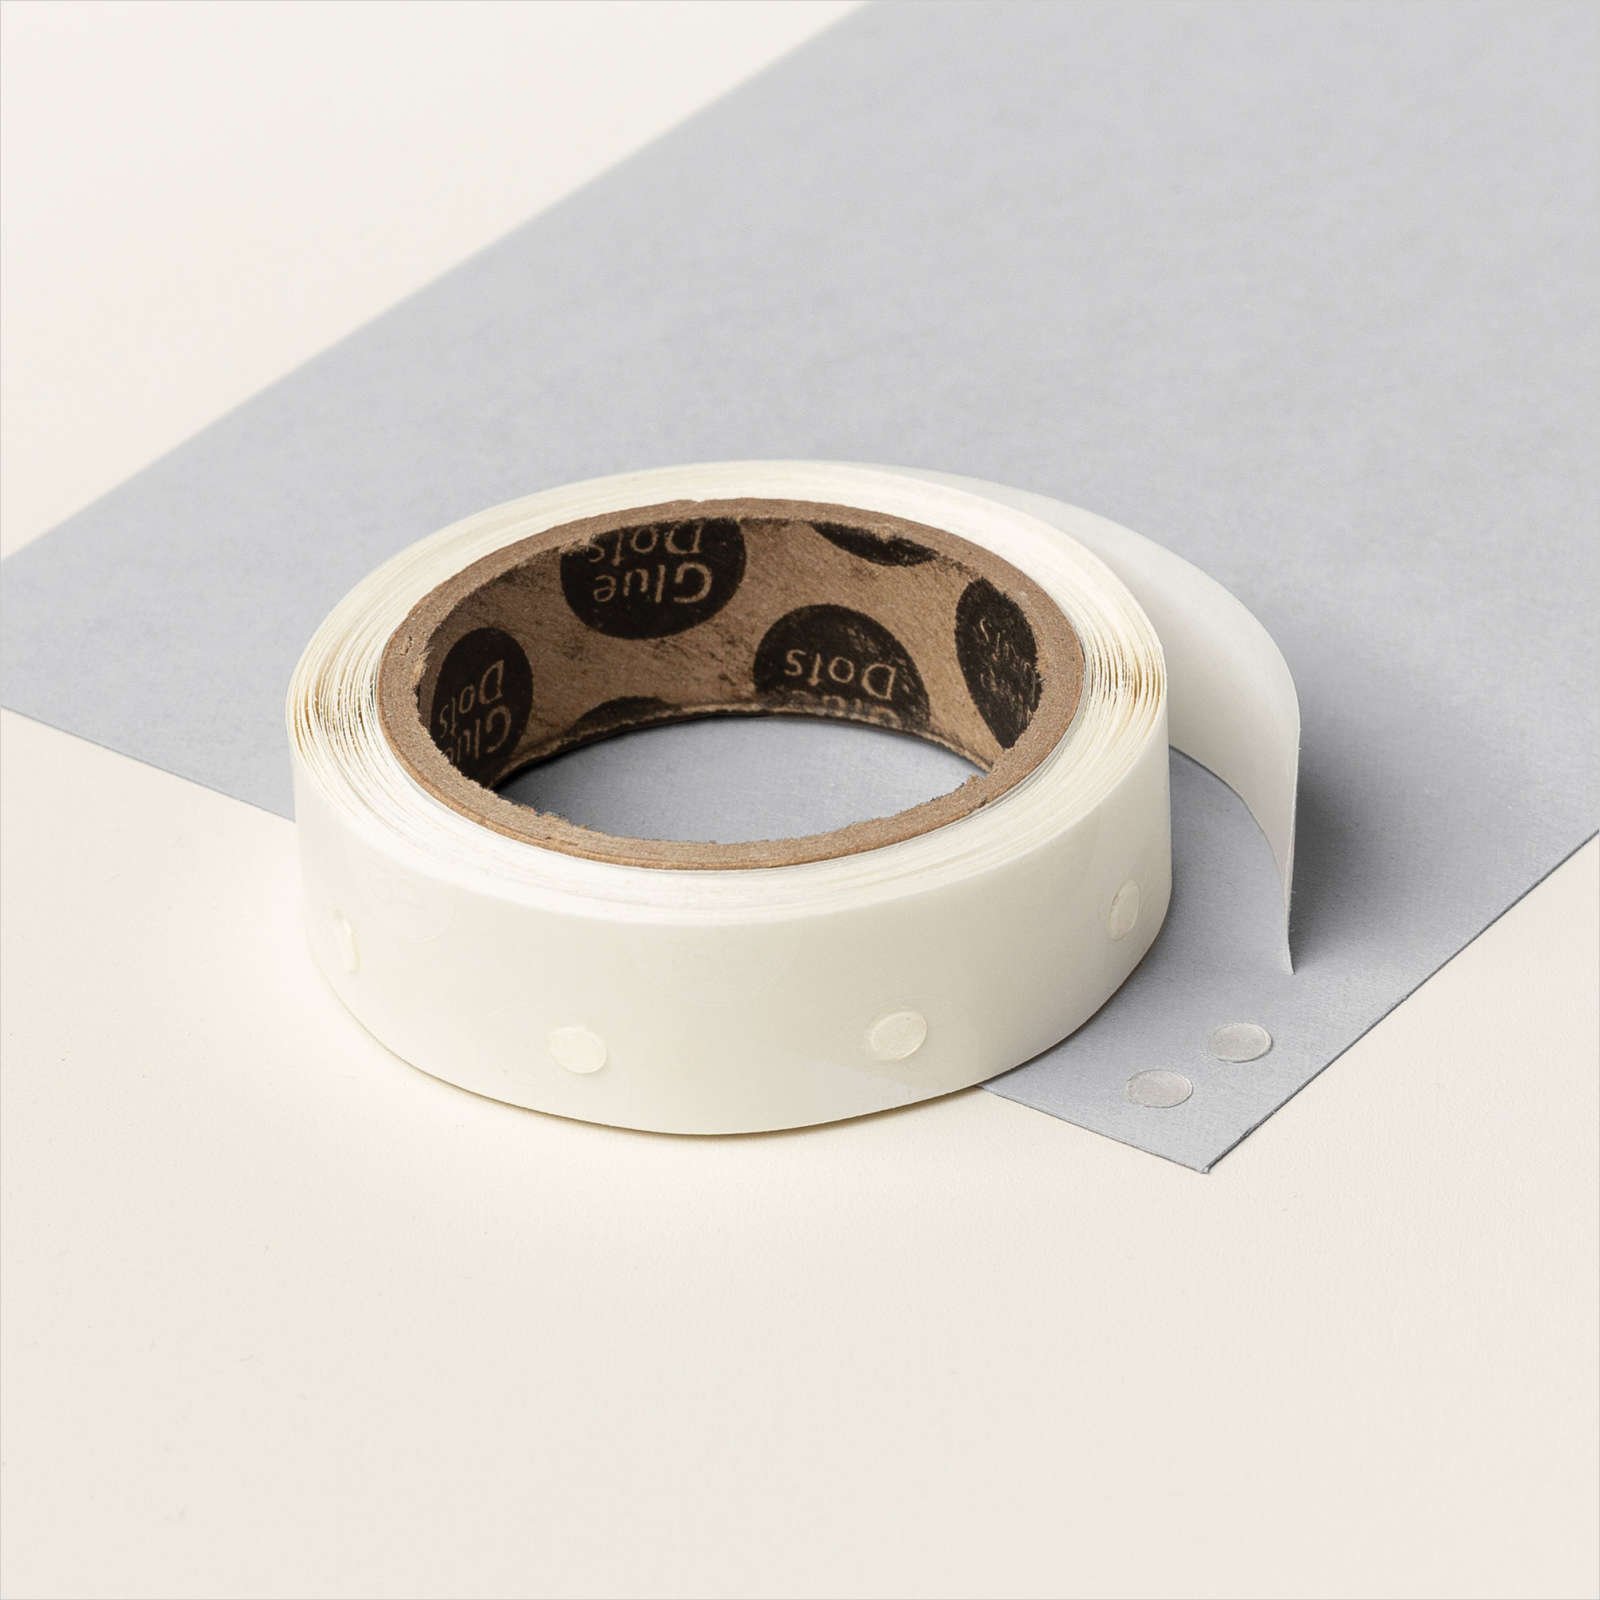
  • I made three tiny bows using my favorite Linen Thread and attached them using Mini Glue Dots.
  • I stamped my “Time For A Card-Again” sentiment onto my Old Olive cardstock using Black Berry Bliss ink, then die-cut it using a banner from the Potted Succulents Dies. If you don’t have those dies, you can stamp the sentiment onto the cardstock and cut it to your desired size with scissors.


Tip: What inks do I use when coloring line art-stamped images?

When using Stampin’ Blends, which are alcohol base markers, you need to use a water-based ink like Memento Tuxedo  Black ink.

When using Watercolor pencils to watercolor or Stampin’ Write Markers, you need to use an alcohol-based ink like StazOn.

If you use water-based ink to stamp an image and color it with a water-based marker, the images will smear. Same with alcohol ink and alcohol markers.

An easy way to remember which ink to stamp your images before coloring is that opposites always attract.


It's Time For A Card-Again

I LOVE this card. I am a fan of the punny saying, so this Forever Friendship Stamp Set is a win-win for me! What are some of your all-time favorite punny stamp sets? 

You may purchase these products I used in my online Stampin’ Up! Store by clicking any of the product photo links at the bottom of the post. 

Thanks for stopping by today.

Happy Stamping!


Card Stock Sizes:

  • Old  Olive – 4 1/4″ x 11″
  • Blackberry Bliss – 3 3/8″ x 4 5/8″
  • Design A Daydream Designer Series Paper – 3 1/4″ x 4 1/2″ (stripe pattern)
  • Design A Daydream Designer Series Paper – 3 3/8″ x 1 1/2″ (Old Olive crosshatch pattern)
  • Basic White -4 1/2″ x 4 1/2″ for sweater & three flags
  • Old Olive – 2 3/4″ x 5/8″ Sentiment


Items used to complete this card:
New Stampin’ Up! Kits added

Hello, fellow crafters! New Stampin’ Up! kits added to the store! With these two new kits, Christmas Giting Kit, and All is Cozy & Bright. You can get a head start on your Christmas cards and gift-giving projects!

The latest addition to the Kits Collection by Stampin’ Up! is a simple solution to gift cards and tags for the holidays! The Christmas Gifting Kit has everything you need to create gorgeous gift tags to attach to presents and gift card holders that adds a handmade touch.

Christmas Giving Kit

Kit Includes:

  • Kit includes 9 tags and 9 gift card holders—3 each of 3 designs
  • Includes the exclusive Christmas Gifting Stamp Set and a Shaded Spruce Classic Stampin’ Spot
  • Sized to fit standard gift cards
  • Coordinating colors: Basic Black, black foil, Mint Macaron, Real Red, Shaded Spruce
Christmas Giving Kit

The stamp set included in your Christmas Giving Kit is perfect for your gift-giving packages and your Christmas cards. I love the font combination!

Christmas Giving Kit

Celebrate the season with the All is Cozy & Bright kit/ This card kit has everything you need to wish those you love a merry Christmas and a joyous New Year. Don’t let the holidays overwhelm you–get your all-inclusive kit and make quick multiples everyone will love!

Cozy & Bright Kit

Kit Includes:

  • Cozy & Bright Photopolymer Stamp Set
  • Acrylic Stamp Block
  • Classic Stampin’ Spot: Poppy Parade
  • Predesigned projects 
  • Step-by-step instructions
  • Precut pieces (No prep work! Get right to crafting). Including printed die-cut sheets: sticker adhesive sheets & non-adhesive sheets
  • Makes 12 cards of 1 design
  • Gold foil accents
  • Folded card size: 5-1/2″ x 4-1/4″ (14 x 10.8 cm)
  • 12 preprinted envelopes
  • Enough adhesive to complete projects
  • Linen thread
  • A 9-7/8″ x 6-1/2″ x 1-3/4″ (25.1 x 16.5 x 4.5 cm) printed designer box for storage or crafting on the go
  • Product colors: Cajun Craze, Early Espresso, Evening Evergreen, Garden Green, Poppy Parade, Pumpkin Pie
Cozy & Bright Kit

The stamp set included in All is Cozy & Bright Kit is full of your classic holiday greetings, perfect for all your holiday card needs.

Cozy & Bright Kit


You may purchase these kits in my online Stampin’ Up! Store by clicking on the button at the bottom of the post. 

Thanks for stopping by today.

Happy Stamping!


Perched in a Tree card

Hello, fellow crafters! Today I am sharing this sweet Perched in a Tree card using the Perched in a Tree stamp set and coordinating Aspen Tree Dies. Both the stamp set and dies are available in a bundle to save you 10%!!!  

Perched In A Tree card

To start this card:

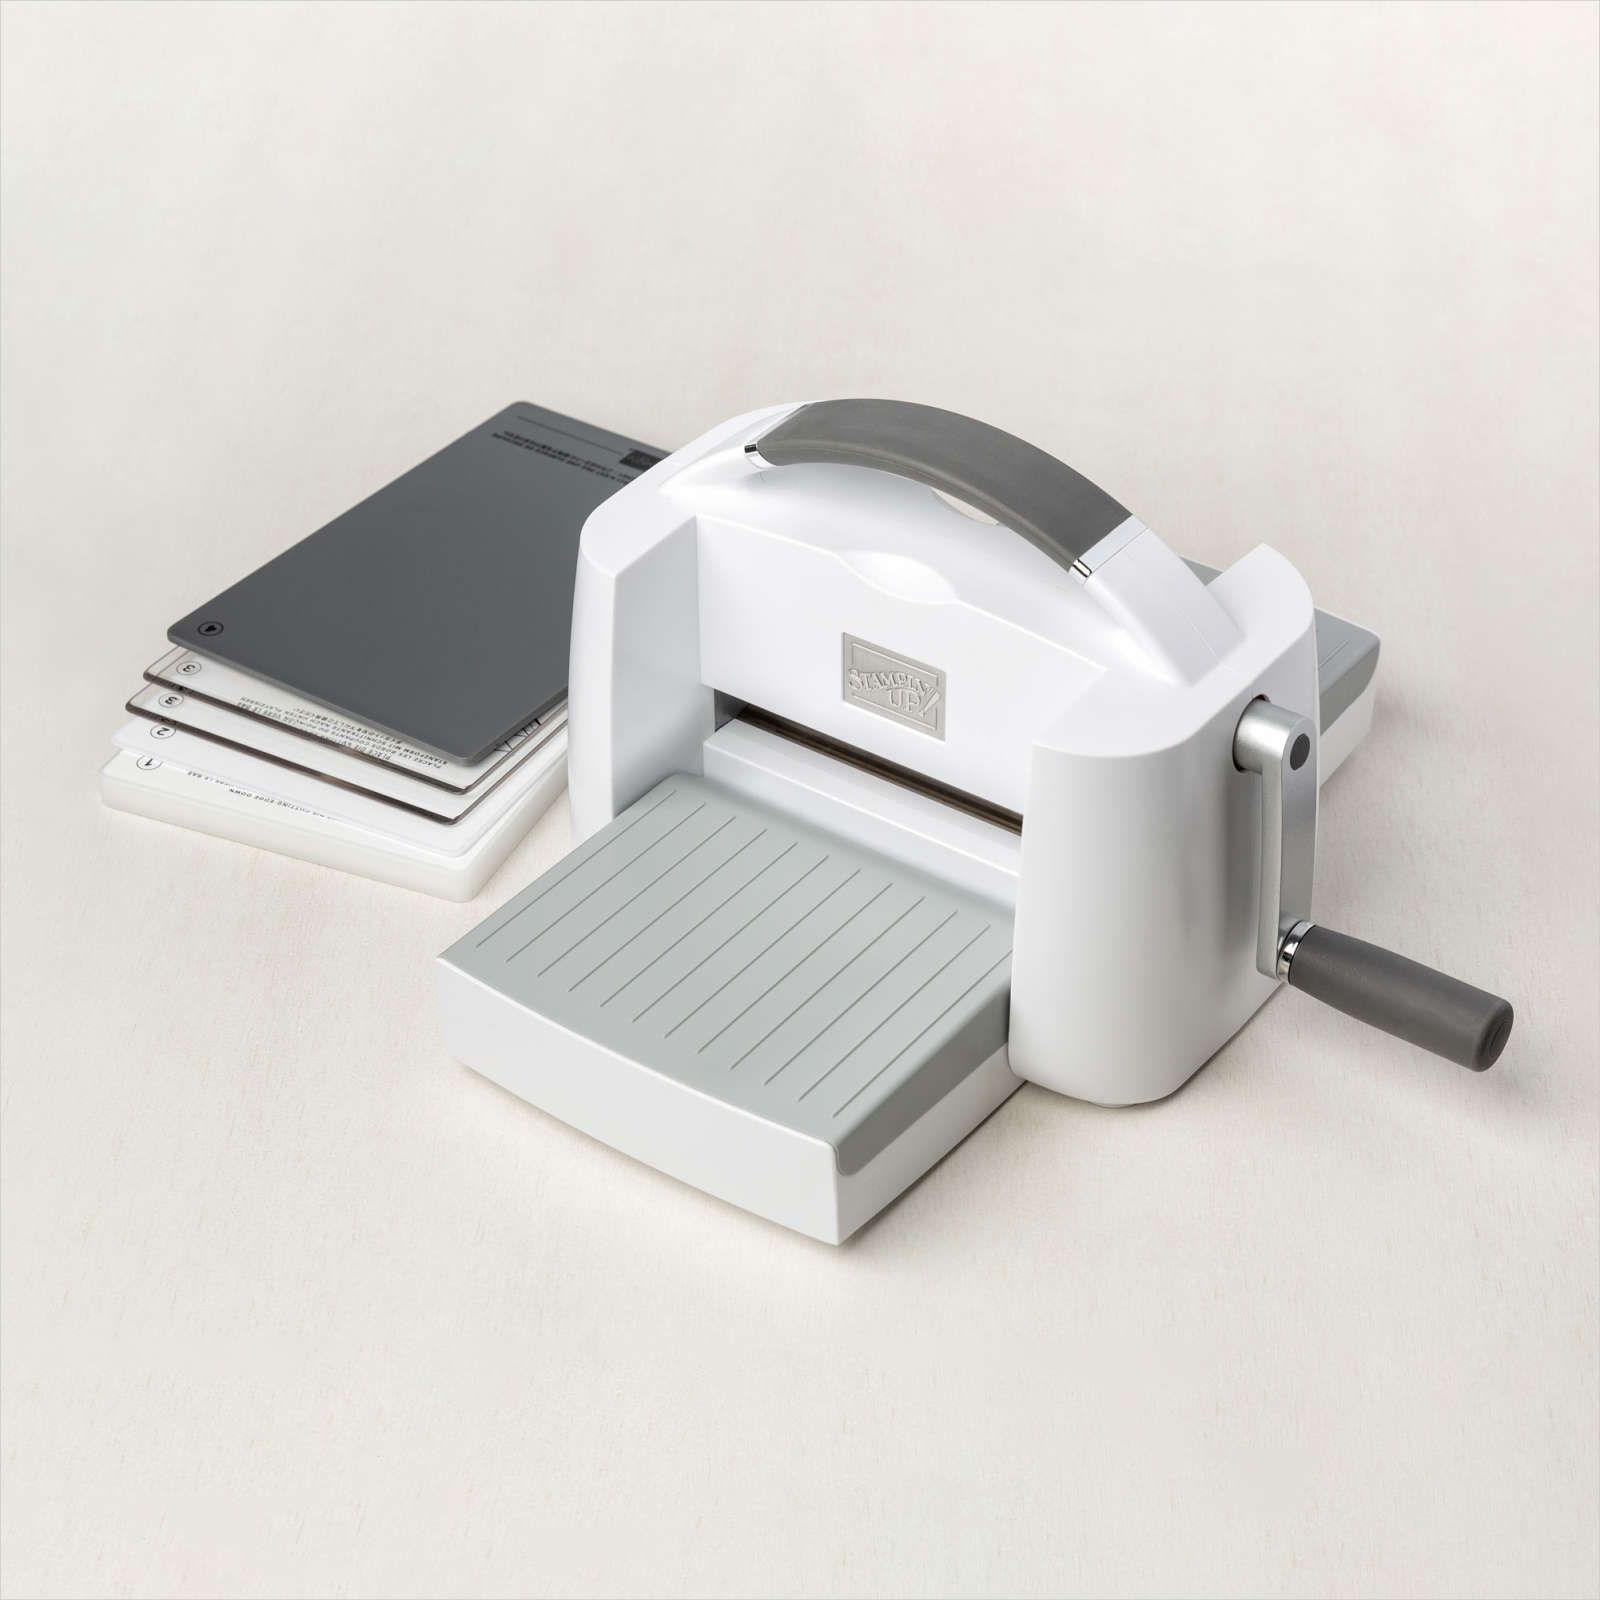
  • I die-cut my 4″ x 5 1/4″ Basic White cardstock using the Aspen Trees dies from Stampin’ Up! and my Stampin’ Cut & Emboss Machine.
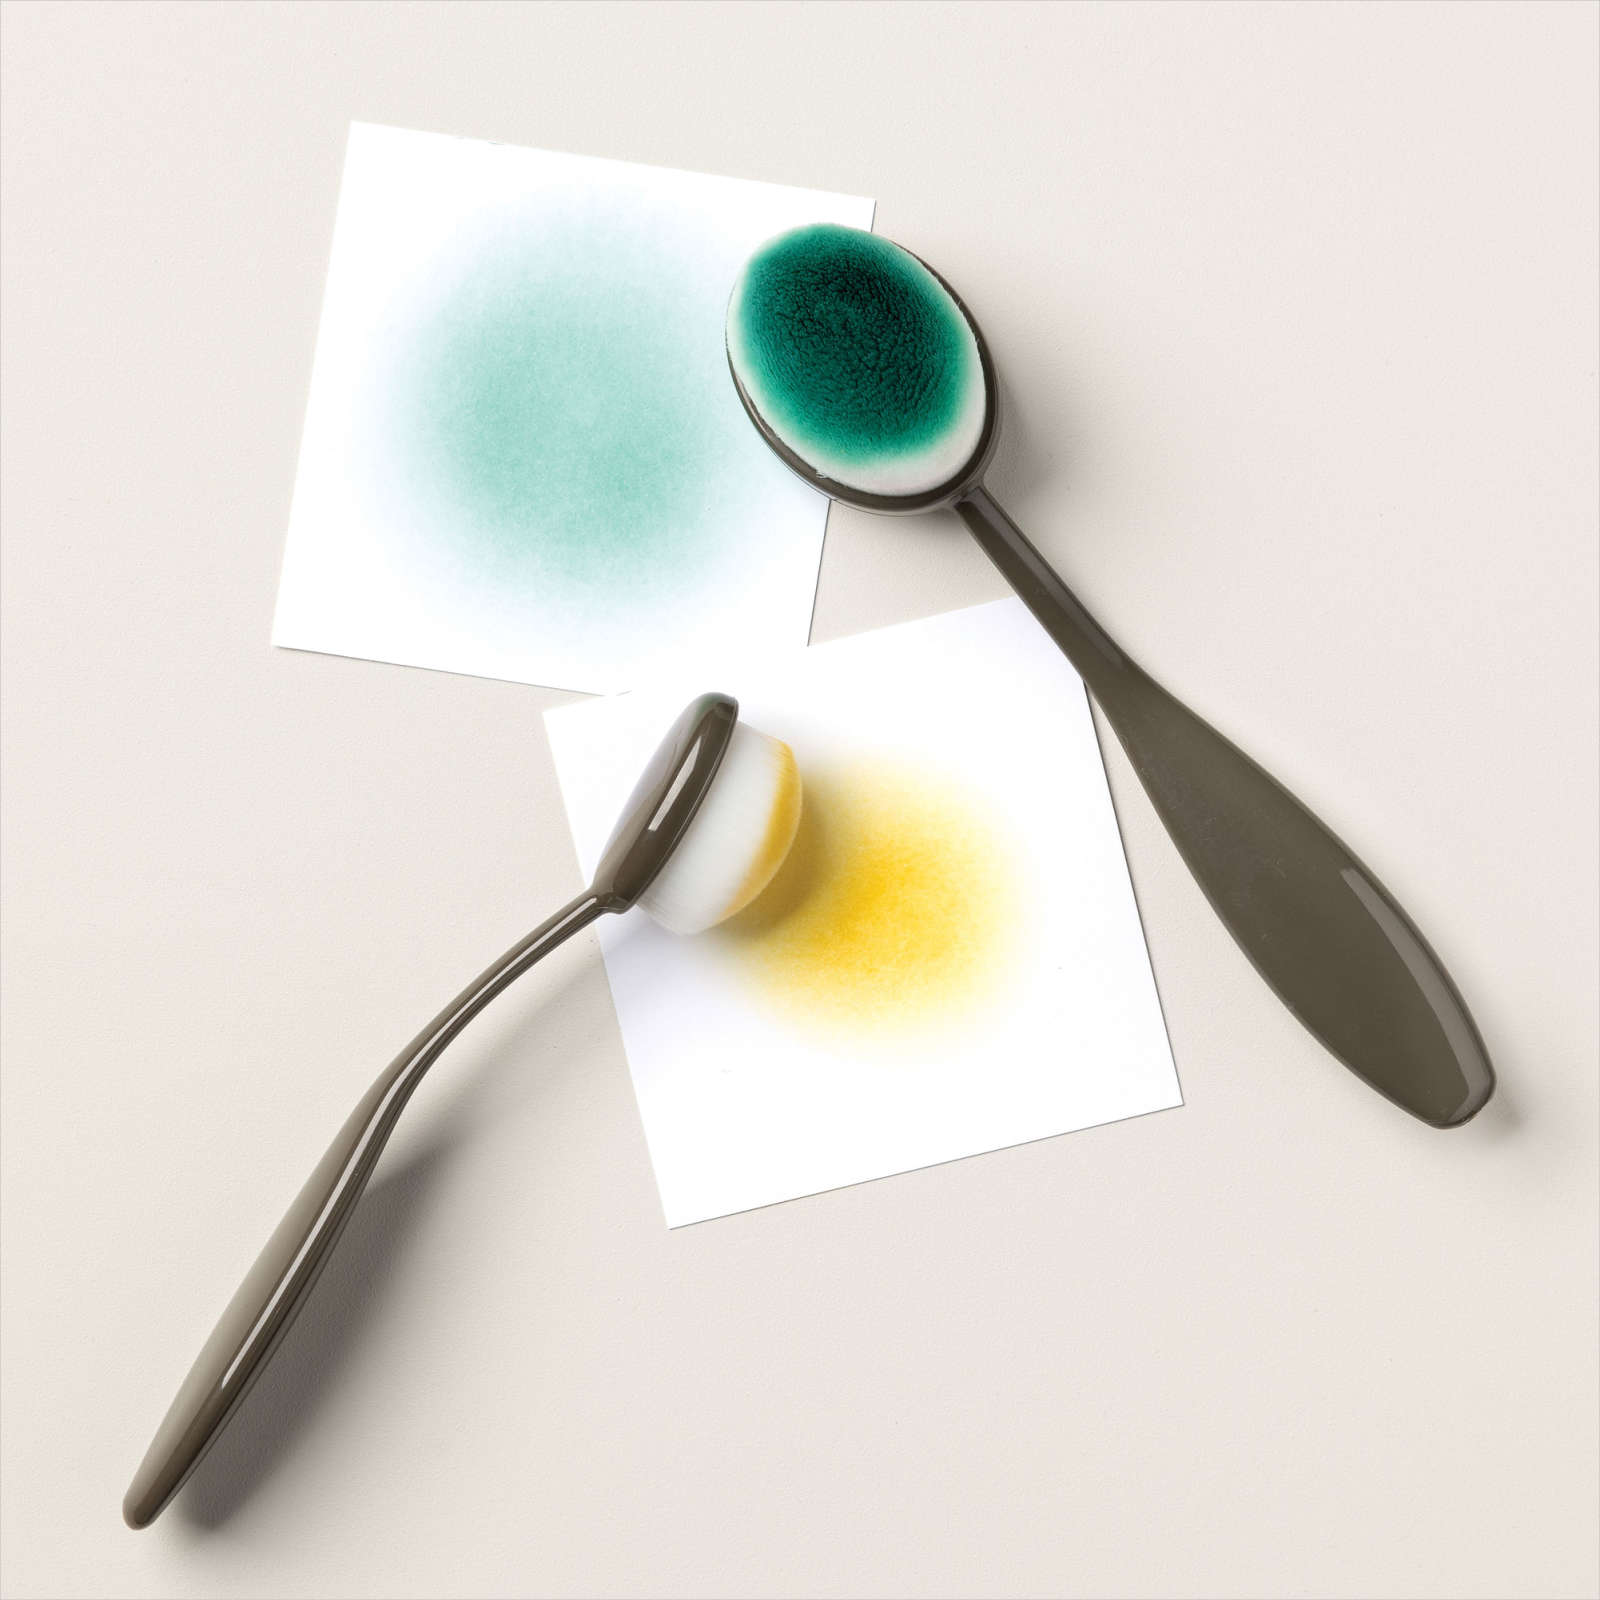
  • Add some Crumb Cake ink to just the aspen trees using a Blending Brush.
  • Add a bunch of Stampin’ Dimensionals to the backside of the aspen tree die-cuts and adhere it to the 3 7/8″ x 5 1/8″ Crumb Cake cardstock.
  • Glue down the aspen tree layers to the center-front of the Night of Navy cardbase.
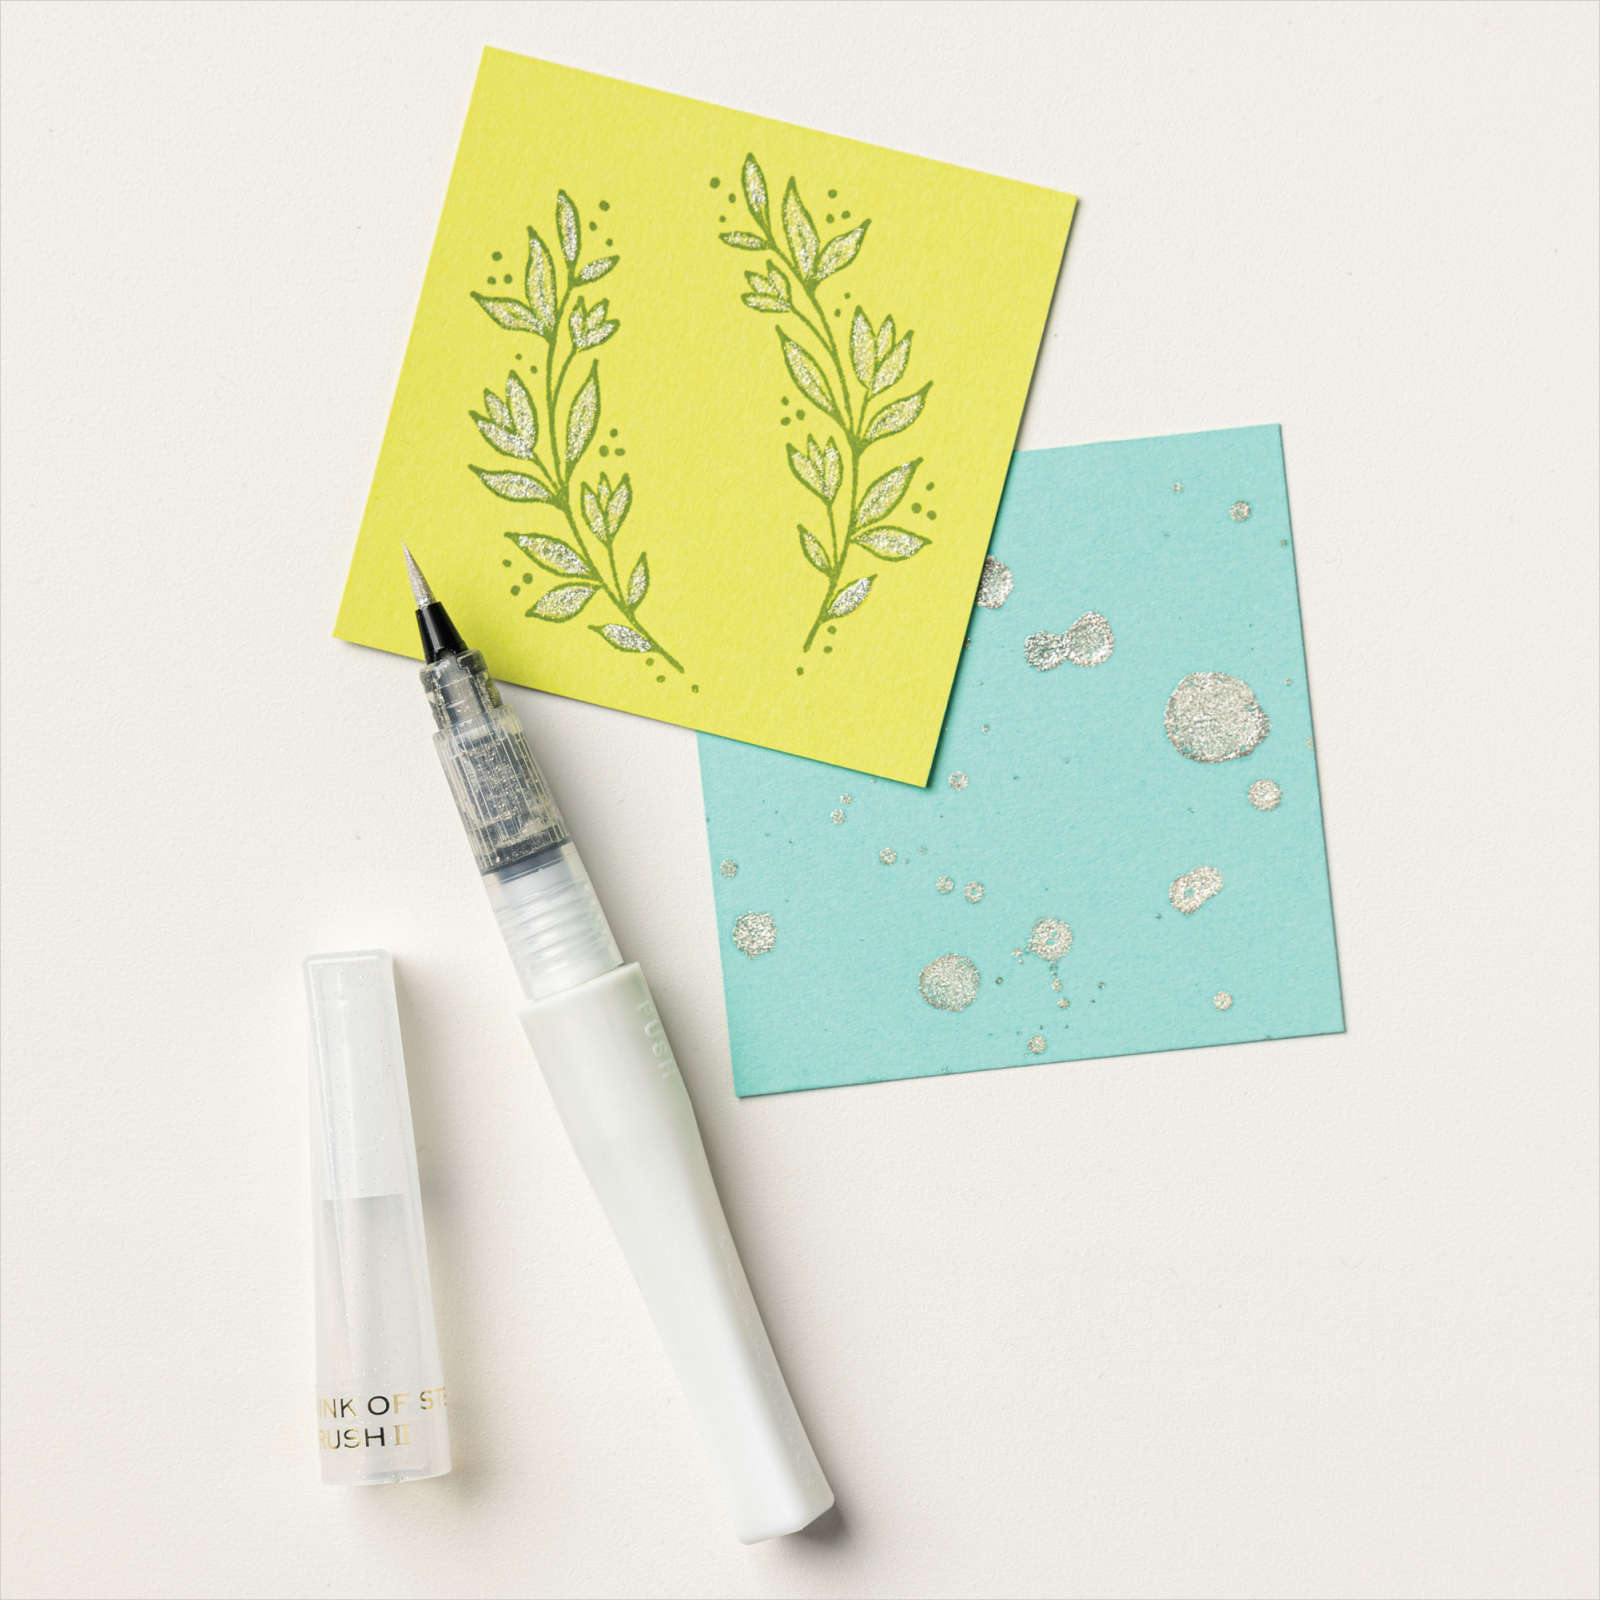
  • Add a swipe of Wink of Stella to all of the aspen tree branches.
  • Using the Perched in a Tree Stamp Set. Stamp the bird using Memento Black ink and the branch using Early Espresso ink and die-cut both using the Aspen Tree dies.
  • Using the DK/LT Night of Navy, DK/LT Balmy Blue, DK/LT Pumpkin Pie, and LT So Saffron Stampin’ Blends to color the bird.
  • Use the DK Early Espresso, and DK/LT Crumb Cake Stampin’ Blends to color the die-cut branch.
  • Glue down the branch to the top of the aspen tree die-cut. Mine hung over the edge of the cardstock, so I cut the tip off so it lined up with the edge of the aspen tree layers.
  • Stamp the “Hello” sentiment from the Beauty of Friendship stamp set onto Basic White cardstock using Night of Navy ink.
  • Die-cut the “hello” sentiment and a Crumb Cake tag using the Cracker & Treat Box dies.
  • Stack and glue the two tags at an angle, but make sure the holes line up.
  • I have attached some Linen Thread to the sentiment tag. I then wrapped it around the bird’s claws to make it look like the bird was holding the strings.
  • Attach the bird and tag to the card front using Stampin’ Dimensionals.

Tip:

When I am getting ready to color anything with a nature theme like this bird, I do a google search for the item I am going to color (i.e., Western Bluebird) to see an example of the correct colors and shading. Even if you choose to do non-traditional colors on the image, you are coloring. You will see examples of how to add shading and shadows to the stamped images.


Perched In A Tree card

I hope you enjoyed this card. I found the coloring process relaxing this time since I used a reference picture to take the guesswork out of the process. Do yourself a favor and look to nature next time you plan on coloring your images!

You may purchase these products I used in my online Stampin’ Up! Store by clicking any of the product photo links at the bottom of the post.  Keep in mind that this is the LAST day of the Sale-A-Bration promotion. You will earn free products if you purchase this Perched in a Tree Bundle with other items that add up to $50 in merchandise(before tax and shipping)! You can see all of the Sale-A-Bration offerings HERE

Thanks for stopping by today.

Happy Stamping!


Card Stock Sizes:

  • Night of Navy – 4 1/2″ x 11″
  • Basic White -4″ x 5 1/4″
  • Crumb Cake – 3 7/8″ x 5 1/8″
  • Basic White -Die-cut bird, branch & sentiment tag
  • Crumb Cake – Die-cut tag for sentiment layer

Items used to complete this card:

CASE the catalog featuring Happiness Abounds

Hello, my friends! Today I am sharing this CASE, the catalog card featuring, Happiness Abounds from Stampin’ Up!. What is CASE? It stands for Copy And Share Everything. The Stampin’ Up! catalog isn’t just to show you all the incredibly fun new products you can buy. It is also created to give you ideas and inspiration to get crafty. The card I am sharing you won’t find in any catalog. It was a project presented at a demonstrator event called Creativity NOW that Stampin’ Up! hosted virtually in June.  First, I will share my card with you.

CASE the catalog featuring Happiness Abounds

New here is the original project from the Stampin’ Up! Creativity Now virtual event.


CASE the catalog featuring Happiness Abounds

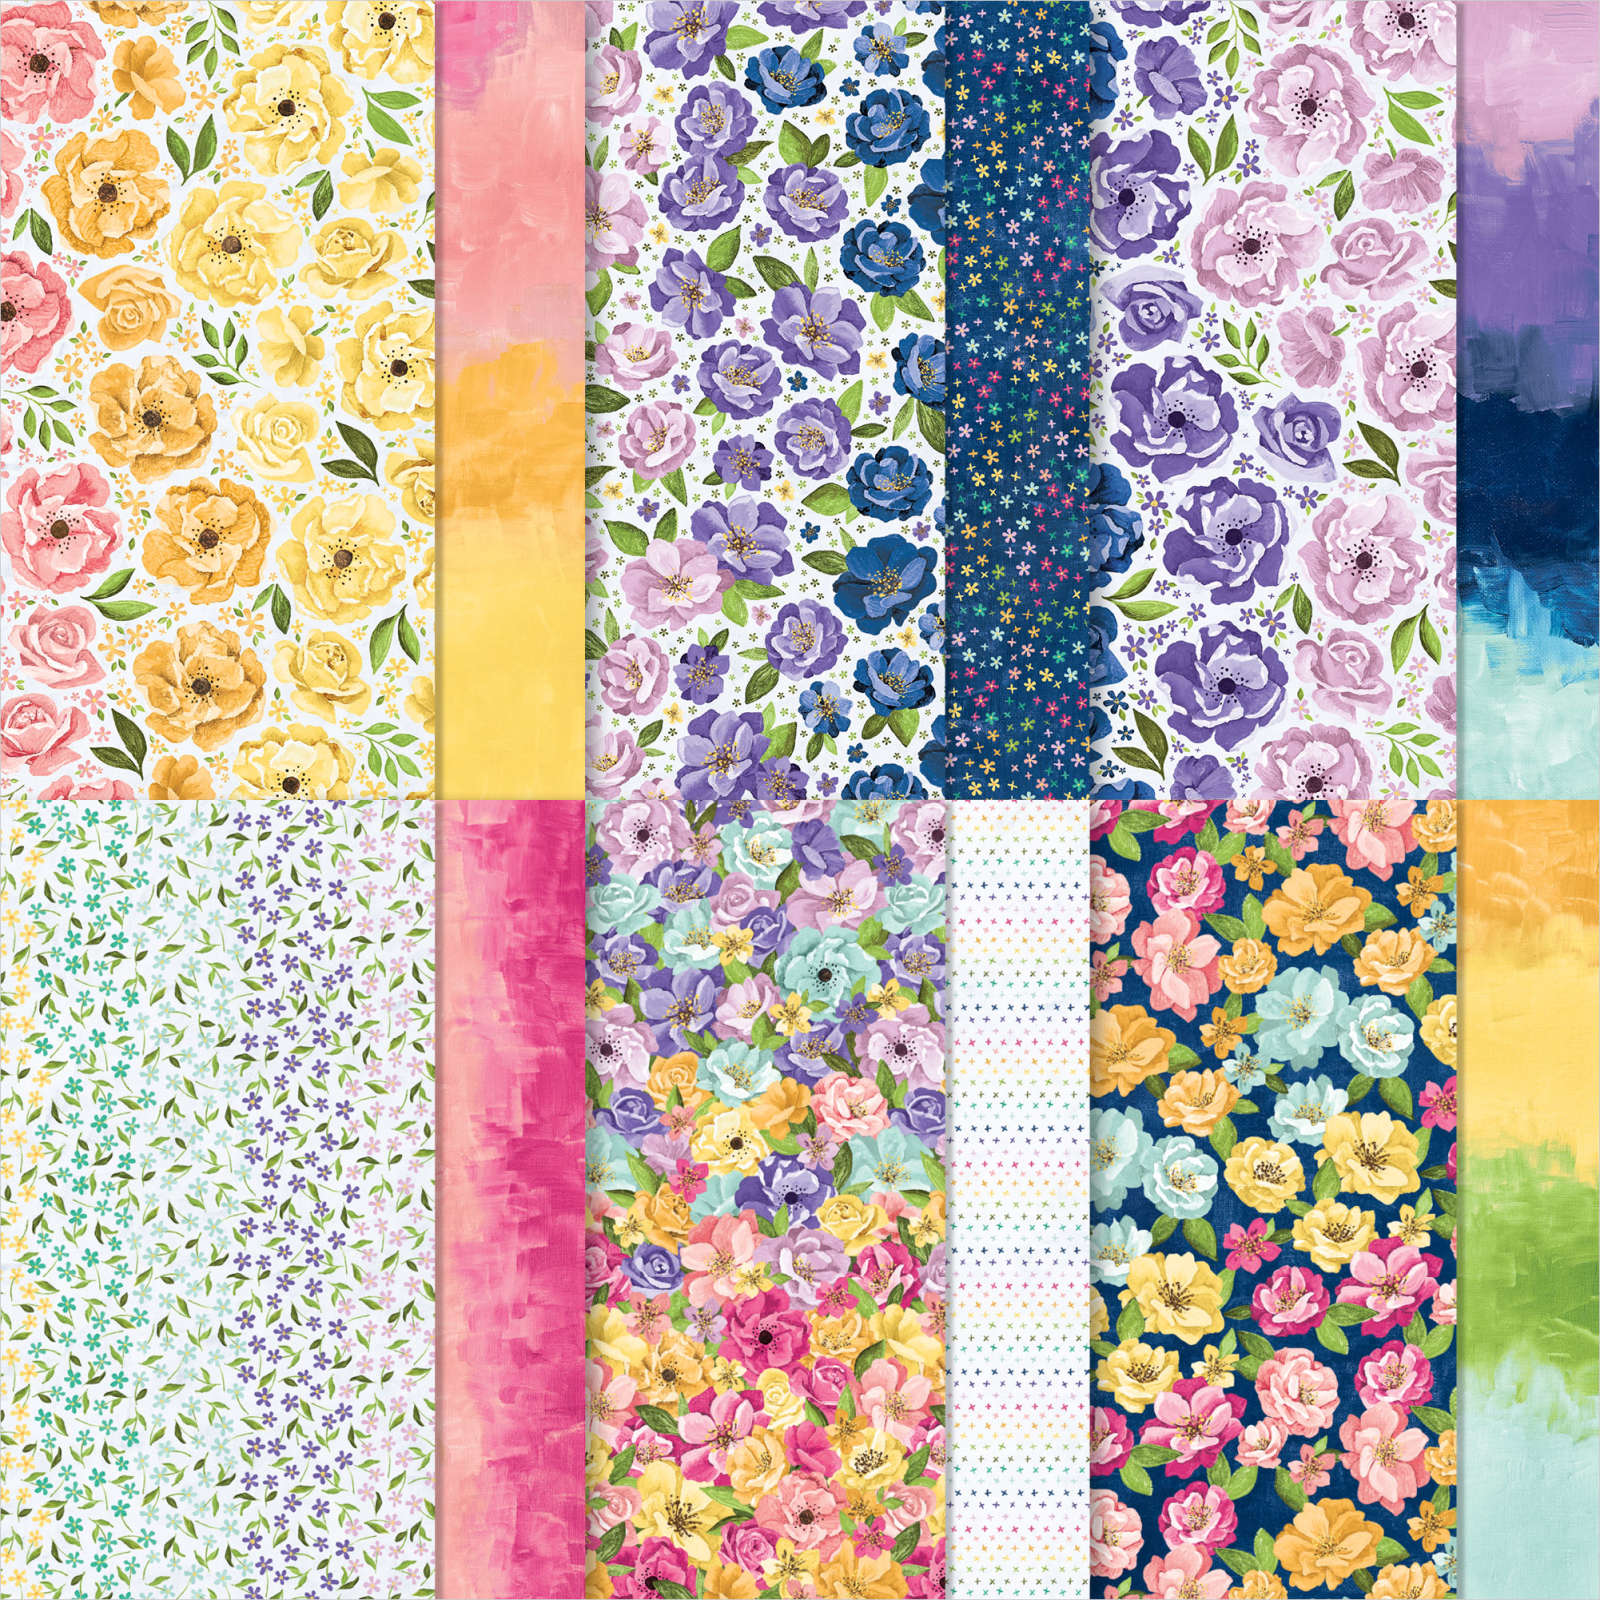
What do you think? I loved the card layout and background they created using Stampin Blends. I didn’t have the same stamp set and designer series paper they were using, so I used what I had on hand, which was the Hues of Happiness Suite collection found on page 108 in the 22-23 Annual Catalog.

Creating the Stampin Blends background

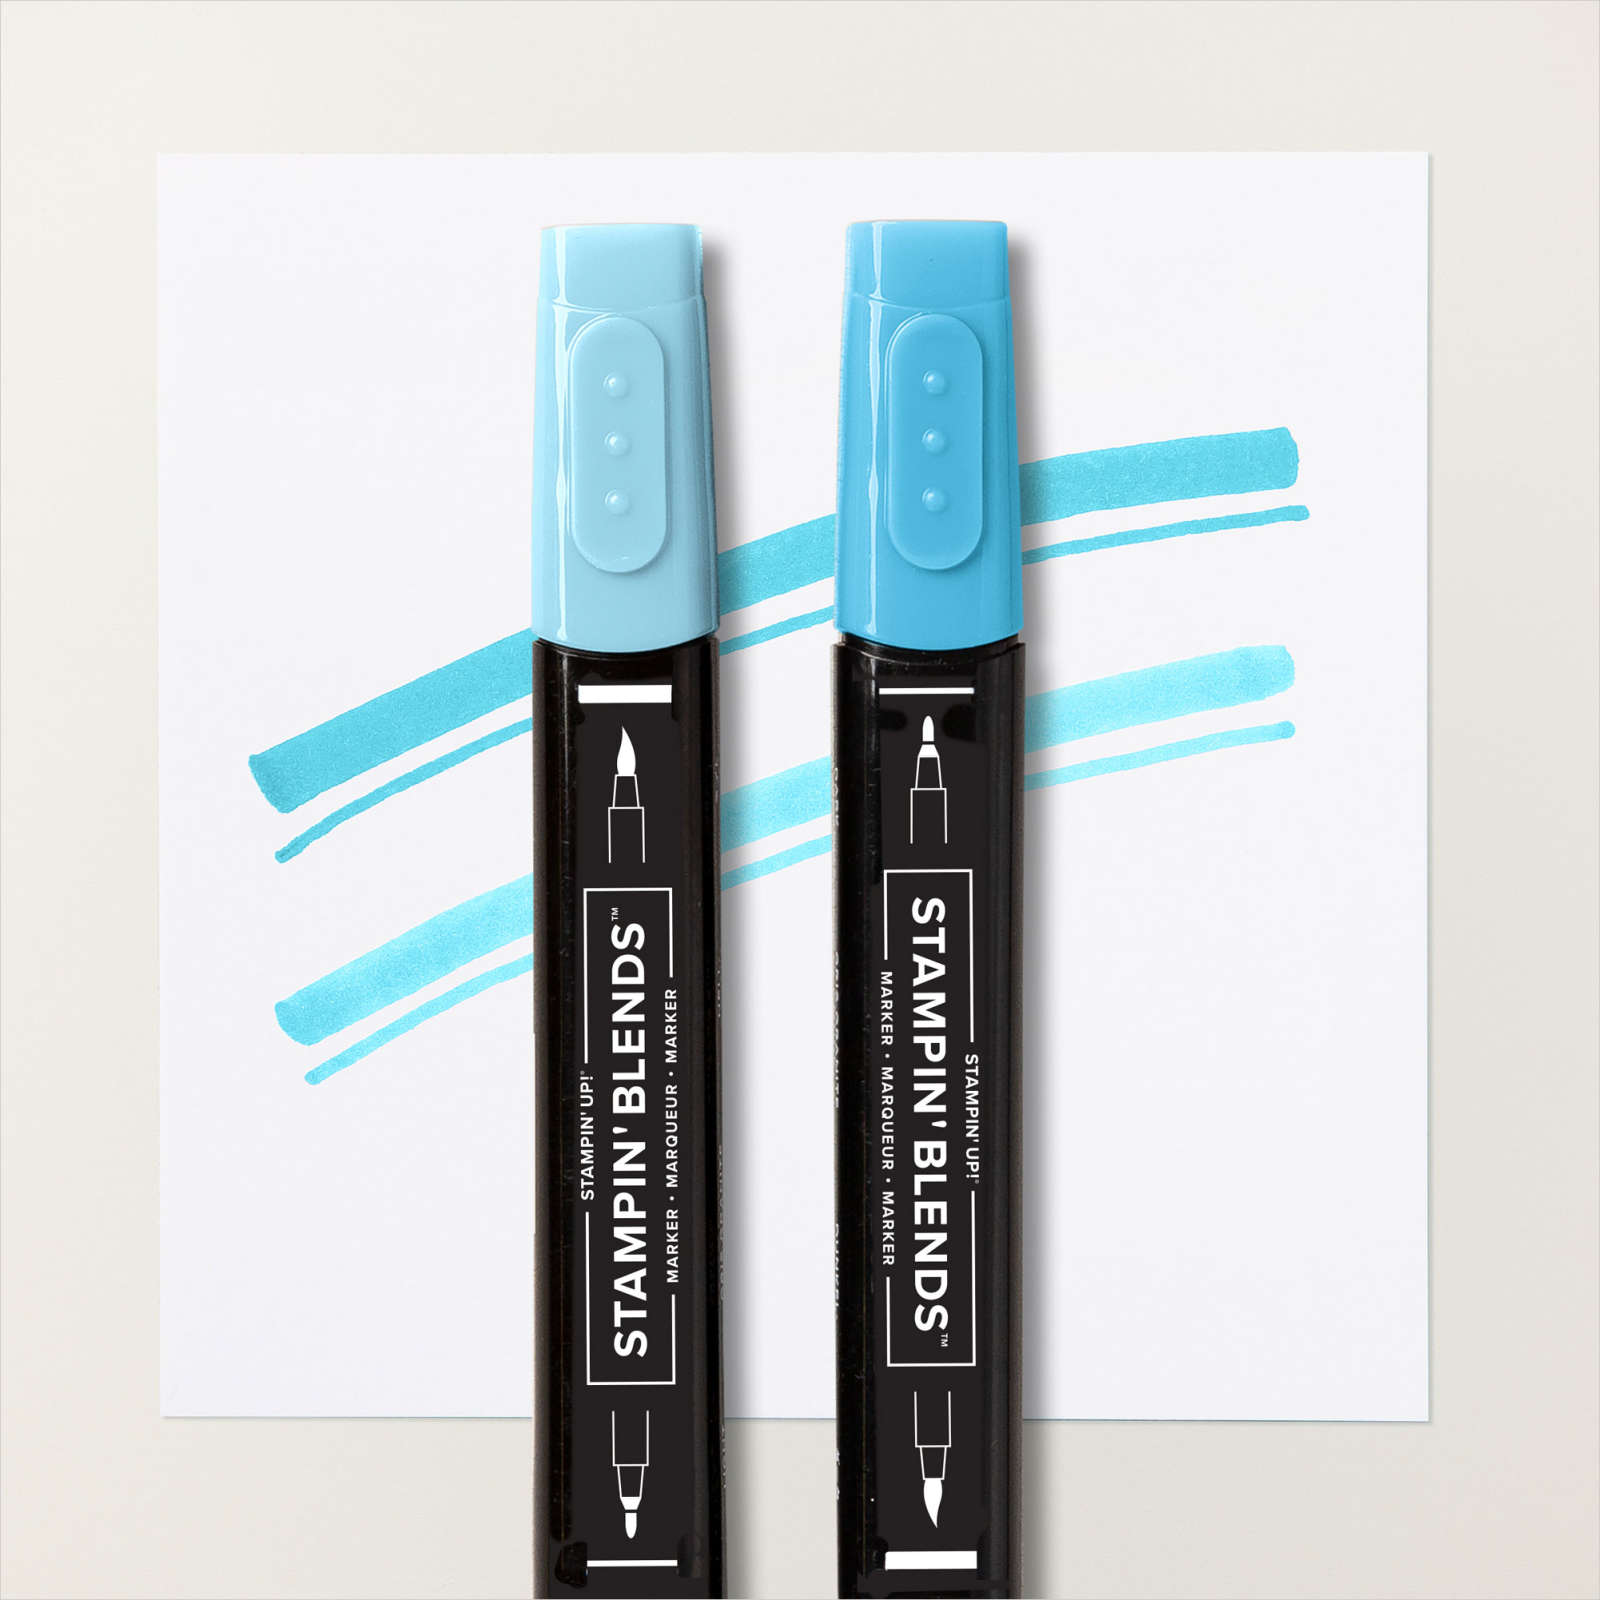
To create the Stampin Blends background. I used the Pool Party & Fresh Freesia Stampin Blends.

Color the 3″ x 4-1/2″ Basic White Cardstock panel using Fresh Freesia and Pool Party Stampin’ Blends. Use the dark Stampin’ Blends to color the middle of the card.

CASE the catalog featuring Happiness Abounds

Now use the light Fresh Freesia & Pool Party to color the top and bottom starting in the middle of the Basic White cardstock and work your way halfway up the cardstock.

CASE the catalog featuring Happiness Abounds

To finish the card

Once you have completed the Stampin Blends background, follow these steps to complete the card.

  • Stamp a couple of leaves using Fresh Freesia & Pool Party inks on their respective colors.
  • Adhere the Stampin Blends background to the 3 1/4″ x 4 3/4″ Hues of Happiness DSP. Then attach the Designer Series Paper to the Pool Party card base.
  • Stamp the sentiment in Fresh Freesia ink on the 3″ x 1 1/4″ Basic White cardstock and flag the ends with Paper Snips. 
  • Fold the Pool Party Sheer ribbon and adhere it behind the sentiment. Attach the sentiment to the card using Stampin Dimensionals.
  • Die-cut one Fresh Freesia flower and one leaf from the Hues of Happiness Designer Series paper using the Blossoming Happiness Dies. Add the Fresh Freesia flower to the top right corner of the sentiment layer using Stampin Dimensionals and glue the leaf under the edge of the flower.

I enjoyed recreating this card from Stampin’ Up! using what I had on hand! It is easy to find a card layout or color scheme and take it from there to develop your masterpieces! Now your assignment is to find a card layout you like and recreate it with items you have on hand, and share it will me here in the comments or over on my Facebook page.  

You may purchase these products I used in my online Stampin’ Up! Store by clicking any of the product photo links at the bottom of the post. 

Thanks for stopping by today.

Happy Stamping!


Card Stock Sizes:

  • Pool Party – 8 1/2″ x 5 1/2″
  • Hues Of Happiness DSP – 3 1/4″ x 4 3/4″
  • Basic White -3″ x 4 1/2″
  • Hues Of Happiness DSP – 1 Fresh Freesia die-cut flower & one leaf
  • Basic White – 3″ x 1 1/4″ Sentiment layer

Items used to complete this card:

Hey there Hippest Hippo

Hello, fellow crafters! Today I am sharing this super sweet Hey There Hippest Hippo card I made using the Hippest Hippo stamp set and Hippo Dies that you can earn for FREE during the Sale- A-Bration promotion Stampin’ Up! has going on until Aug 31st.

Don’t know what Sale-A-Bration is? This promotion is held twice a year by Stampin’ Up!. How it works is that for every $50 worth of merchandise you purchase (sub-total value, before tax and shipping), you get to choose a free product from the Sale-A-Bration catalog. That is, it is that simple!

Hey there Hippest Hippo

To start this card, I stamped the hippo image from the Hippest Hippo stamp set using Memento Black ink. Then I colored the Hippo using my Gray Granite Stampin Blends, leaving his tummy white, and his eye has a dot of Tahitian Tide DK blends to make the eye pop. After I was done coloring my cute little Hippo. I used the coordinating Hippo Dies to cut him out.

Tip:

If you are using Stampin Blends to color an image, you will need water-based ink like Memento Black ink to stamp your image before coloring. The image won’t bleed by using water-based ink with alcohol markers. The image won’t bleed.

This concept is the same for the Stampin Write Markers as well. You will need to stamp your image using Staz On ink to color with the water-based markers.


Hey there Hippest Hippo

Water coloring the background

To create the water-colored background. I first die-cut the watercolor paper using the set’s 4th largest Rectangle Stitched Die. I grabbed my largest water painter, a paper towel, a dish of water, and my Pool Party ink refill and added a couple of drops to an acrylic block. Before adding ink to the paper, you must wet both sides of the watercolor paper with your water painter. Once the paper is wet, add a couple of drops of water to your Pool Party ink to dilute the re-inker. Now you can pick up the ink, start water coloring, and add ink until you are happy with the results.

To get the look of splotches on the paper, you can squeeze the water from your water painter onto the paper, which will look like rain spatters.

I used this same process to create the paper I used to cut the raindrops, but I also used Balmy Blue re-inker, as shown in the picture below.

Tip:

I use my heat tool to dry the paper, or it will take a while to dry. Make sure you dry both sides of the paper to keep it from curling up. I will rotate every minute until the page is dry.

water coloring with water painters

After finishing the water coloring, I adhered the hippo to the watercolor rectangle die-cut. Added some of the die-cut rain drops using mini Stampin dimensionals I cut up.

I then die-cut two umbrellas. One in black and one using the Celebrate Everything DSP pattern on the backside of the chevron pattern I used for the background. I cut the umbrella handle off the DSP die-cut and adhered it to the black umbrella using stampin dimensionals. Now glue the umbrella down under the hippo’s hand.

Stamp the “Hey There” Hippest Hippo sentiment onto the bottom edge of the hippo layers using Pacific Point ink.


To create the cardbase layers:

  • Take a piece of 8 1/2″ x 5 1/2″ Pool party cardstock and score it at 4 1/2″ to use as your card base.
  • Glue down the 4″ x 5 1/4″ Pool Party/Pacific Point chevron patterned DSP from the new Celebrate Everything paper pack to the center of the Pool Party cardbase.
  • Take the Shaded Spruce polka dotted DSP, and your paper snips and carefully distress the DSP’s edges. Once you have finished distressing the paper, you can glue it to the cardbase.
  • Take a 4 1/2″ piece of the Frayed Ribbon and cut the outer edges off the ribbon lengthwise. Now, carefully start pulling a strand of the ribbon off each side until you have 1/4″ of the ribbon band left in the middle. Cut it to fit the Shaded Spruce distressed DSP strip and add it to the top using mini glue dots.
Hippest Hippo Stampin Up

To finish off this cute card. You can now add the water-colored hippo rectangle die-cut piece to the center of the cardbase layers using stampin dimensional. You will not need wat to put dimensional where the shaded Spruce DSP layers are, or you will have a hump in your completed card.

The last step is to make the bow for the umbrella. I took a 10″ piece of the Pool Party Sheer ribbon, cut the ribbon lengthwise into three equal strips, and tied a bow with them. Add the bow to the umbrella using mini glue dots.

Now you have on a super cute hey there Hippest Hippo card! If you want to get this stamp set and matching Hippo dies. You will need to place a $100 order (before tax & shipping), and you can choose both of the products for FREE!

You may purchase these products I used in my online Stampin’ Up! Store by clicking any of the product photo links at the bottom of the post. 

Thanks for stopping by today.

Happy Stamping!


Card Stock Sizes:

  • Pool Party – 8 1/2″ x 5 1/2″
  • Celebrate Everything DSP – 4″ x 5 1/4″
  • Shaded Spruce DSP – 4 1/4″ x 1″
  • Watercolor paper – 2 3/4″ x 4  & 2 x 1 1/2″ rain drops
  • Basic White – 1 3/4″ x 2 1/2″ hippo
  • Black & Celebrate Everything DSP – 1 1/2″ x 1 1/4″ umbrellas

Items used to complete this card: