Save up to 60%
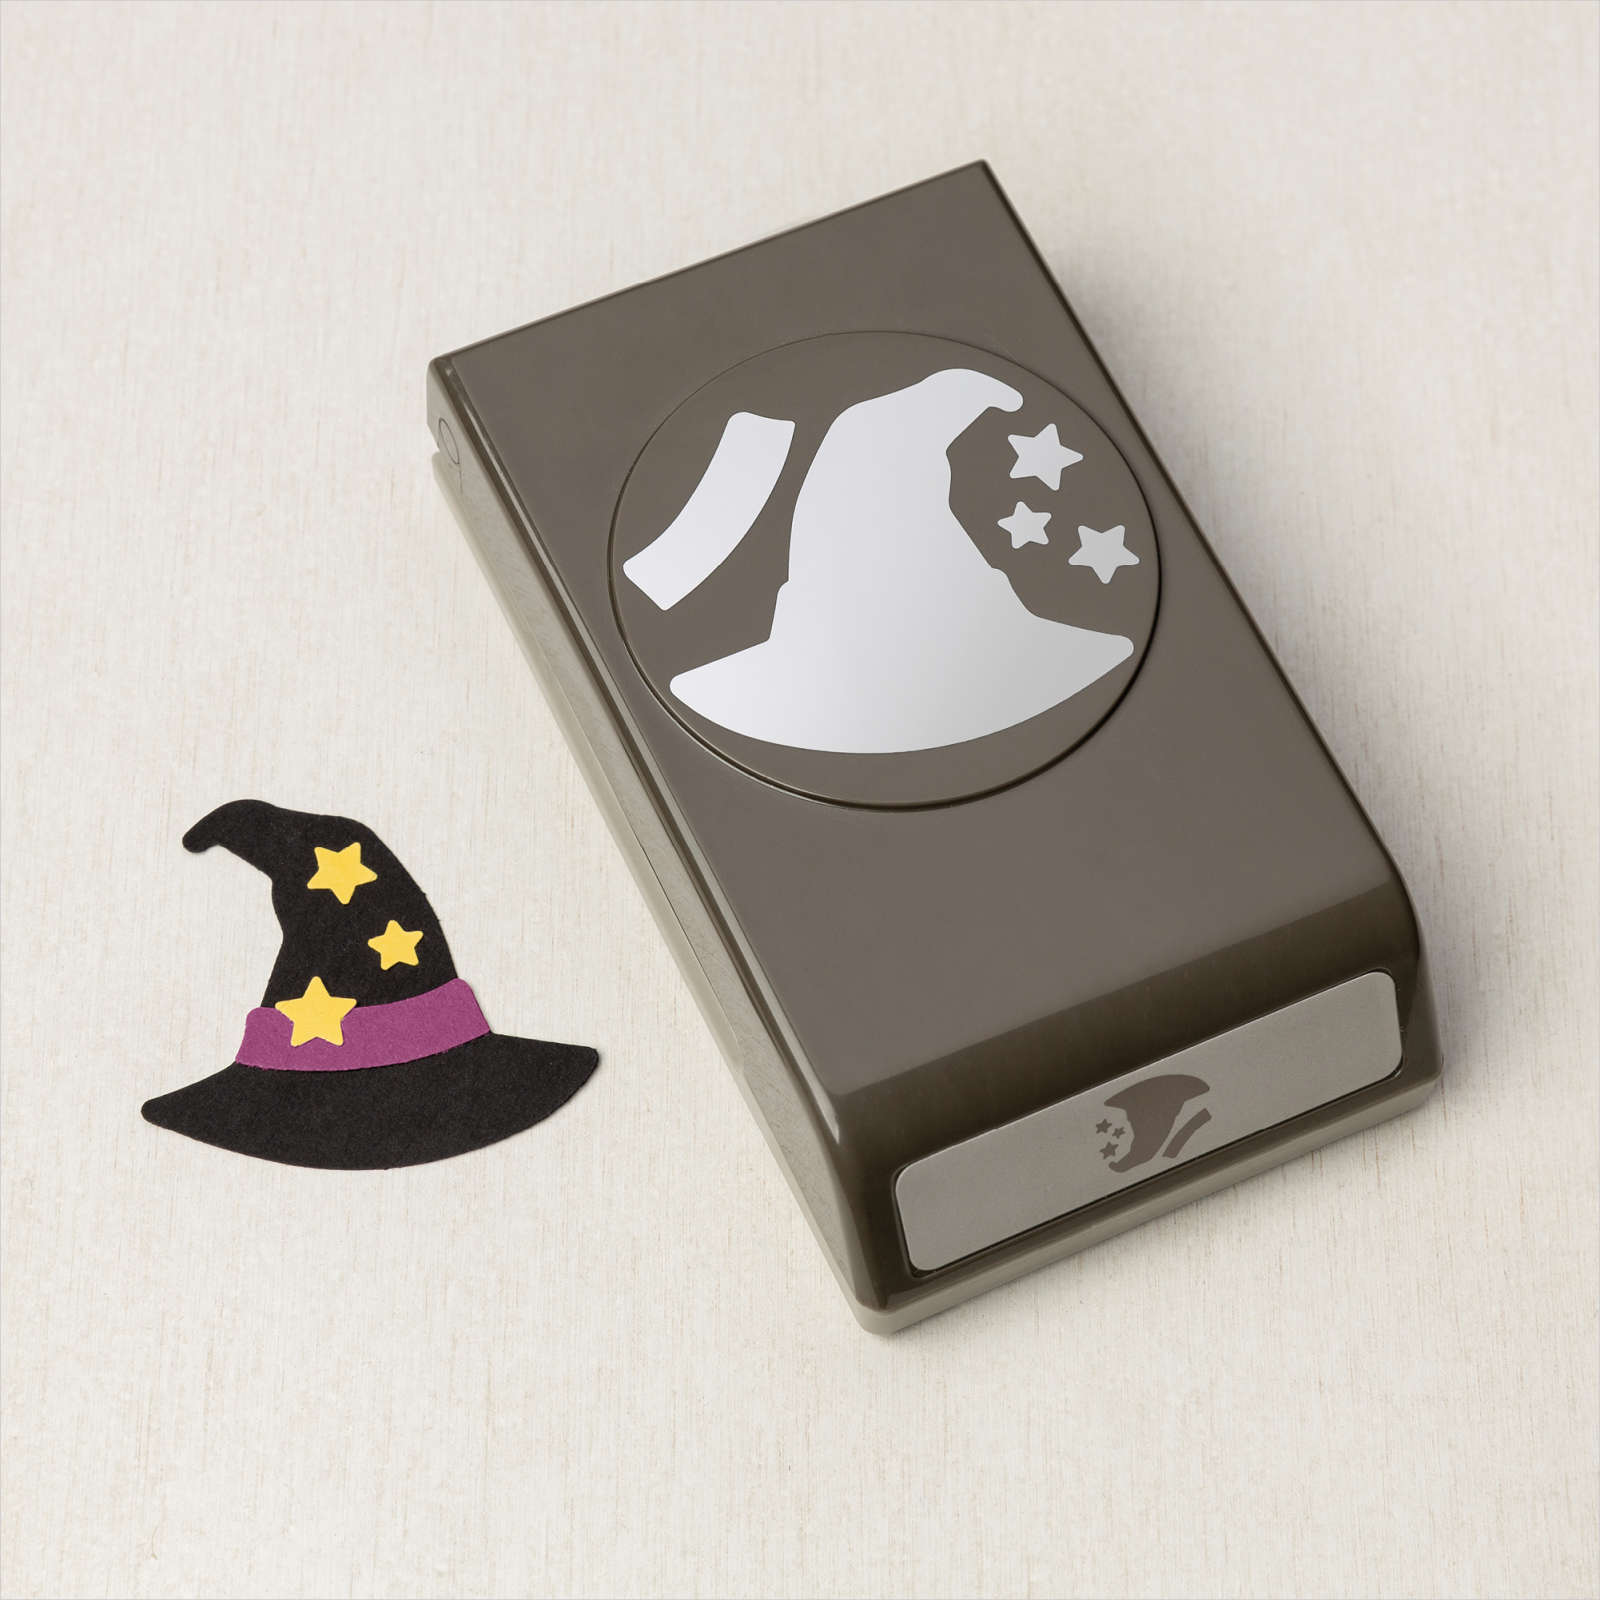
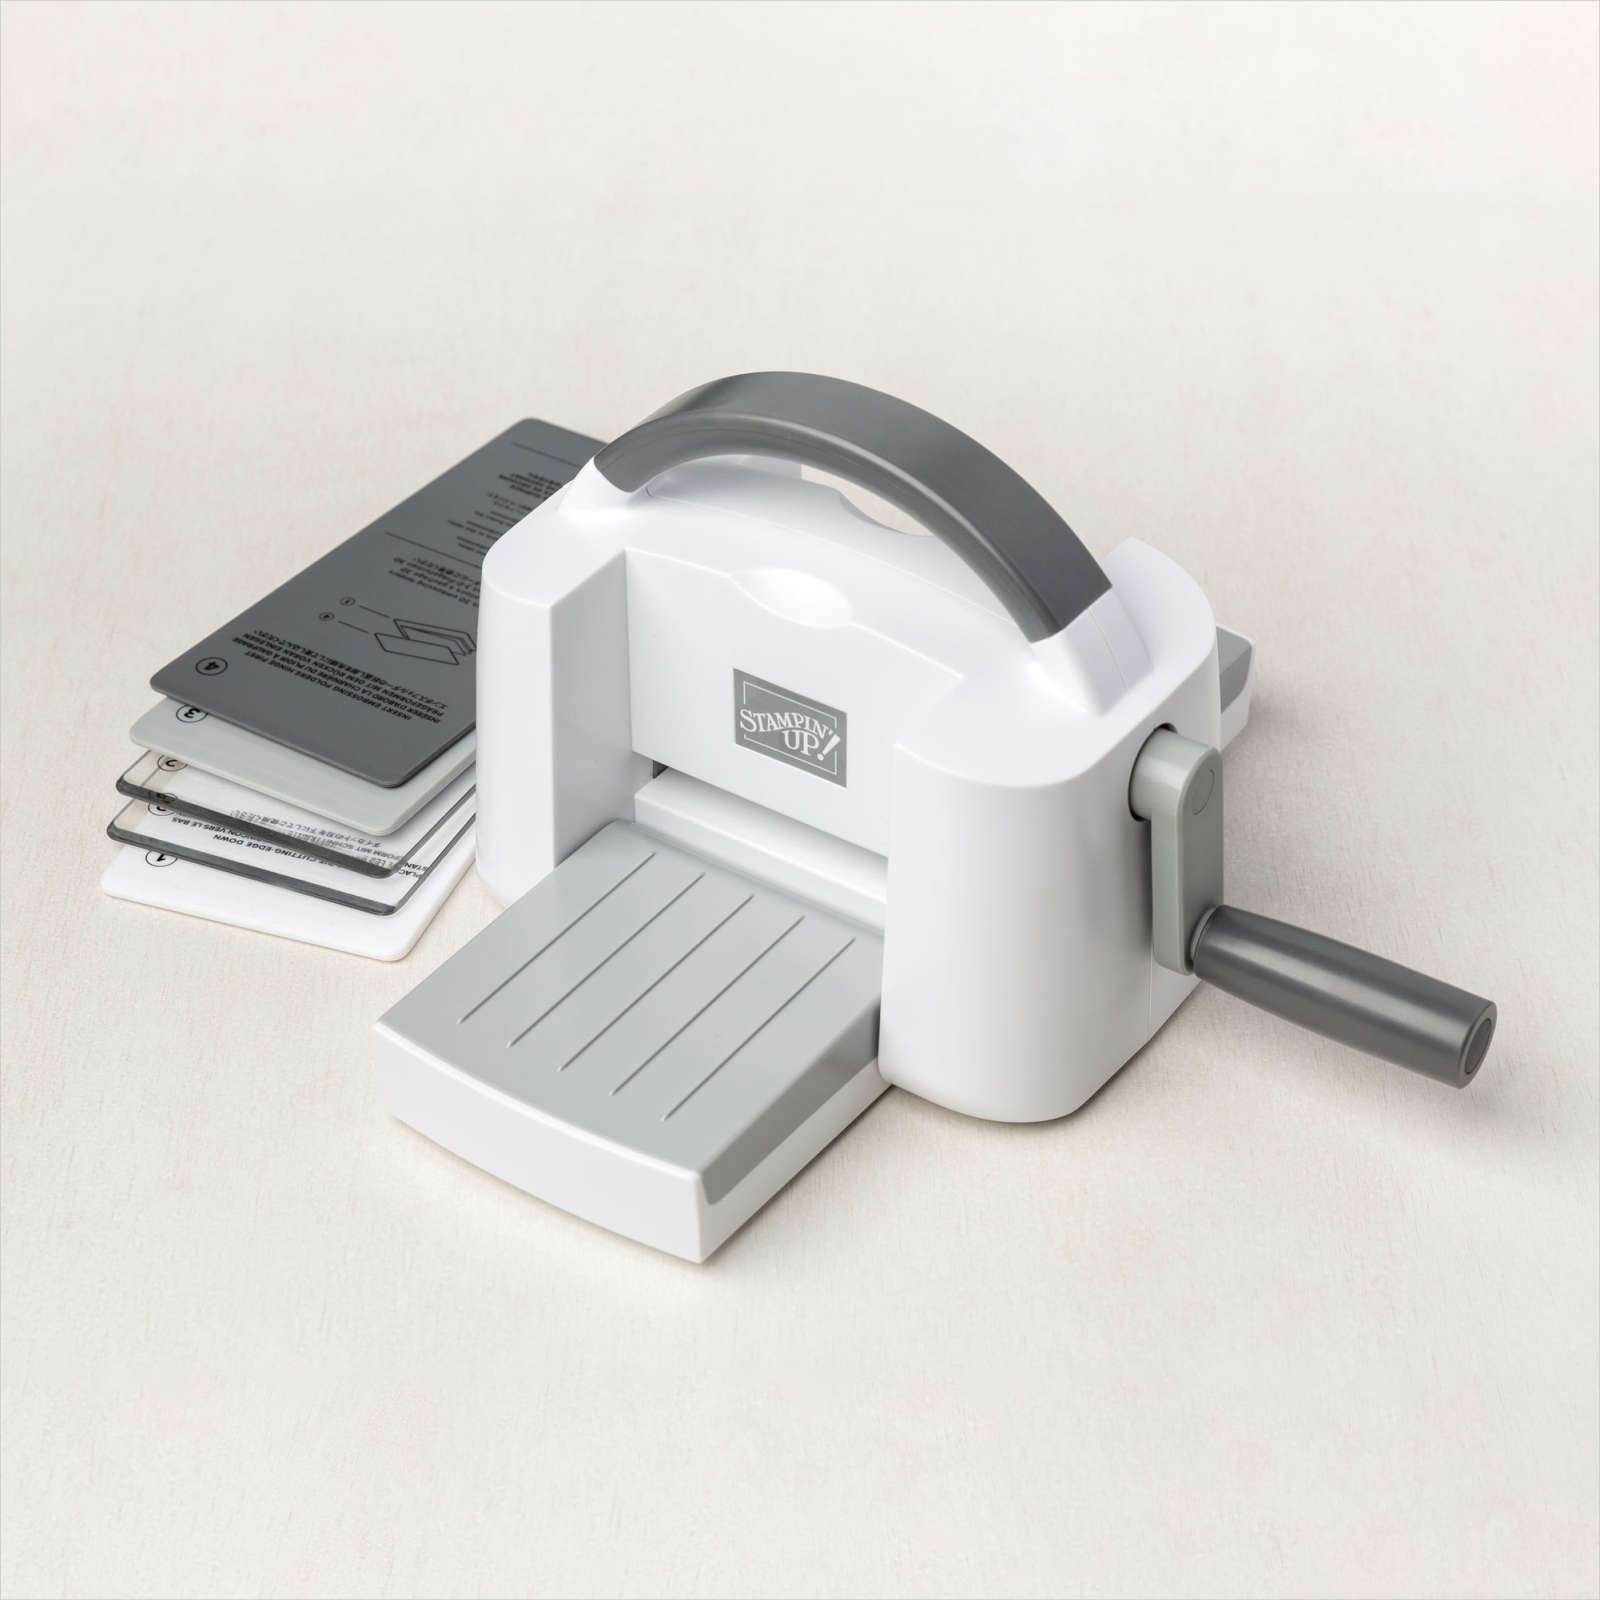
Starting December 1, Stampin’ Up! is adding tons of new items to the Clearance Rack, including some dies! Check out the latest, refreshed Clearance Rack. Many items are deeply discounted by up to 60%. You will want to grab them while you can, as everything is while supplies last.


The carry-over list is a quick way to see all the items you will be able to purchase after the end of the sale period for the 2022 July – Dec Mini Catalog. You can see the complete list of carry-over items here.

Buy gifts for your fellow crafting enthusiasts or stock up on supplies for all your upcoming handmade projects. Remember, all items are while supplies last! Don’t miss out!
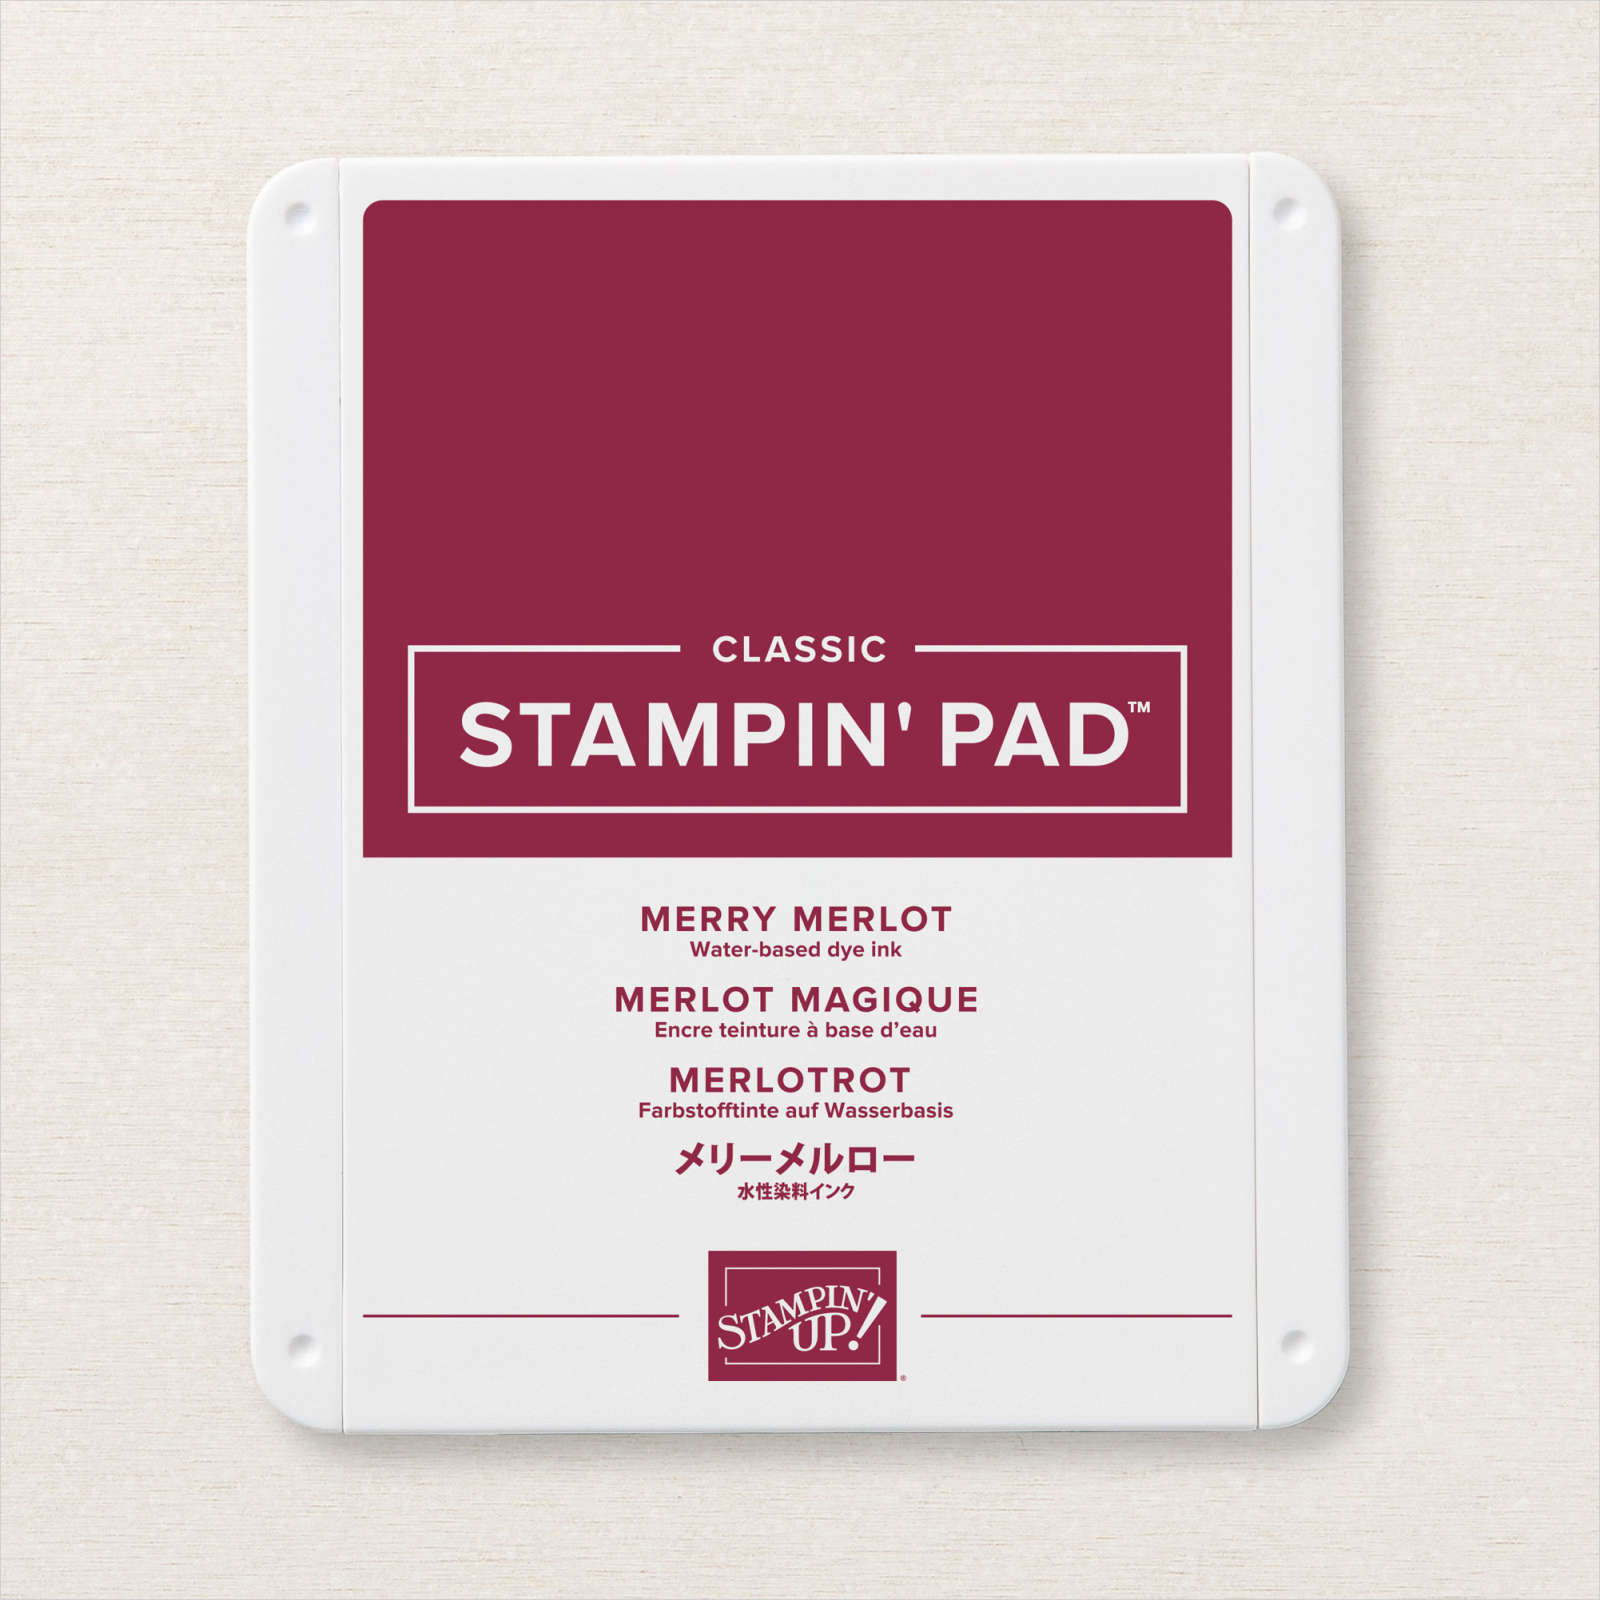
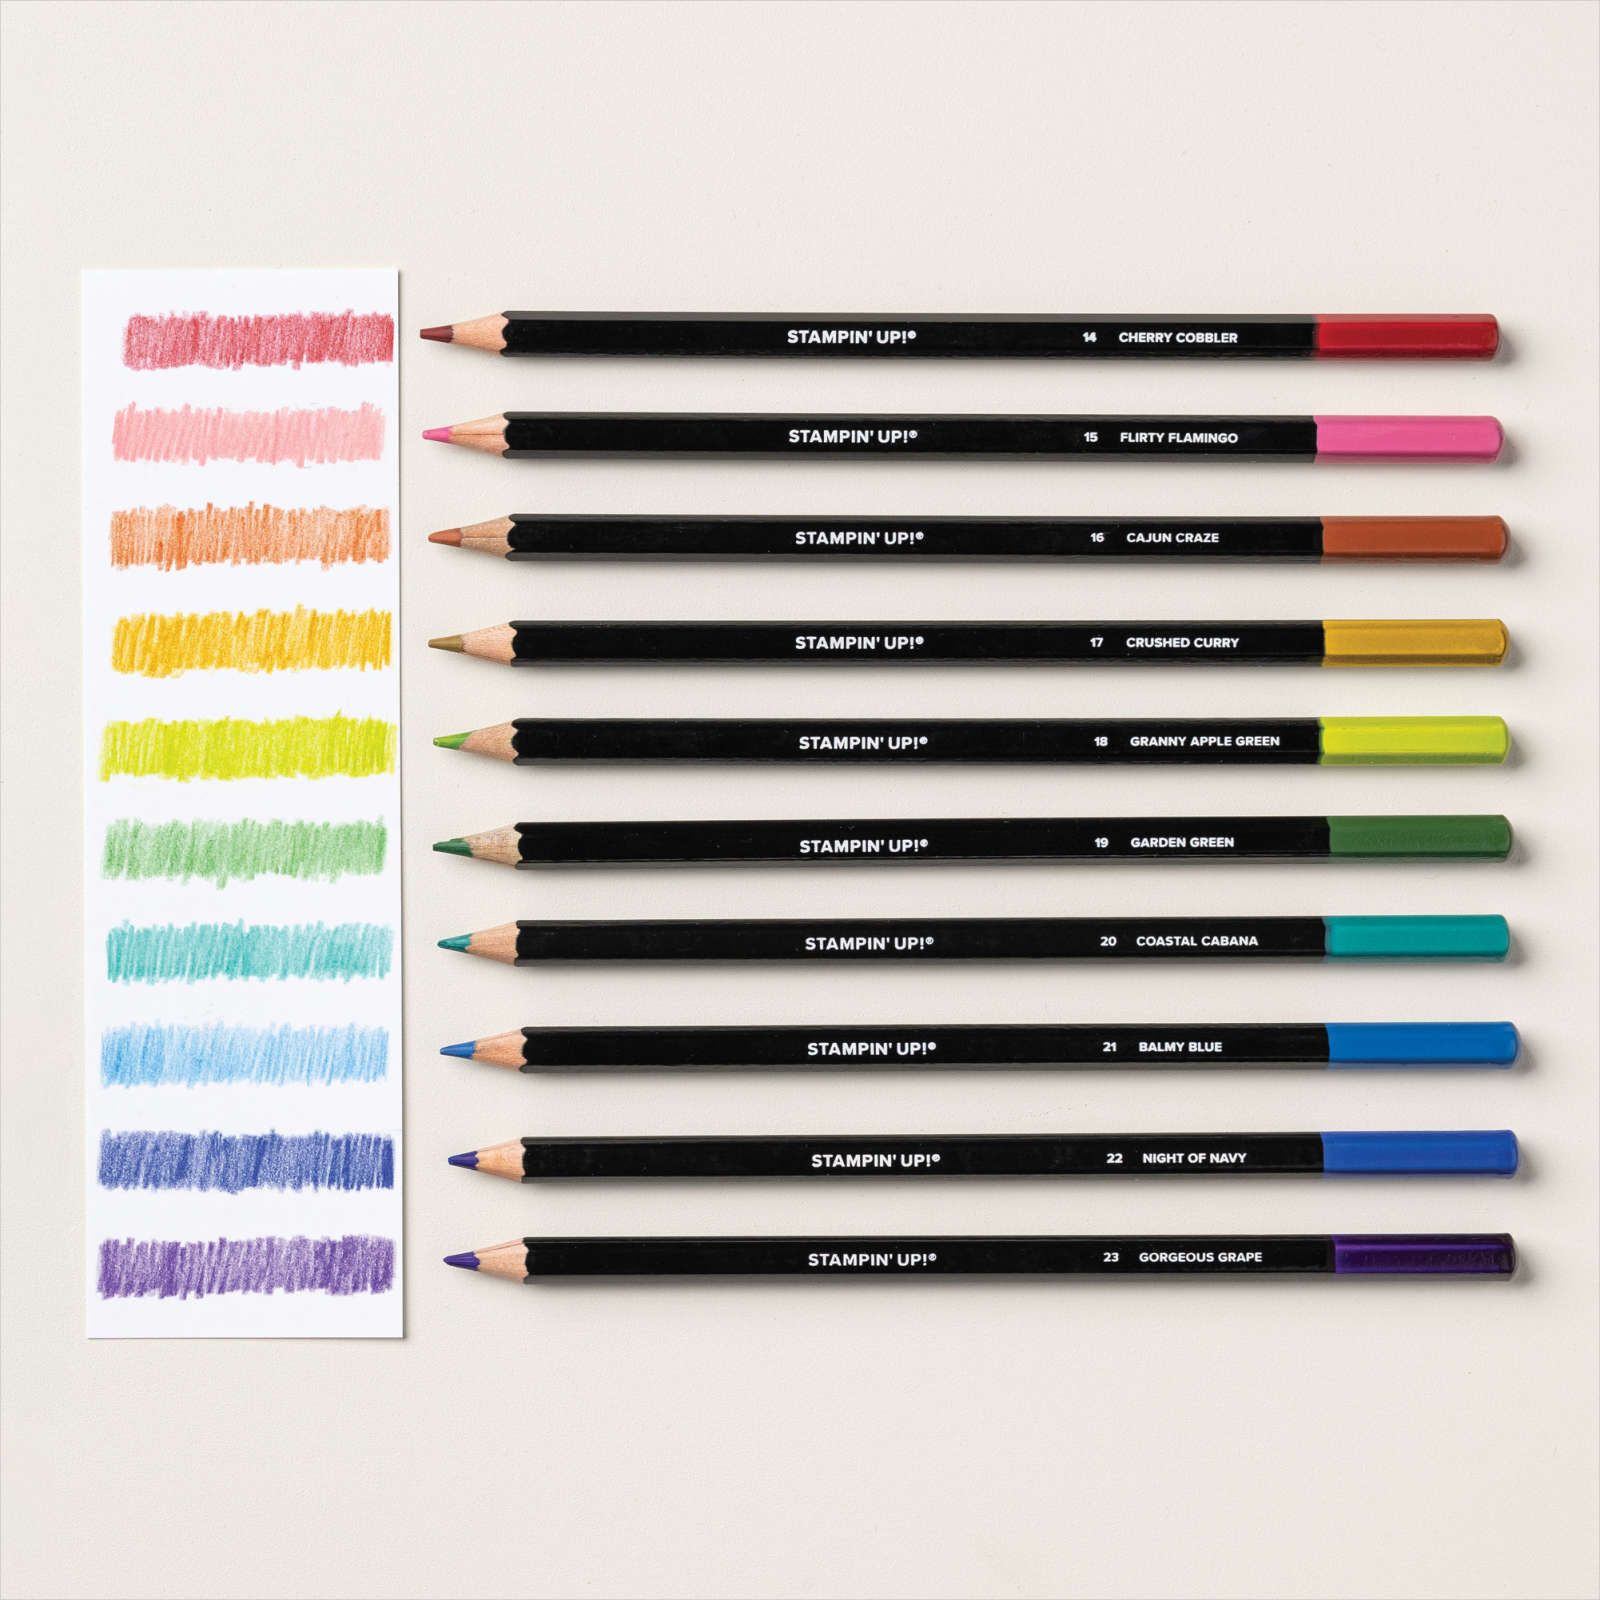
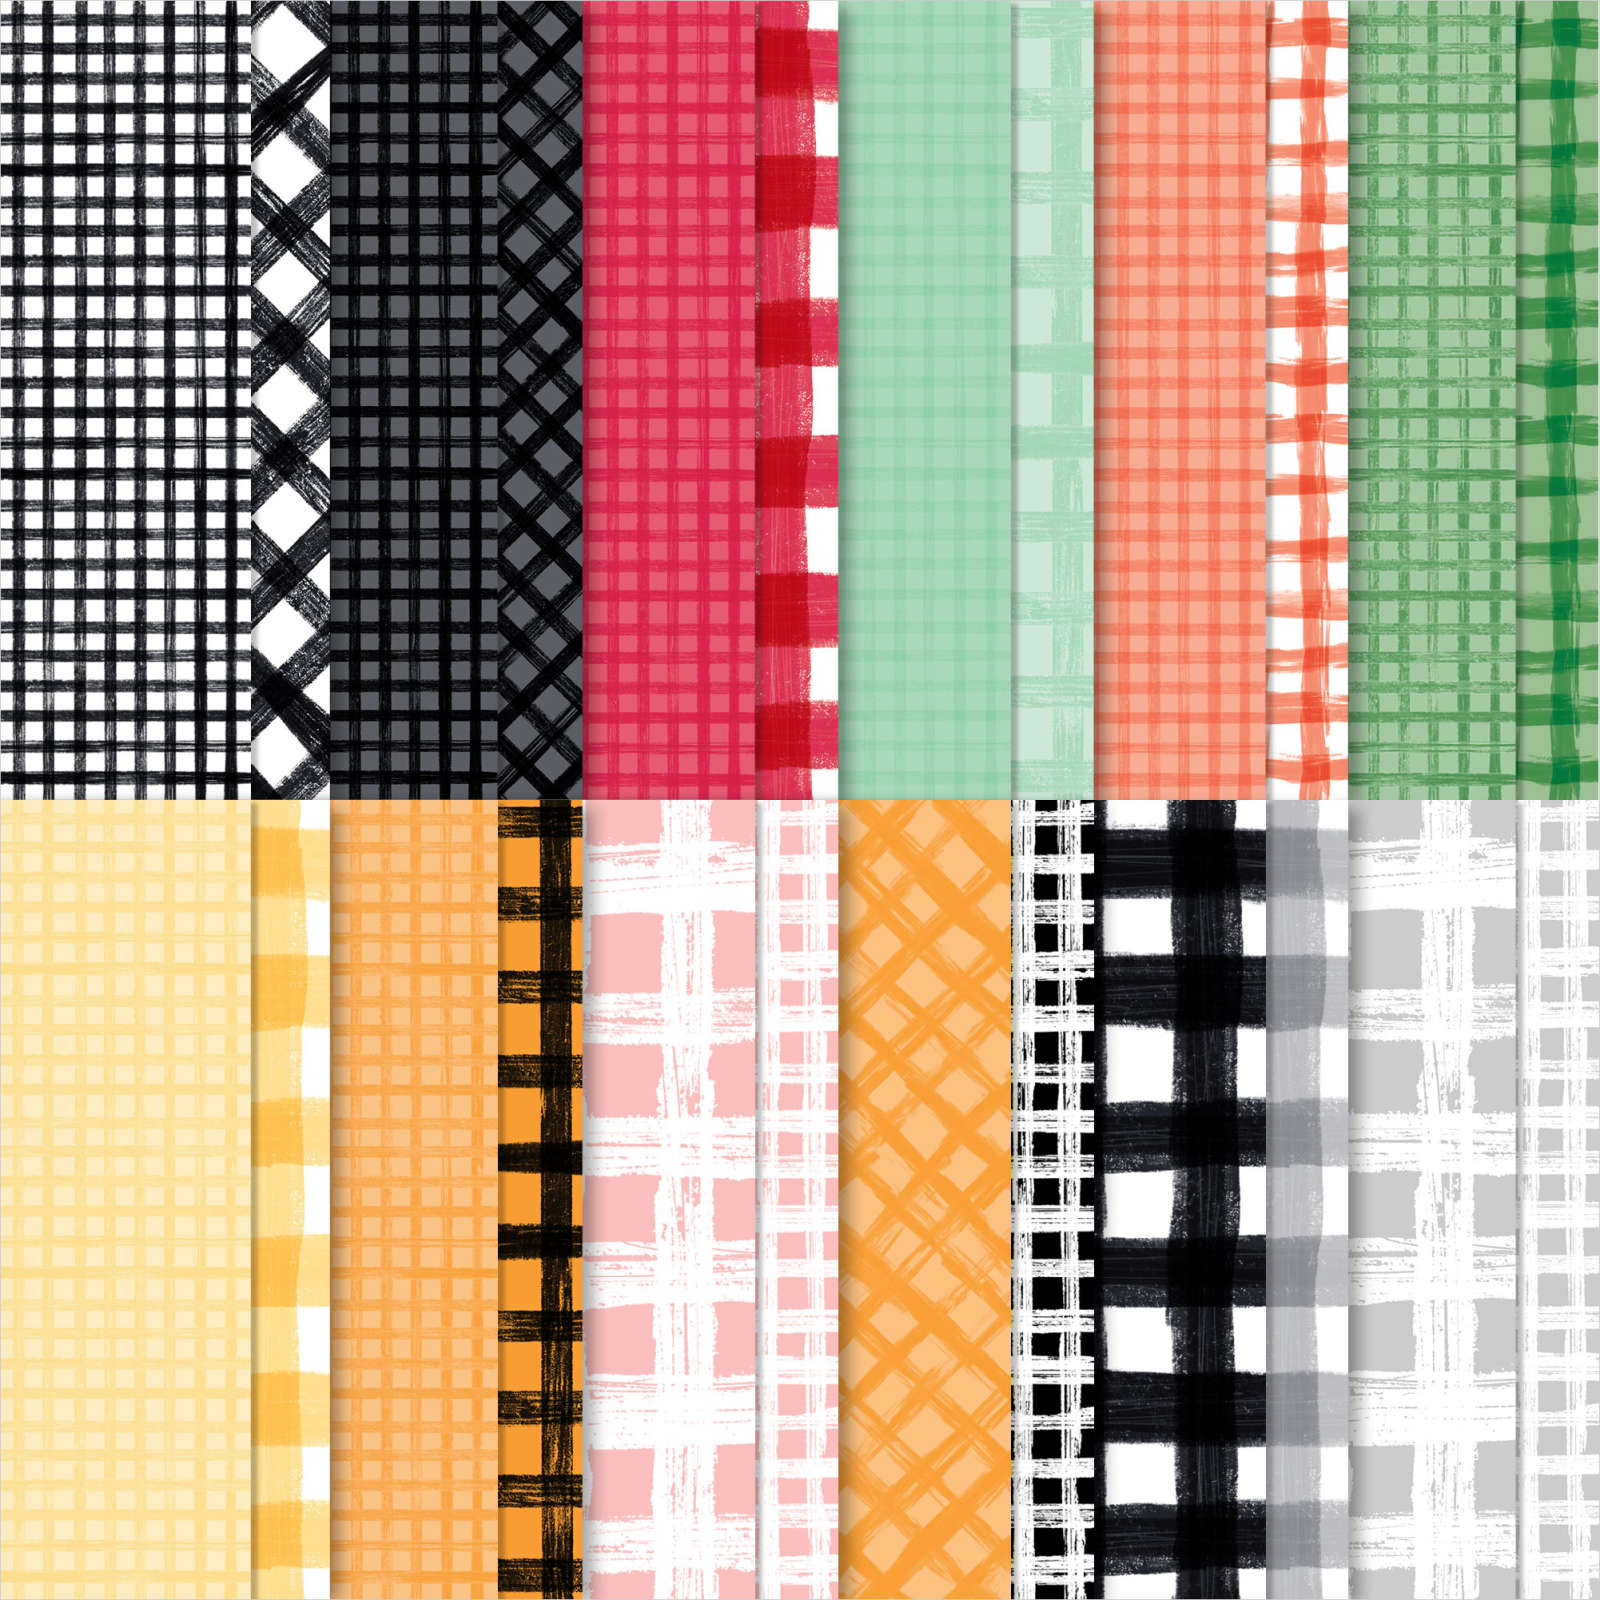
You may purchase these products I used in my online Stampin’ Up! Store by clicking HERE.
Thanks for stopping by today.
Happy Stamping!