Happy Hump Day! Today I am sharing the last two cards I made using the Artfully Layered stamp set from Stampin’ Up!. I love it when you get a bonus card for an idea! I wanted to create a slimline card using the Slim Card Dies and the Artfully Layered Bundle, and while designing the card, my wheels started spinning when I looked at the die-cut negative space, and bada bing now we have two cards!

Isn’t this a beautiful card! I love the simplistic vibe I got while making it. This card lets the background do all the heavy lifting for sure.

Cardstock sizes:
- Calypso Coral – 7″ x 8 1/2″
- Designer Series Paper – 3 1/2″ x 8 1/2″
- Vellum – 2 1/2″ x 3 7/8″
- Black – 4 1/4″ x 2 1/2″
- Old Olive – 2 1/2″ x 3″
- Just Jade – 2″ x 2 1/2″
- Mint Macaron 2″ x 2 1/2″

Once I die-cut the DSP using the Slim Card Die, I set aside the negative space and kept the die-cut pieces in order. I created a template for gluing the piece by die-cutting a piece of white cardstock the same size as the DSP.

Place the white die-cut template into the center of the Calypso Coral card front and one at a time, glue the die-cut pieces of DSP to the card front. I used liquid glue, so I had wiggle room while gluing in case I needed to adjust the DSP Pieces. You could also attach a piece of Adhesive Sheet to the back of the DSP before you die-cut it to skip the gluing step.

Once you are done adhering all of the DSP pieces, you can remove the white template and finish the card.

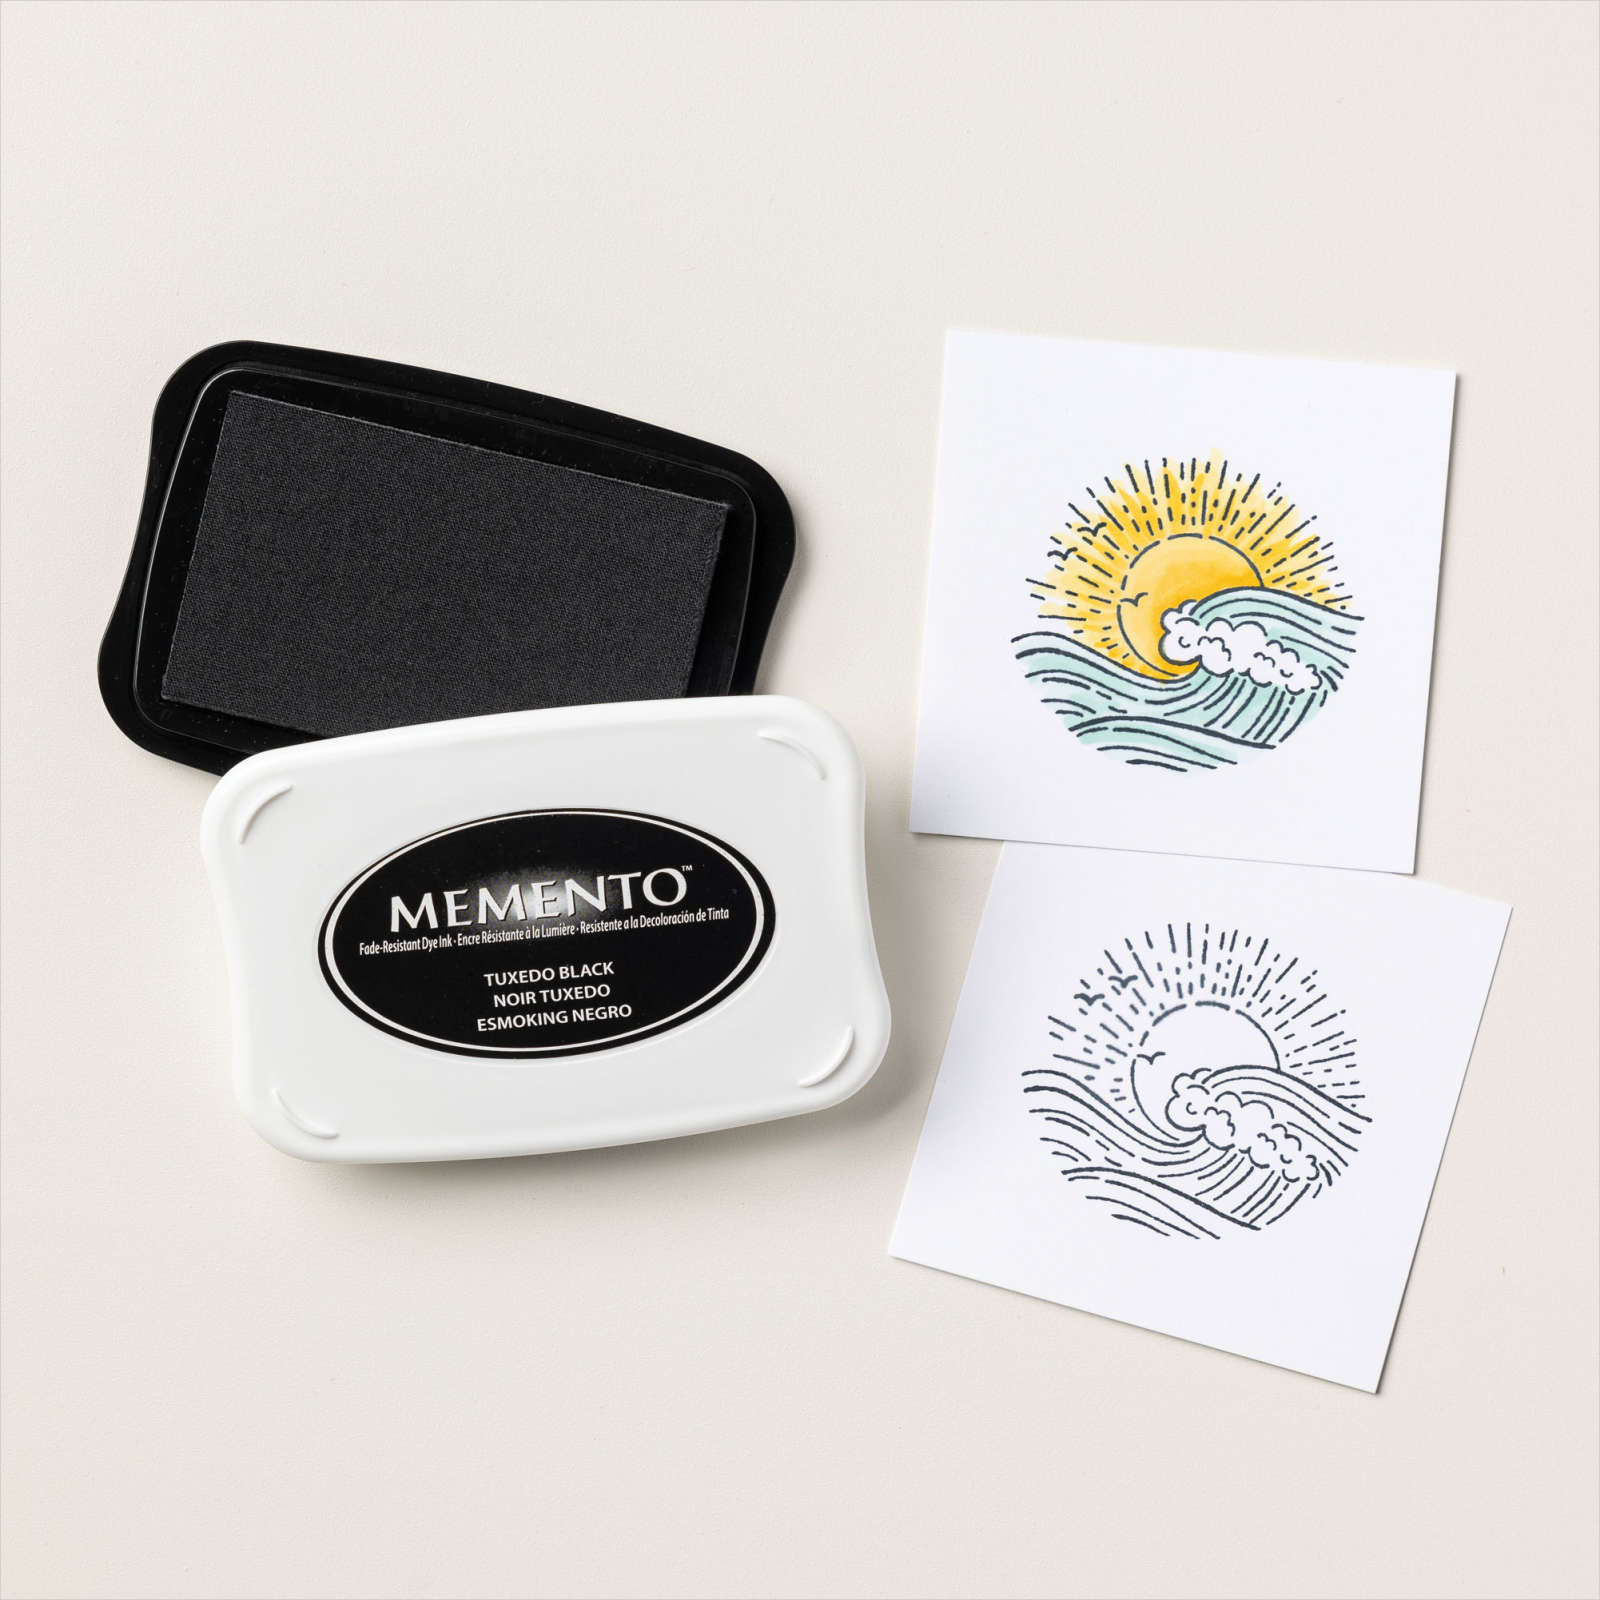
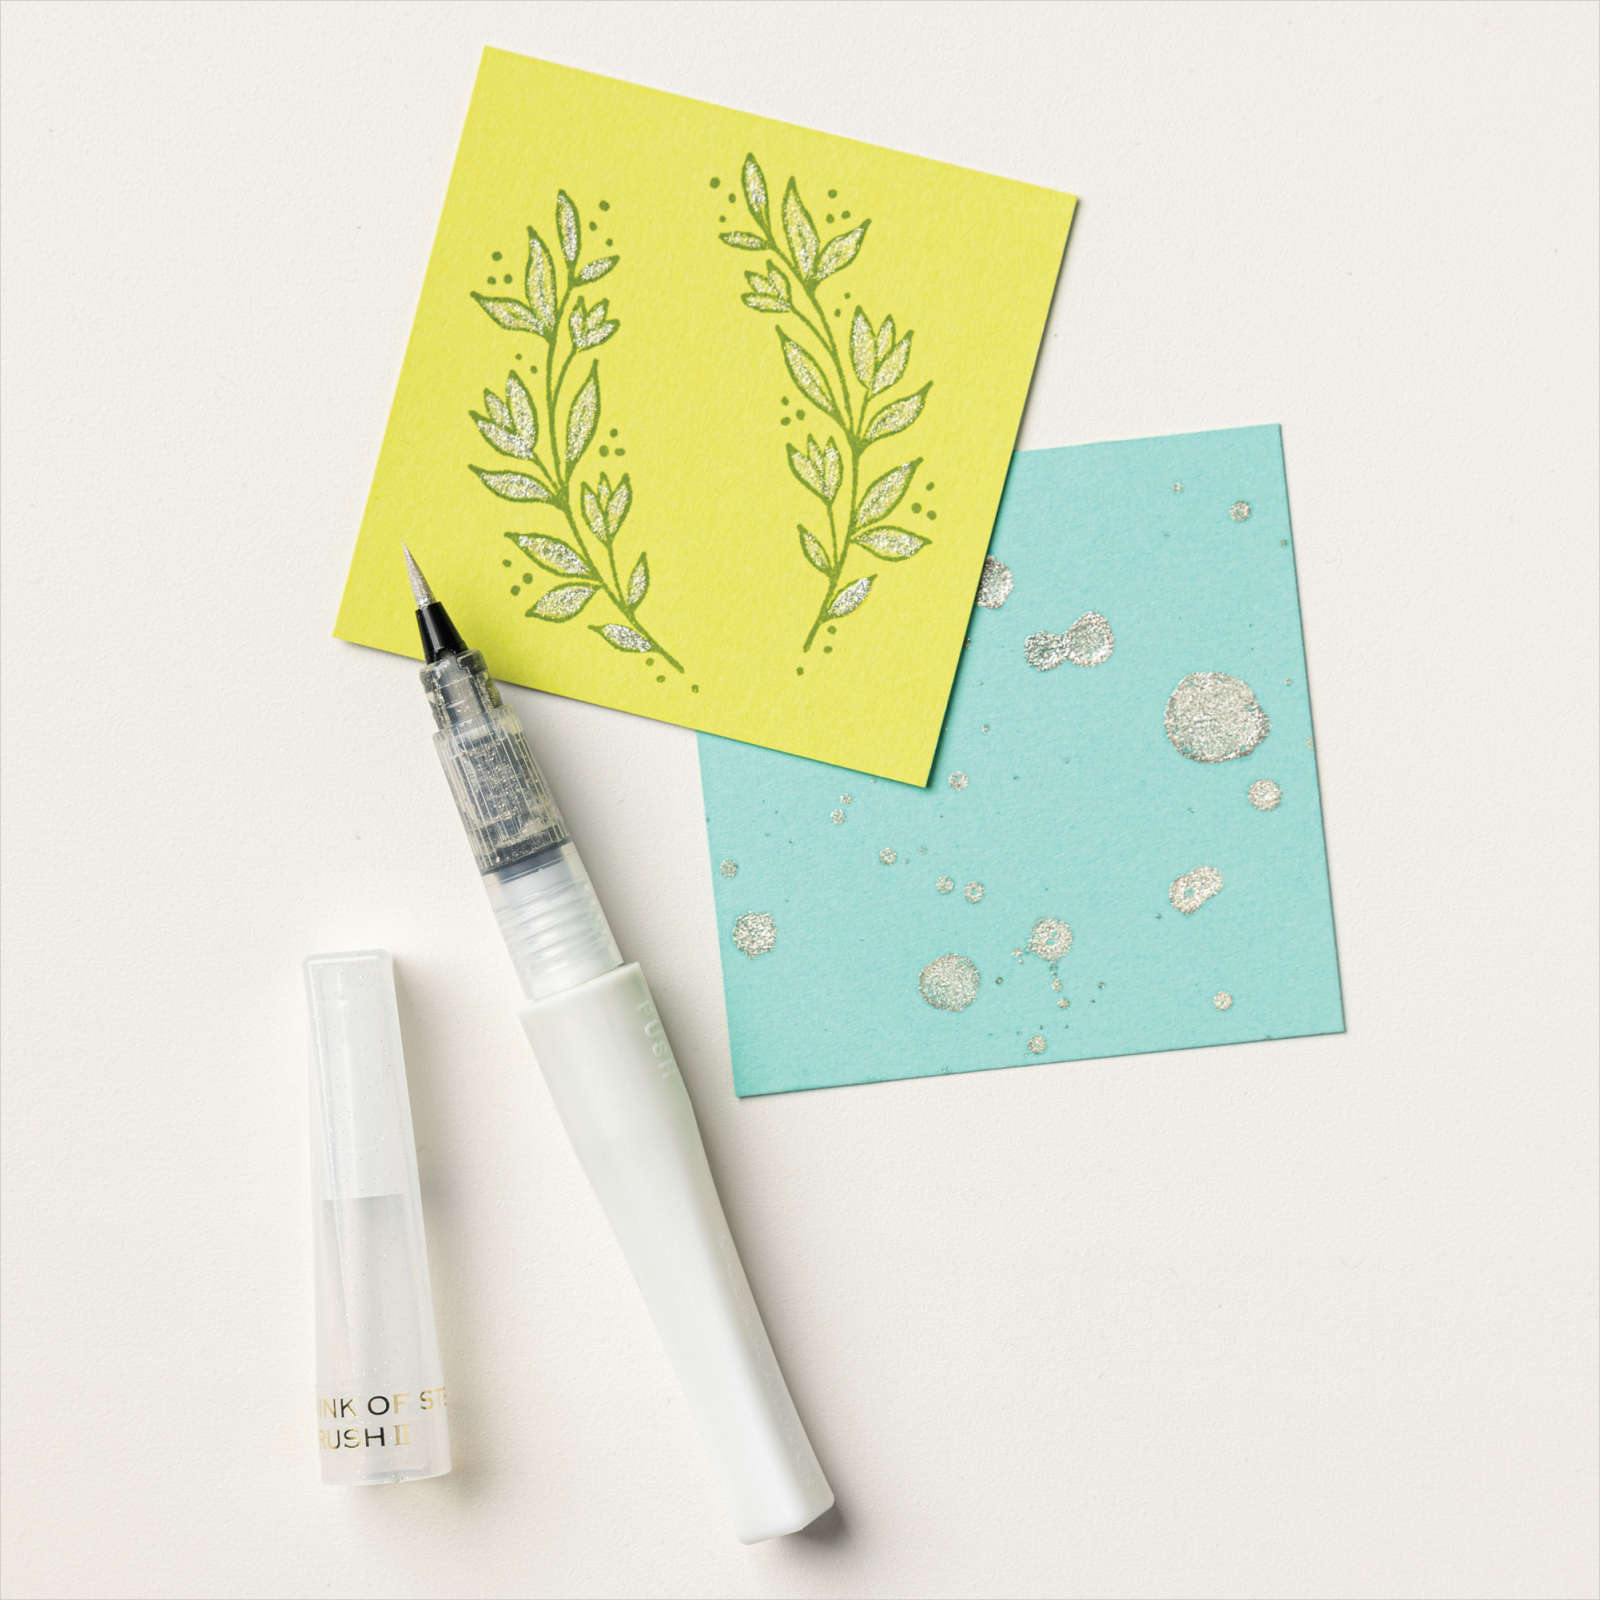
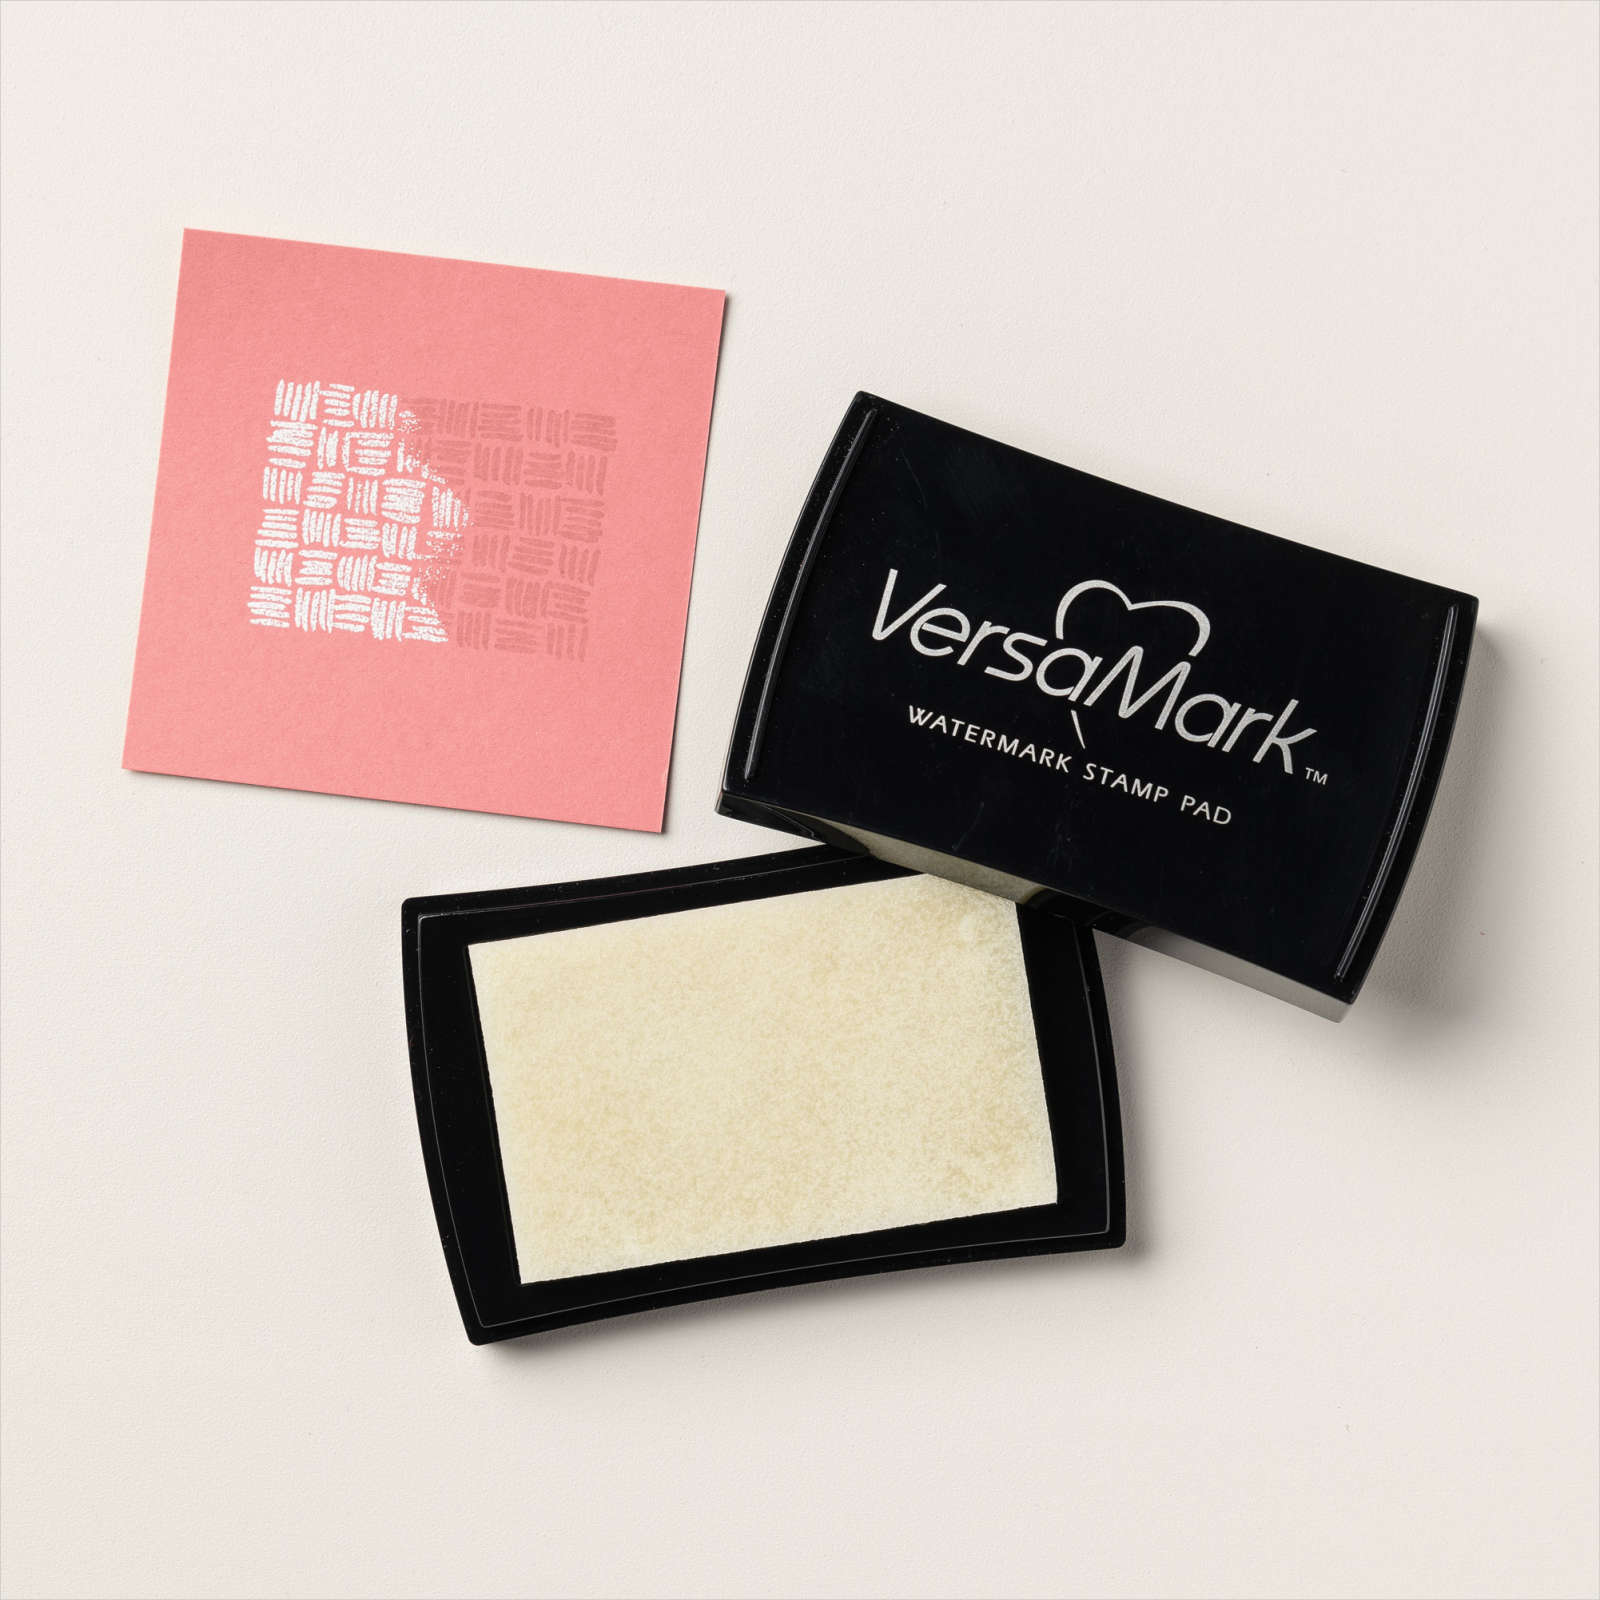
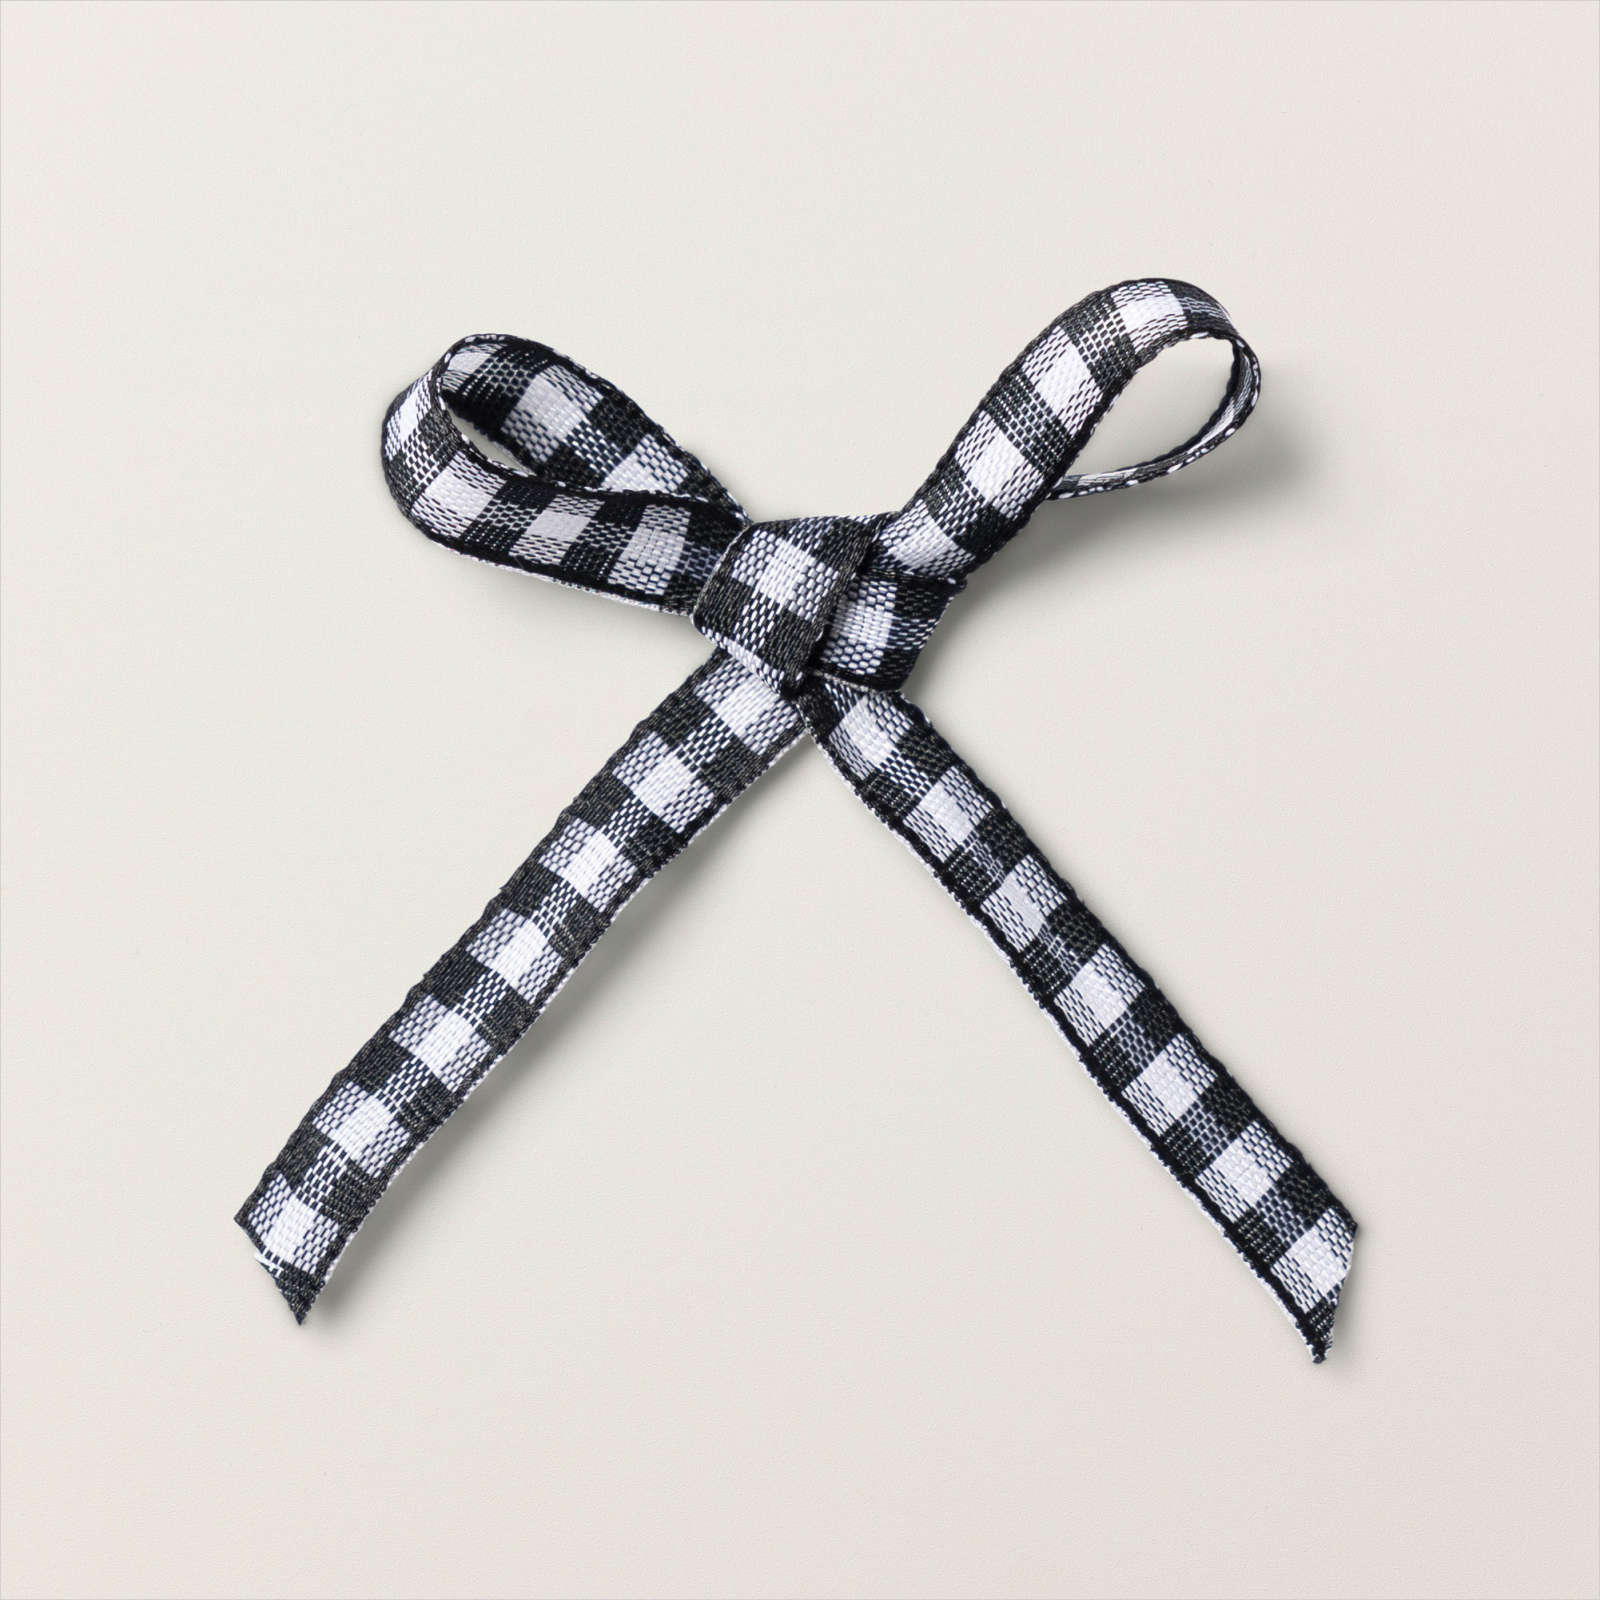
For my bonus card, I glued down the negative space DSP to a piece of Thick Whisper White and added the different plan fronds I die-cut from the Tropical Layers Dies. Once I had the plans glued down, I cut several ribbons in half and folded them over to attach them to the center of where the palm fronds meet. Punch out one Vellum and one Calypso Coral piece using the Tailored Tag Punch. I stamped the small script stamp image from the Artfully Layered stamp set onto the Calypso Coral cardstock using VersaMark. I want a hint of the script image showing through. I stamped the sentiment using Black ink, and then I used the Wink Of Stella ad traced over the sentiment to make it sparkle. Don’t we all love a bit of sparkle in our lives?
Whew, that was a lot of typing! I enjoyed sharing my projects with you today. I am finding that I enjoy making slimline cards. I love the size and amount of space you have to play with! So many possibilities…
All of these products may be purchased in my online Stampin’ Up! Store by clicking any of the product photo links at the bottom of the post.
Thanks for stopping by my crafting world today.
Happy Stamping!
Items used to complete card #1:
Items used to complete card #2:
