Hello Everyone! After the short detour to my couch, I am back at card-making since I wasn’t feeling well last week, but I am back and ready to go!
Now onto today’s project. With my vacation to Maui and not feeling well all last week, I feel a bit behind creating all my Valentine’s Day projects I had planned for you. I only have two of the five completed. I need to get busy this weekend for sure. For my card today, I am using the fun Sweet Conversations Bundle from Stampin’ UP!! This is a great suite of products. I love the Sweet Talk Designers Series Paper. The colors are so bright and fun! And did I use them on this first card? Nope, I made my own DSP using the Sweet Conversations stamp set.

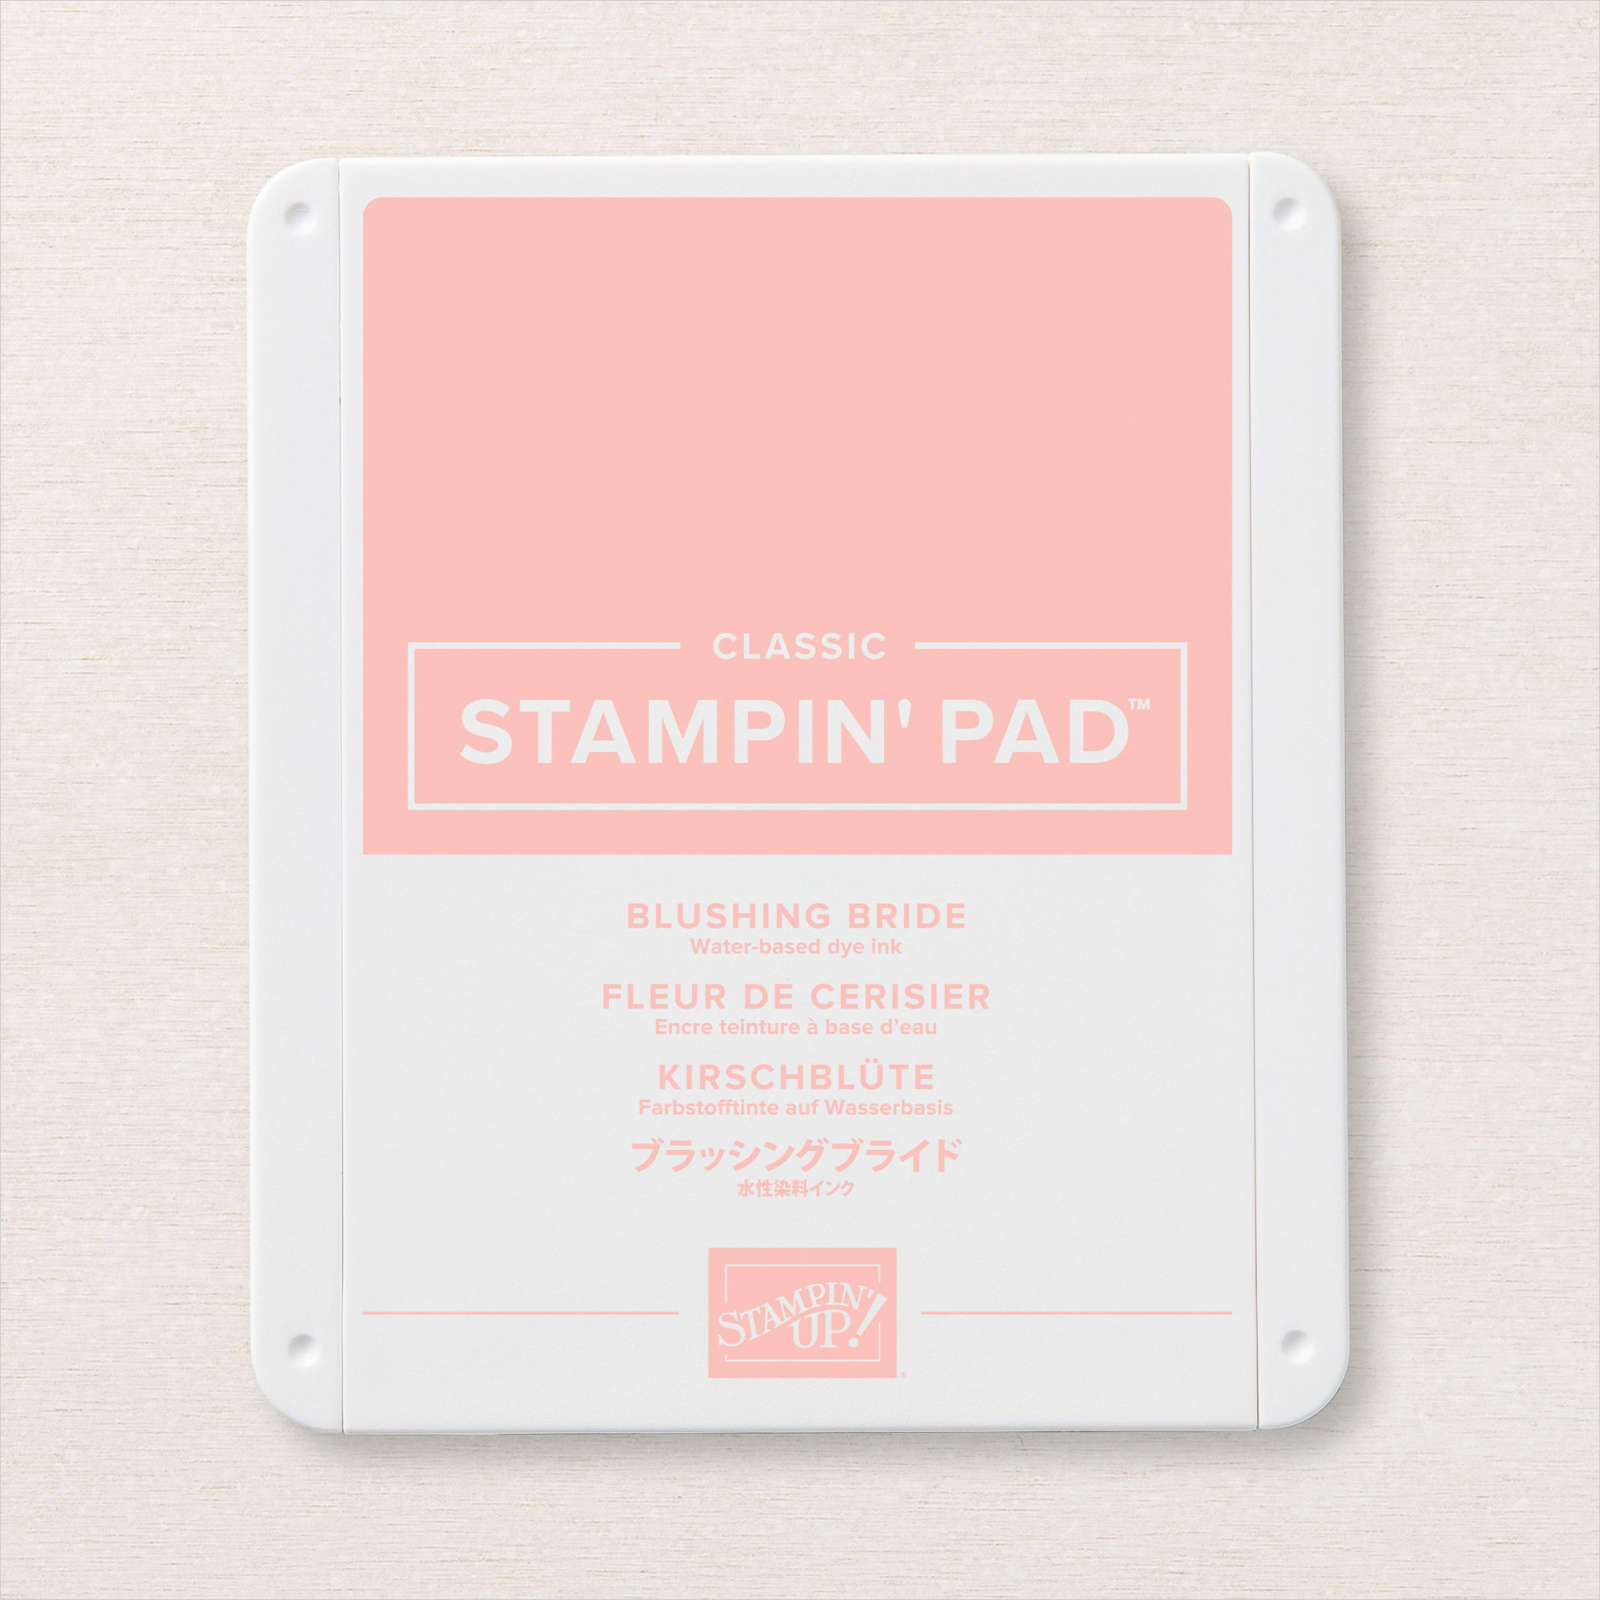
To create my own Designer Series Paper, I found the center of the Basic White 3 7/8″ x 5 1/8″ cardstock and stamped the small heart image in Real Red ink. I then stamped the X O on either side in Highland Heather and Pool Party. Then work your way up with the next line by stamping the X O in So Saffron ink centered above the Real Red heart and stamp two more Real Red hearts on either side. Keep following this pattern using the rest of the colors, Blushing Bride & Granny Apple Green. In no time you have created your own DSP. You could stamp a full 8 1/2″ x 11″ sheet of Basic White cardstock and then you have enough DSP to create several projects!

Now on to the die-cutting. If you have the Mini Stampin Cut & Emboss Machine, you can use it to get everything cut out. If not, grab your big die-cutting machine, and let’s get started.
You will need the Sweet Hearts Dies to die-cut the small envelope in Highland Heather, the tag in Pool Party, the triple hearts in Gold Foil, and the small banners in Blushing Bride, Real Red, Granny Apple Green, So Saffron, and Highland Heather.
To put the sentiment layers together, you will need to.
- Stamp the sentiment using the Memento Black ink and stamp it on Basic White cardstock scraps. I then took the sentiment and cut each line to a separate piece.
- Emboss the Highland Heather envelope using the Gingham Embossing Folder.
- Stamp the small cluster of dots to the front of the Pool Pary tag using Pool Party ink.
- Glue the die-cut banners to the back left edge of the Pol Party stamped tag.
- Cut a strip of Gold Fine Art Ribbon in half, gab the ends of the cut ribbon, thread the loop through the tag top, pull the cut ends through the loop, and pull tight to finish. You can trim the ends to the desired length.
- Glue the Pool Party Tag to the center of the Highland Heather embossed envelope shape.
- Glue the Gold hearts to the bottom edge of the Pool Party tag.
- Add the sentiment pieces using small pieces of Stampin’ Dimensionals.
- Glue the completed sentiment layers to the card front. Now add a bit of bling using the beautiful Brushed Metallic Dots!
You will find all the cardstock dimensions and a list of all the products I used to create this card at the bottom of the post.

When I finish a card, I like to stamp the inside of the card and create a matching envelope while I still have everything out. A quick tip: I don’t always stamp the sentiment or glue down cardstock to the inside of the card until I am ready to send it. That way, if I goof and make a mistake, I can grab another cardstock piece, restamp it, and glue it down. I learned to do this with lots of practice  .
.
I hope you liked this first Valentine’s Day project I have for you. Now I am hoping to get the rest completed…Please keep your fingers crossed for me.
Thanks for stopping by today, and see you soon.
Happy Stamping!
Card Stock Dimensions:
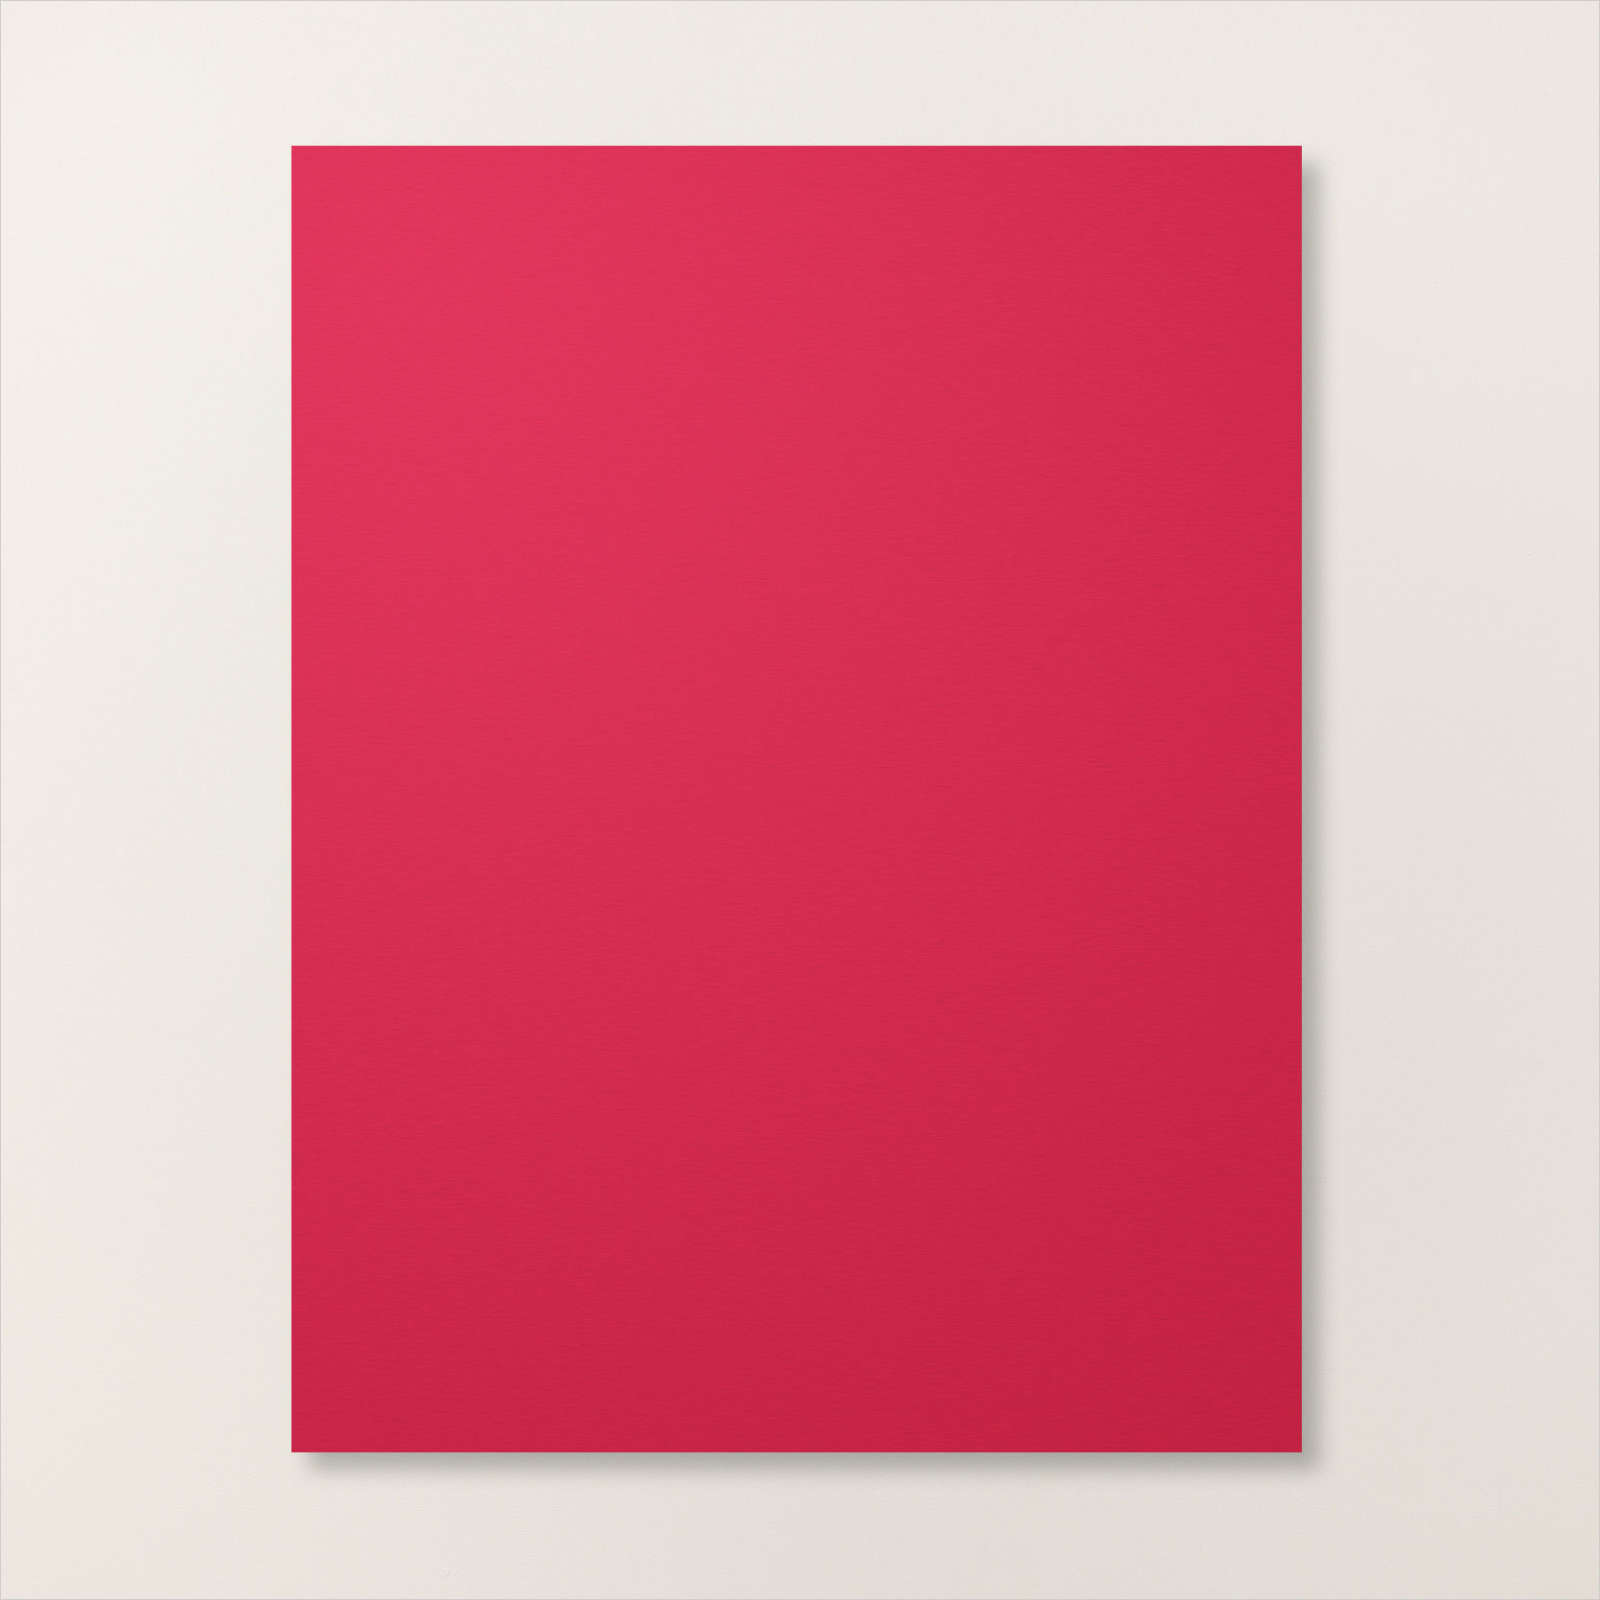
- Real Red – 4 1/4″ x 11″ – cardbase scored at 5 1/2″
- Highland Heather – 4″ x 5 1/4″
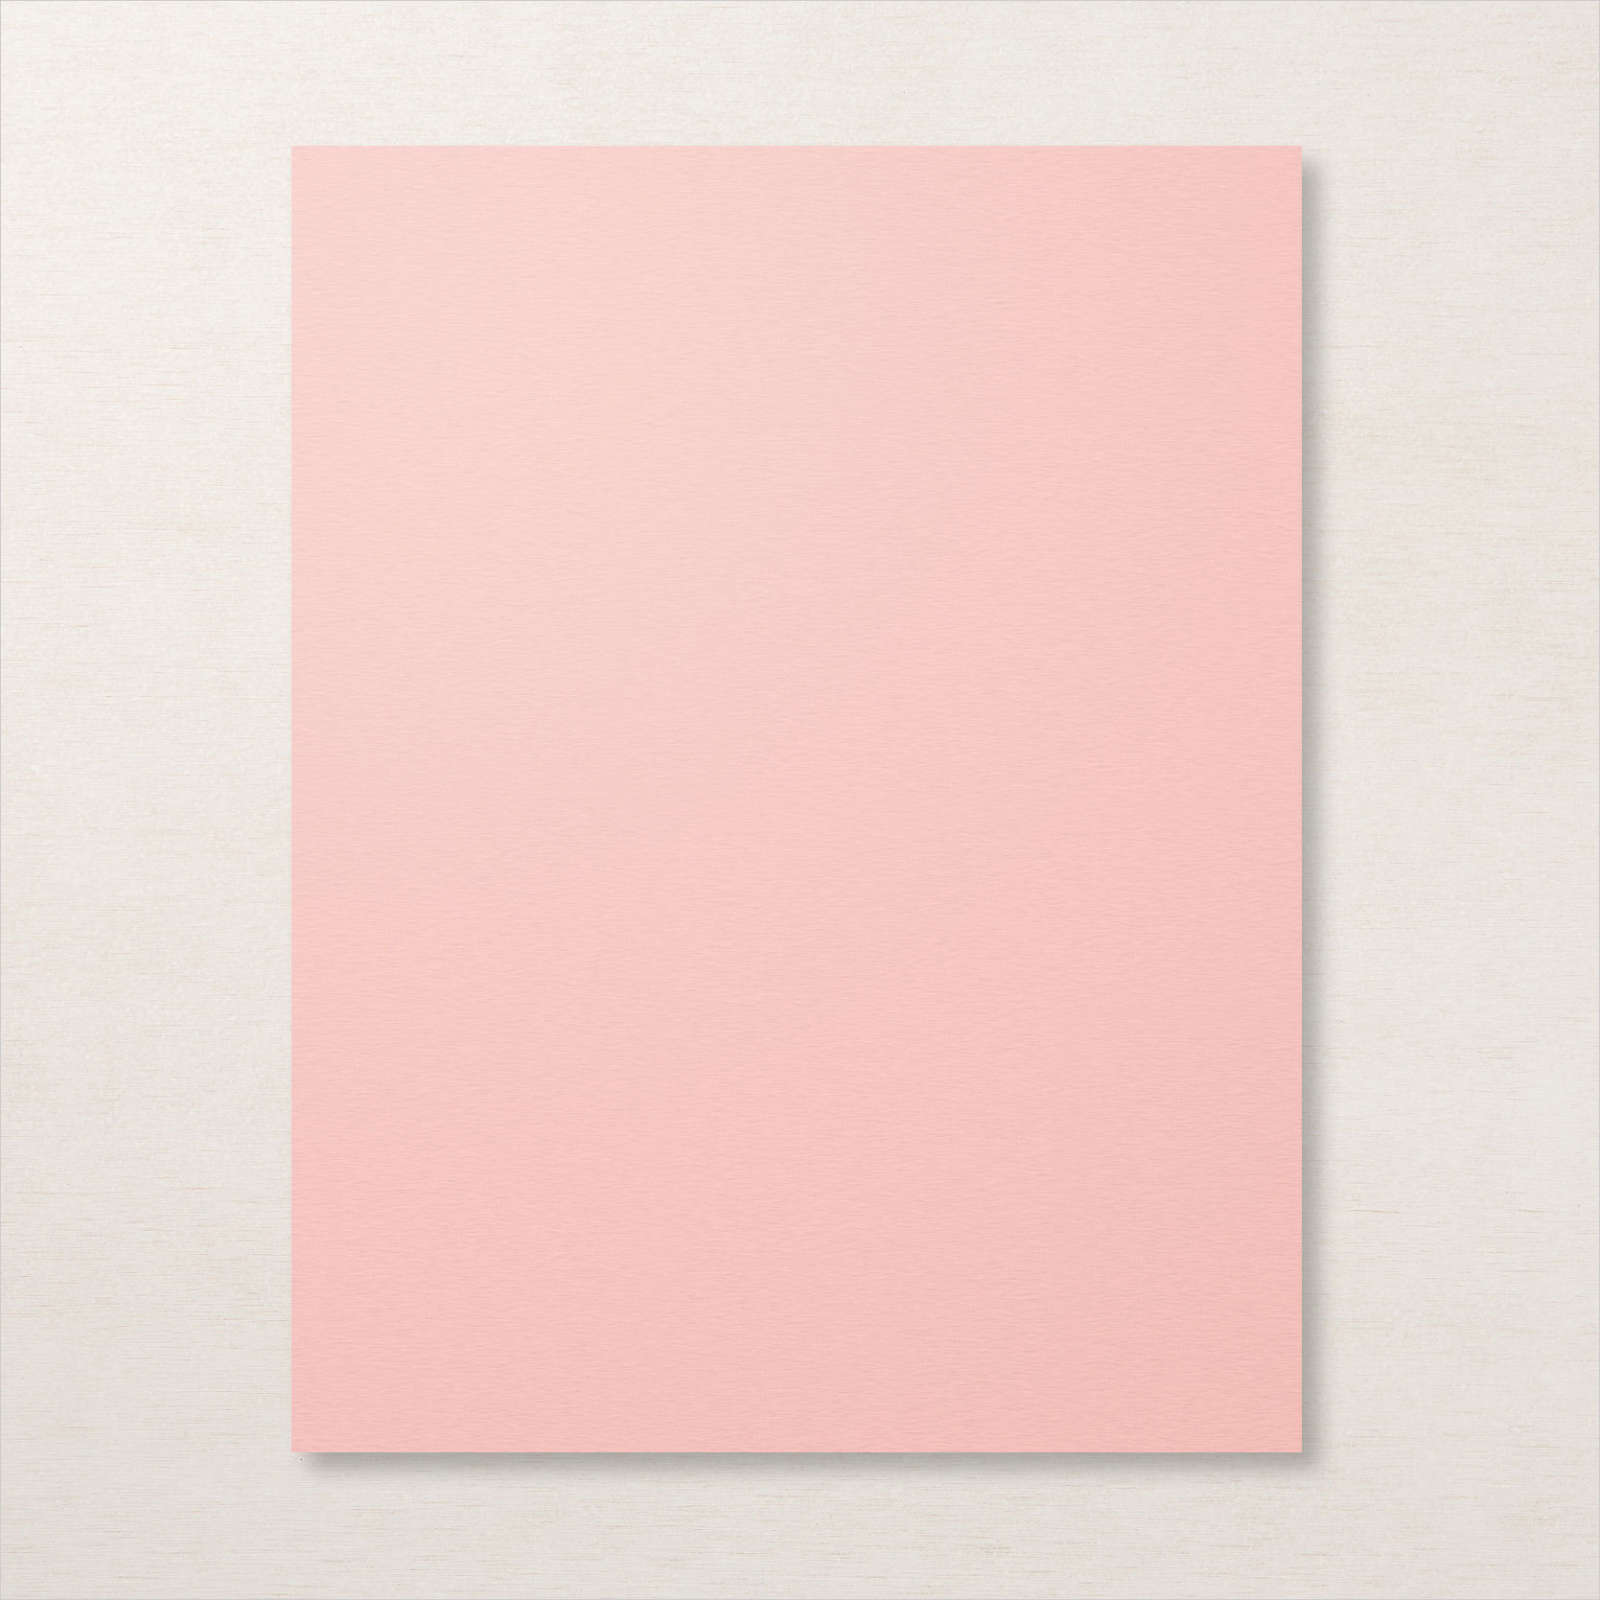
- Basic White – 3 7/8″ x 5 1/8″ & scrap for sentiment
Die-cut pieces:
Pool Party – 1 3/4″ x 2 1/4″ – tag
- Highland Heather – 2 3/4″ x 2 3/4″ – small envelope
- Gold Foil – 2″ x 3/4″ – hearts
- Blushing Bride, Real Red, Granny Apple Green, So Saffron, Highland Heather scraps – banners
Supplies needed to make this card: