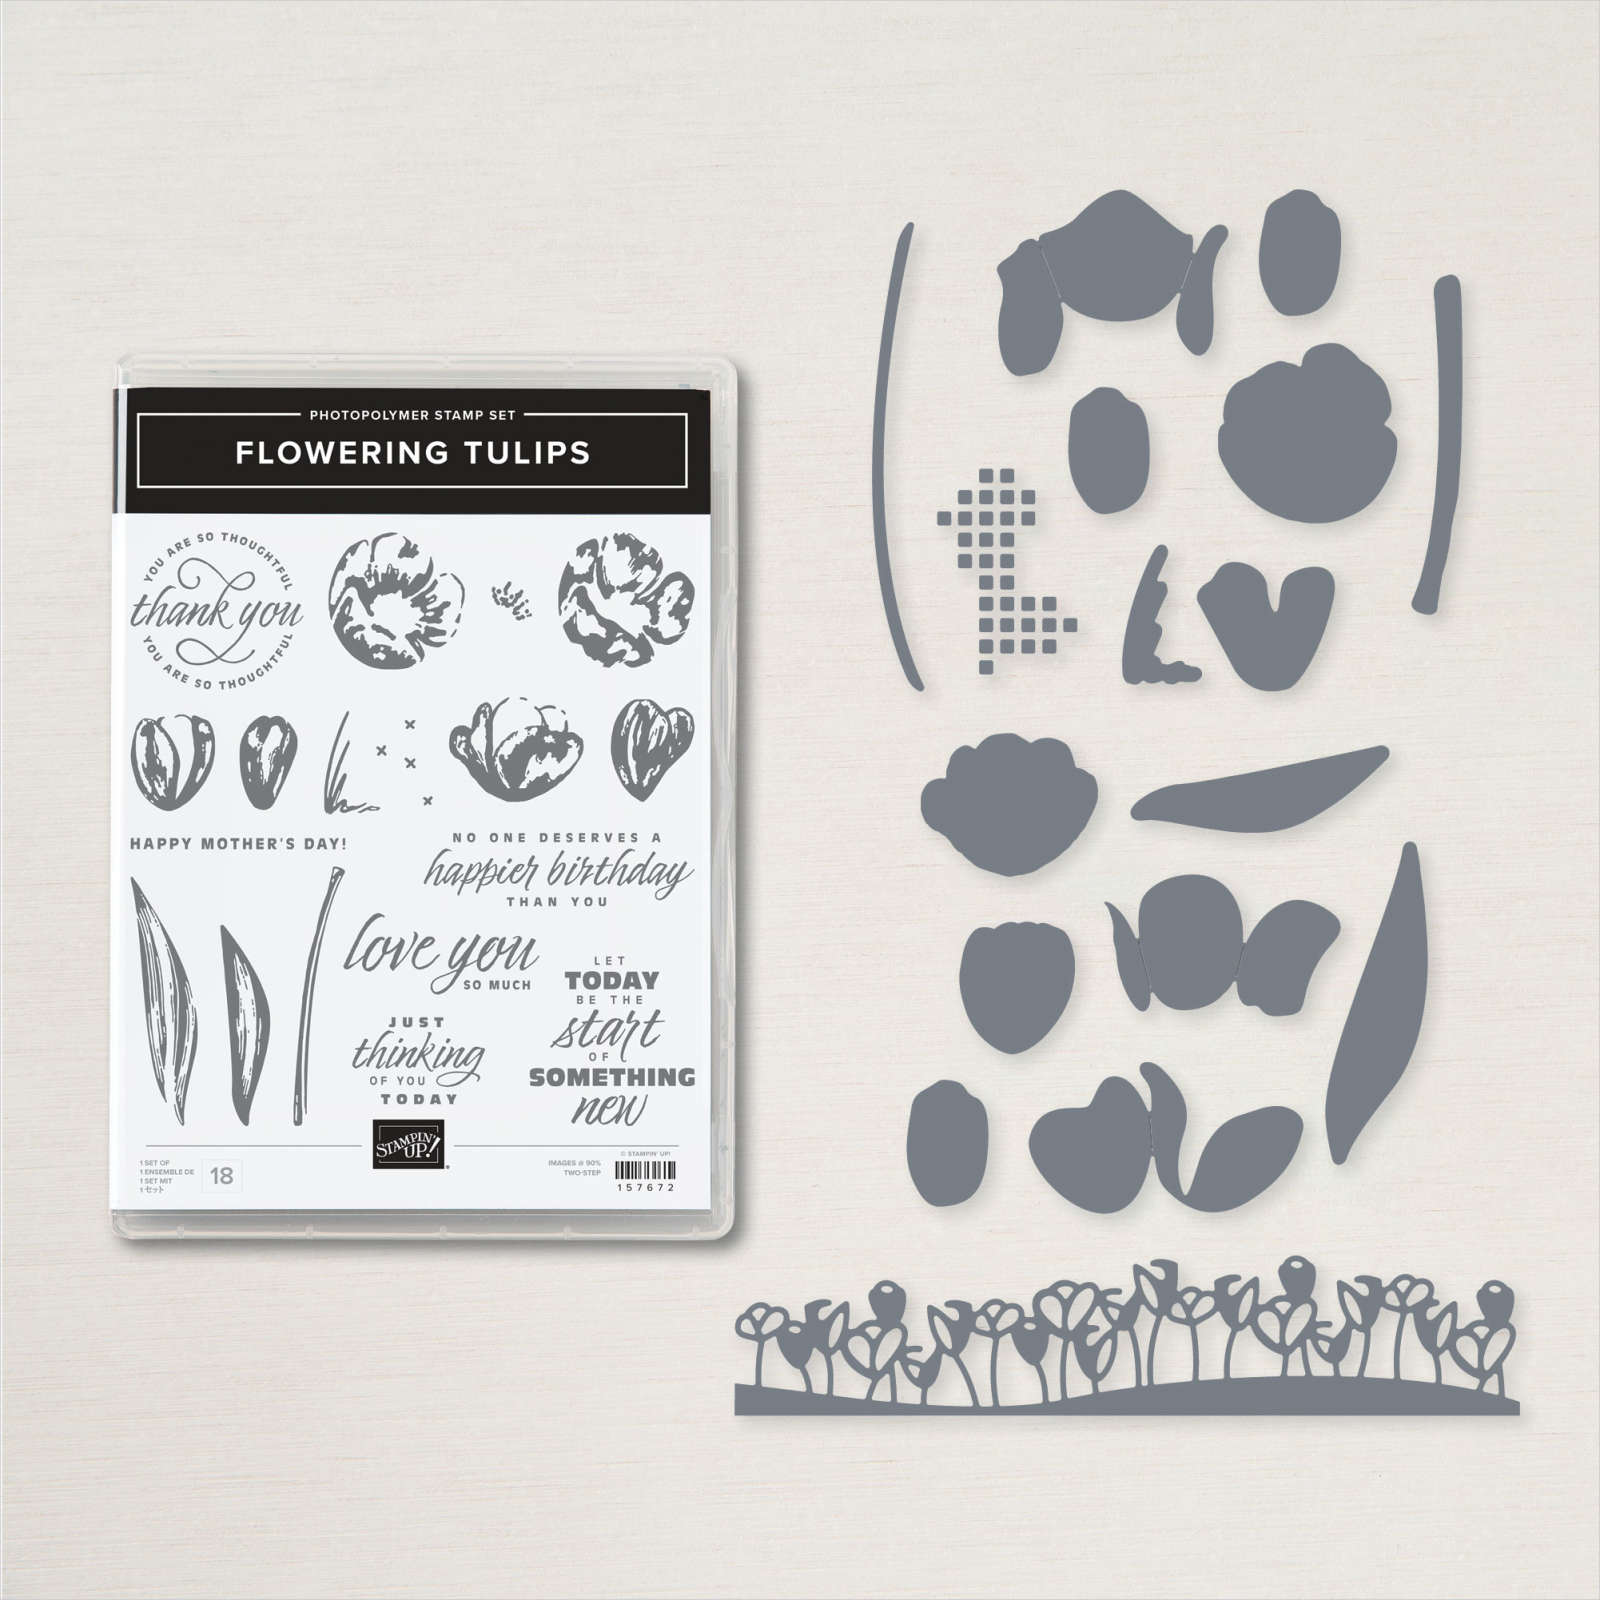
Meet The Flowering Tulips
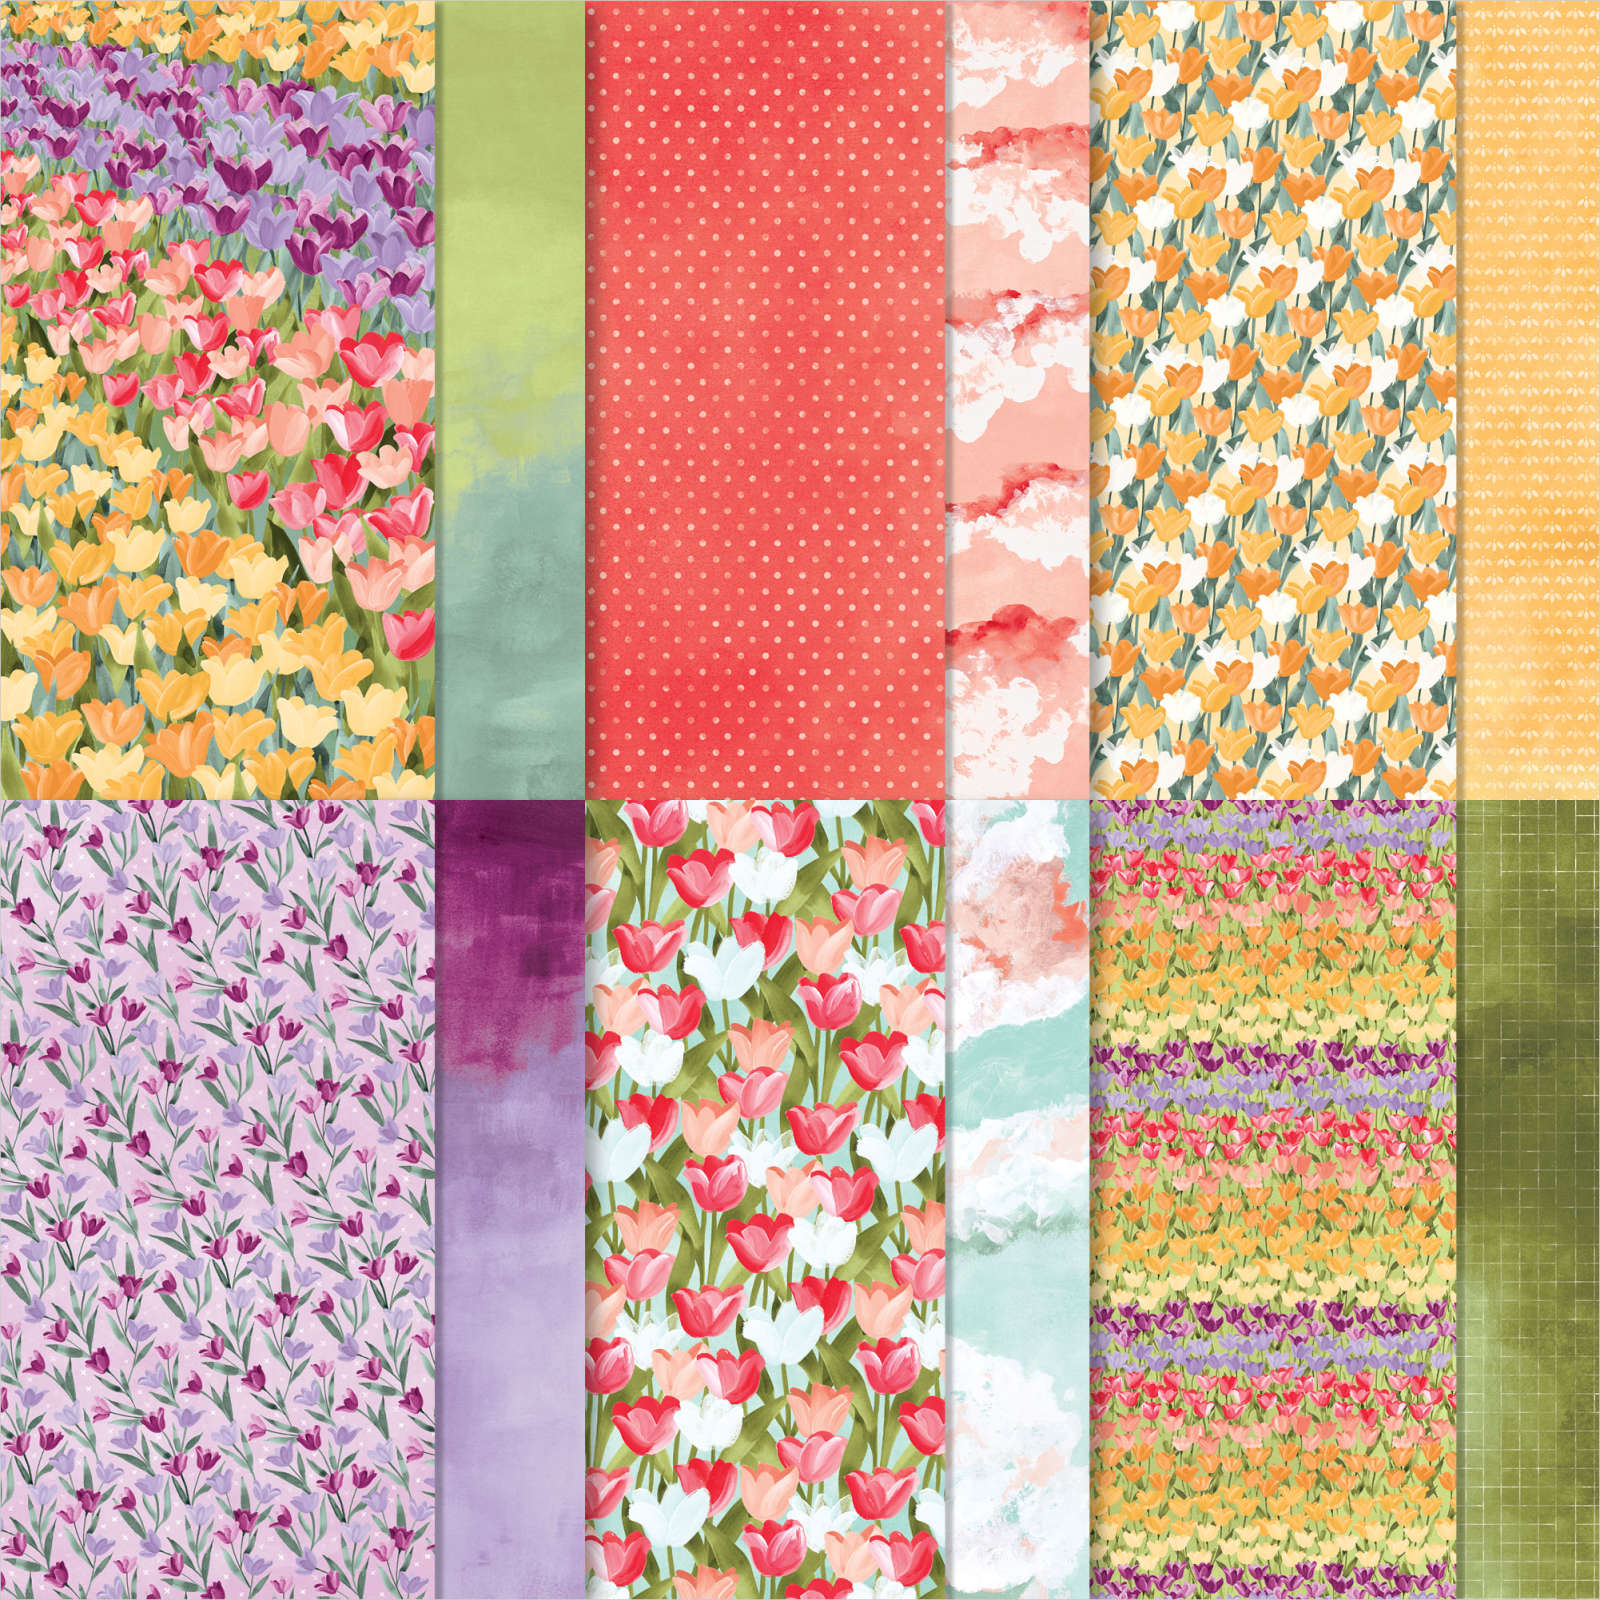
It is hard to get back on track after being on vacation for eight glorious days of snorkeling, whale watching, and relaxing in Maui. Your brain doesn’t want to engage fully. Mine is asking for another Bloody Mary right now. So be patient with me, and here it goes. How many of you are in love with this Flowering Field Suite in the new Stampin’ UP! 2022 January – June Mini Catalog? I know I sound like a broken record, but SU keeps releasing these suites of products that are so fun and easy to create! So today, I would like you to meet the flowering tulips!

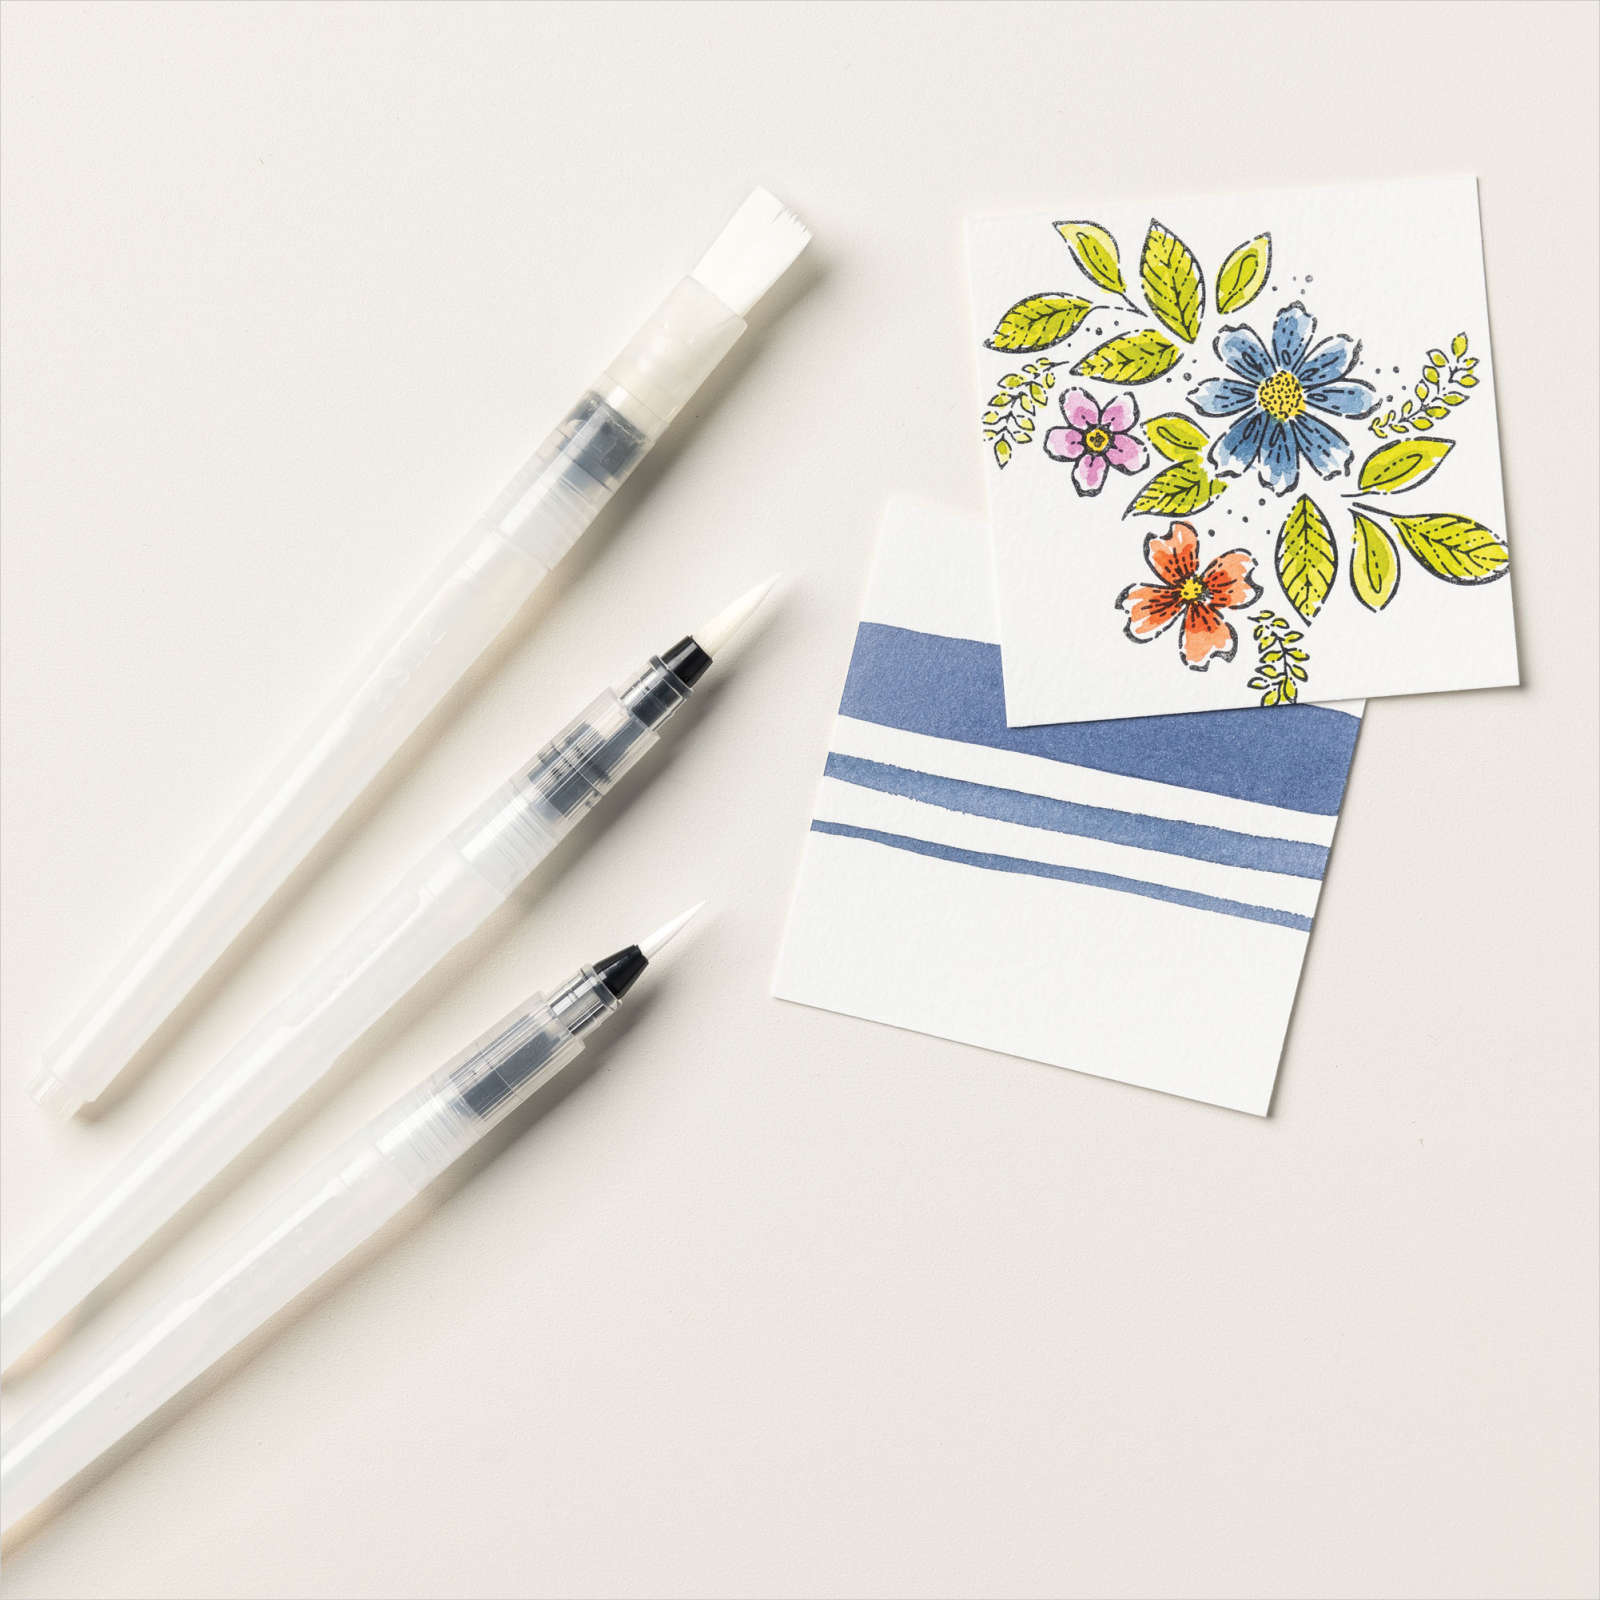
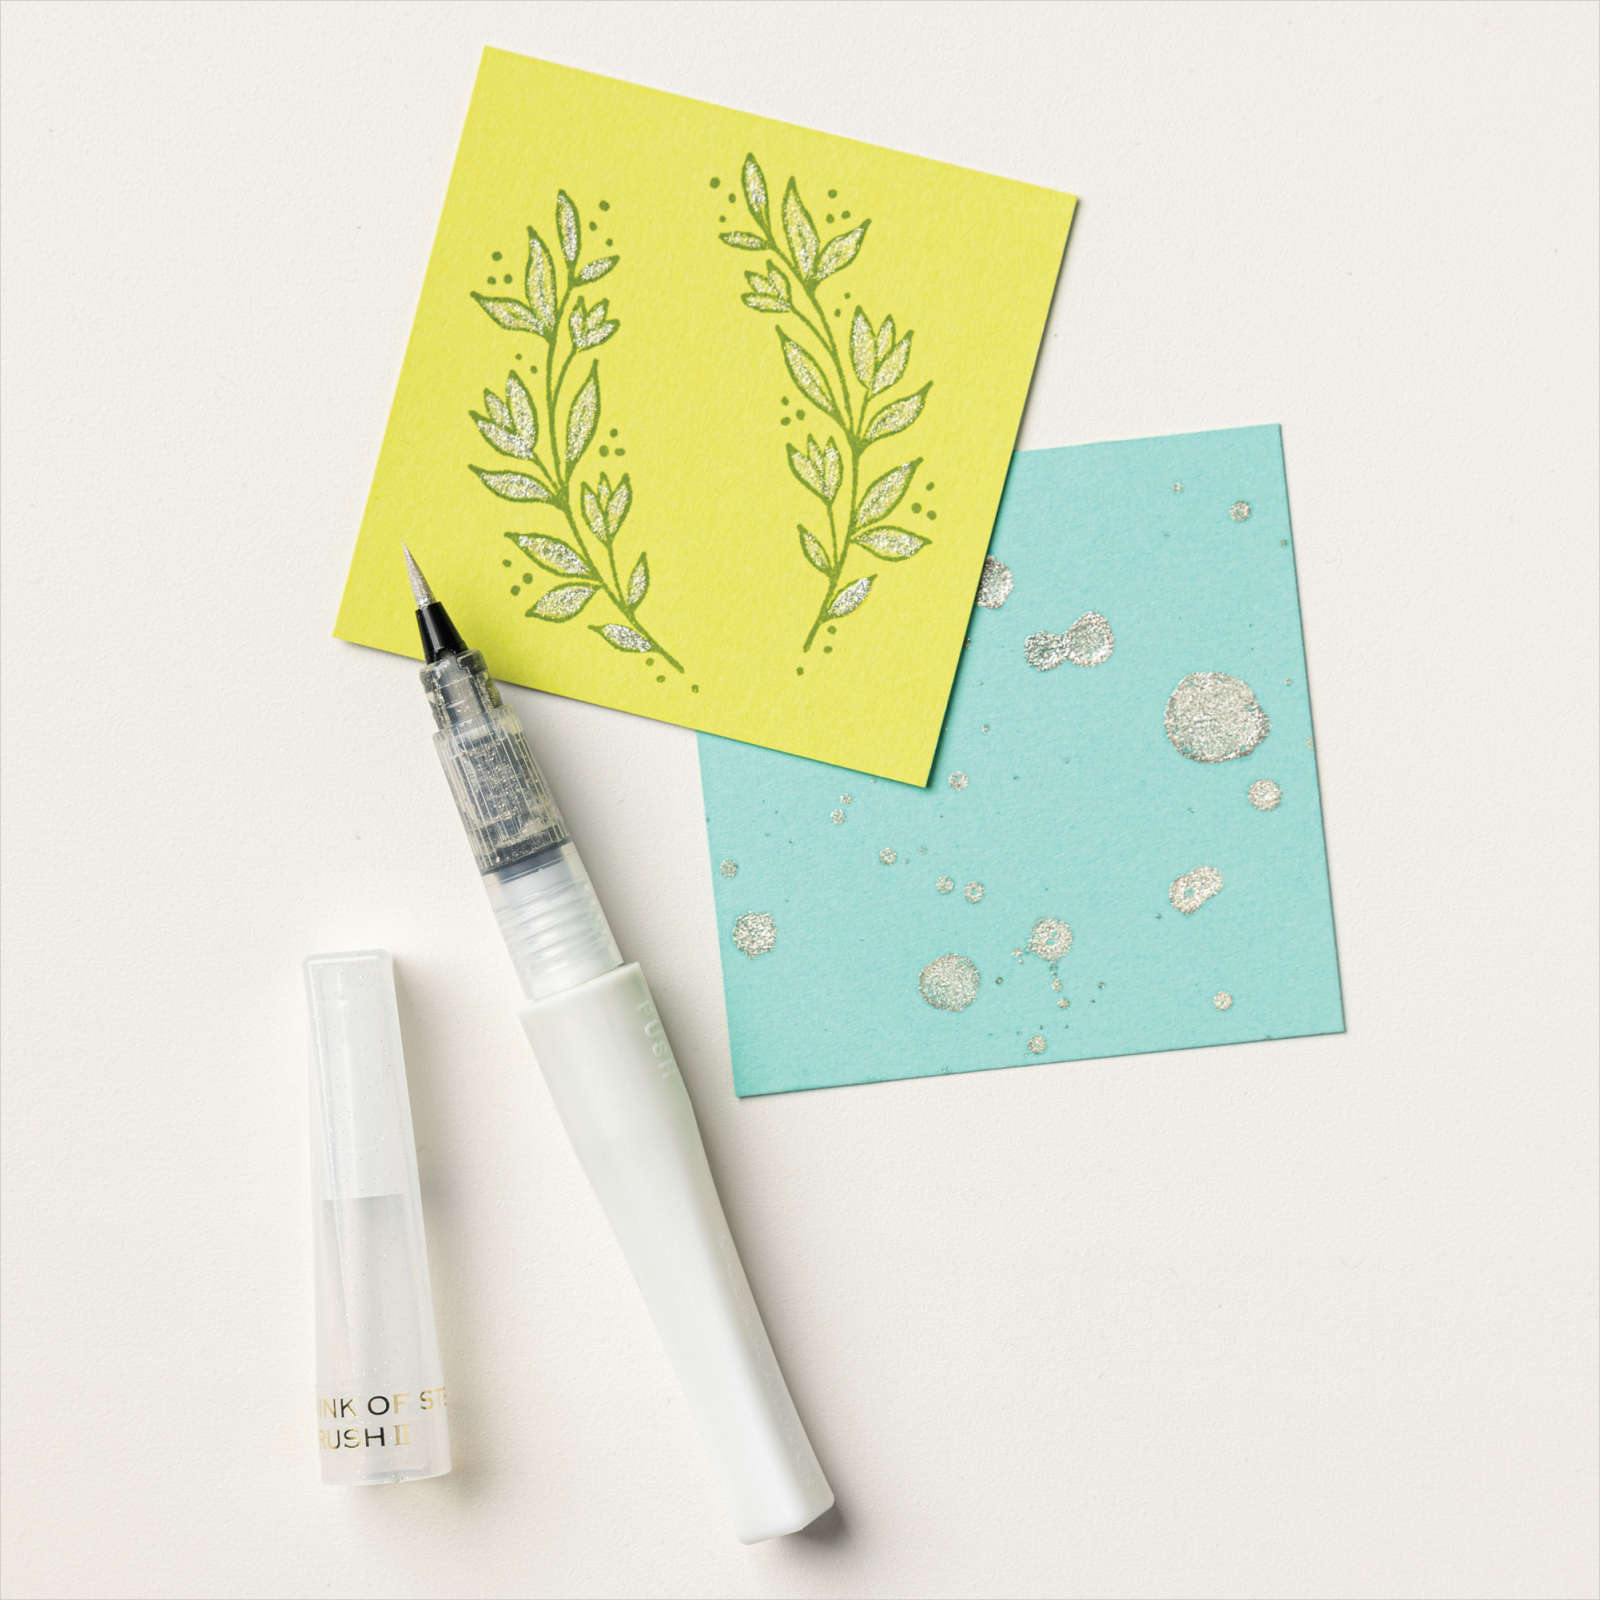
Don’t let this card intimidate you. It is a forgiving design if this is your first time working with a Water Painter. Cover it up with a leaf or flower if you make a mistake. That is what I love about paper crafting. You can usually cover a mistaken ink splotch with an embellishment or strategic placement of a leaf.
To create the background on this card. I did a Balmy Blue watercolor wash on the top of a piece of Shimmer Cardstock. Then I dropped a couple of drops of Old Olive re-inker onto a clear block, added some water from my Water Painter, and created blades of grass all along the bottom.

Stamp the stems and leaves using Old Olive ink.
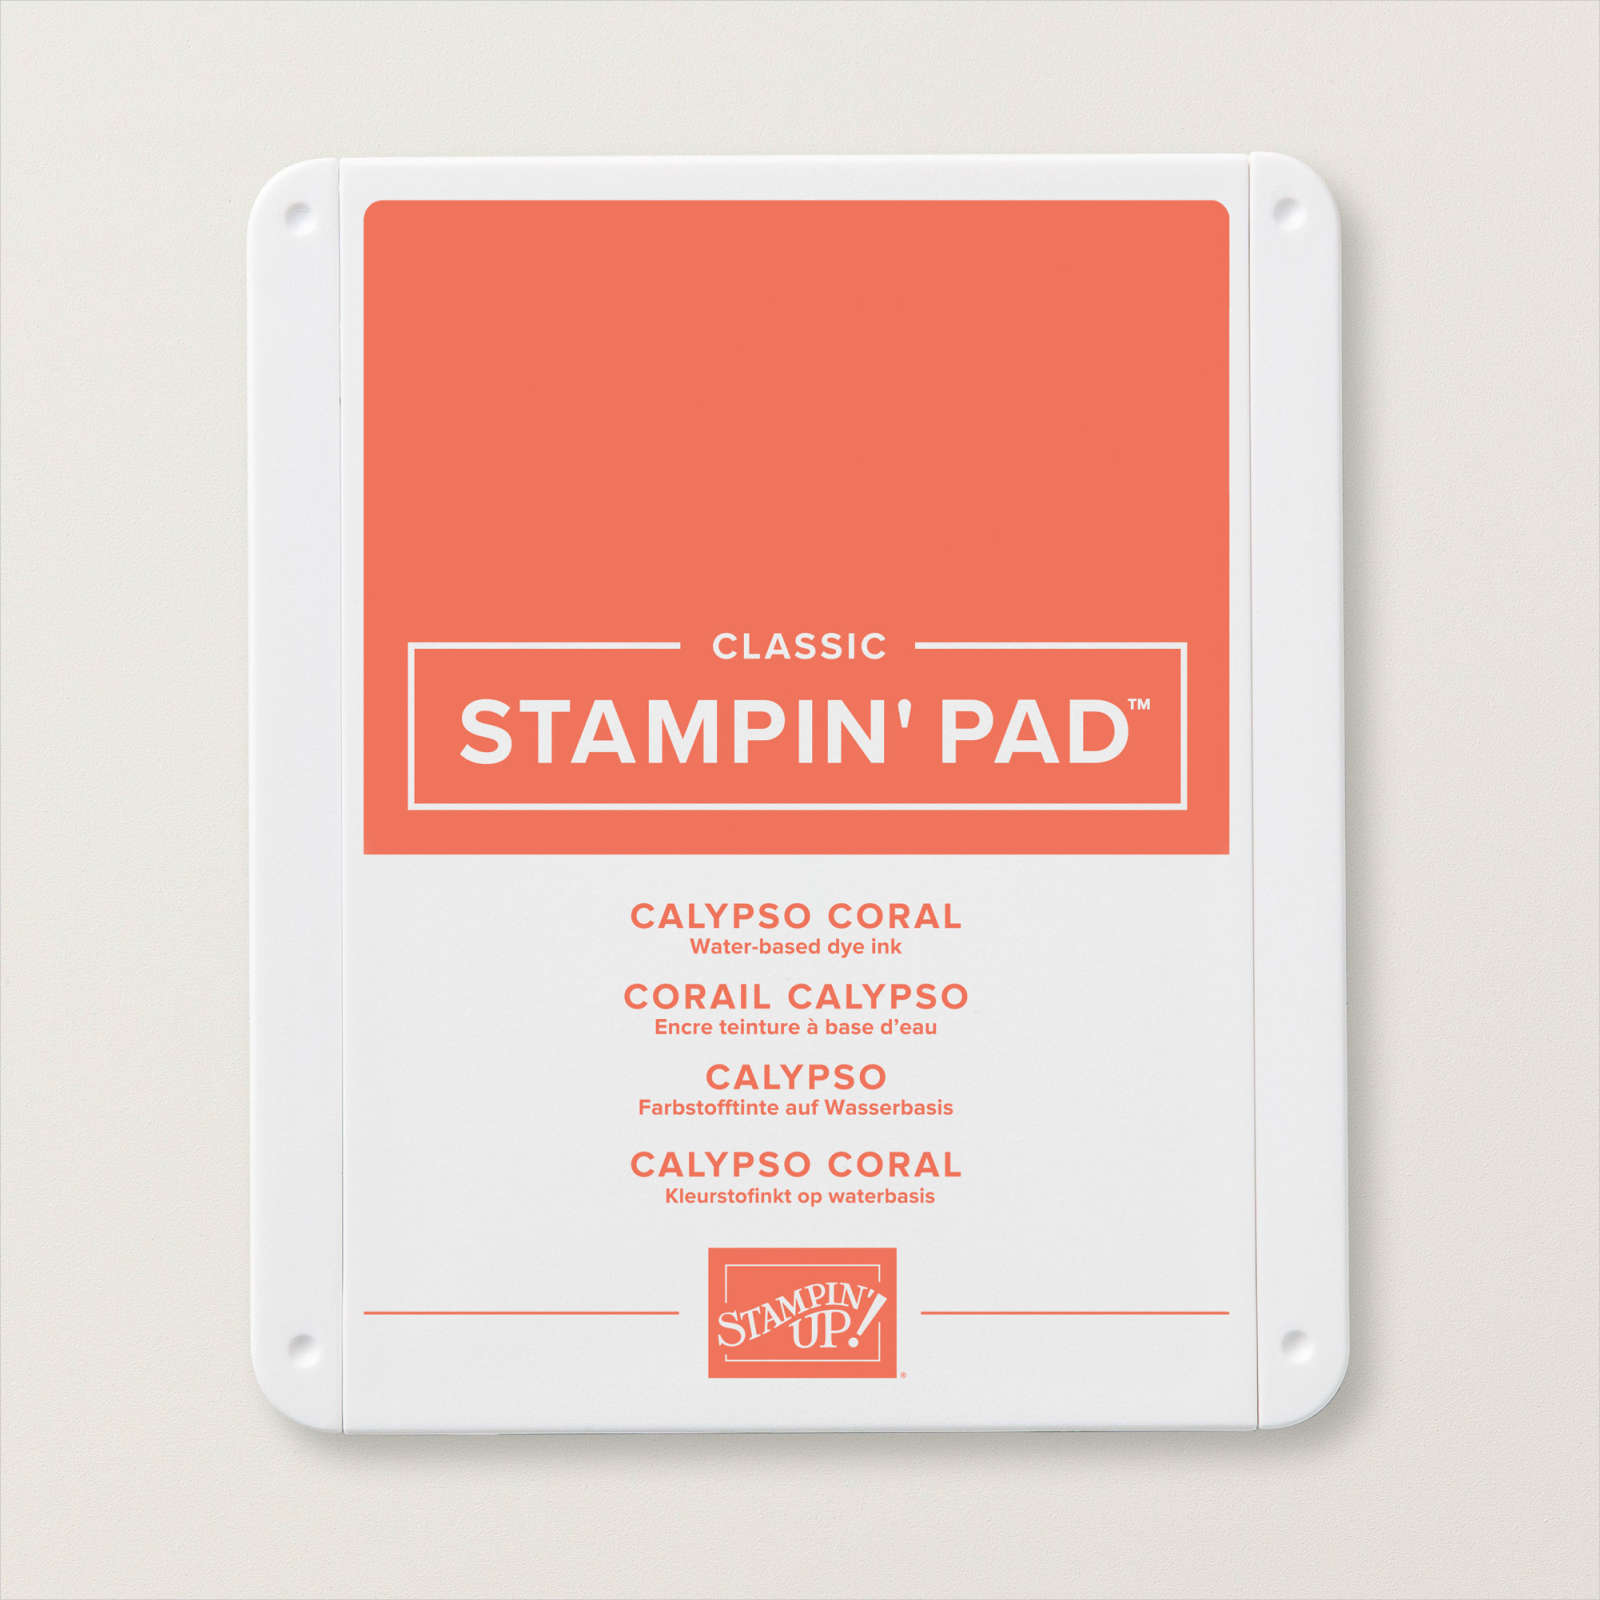
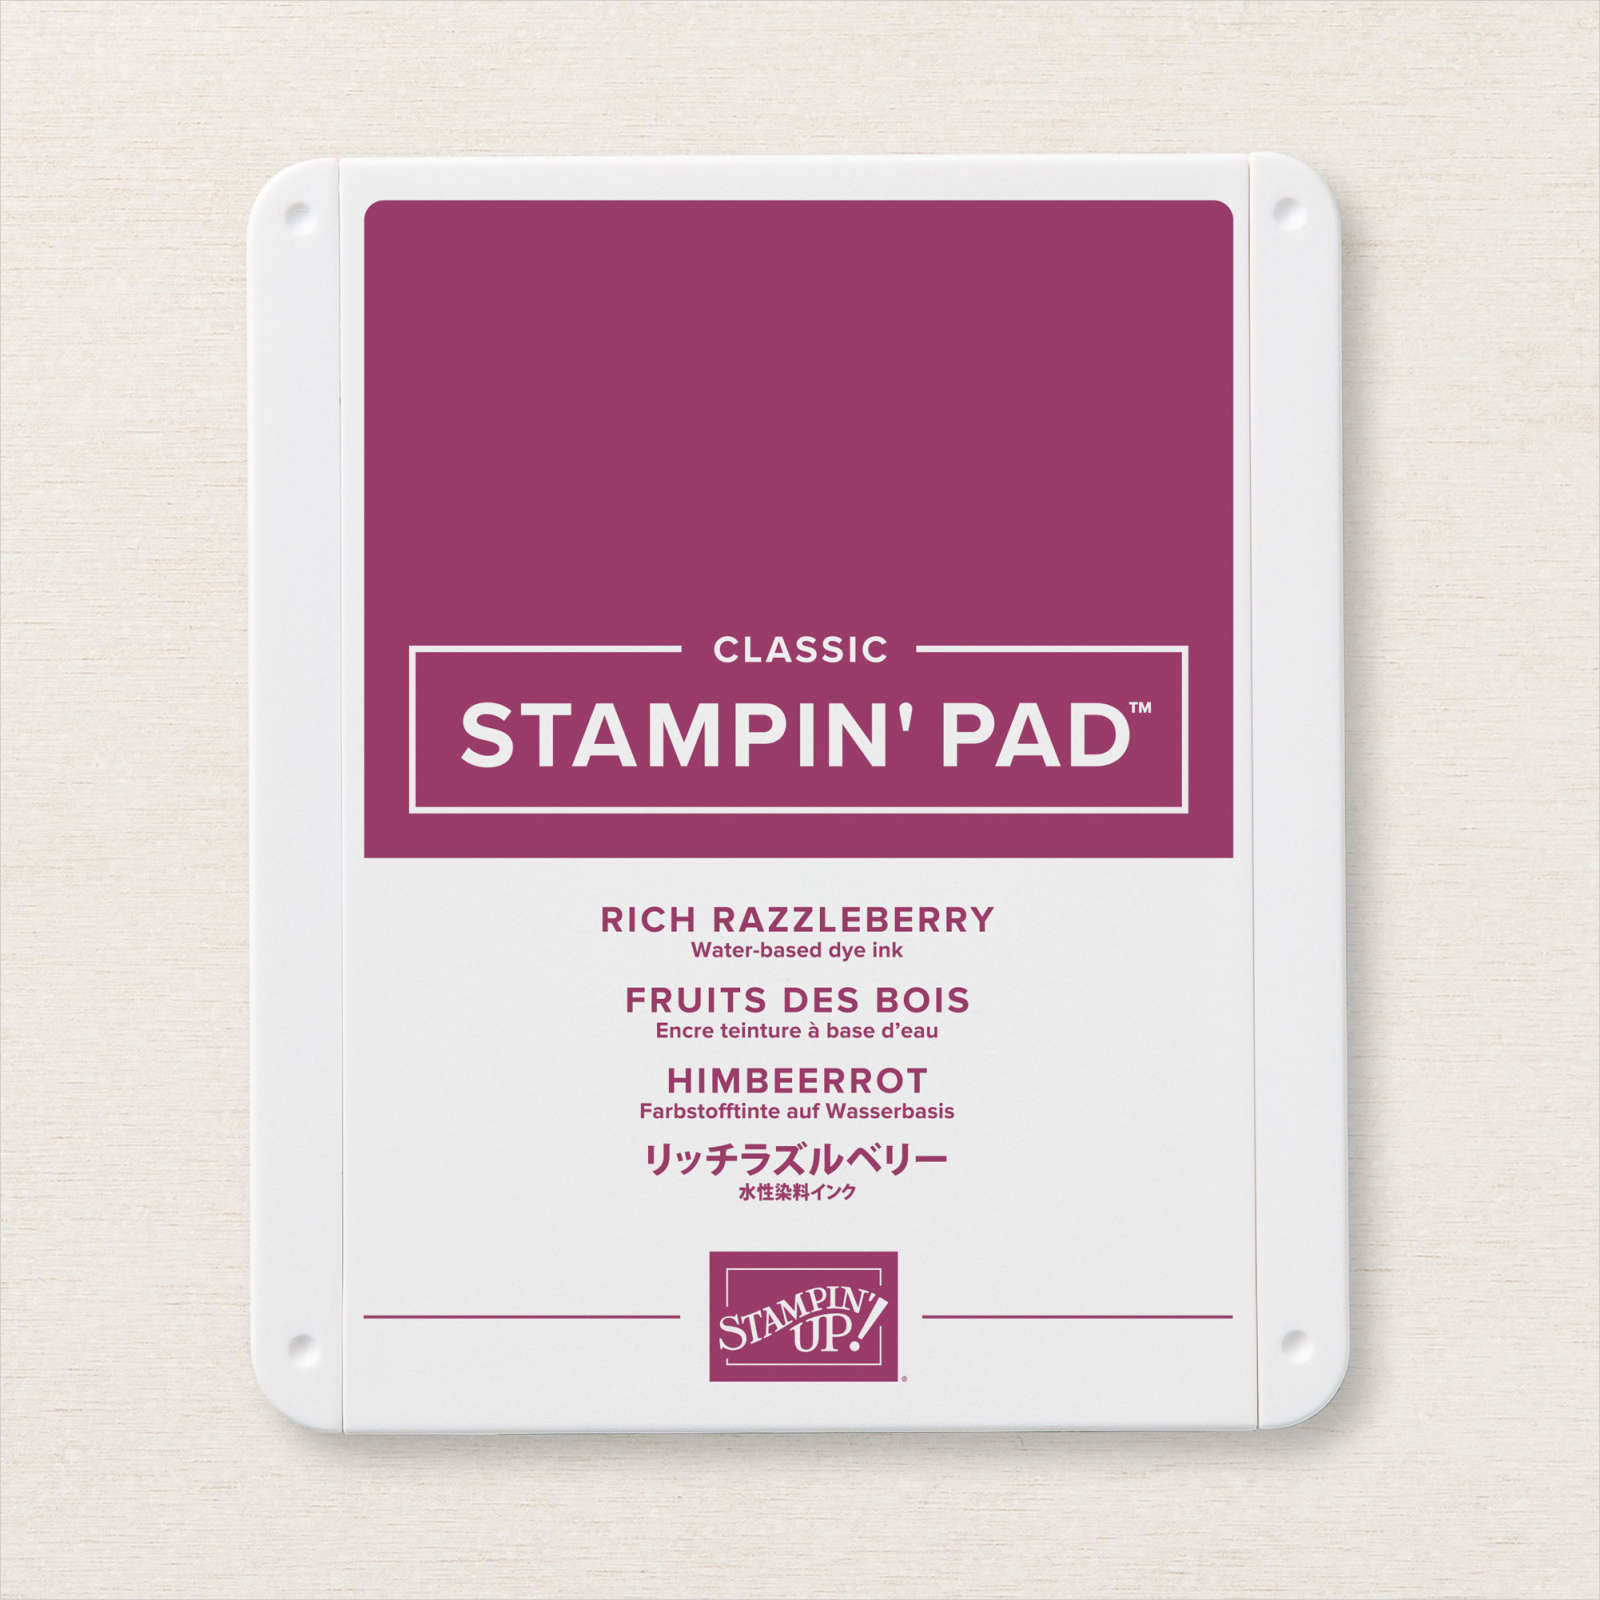
To create the two-step stamping die-cut tulips. I stamped one large tulip in Poppy Parade, two medium and small tulips in Rich Razzleberry and Calypso Coral. Stamp the base of each tulip by inking up the stamp and stamping the image on scrap paper before stamping the image on your white cardstock strip. Then ink up the tulip detail stamp and stamp the image with full strength ink making sure to line up the stamp over the first stamped image. Once you have all five flowers stamped, you can now die-cut them using the coordinating dies from the Tulips Dies. I attached the completed tulip die-cuts to the card front using Stampin Dimensionals.
I stamped the sentiment in Calypso Coral ink, then used the Tailored Tag punch to create the banner edge on the left side of the sentiment strip. Add the sentiment using Stampin Dimensionals.
Create a triple bow and add it to the sentiment strip using a Mini Glue Dot, then lastly, add some of the beautiful Brushed Brass Butterfly embellishments. These butterflies are stunning IRL! Make sure you add some to your next order.
I am beyond excited with how well this card turned out, and it wasn’t as involved as it looks. So now it is your turn. Place your order and get the supplies you need to make this card and many more.
I am looking forward to getting back to a regular posting schedule, so for now, thanks for dropping by today, and I will talk with you next week.
Happy Stamping!
Card Stock Sizes:
- 8 1/2″ x 5 1/2″ Old Olive – card base, scored at 4 1/4″
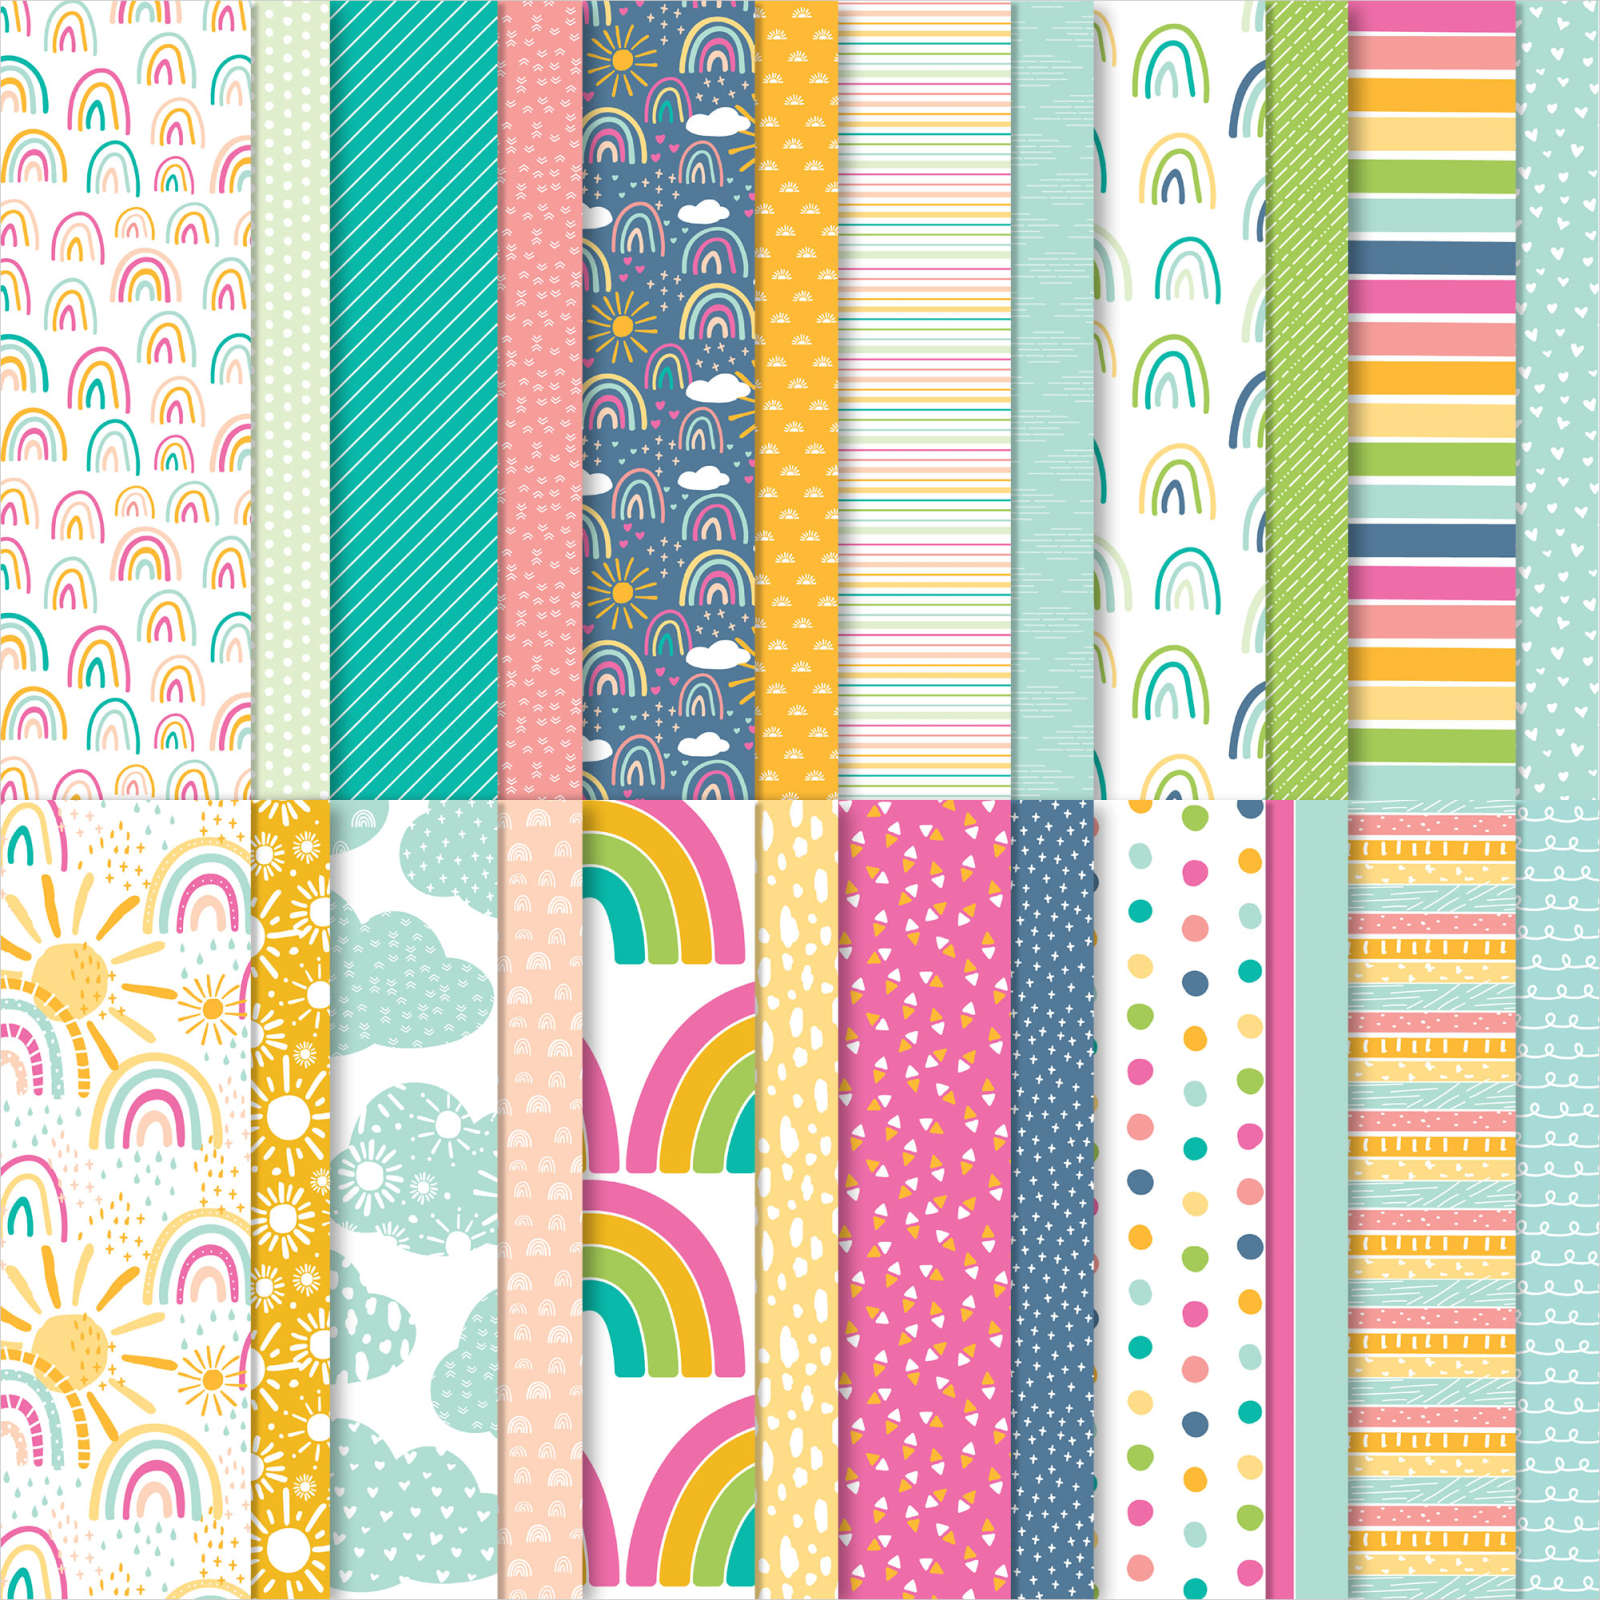
- 1 1/2″ x 5 1/2″ Flowering Fields Designer Series Paper
- 5 1/8″ x 3 7/8″ Poppy Parade
- 5″ x 3 3/4″ White Shimmer
- 3″ x 1/2″ Basic White – for sentiment
- 1″ x 8″ Basic White – for Tulip die-cuts
Products used to create this card.