Ukraine

Happy Fri-yay! I, like everyone else, am asking how I can help Ukraine. What can I do? I have seen a lot of different websites saying give here, but I am skeptical if they are a legitimate organization. I ran across this article from NPR with several organizations in Ukraine that you can donate or see how you can help. You can get the link below. They need our support right now 💙💛

https://www.npr.org/2022/02/25/1082992947/ukraine-support-help


Here Together_ Ukraine_Lori Skinner_This Crafters Dream

March Specials

Hey Everyone! With the coming of March, that means Sale-A-Bration has ended, and now we have to wait patiently for the next one. It was a tremendous two-month promotion, and with your help, I made my goals for the promotion! I couldn’t have done it without all of my fantastic customers, so thank you, you all rock!

March also brings new Stampin’ Up! promotions and kits. The most exciting sale is the Mini Stampin’ Kit & Emboss Machine is $48 this month!!! This machine has never been this price ever!


March Specials

The Mini Stampin’ Cut & Emboss Machine and several Stamp & Die bundles that coordinate with this mighty mini are all 20% off through the end of March. You can see all the Bundles on sale here in my online store.

Bundle Sale

Discover the depths of the ocean—and your artistic abilities—with the Waves of the Ocean Collection! This coastal collection includes an inspiring set of stamps and detailed dies, both early-release products from the upcoming 2022–2023 Annual Catalog. Plus, a pack of paper made from images of hand-poured paint, blue-hued foil sheets for a sea of shine, and radiant rhinestones for a splash of sparkle—each an exclusive product you can only purchase during the promotion period, which ends May 2, 2022!

Waves Of The Ocean Collection

This Waves of the Ocean Collection includes a stamp/die bundle, beautiful rhinestones, blues foil specialty paper, and stunning 12″ x 12″ Designer Series Paper! My favorite for sure!

Waves Of The Ocean Collection

Just look at this paper! Holy smokes, this paper is gorgeous. I just want to fame the paper as artwork, but think of all the beautiful cards this paper will make!

The coordinating Waves of Inspiration bundle is a unique bundle in how the dies and stamp give dimension to all your projects.

Waves Of The Ocean Collection

Starting tomorrow, The latest addition to the Kits Collection by Stampin’ Up! is a fun one! The Robot Buddies Kit, configures cards that feature cute robots and robot-themed images that kids will love. Combine your bandwidth to craft this kit together for some offline fun with these awesome, friendship-themed robots!

Robot Buddy Kit Collection

 I know I gave you a lot of info today, but I don’t want anyone to miss out on these great specials. So get your wish list out and start shopping!

Thanks for stopping by today, and see you soon.

Happy Stamping!


Wildflower Path

Hello, my friends! How many of you buy a stamp set, then when you get it, you struggle to develop project ideas? I know I have that problem sometimes. When I am stumped for design ideas, I pull out my handy dandy, Stampin’ Up! Catalog. The catalogs were created not only to showcase the incredible products Stampin’ Up! has to offer, but they also are a great source of inspiration! Today, my project was taken/CASEd straight from page 21 of the 2022 Jan-June Mini Catalog. This card features the Wildflower Path Stamp Set from Stampin’ Up!  

Wildflower Path Stampin Up

What is CASEd? It means Copy and Share/Steal Everything. This is what makes the crafting world go around. Say you are scrolling through Instagram or Pinterest, and you see are card you love, but maybe you want a different color scheme, or you want to copy the layout exactly. That is called a CASEd card, and it is ok to do, just as long as you give the person you copied credit for the original idea if you post your card to social media.  

Wildflower Path Stampin Up

The Wildflower Path Stamp Set is a Two-Step Stampin’ set; it allows you to layer two or more images to create one final image with extra texture and dimension in the colors you want.

Wildflower Path Stampin Up

To create this card:

  • Stamp the vine and flower images onto the Granny Apple Green 5 1/4″ x 4″ cardstock using the Granny Apple Green Ink rotating the images 180° each time. 
  • Stamp the sentiment onto a Flirty Flamingo Tasteful Label die-cut using Poppy Parade ink.
  • Glue the DSP strip to the center of the vellum. 
  • Attach the stamped die-cut Tasteful Label sentiment to the center of the DSP using  Stampin Dimensionals.
  • Glue the sentiment layer to the stamped Granny Apple Green layer.
  • Add a bow made from the Bumblebee Gingham Ribbon.
  • Glue the completed 5 1/4″ x 4″ Granny Apple Green cardstock layers to the center of the Granny Apple Green card base.

I call this card a simple-ish card since it has layers. It was fast to put together once you have all your pieces cut/die-cut. 

Now next time you are frustrated with a lack of ideas with a stamp set you will remember to go grab your catalog and see what inspires you.

All of these products may be purchased in my online Stampin’ Up! Store by clicking any of the product photo links at the bottom of the post. Rember this is the last week to earn FREE products during the Stampin’ Up!’s Spring Sale-A-Bration promotion. For every $50 you spend, you earn a free product of your choosing!

Thanks for stopping by today.

Happy Stamping!


Card Stock Sizes:

  • Granny Apple Green – 5 1/2″ x 8 1/2″
  • Granny Apple Green – 5 1/4″ x 4″
  • Vellum – 2 3/4″ x 2 1/4″
  • Pattern Party DSP – 3 3/8″ x 1 3/8″
  • Flirty Flamingo – 2″ x 2 1/8″

Items used to complete this card:

Paper Pumpkin Kit March 2022

ABOUT THE MARCH KIT

Name: Beyond the Horizon

Details:

  • This month’s kit contains enough elements to create 9 cards—3 each of 3 designs—and 9 coordinating envelopes. This all-inclusive kit includes printed card bases, die-cut paper pieces, embellishments, adhesive, and more!
  • The Beyond the Horizon Paper Pumpkin Kit includes a Misty Moonlight Classic Stampin’ Spot!
  • This kit’s stamp set is perfect for any occasion. With sentiments that say “thanks”, “hello”, “thinking of you,” and so many more, you’ll be able to use this stamp set year round.
  • And if you thought one stamp set was great just wait—this month’s kit comes with a BONUS stamp set for FREE! That’s two stamp sets in one kit! It’s our way of saying THANK YOU to you our Paper Pumpkin subscribers.
  • That’s not all! This kit perfectly coordinates with the New Horizons Suite Collection in our January–June 2022 Mini Catalog Which means even more exclusive elegant watercolor designs curated by our in-house artists just for you!
  • Card size: 4-1/4″ x 5-1/2″ (10.8 x 14 cm)
  • Envelope size: 4-1/2″ x 5-3/4″ (11.4 x 14.6 cm)
  • Coordinating colors: Bumblebee, Calypso Coral, Evening Evergreen, Misty Moonlight, Night of Navy, Old Olive, Pale Papaya


Flowing Flowers Thank You Cards

Hello, and welcome back! Today I am sharing my customer thank you and birthday cards I made using the technique of creating your own Designer Series Paper using the beautiful Flowing Flowers stamp set from Stampin’ UP!. 

Flowing Flowers Stampin Up

To create your own Designers Series Paper, you need to choose your stamp set and ink colors for your project. 

Flowing Flowers_Thank You_All 1_Lori Skinner_This Crafters Dream

For these cards, I created two different styles of DSP. For the Happy Birthday card, I stamped the images all over the Basic White cardstock, and for the Just A Note card, I stamped the images in the corners only using the same colors and stamp set.  

Flowing Flowers_Background_2_Lori Skinner_This Crafters Dream

I started with Coastal Cabana, Polished Pink, and Calypso Coral inks. I then stamped all three flower images, one stamp image per ink color, to complete the custom DSP. You can view the step-by-step instruction sheet here if you need additional information on how to recreate this DSP.

I added a Coastal Cabana cardbase and a Polished Pink payer behind the custom DSP I created to complete my cards. I stamped the sentiment in Coastal Cabnaba ink and added it to a Polished pink cardstock strip. Add a bow, and for a bit of bling, I added my new favorite embellishments, the Brushed Brass Butterflies  laughing . I was super happy with the way these cards turned out. Now it is your turn to try it, and let me know how it turned out.

All of these products may be purchased in my online Stampin’ Up! Store by clicking any of the product photo links at the bottom of the post. 

Thanks for stopping by today.

Ta-Ta for now.

Happy Stamping!


Card Stock Sizes:

  • Coastal Cabana – 4 1/4″ x 11″
  • Polished Pink – 5 1/8″ x 3 7/8″
  • Basic White – 5″ x 3 3/4″
  • Basic White – 3″ x 1/2″ Sentiment
  • Polished Pink – 4 1/4″ x 3/8″ Sentiment layer

Items used to complete this card:

Paper Pumpkin - Feb 2022 - Safari Celebration

ABOUT THE FEBRUARY KIT

Name: Safari Celebration

Details

  • This month’s kit contains enough elements to create 9 cards—3 each of 3 designs—and 9 coordinating envelopes. This all-inclusive kit includes printed card bases, die-cut paper pieces, embellishments, adhesive, and more!
  • The Safari Celebration Paper Pumpkin Kit includes a Rich Razzleberry Classic Stampin’ Spot!
  • This kit’s stamp set is an uplifting one! Make every occasion a celebration with sentiments that say “yay!”, “fantastic!”, and other fun phrases.
  • Explore each of our current In Color collections with this colorful kit! Discover designs and paper pieces in Bumblebee (a 2020–2022 In Color), Fresh Freesia (a 2021–2023 In Color), and Soft Succulent (a 2021–2023 In Color).
  • Card size: 4-1/4″ x 5-1/2″ (10.8 x 14 cm)
  • Envelope size: 4-1/2″ x 5-3/4″ (11.4 x 14.6 cm)

Coordinating colors: Bumblebee, Fresh Freesia, Pear Pizzazz, Rich Razzleberry, Soft Succulent, Soft Suede

Subscribe Today To Recieve This Expressions In Color Paper Pumpkin Kit.


Sweet Conversations

Hello Everyone! After the short detour to my couch, I am back at card-making since I wasn’t feeling well last week, but I am back and ready to go!

Now onto today’s project.  With my vacation to Maui and not feeling well all last week, I feel a bit behind creating all my Valentine’s Day projects I had planned for you. I only have two of the five completed. I need to get busy this weekend for sure.  For my card today, I am using the fun Sweet Conversations Bundle from Stampin’ UP!! This is a great suite of products. I love the Sweet Talk Designers Series Paper. The colors are so bright and fun! And did I use them on this first card? Nope, I made my own DSP using the Sweet Conversations stamp set.

Sweet Conversations

To create my own Designer Series Paper, I found the center of the Basic White 3 7/8″ x 5 1/8″ cardstock and stamped the small heart image in Real Red ink. I then stamped the X O on either side in Highland Heather and Pool Party. Then work your way up with the next line by stamping the X O in So Saffron ink centered above the Real Red heart and stamp two more Real Red hearts on either side. Keep following this pattern using the rest of the colors, Blushing Bride & Granny Apple Green. In no time you have created your own DSP. You could stamp a full 8 1/2″ x 11″ sheet of Basic White cardstock and then you have enough DSP to create several projects!

Sweet Conversations_Valentines Day Card_Detail_Lori Skinner_This Crafters Dream

Now on to the die-cutting. If you have the Mini Stampin Cut & Emboss Machine, you can use it to get everything cut out. If not, grab your big die-cutting machine, and let’s get started.

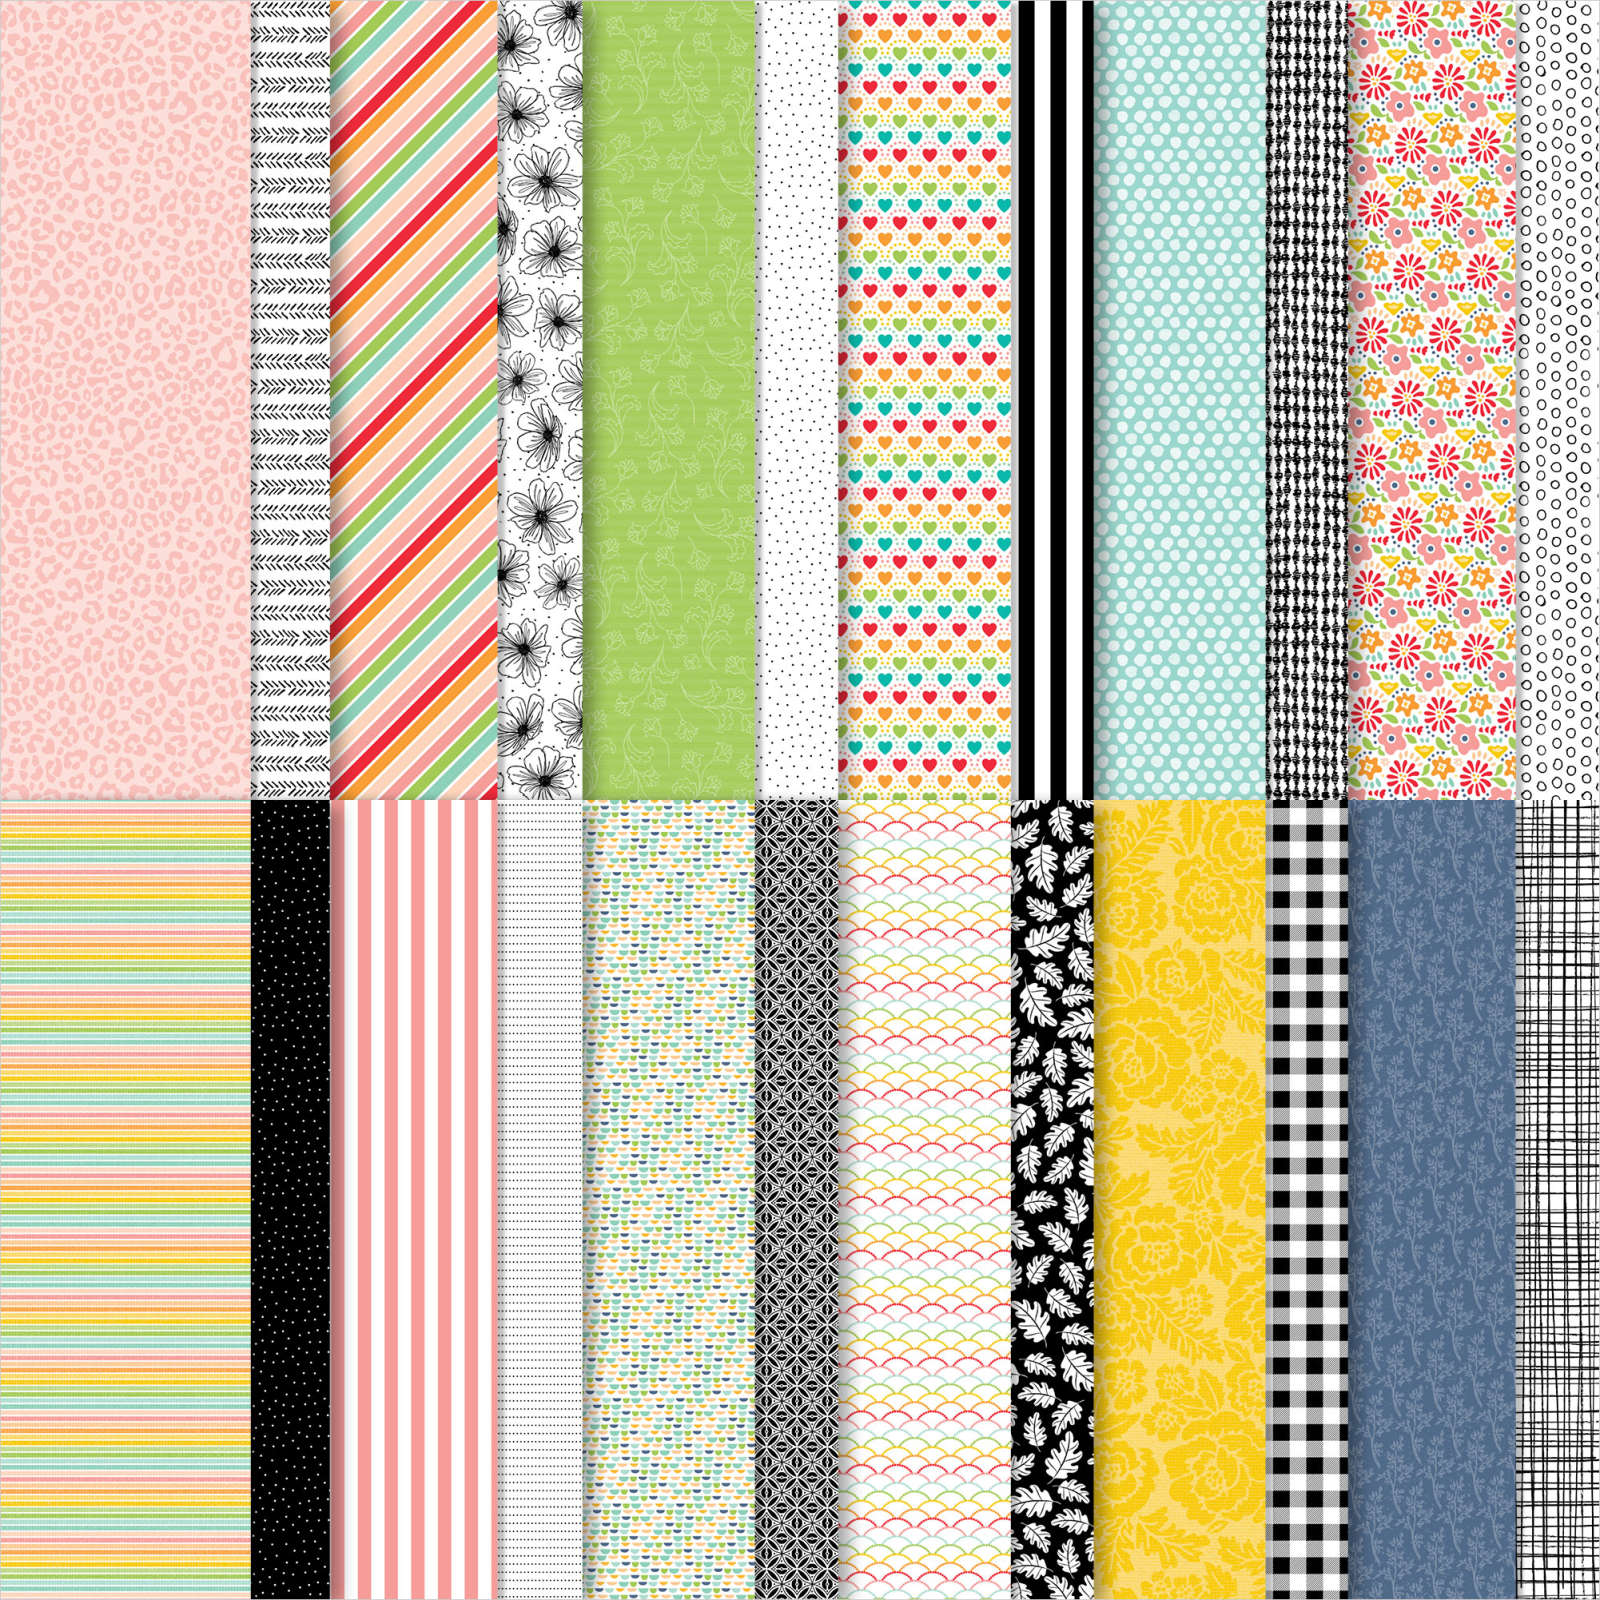
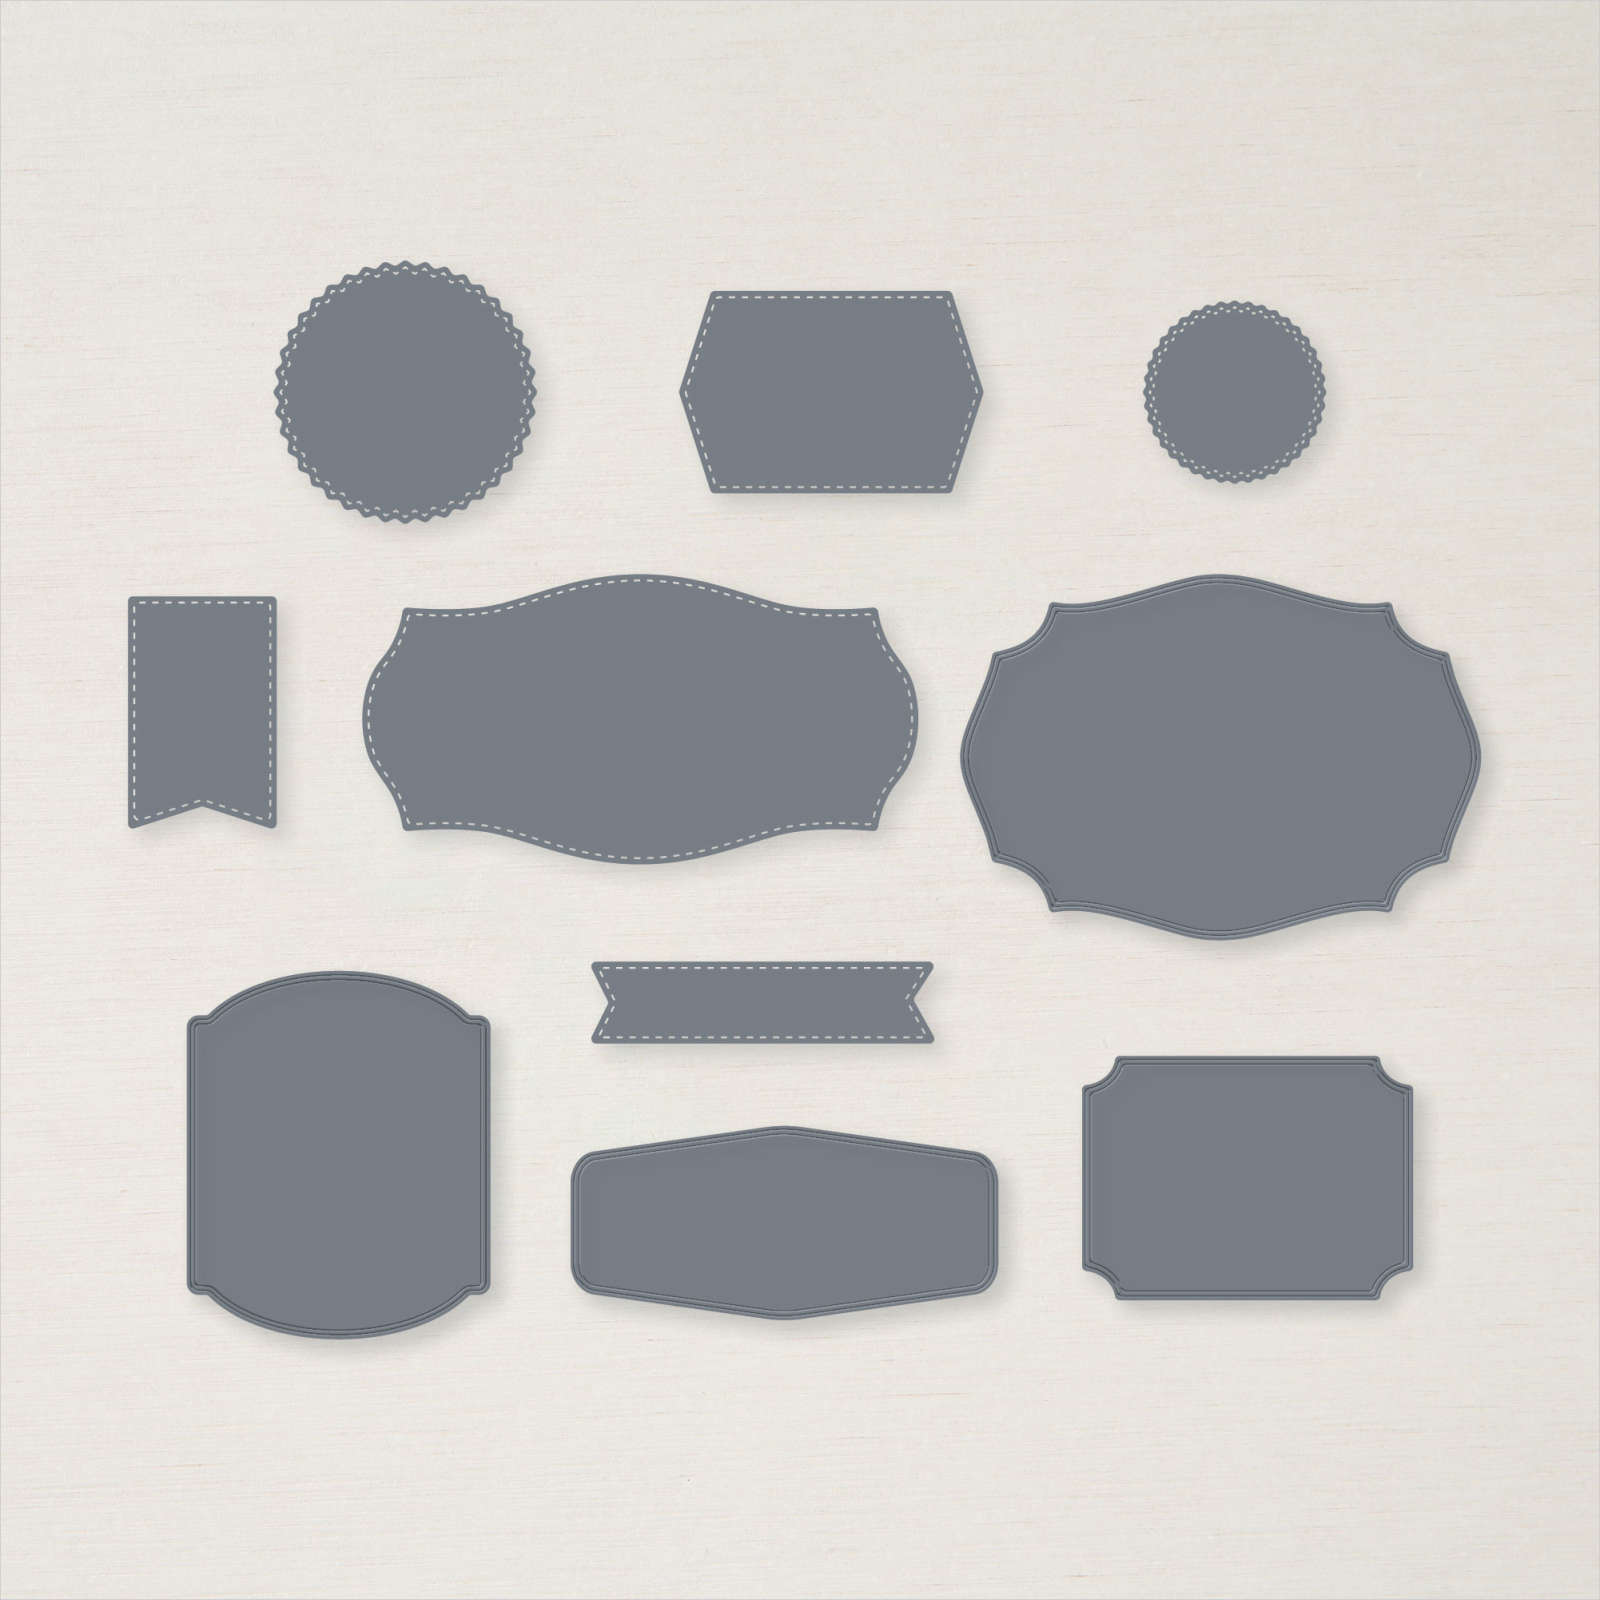
You will need the Sweet Hearts Dies to die-cut the small envelope in Highland Heather, the tag in Pool Party, the triple hearts in Gold Foil, and the small banners in Blushing Bride, Real Red, Granny Apple Green, So Saffron, and Highland Heather.

To put the sentiment layers together, you will need to.

  • Stamp the sentiment using the Memento Black ink and stamp it on Basic White cardstock scraps. I then took the sentiment and cut each line to a separate piece.
  • Emboss the Highland Heather envelope using the Gingham Embossing Folder.
  • Stamp the small cluster of dots to the front of the Pool Pary tag using Pool Party ink.
  • Glue the die-cut banners to the back left edge of the Pol Party stamped tag.
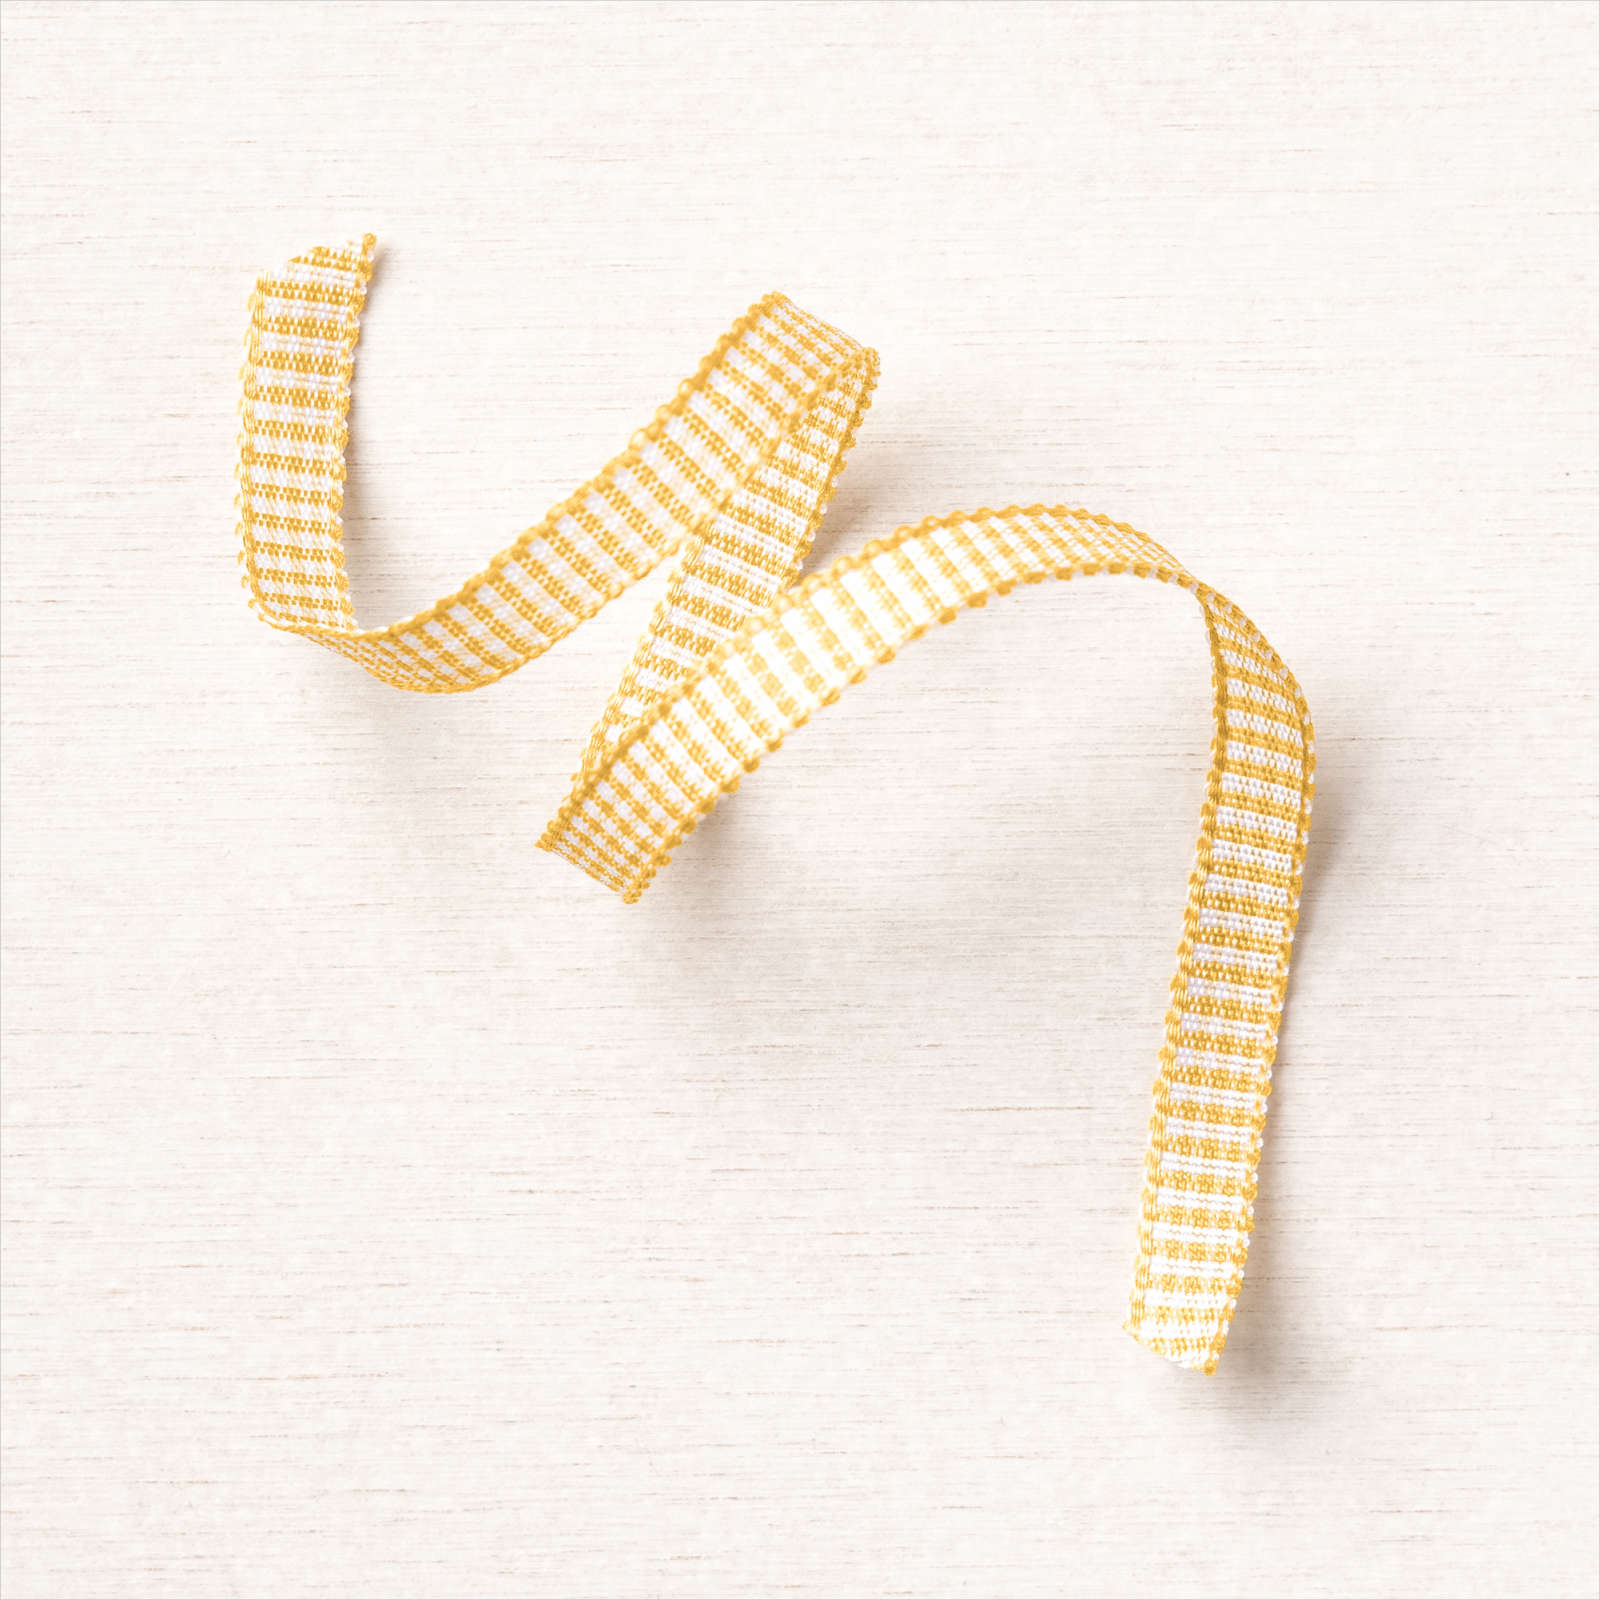
  • Cut a strip of Gold Fine Art Ribbon in half, gab the ends of the cut ribbon, thread the loop through the tag top, pull the cut ends through the loop, and pull tight to finish. You can trim the ends to the desired length.
  • Glue the Pool Party Tag to the center of the Highland Heather embossed envelope shape.
  • Glue the Gold hearts to the bottom edge of the Pool Party tag.
  • Add the sentiment pieces using small pieces of Stampin’ Dimensionals.
  • Glue the completed sentiment layers to the card front. Now add a bit of bling using the beautiful Brushed Metallic Dots!

You will find all the cardstock dimensions and a list of all the products I used to create this card at the bottom of the post.

Sweet Conversations_Valentines Day Card_Inside_Lori Skinner_This Crafters Dream

When I finish a card, I like to stamp the inside of the card and create a matching envelope while I still have everything out. A quick tip: I don’t always stamp the sentiment or glue down cardstock to the inside of the card until I am ready to send it. That way, if I goof and make a mistake, I can grab another cardstock piece, restamp it, and glue it down. I learned to do this with lots of practice sealed.

I hope you liked this first Valentine’s Day project I have for you. Now I am hoping to get the rest completed…Please keep your fingers crossed for me. 

Thanks for stopping by today, and see you soon.

Happy Stamping!


Card Stock Dimensions:

  • Real Red – 4 1/4″ x 11″ – cardbase scored at 5 1/2″
  • Highland Heather – 4″ x 5 1/4″
  • Basic White – 3 7/8″ x  5 1/8″ & scrap for sentiment

Die-cut pieces:

Pool Party – 1 3/4″ x 2 1/4″  – tag

  • Highland Heather – 2 3/4″ x 2 3/4″ – small envelope
  • Gold Foil – 2″ x 3/4″ – hearts
  • Blushing Bride, Real Red, Granny Apple Green, So Saffron, Highland Heather scraps – banners


Supplies needed to make this card: