I Did A Few More Quick Cards
Hello, my friends!! I shared a quick card I made using the Sweet Symmetry Designers Series Paper in my last post. Here are four more cards using the same layout, just different Designer Series Papers, and stamp sets. I wanted to show you how easy it is to use one layout to achieve a vastly different vibe!
The card in the bottom right of the photo below is the first card I shared, and you can see all the new versions as well.

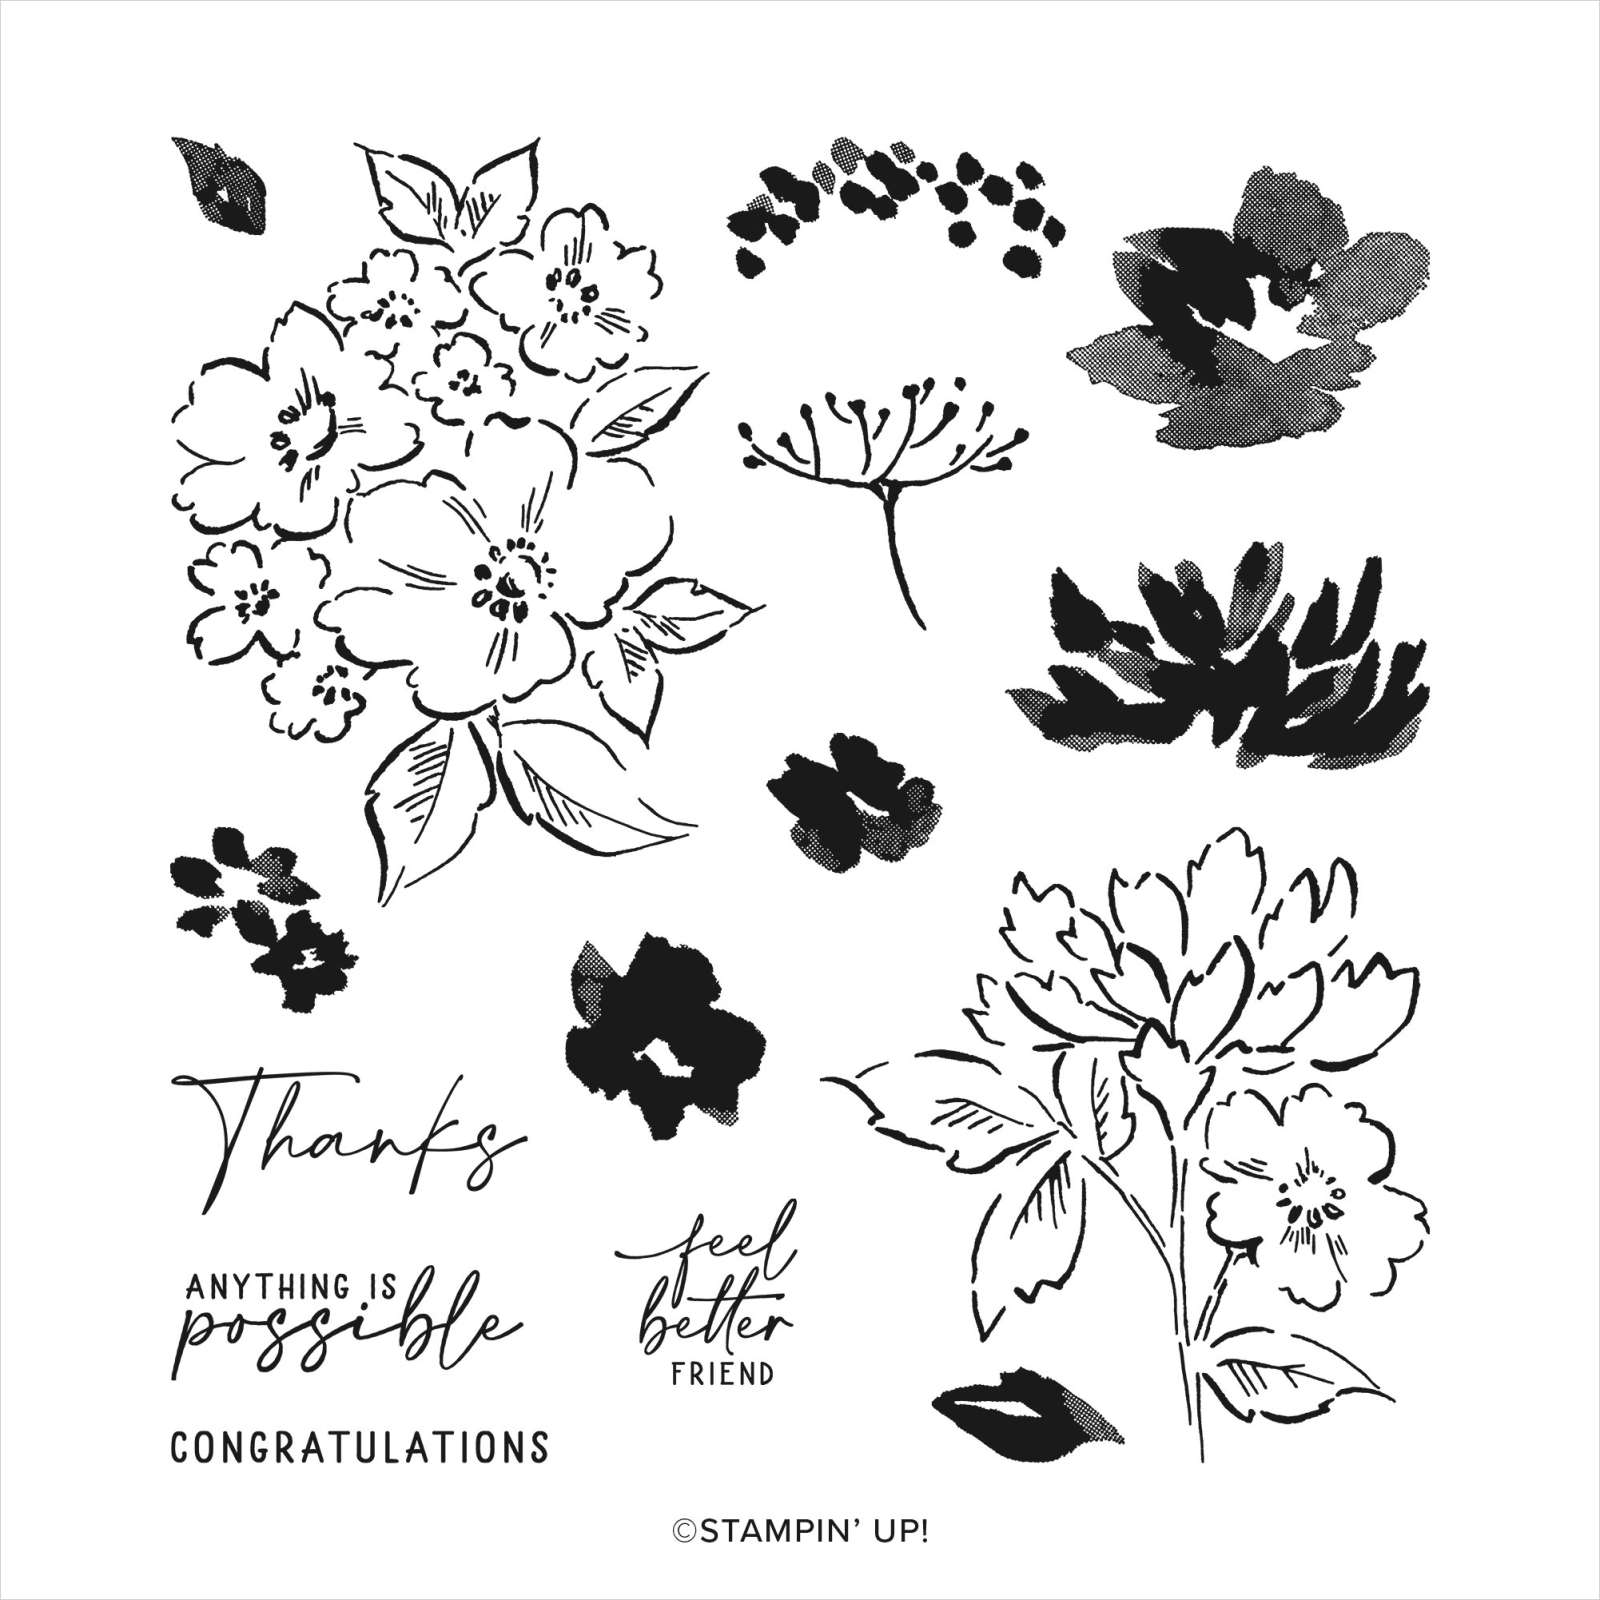
This first card uses the beautiful Hand-Penned Designer Series Paper.

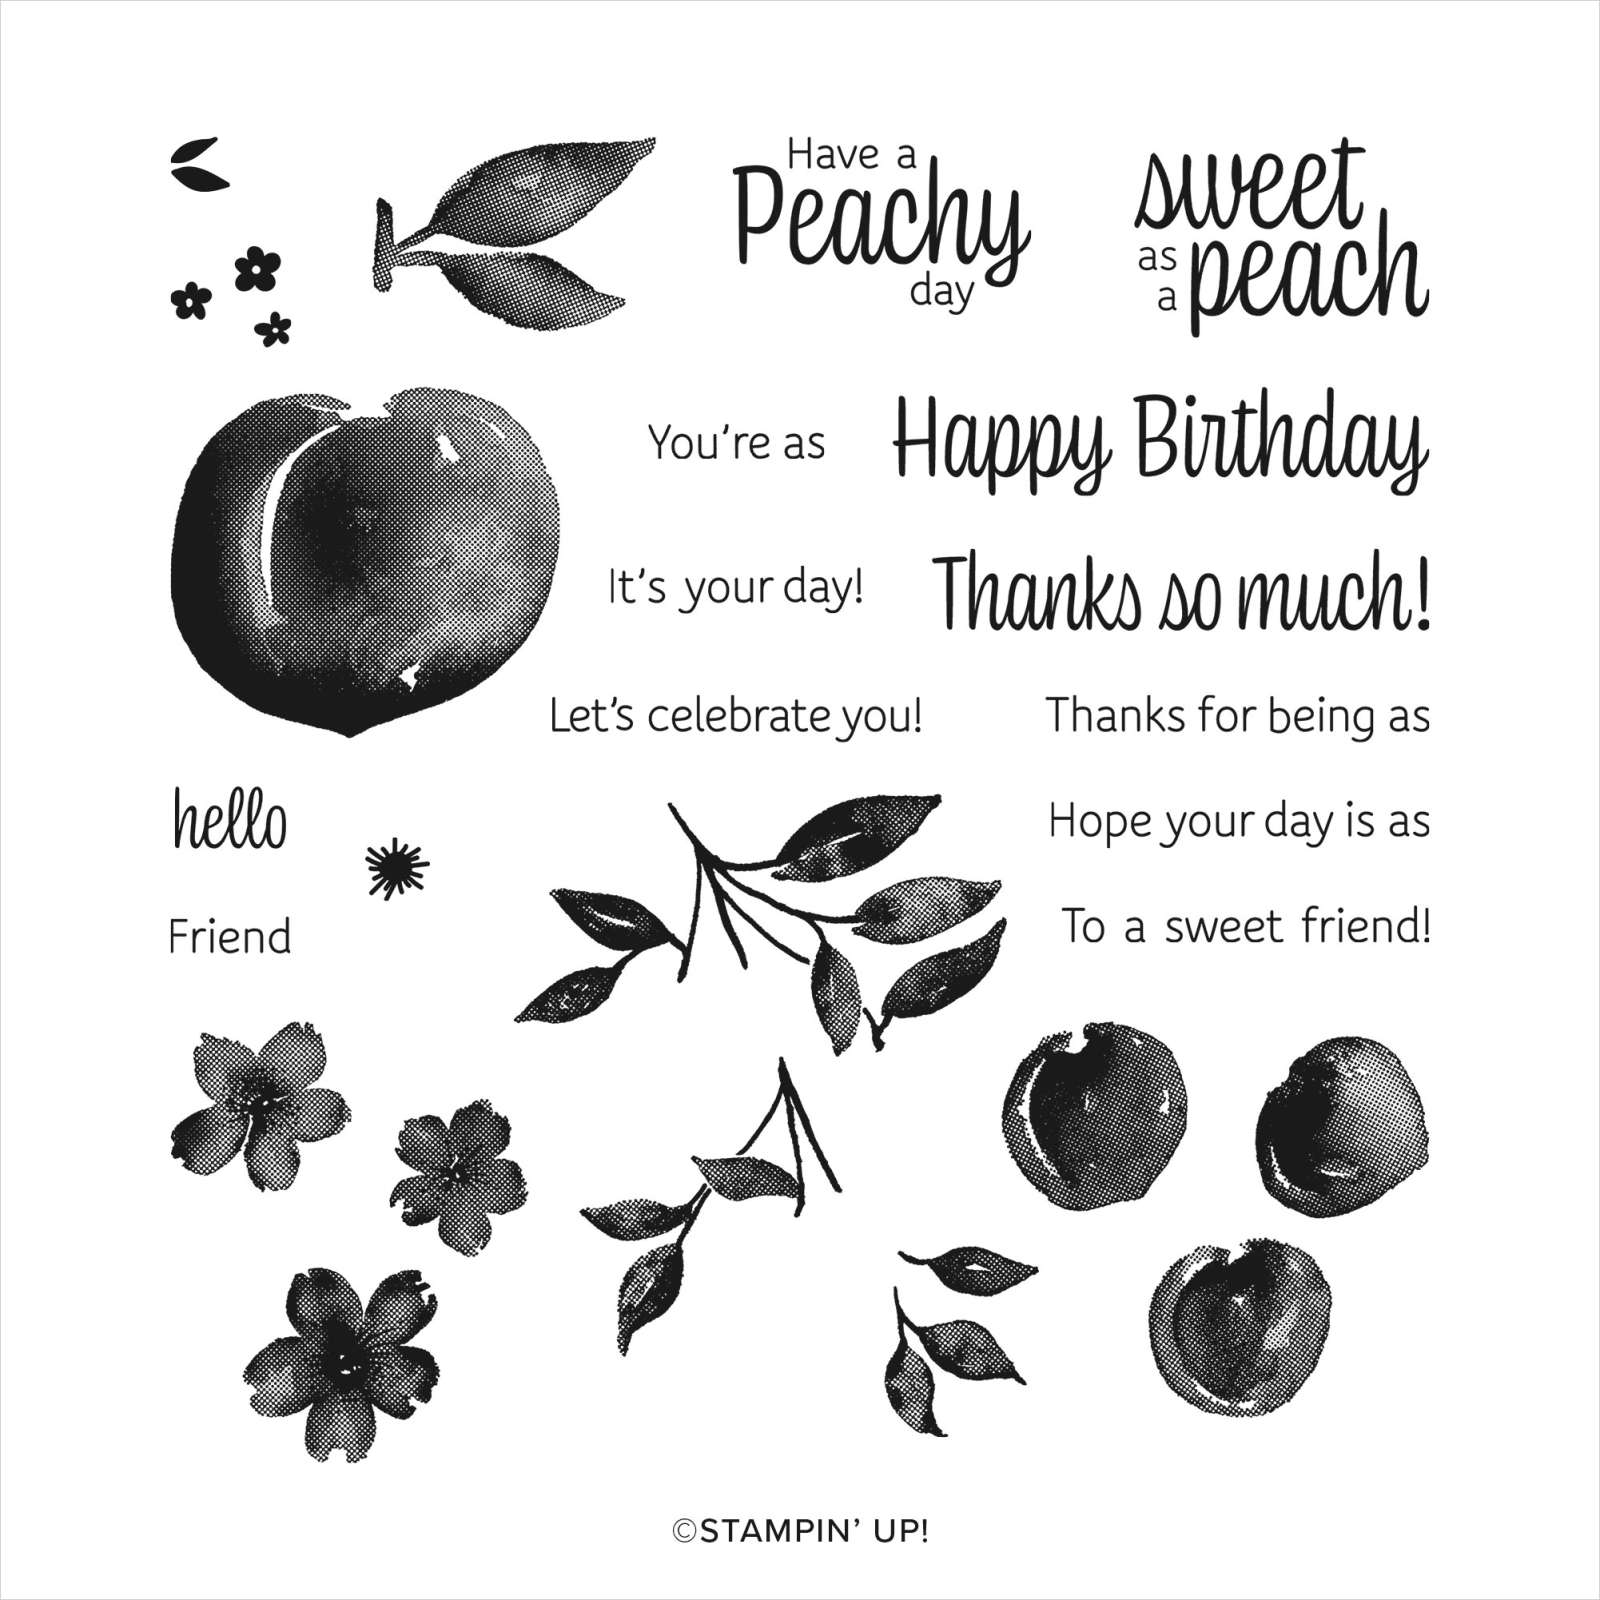
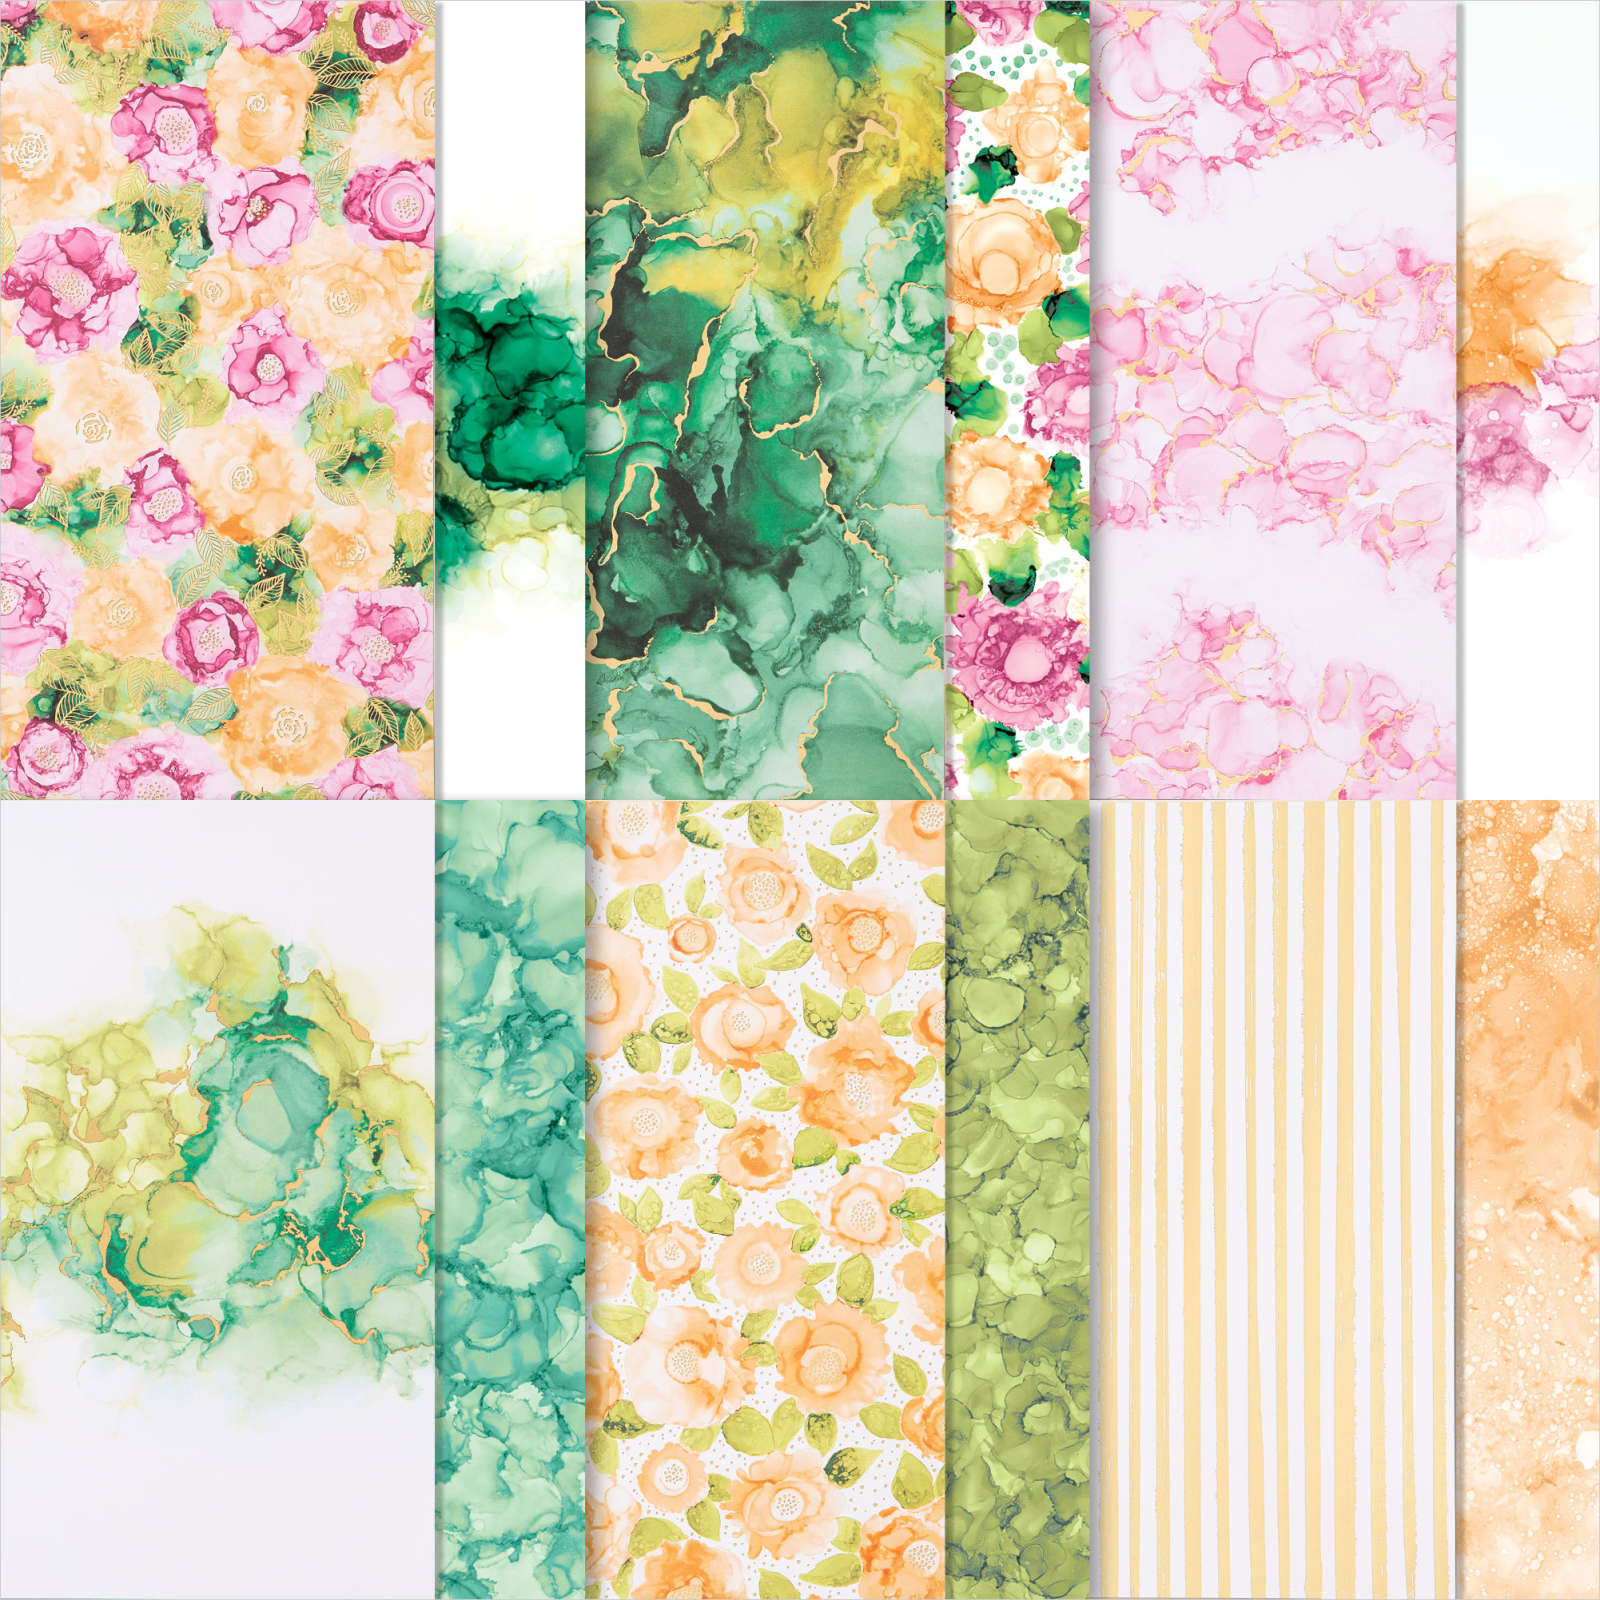
This Have a Peachy Day card using the super fun You’re A Peach Designer Series Paper.

My Hello card was made using the stunning Expressions In Ink Designers Series Paper.

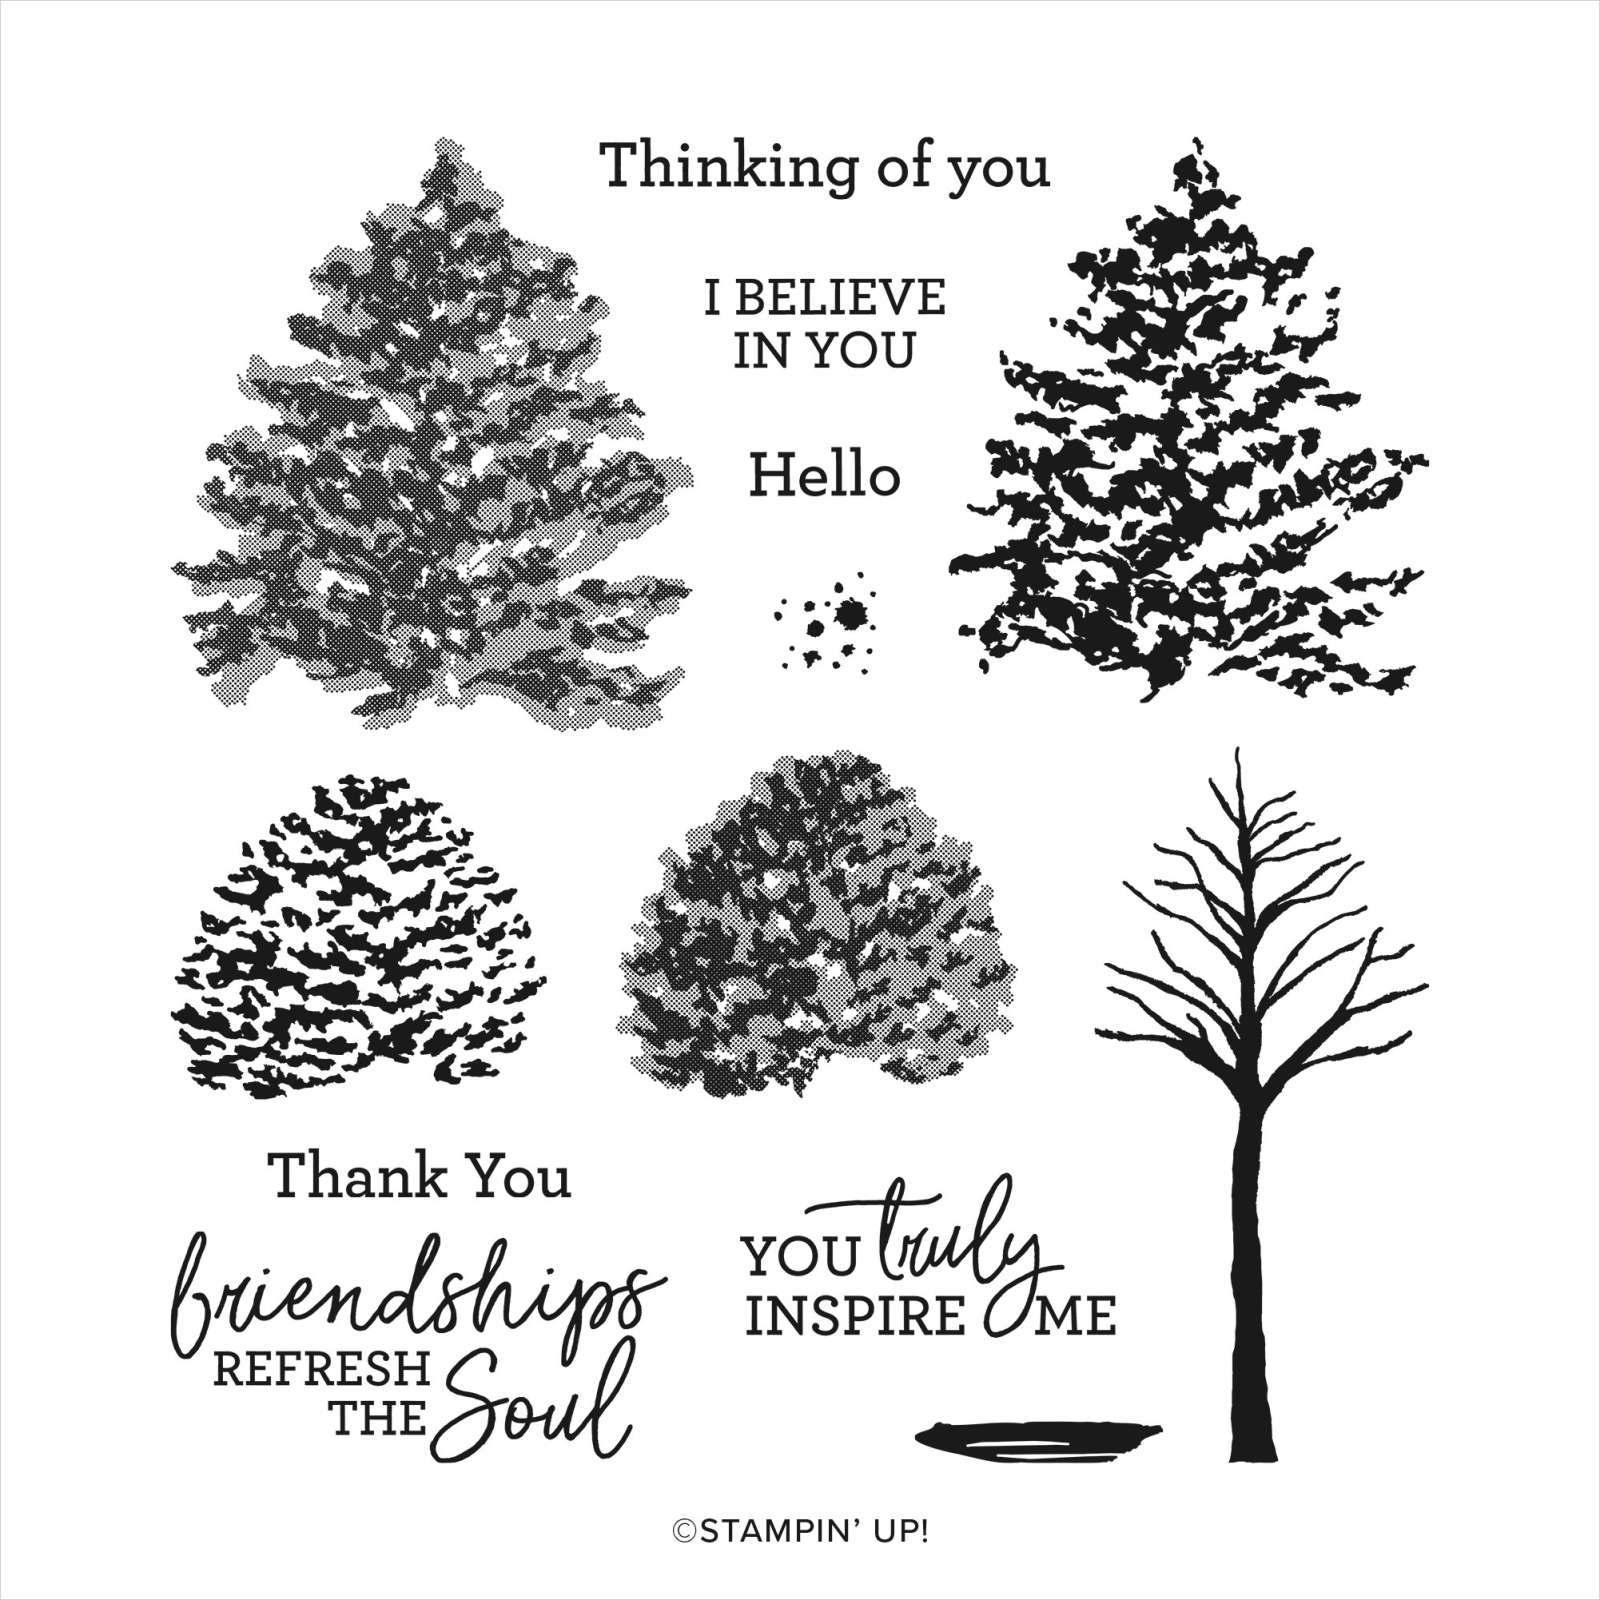
And lastly, I love this Beauty Of The Earth Designers Series Paper I used this last card!!!!

Which ones are your favorites? Mine is the Hand-Penned DSP Thanks and the Beauty of The Earth DSP; You Truly Inspire Me card!!! Now it’s your turn to make some cards using this layout. Below you will see the cardstock dimensions needed for this layout and all the products used for each card.
All of these products may be purchased in my online Stampin’ Up! Store by clicking any of the product photo links at the bottom of the post.
Thanks for stopping by today.
Happy Stamping!
Card Stock Sizes:
- Card base – 4 1/4″ x 11″
- Card base layer – 4 1/8″ x 5 3/8″
- Designer Series Paper – 3″ x 5 5/16″
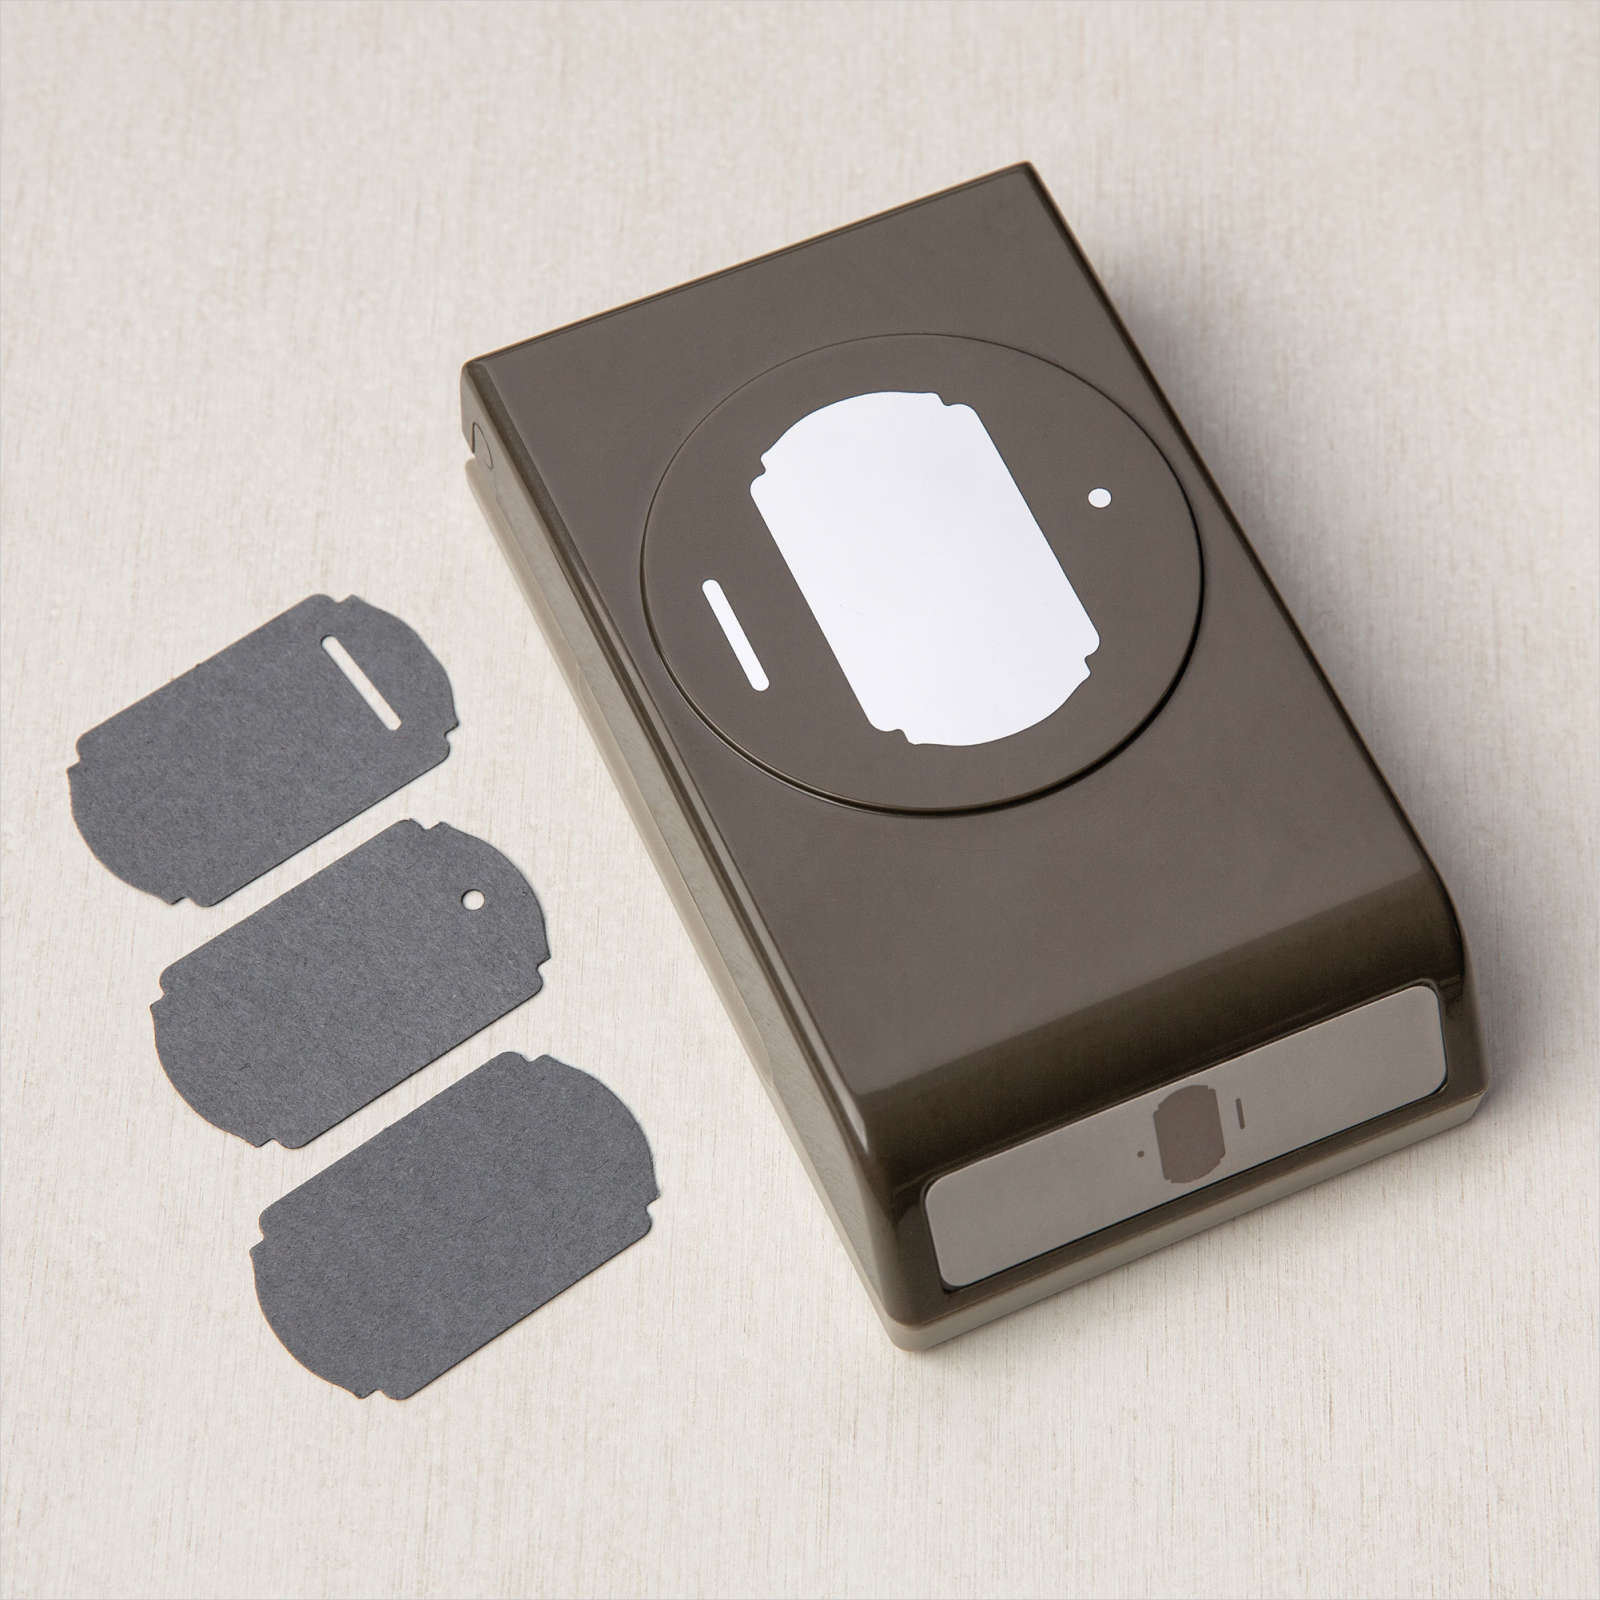
- Basic White – 1 1/2″ strip for sentiment punch
- Designer Series Paper – 2 1/4″ strips for sentiment layer punch
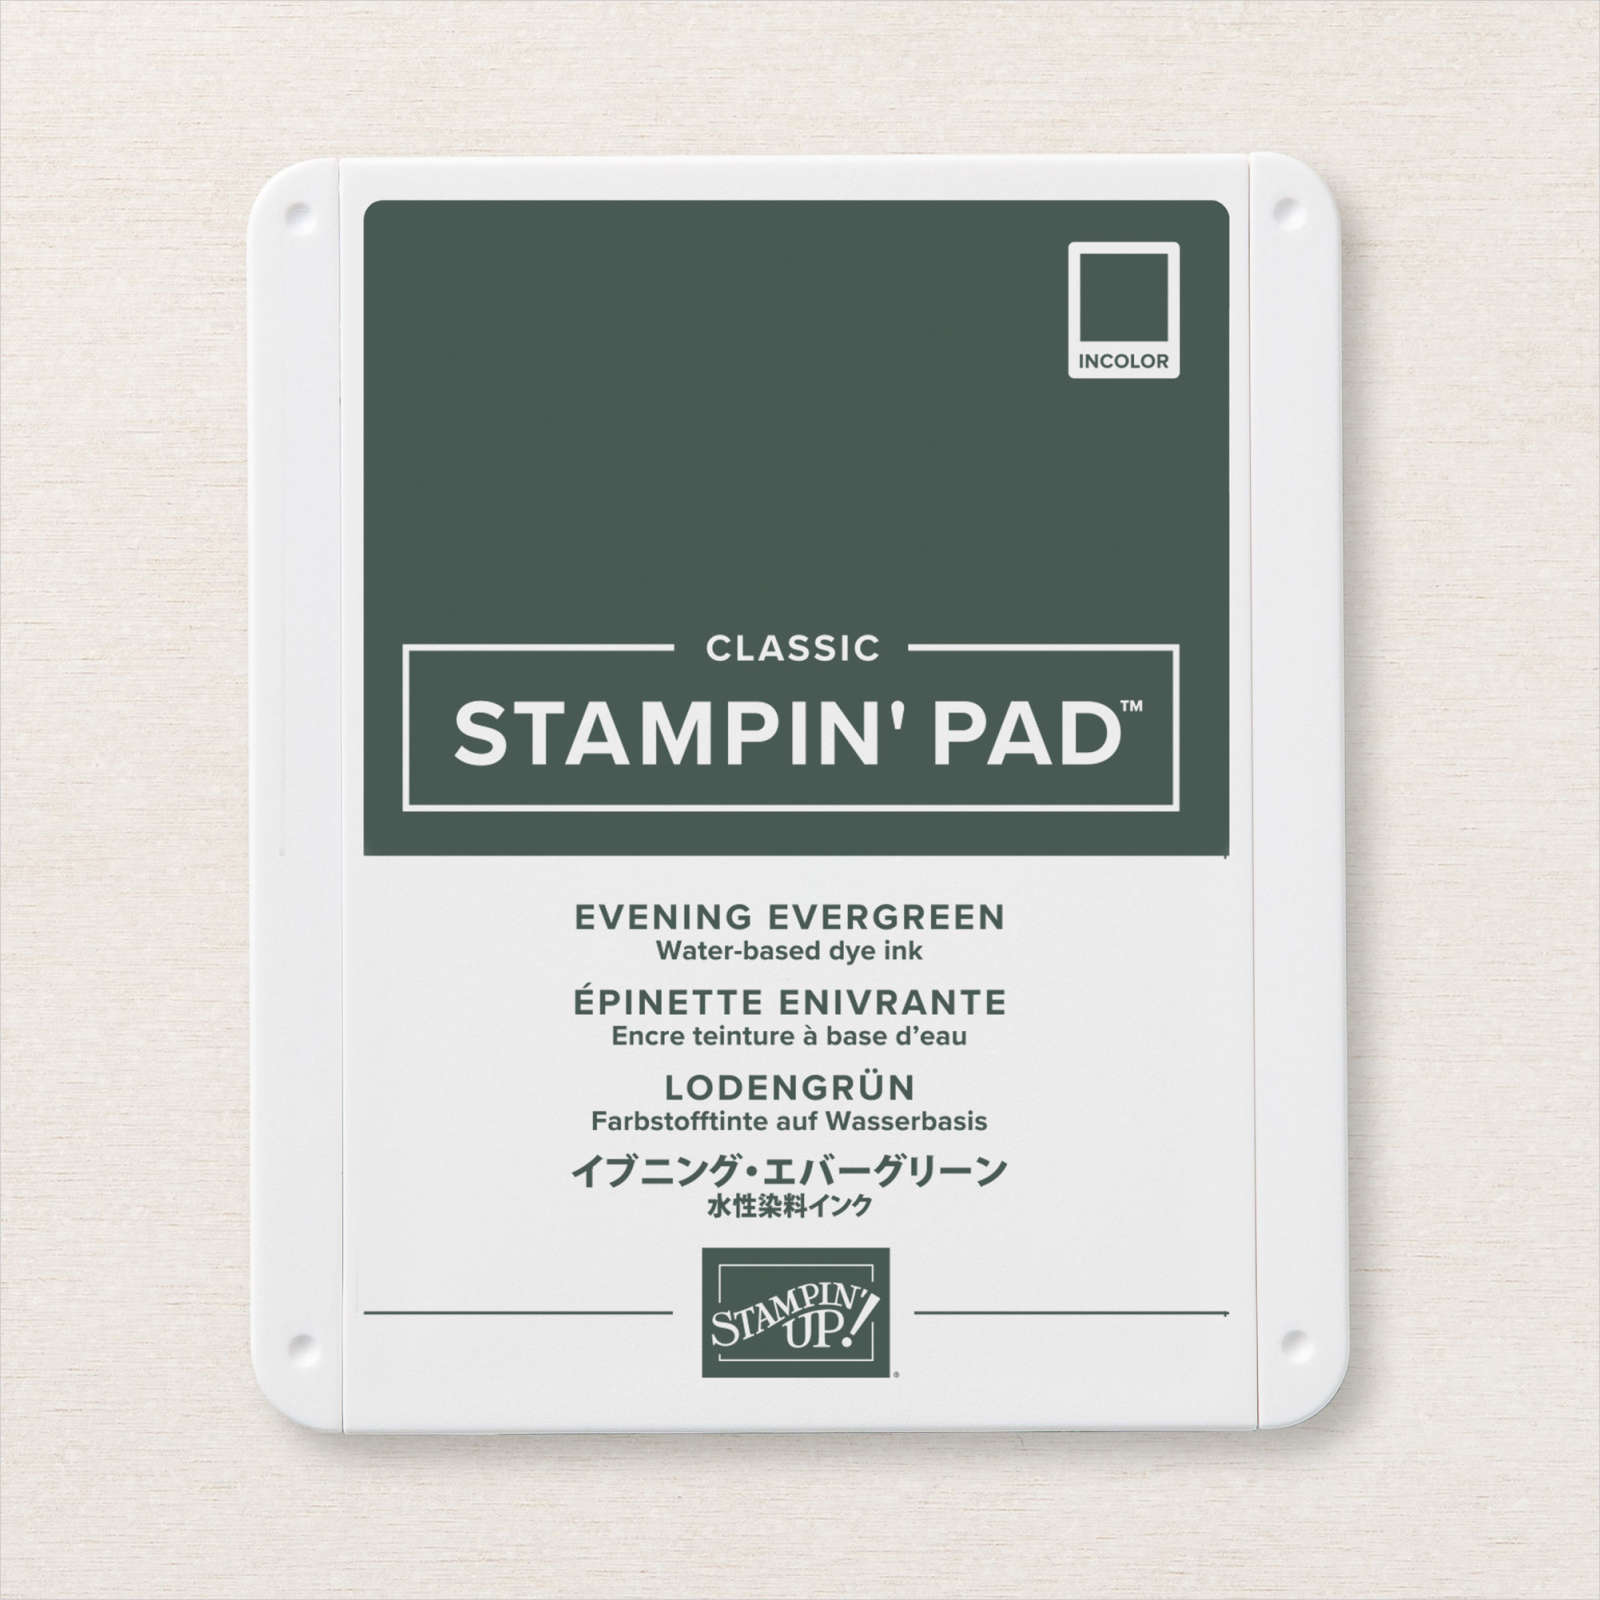
Products used for the Hand-Penned DSP Thanks Card
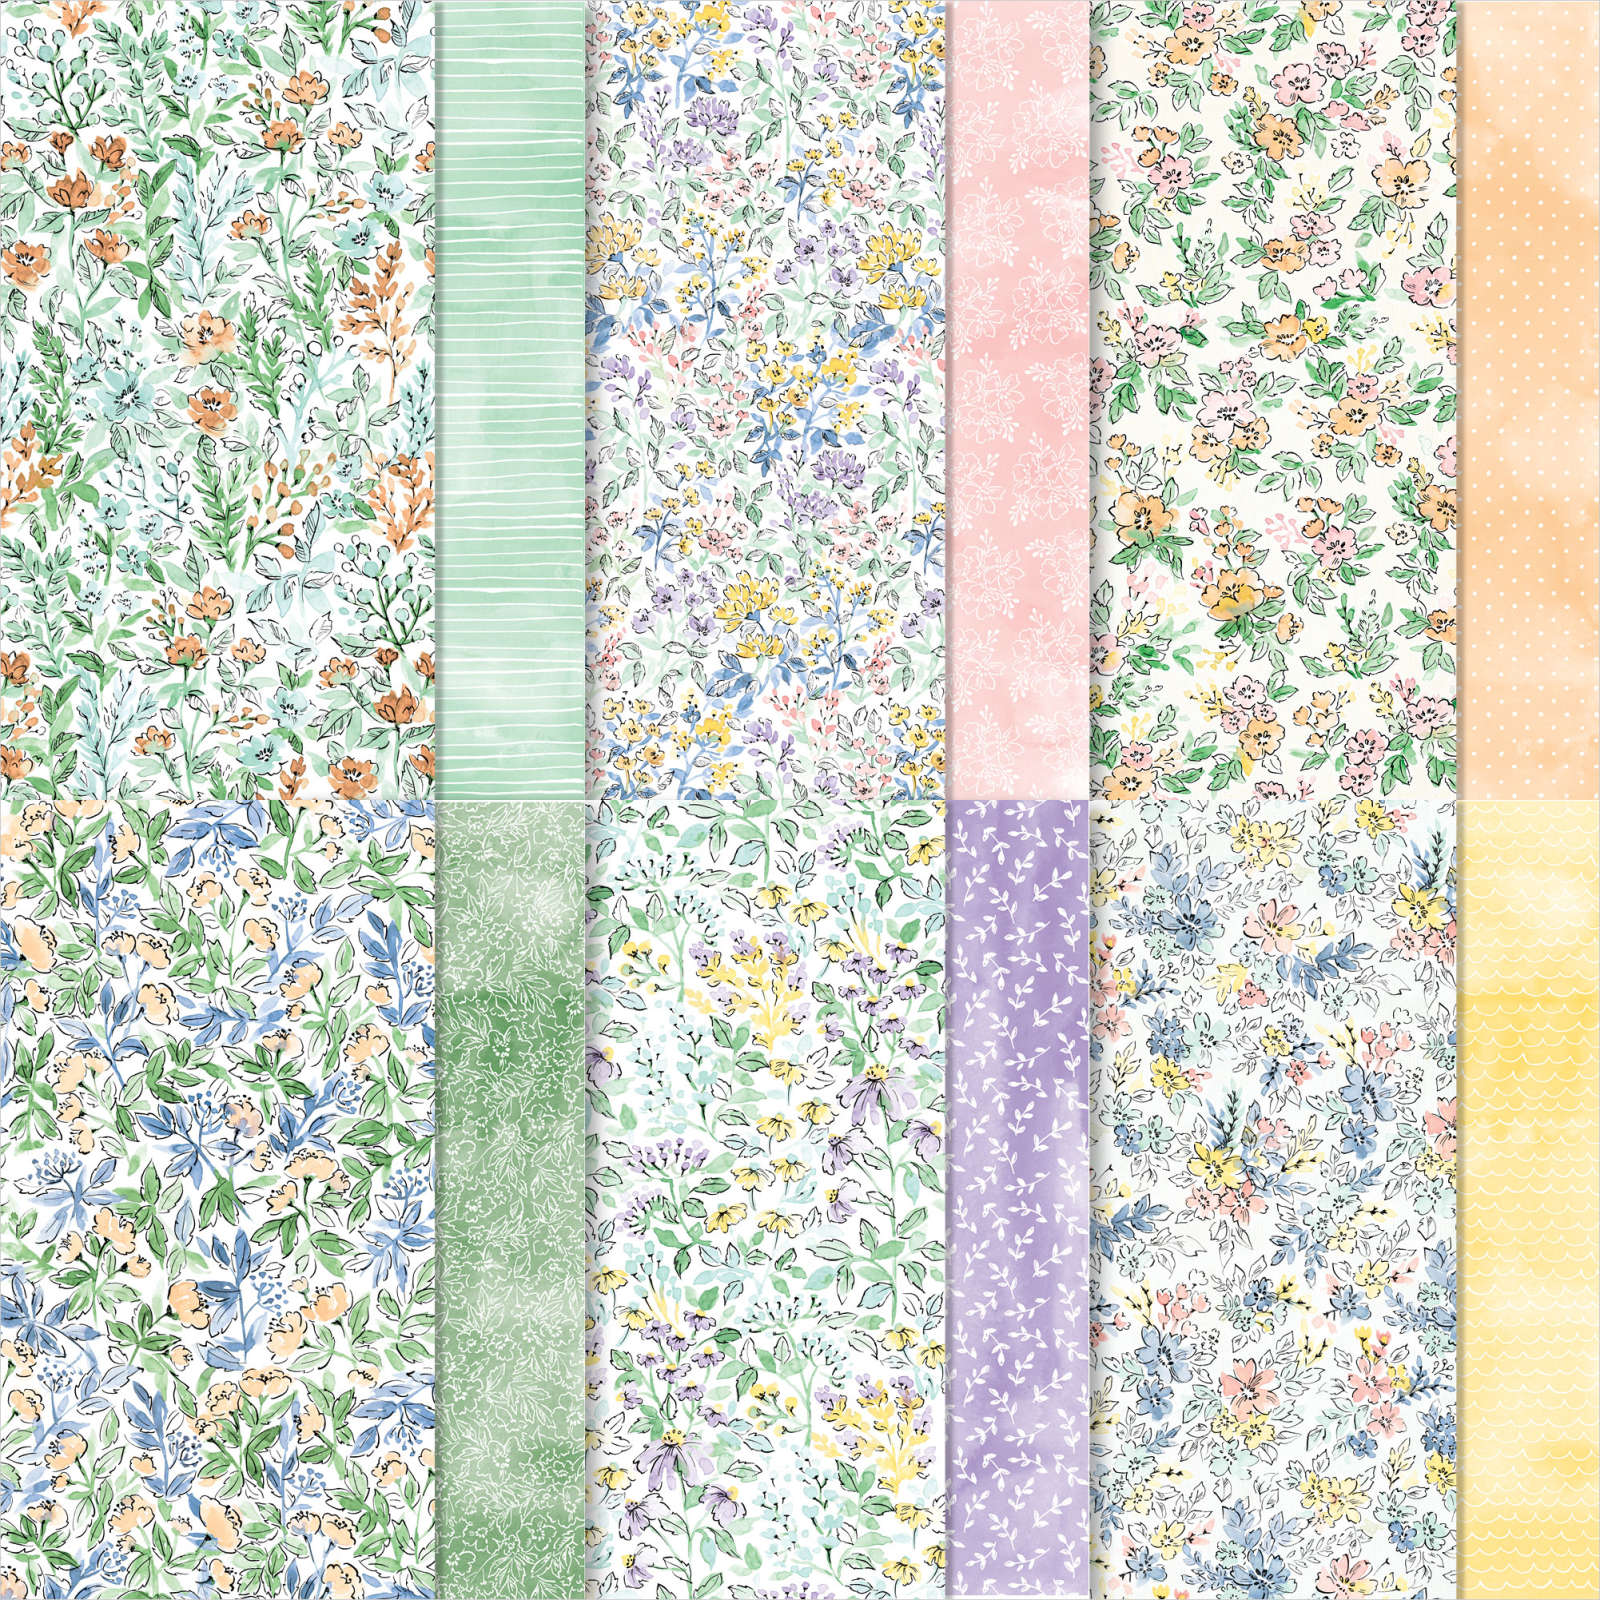


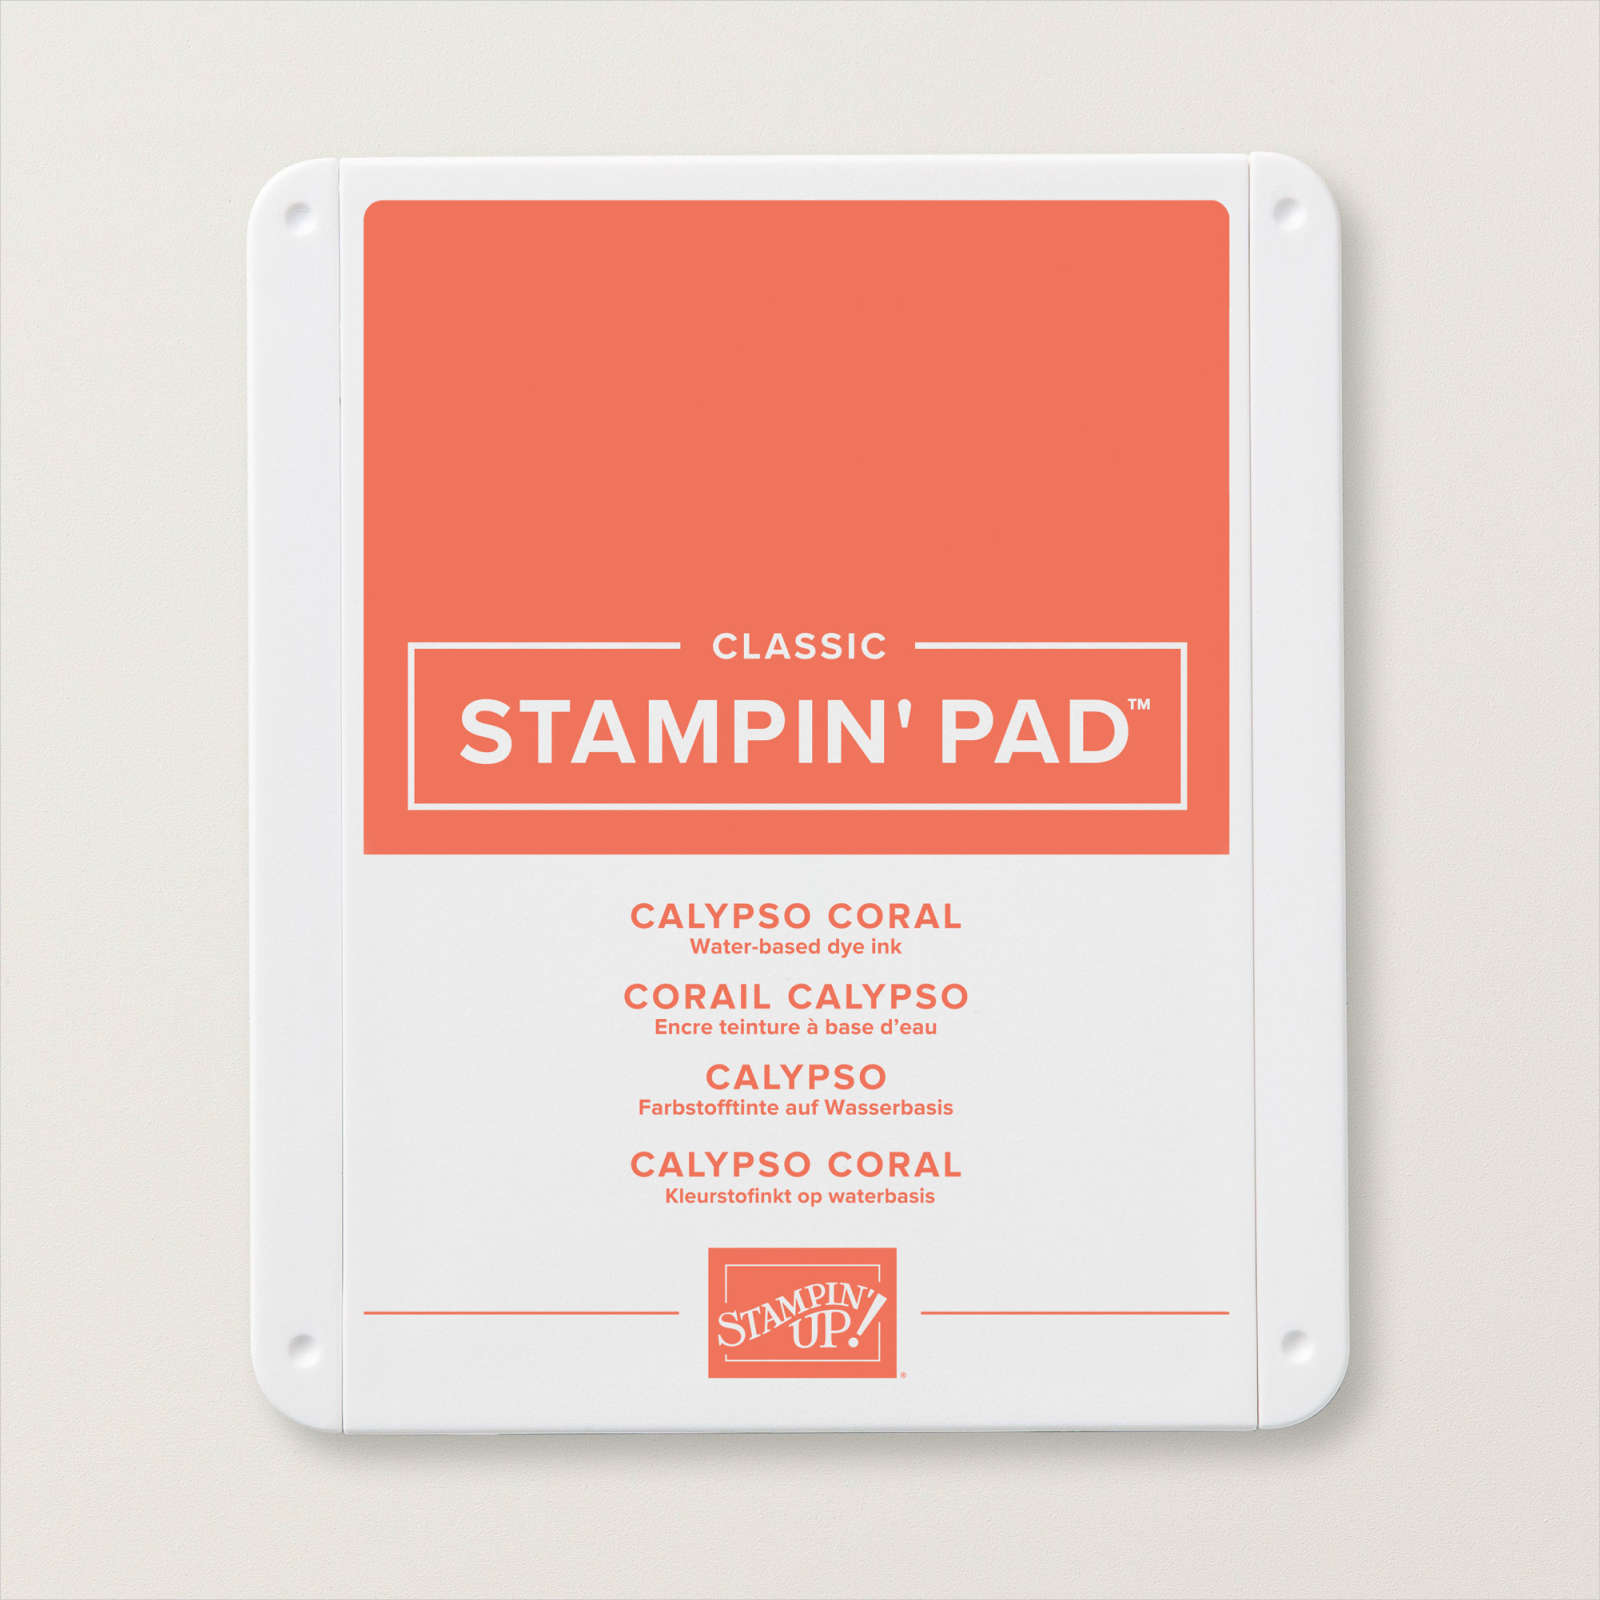
Products used to make the You’re A Peach DSP, Have A Peachy Day card


Products used for the Expressions In Ink DSP Hello card


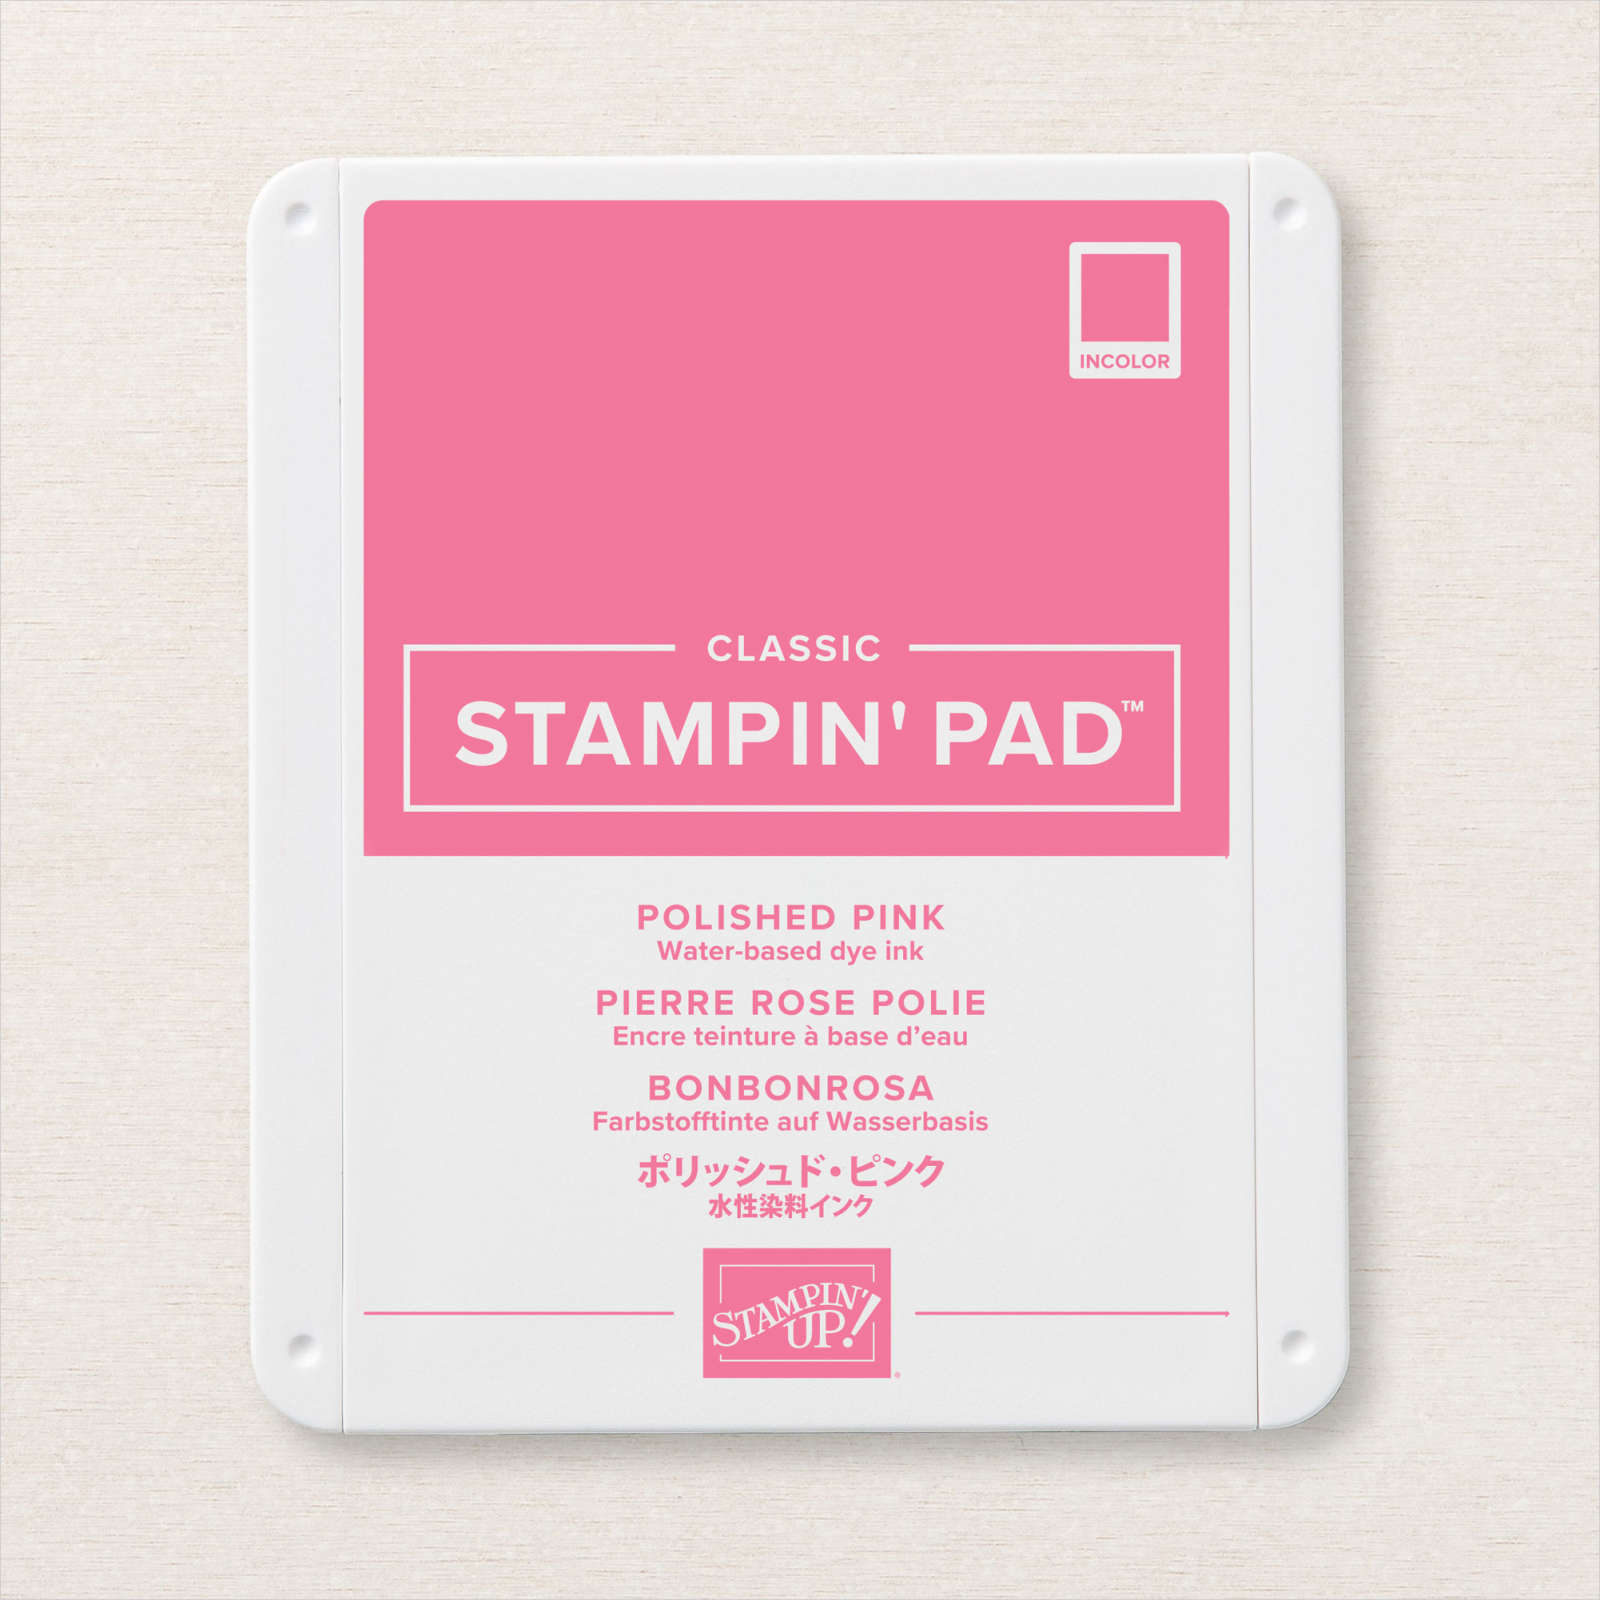


Products used for the Beauty of The Earth DSP, You Truly Inspire Me card


 I have a few more cards I created using the