Brightest Beauty Patriotic Card

Hello, fellow crafters! Today I am sharing this glorious Brightest Beauty patriotic card!!!! This 4th of July-inspired card makes me smile. I am in love with happy this card makes me when I look at it. There is something about the color scheme of Crumb Cake (which you all know is my favorite), Basic White, Sweet Sorbet, Real Red, and Night of Navy that invokes great memories of 4th of July picnics with all my cousins. Growing up, I had a great childhood with my cousins as my best friends!!! 

Brightest Beauty Patriotic Card

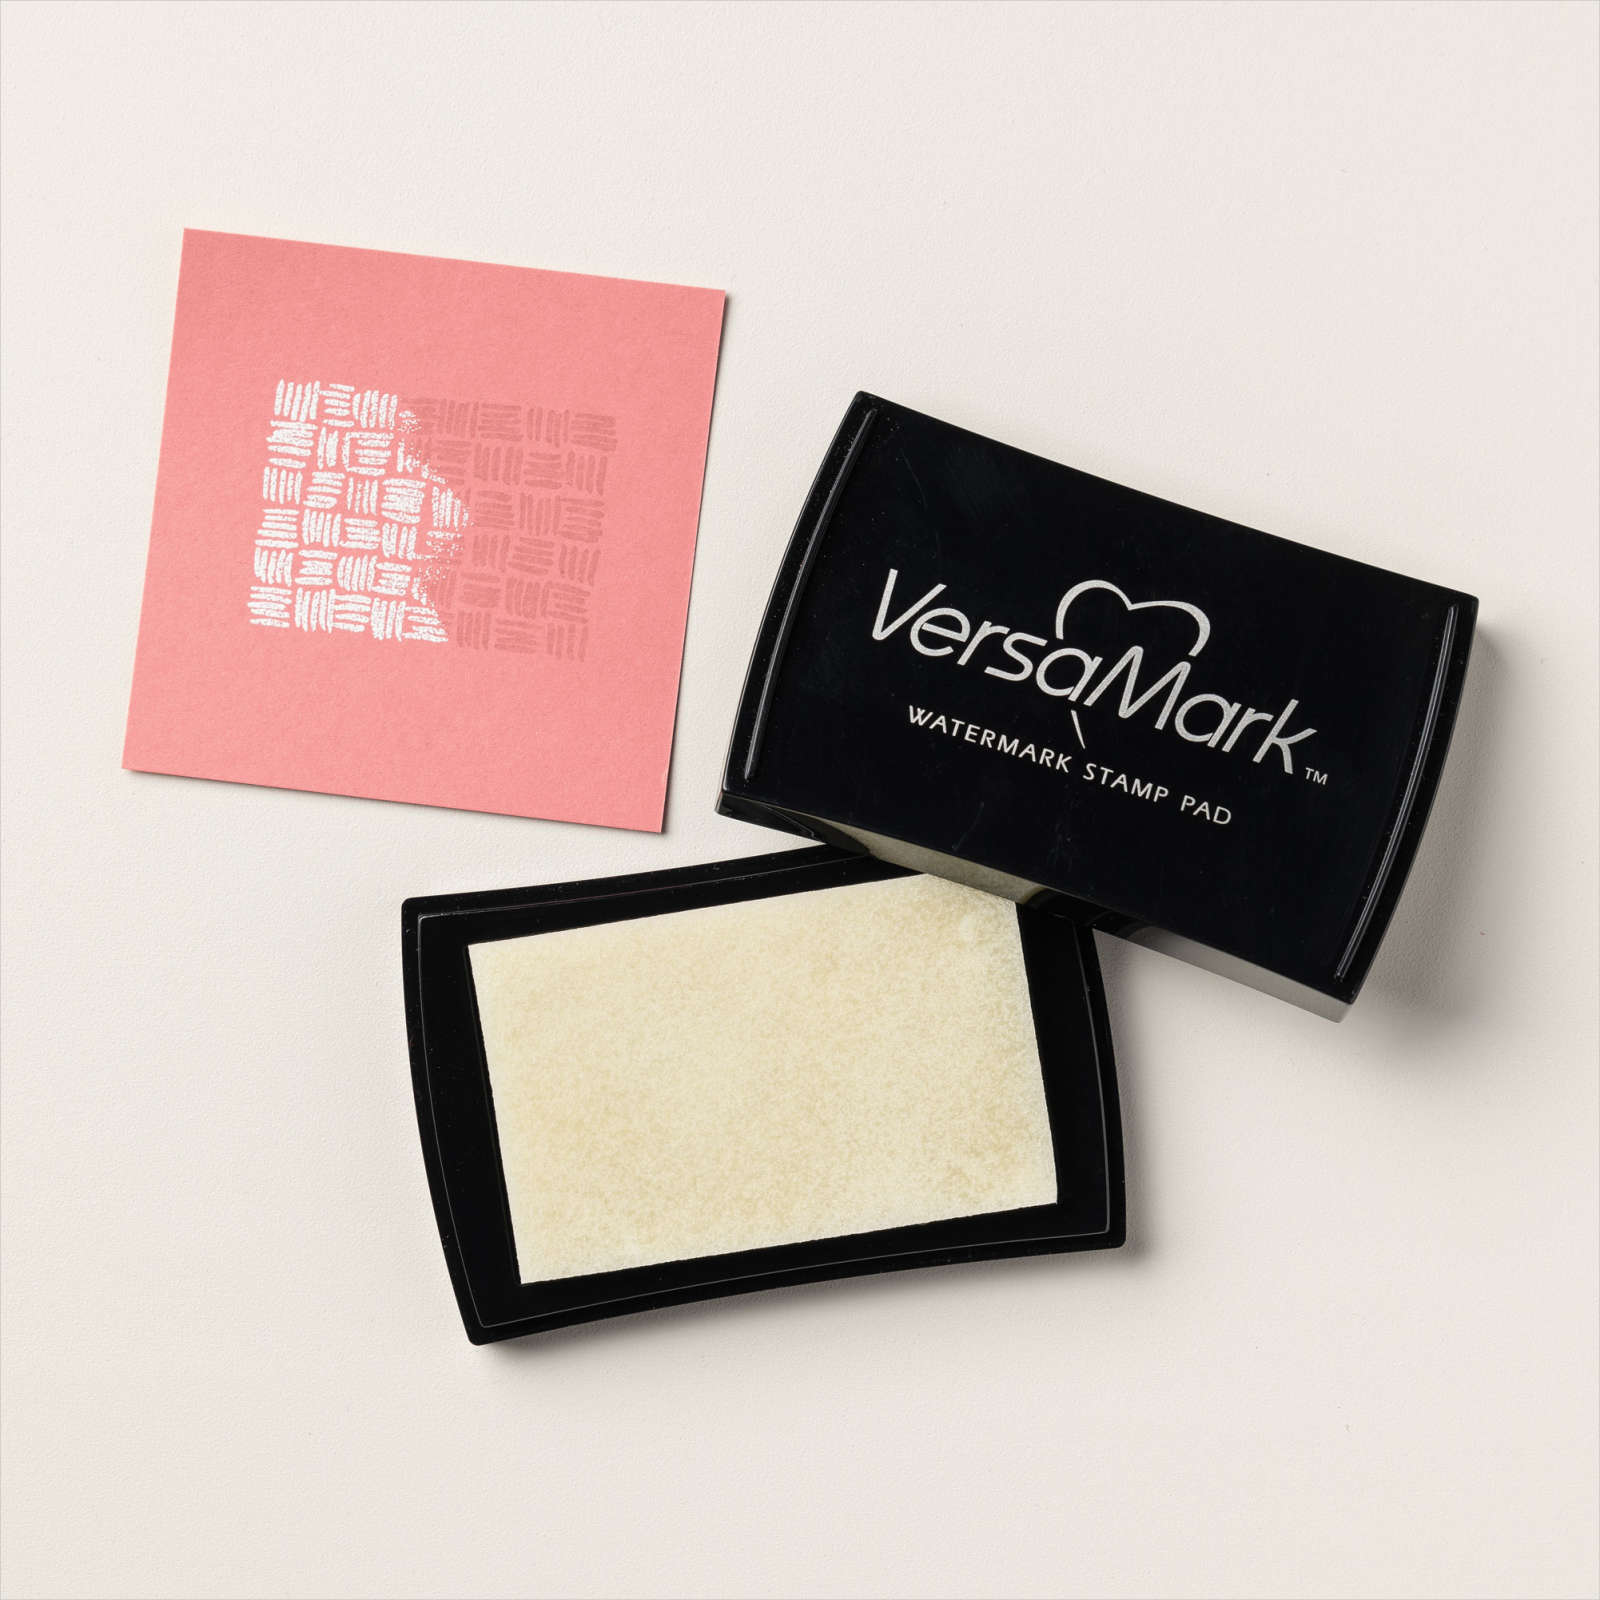
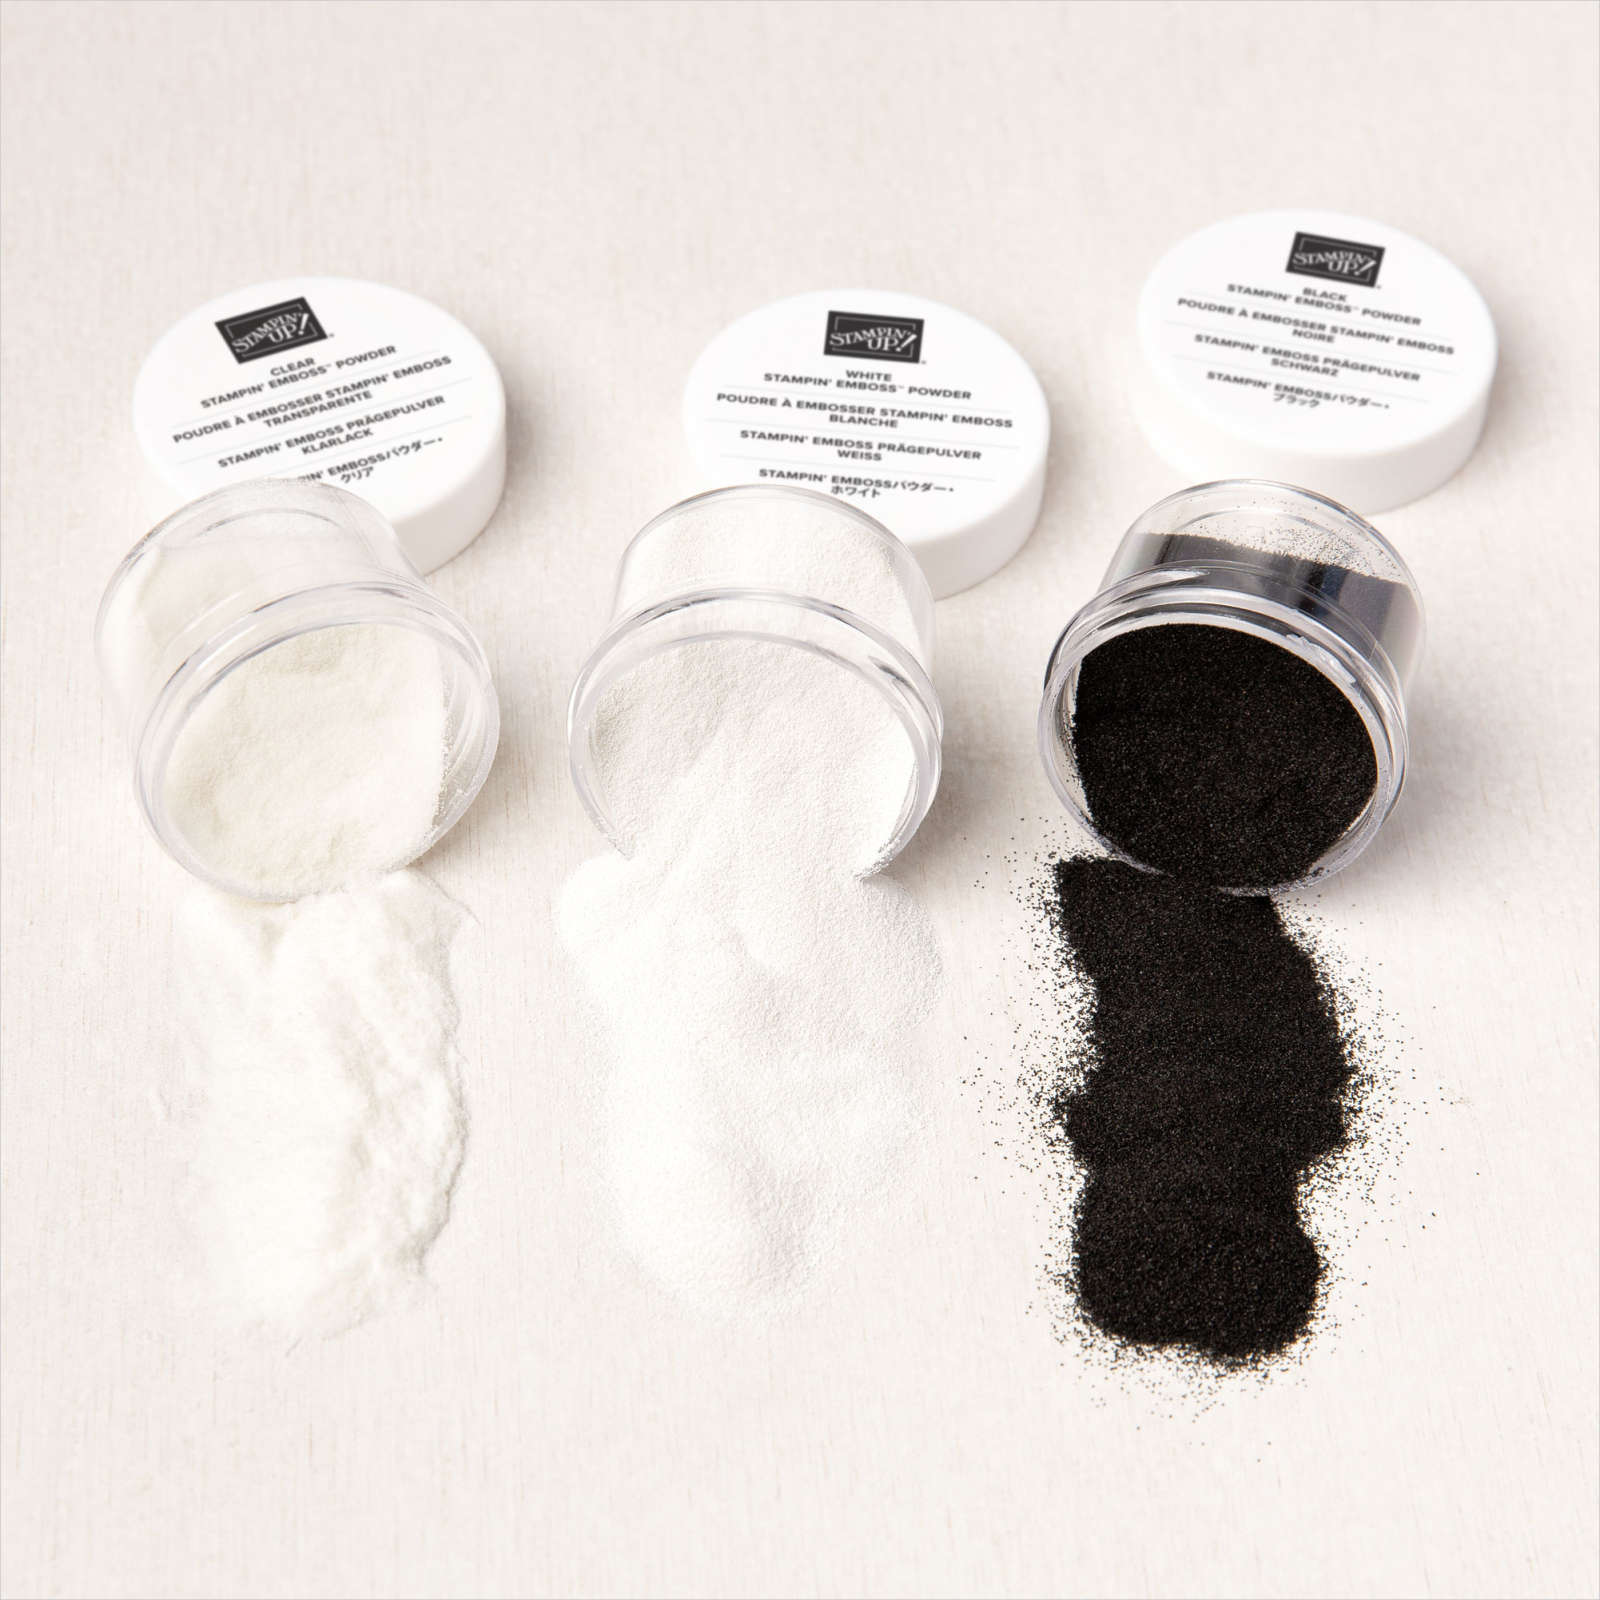
To start this card, I stamped the triangle texture stamp with VersaMark in a few places onto a 4″ x 5 1/4″ Basic White cardbase layer. Then I heat embossed them using Clear Embossing Powder and my heat tool. 

Tip:

To save my finger while heat embossing. I took a 6″ x 6″ piece of cardboard, wrapped it in tinfoil, and added a clothespin to the edge. That way, when I am getting ready to heat emboss, I clip the cardstock onto the foil-wrapped cardboard, and it saves my fingers from getting burned!


Brightest Beauty Patriotic Card

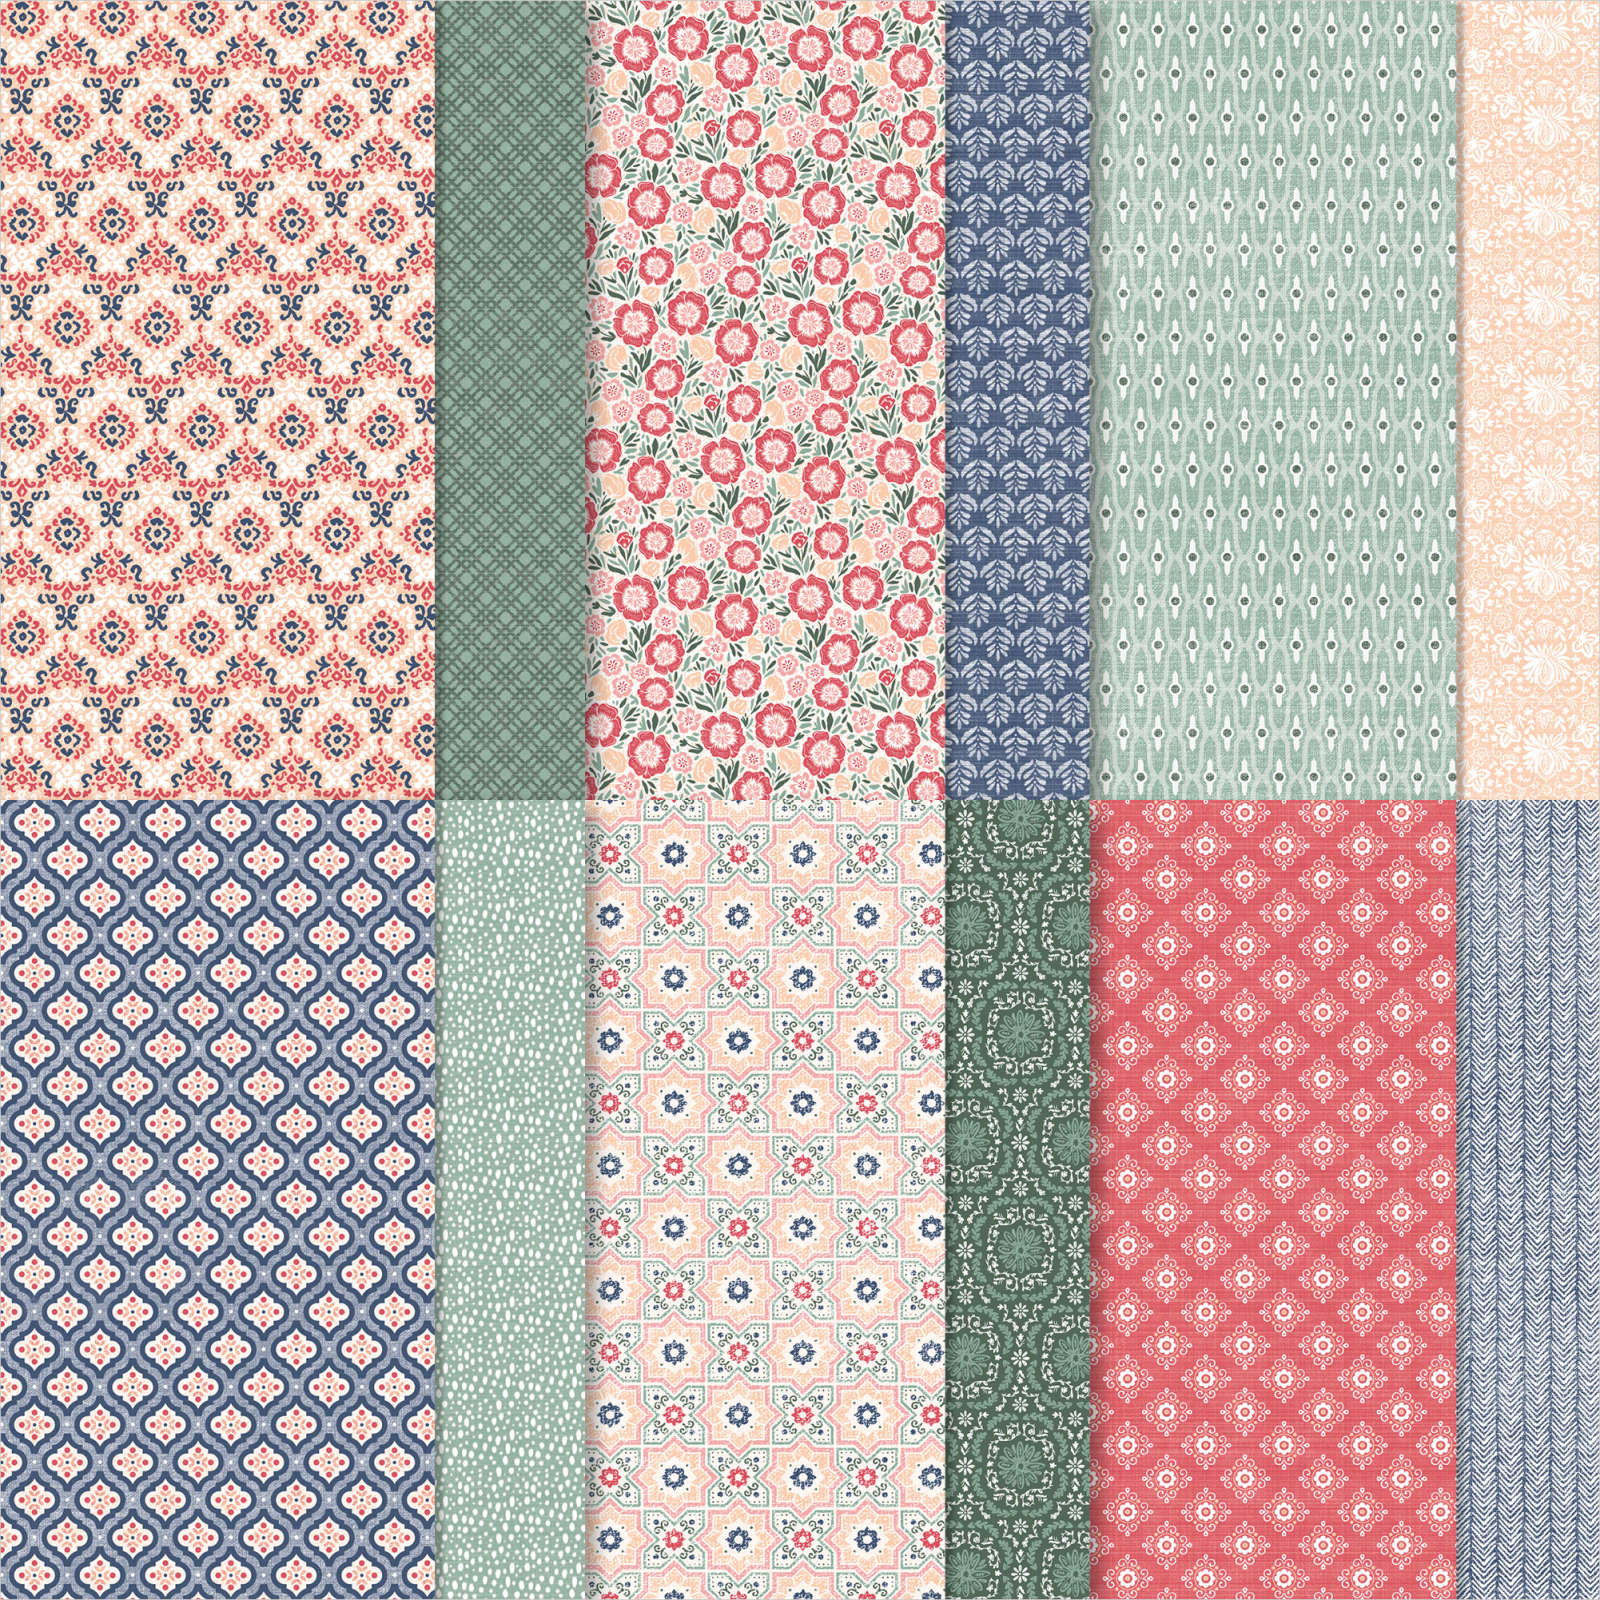
I cut a strip of blue & white patterned paper from the Lovely In Linen DSP and glued it down to the Basic White cardstock I just embossed. 

Now wrap some linen thread around the white card stock layer three times and tie a knot on the backside. You can now add this layer using Stampin Dimensionals to a 8 1/2″ x 5 1/5″ Crumb Cake cardbase that was scored and folded at 4 1/4″ 

Brightest Beauty Patriotic Card

Creating the die-cut flower tag

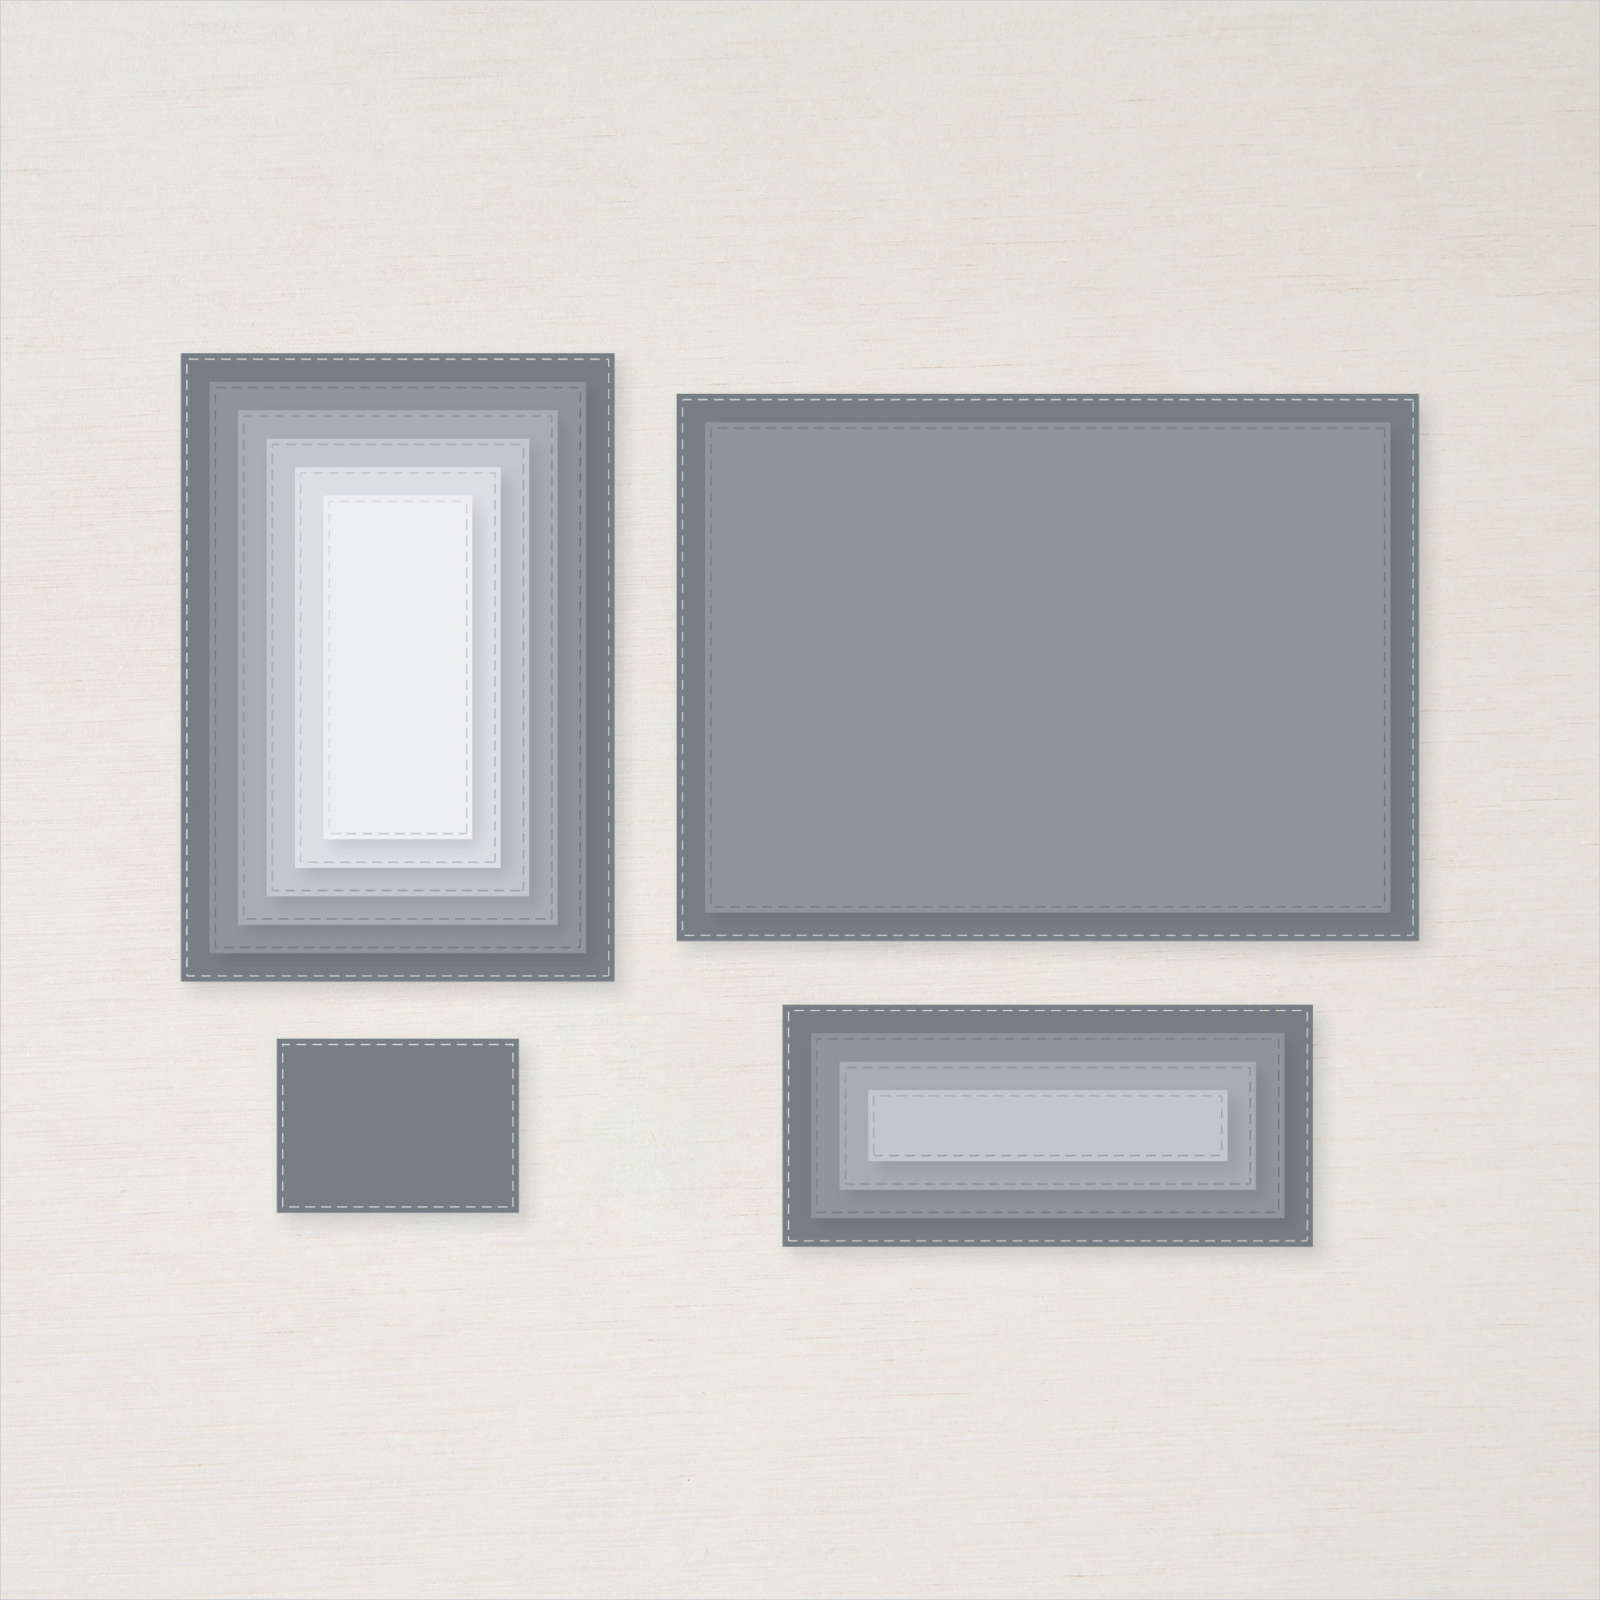
I used my 4th from the largest (2 3/4″ x 4 1/16″) Rectangle Stitched Die and cut it out in Sweet Sorbet cardstock.

Then using the Golden Beauty dies, I cut out several stems of both sizes in Garden Green. For the flower cluster and smaller flowers, I cut out several in Basic White, Night of Navy, Real Red, Sweet Sorbet cardstock, and Real Red DSP.

Die-cut a Night of Navy decorative edge tag for the sentiment.

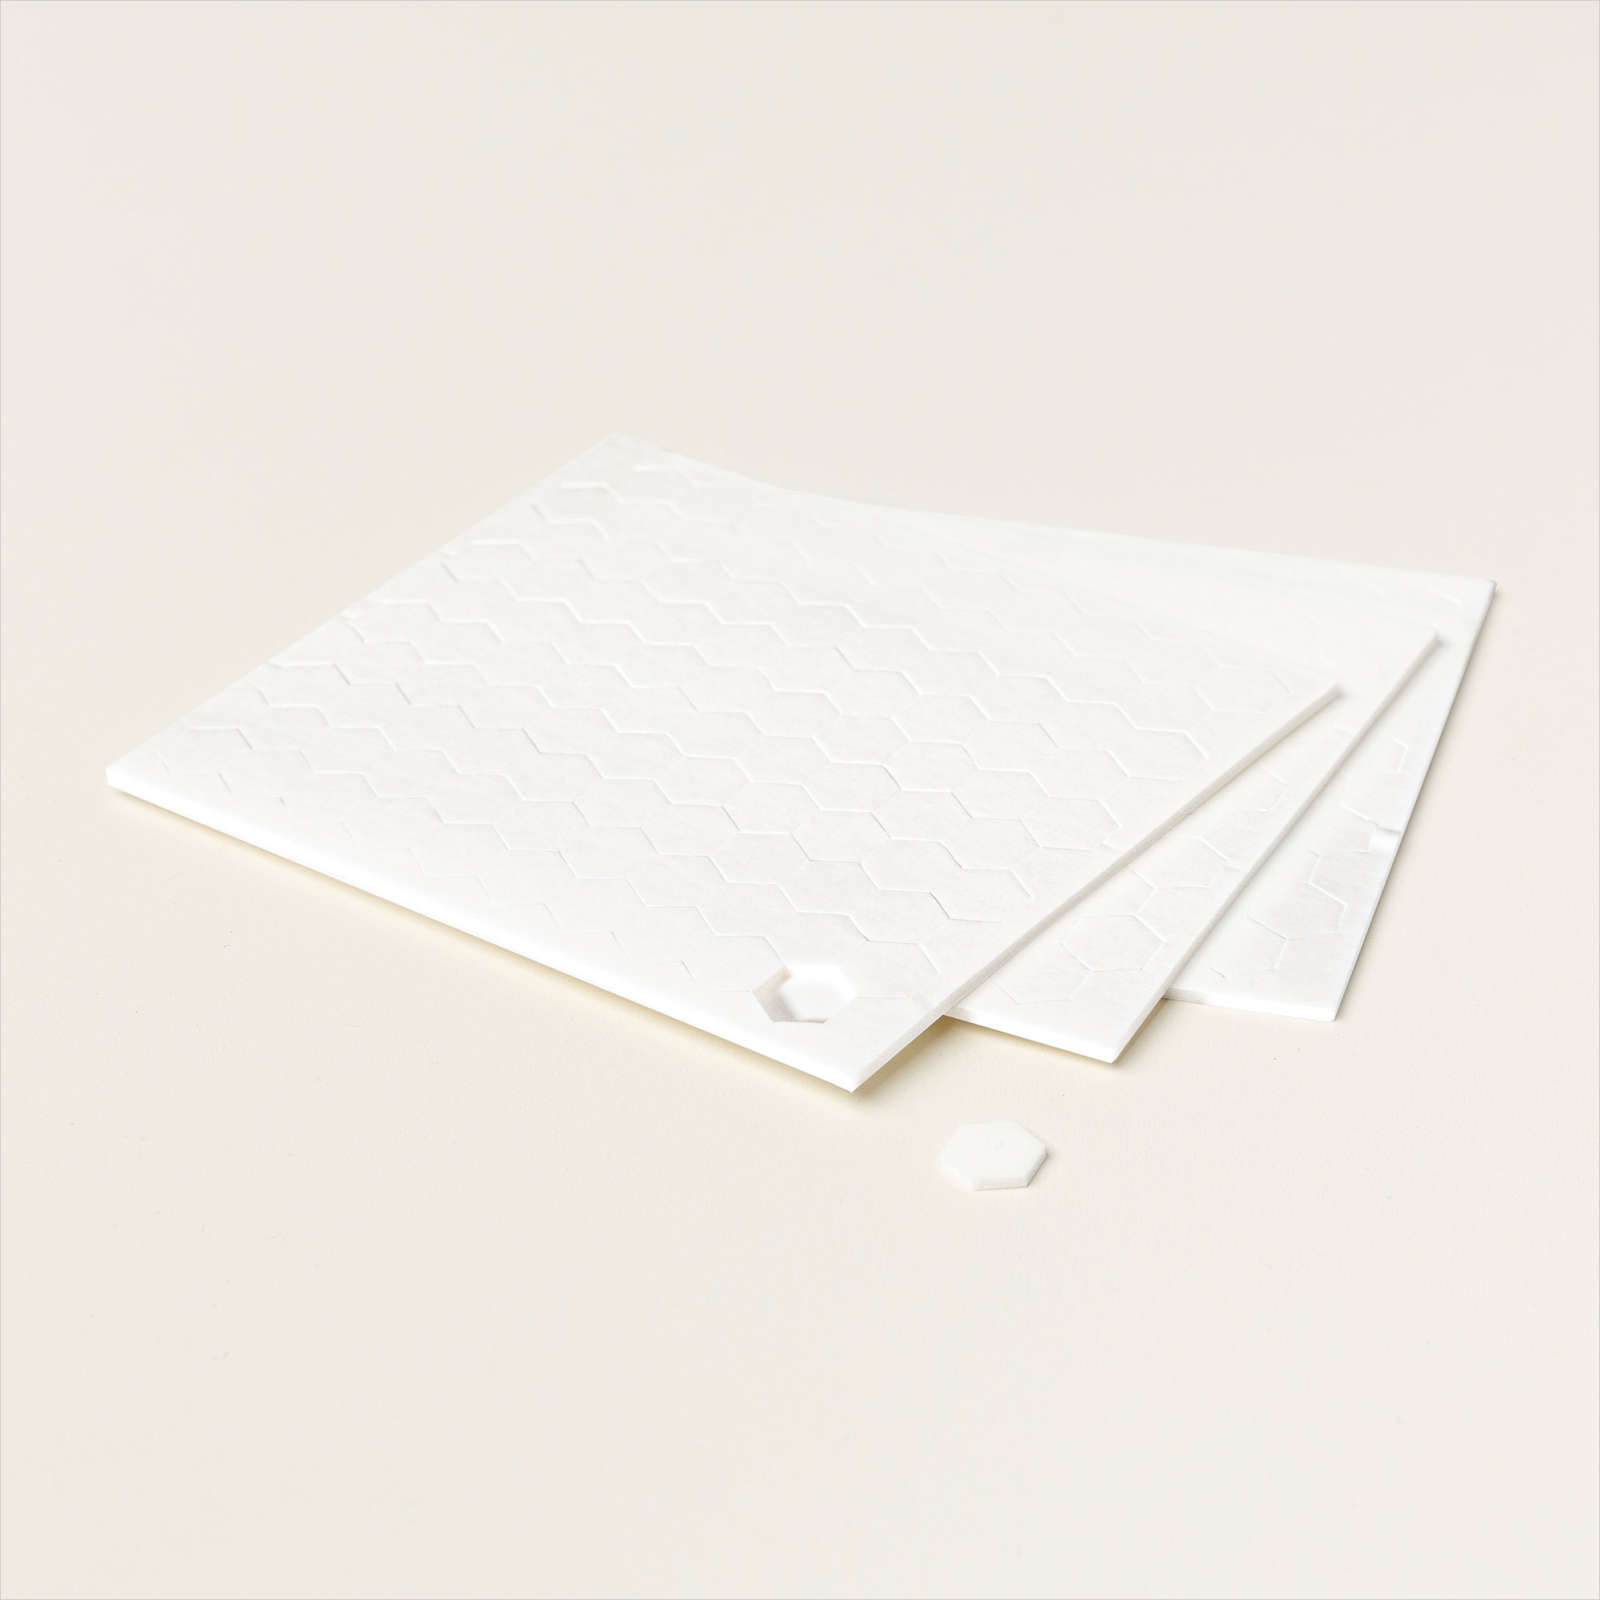
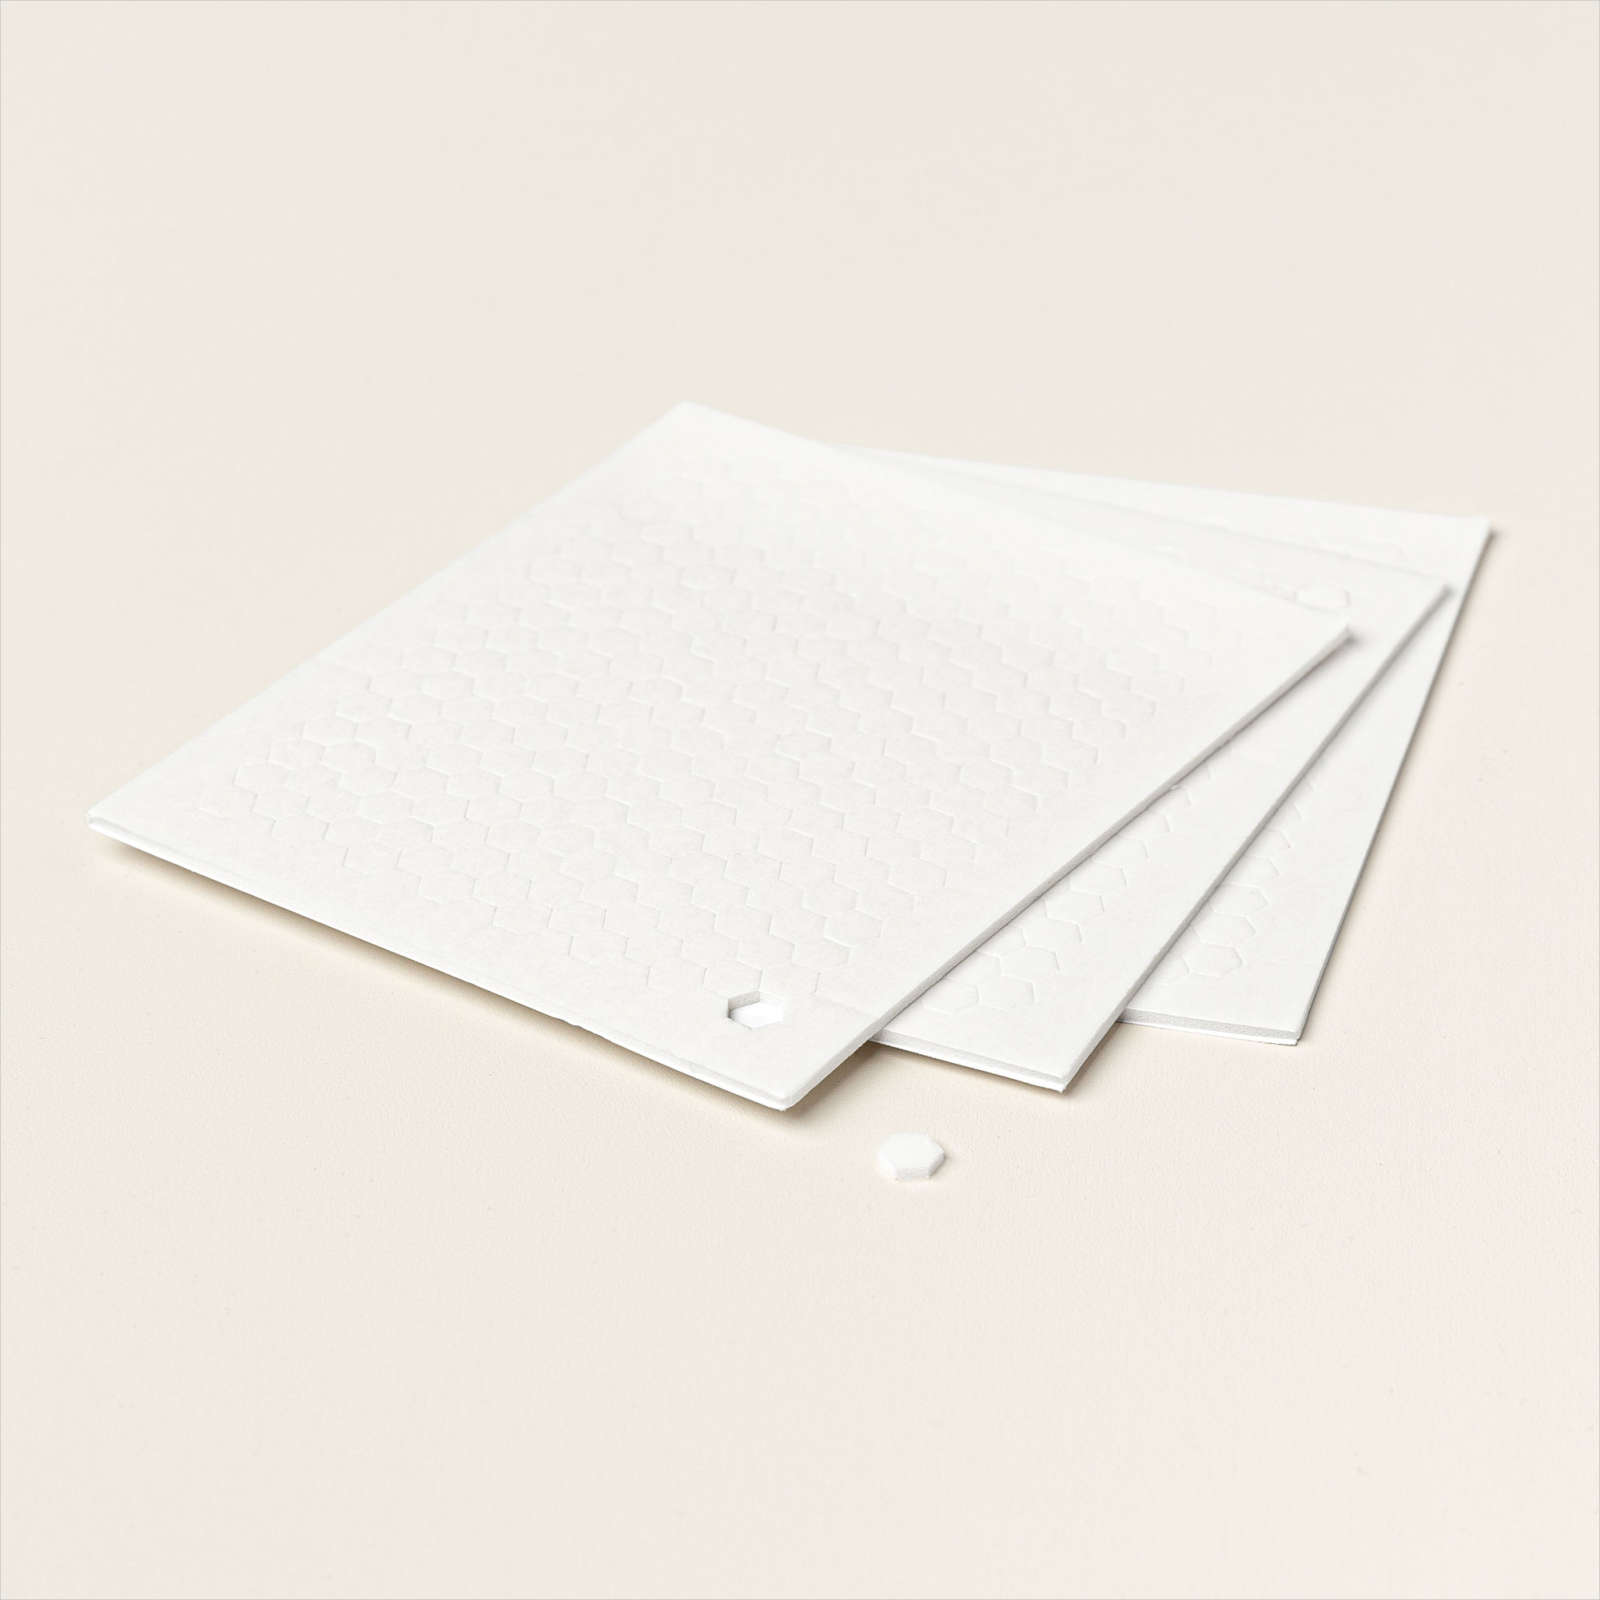
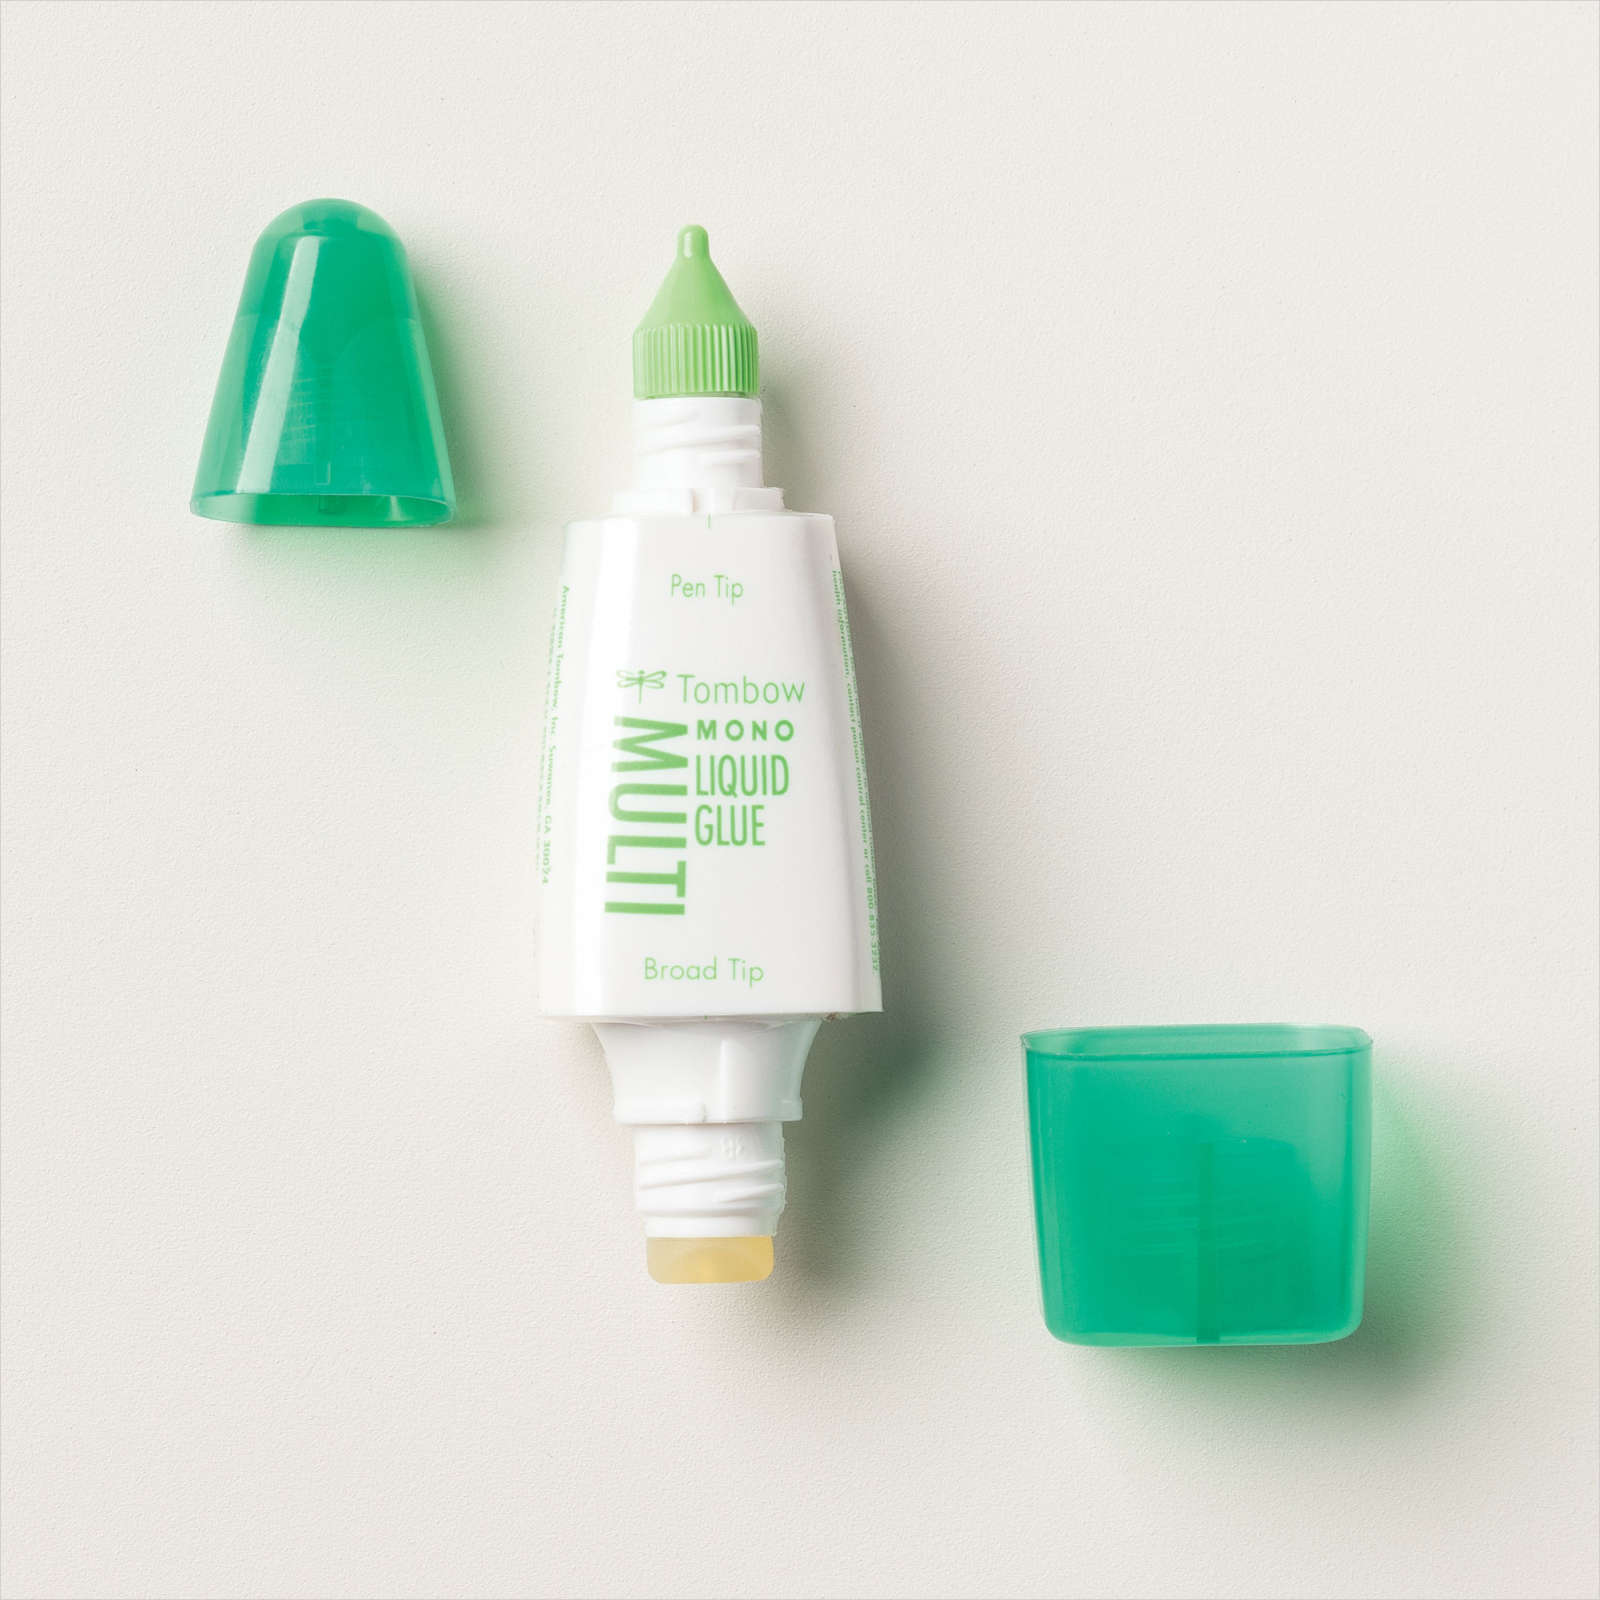
Once I had everything die-cut. I started by laying out the stems. I glued down the first two at the bottom and then butted another stem on top of it to create a taller branch. Don’t worry about the seams on the stems. You will cover them up with flowers. After my branch was glued down to the Sweet Sorbet die-cut, I started laying the flowers down to create a pattern I liked. Once I was happy with the arrangement, I adhered to the flowers using Mini Stampin Dimensionals. I then glued some of the smaller flowers to the double cluster flowers and finished by adding any additional ones I felt I needed to balance out the arrangement. Using Stampin Dimensions, you can now add the completed flower layer to the center of the cardbase.

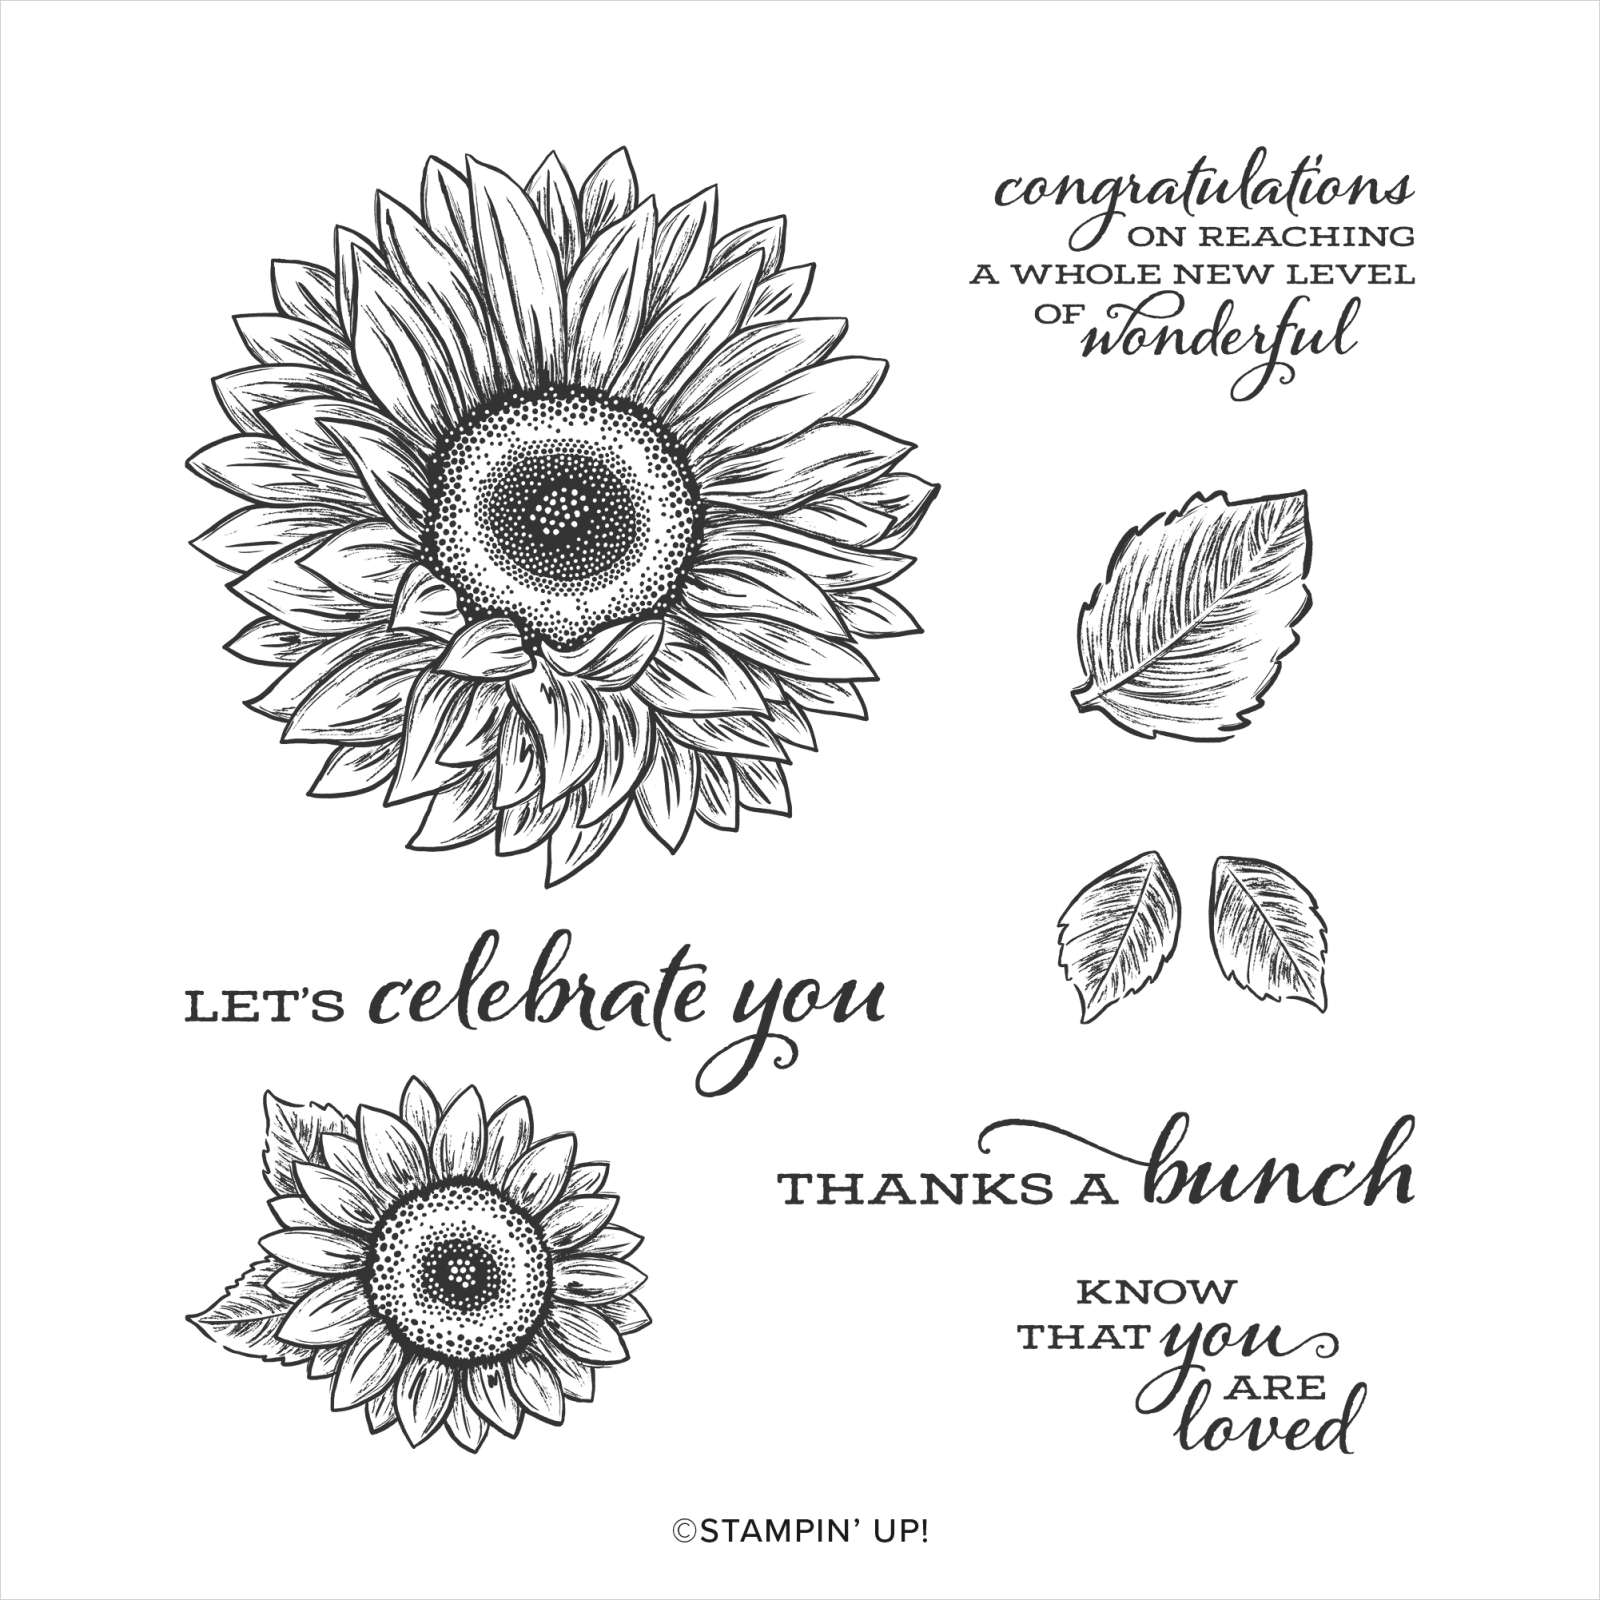
Stamp the “Let’s Celebrate” sentiment from the Celebrate Sunflowers stamp set using Sweet Sorbet ink onto Basic White cardstock. I fussy cut out the sentiment and mounted it to the Night of Navy decorative die-cut tag using Stampin Dimensionals. You can now add the completed sentiment layer to the bottom right edge of the die-cut flower tag you created.

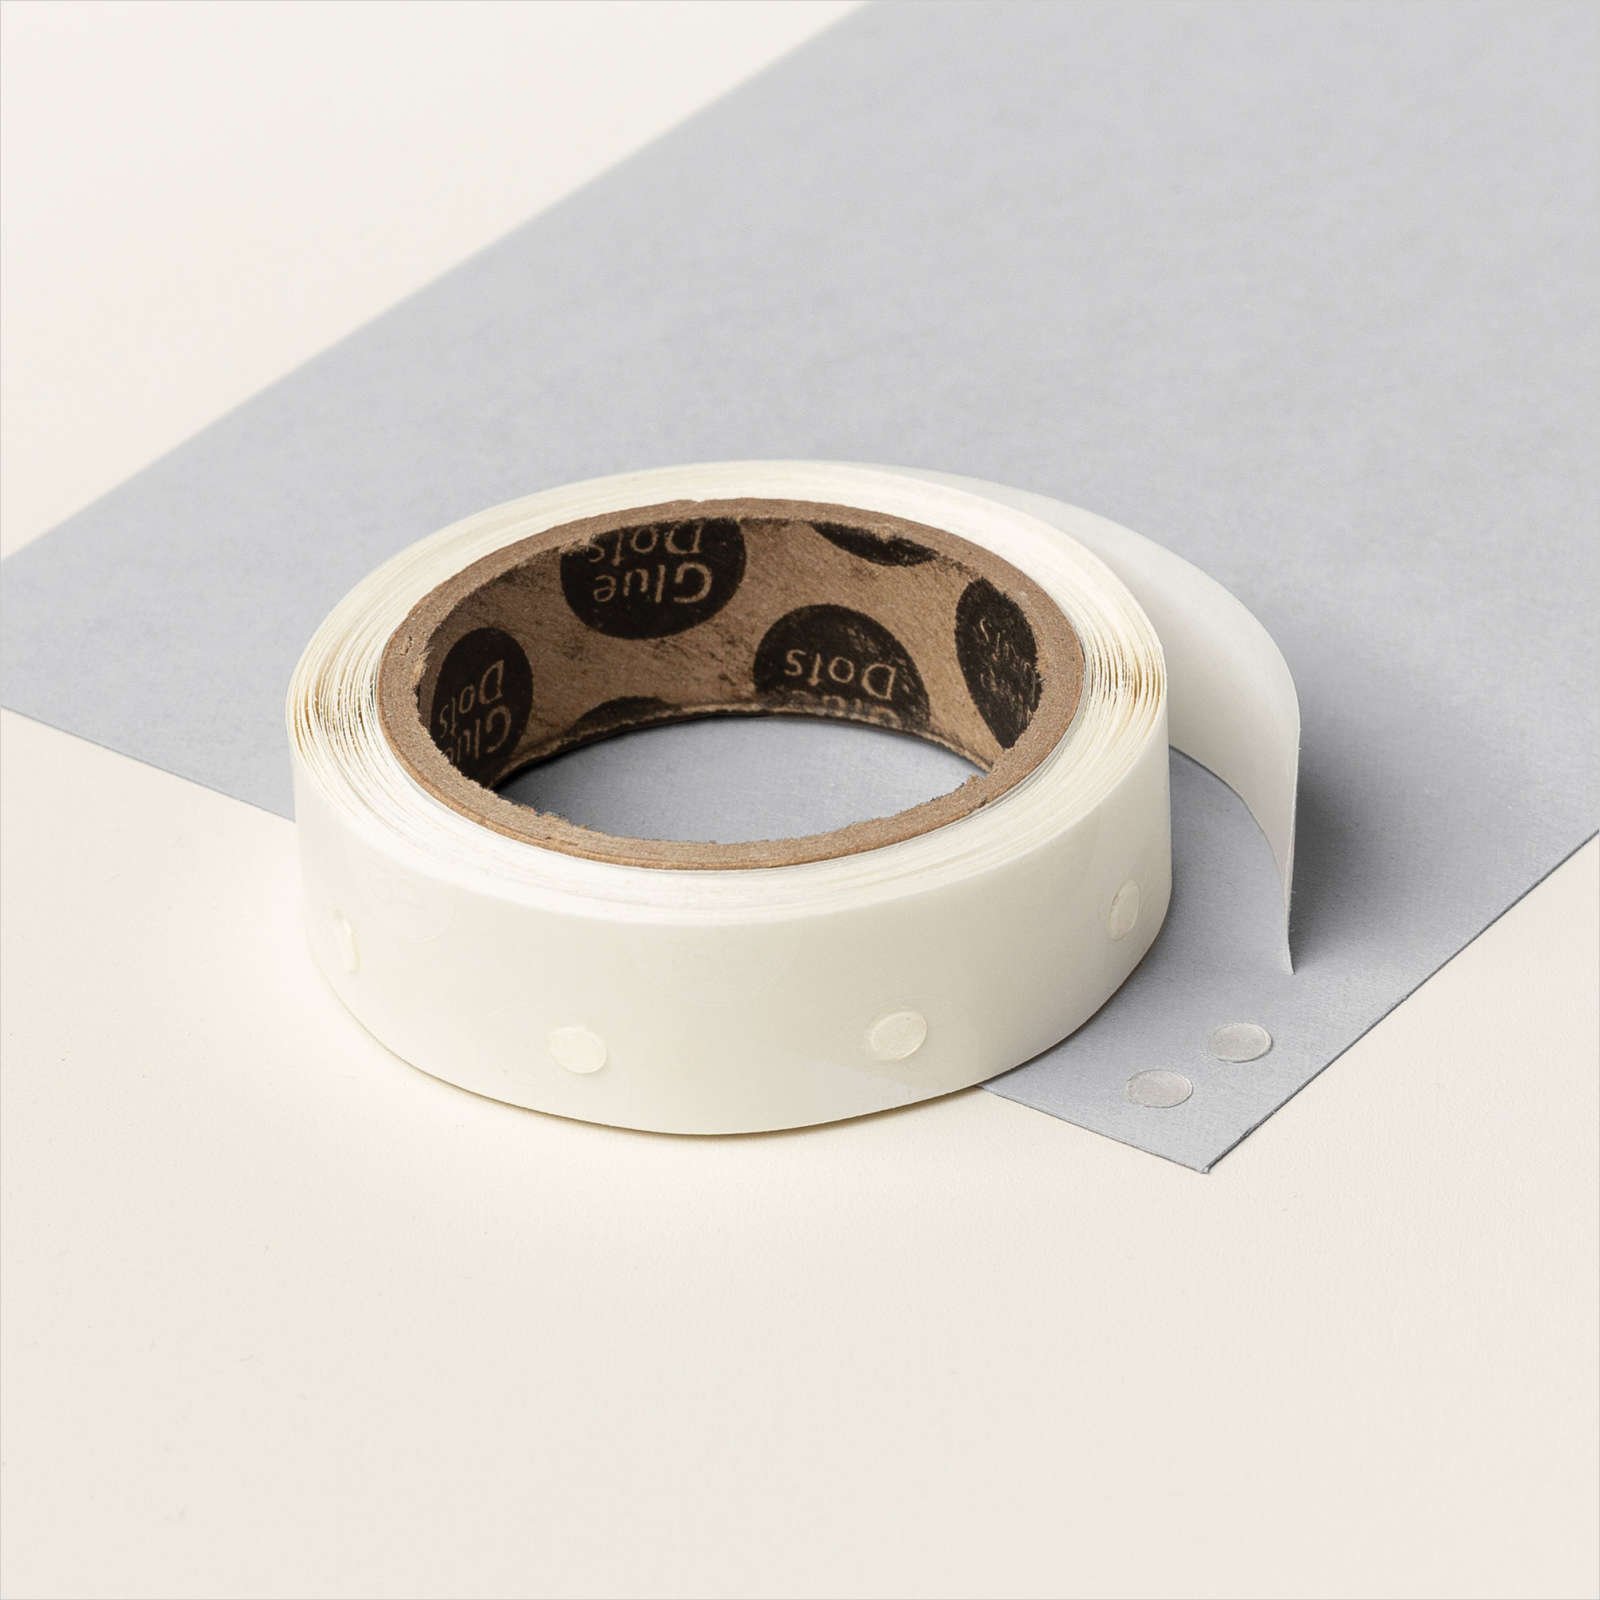
I created a triple bow and added it to the left edge of the sentiment layers using a Mini Glue Dot. Then lastly, I added the bling using Rhinestone jewels!

I hope you enjoyed this Brightest Beauty Patriotic card as much as I have. I like to challenge myself to create holiday-related cards from non-holiday stamp sets to show my customers more options for using their stamp sets!

You may purchase these products I used in my online Stampin’ Up! Store by clicking any of the product photo links at the bottom of the post.  Remember, now through August 31st, during the Sale-A-Bration promotion, you will earn free items for every $50 in merchandise you spend you can see the catalog by clicking on the image on my sidebar of this page. 

Thanks for stopping by today.

Happy Stamping!


Card Stock Sizes:

  • Crumb Cake – 4 1/4″ x 11″
  • Basic White – 4″ x 5 1/4″
  • Lovely In Linen DSP – 1 1/2″ x 5 1/4″
  • Sweet Sorbet – 3″ x 4 1/4″ rectangle stitched die-cut
  • Night Of Navy – 3″ x 1 1/4″ sentiment die-cut tag
  • Basic White – 2 1/2″  x 3/4″ sentiment
  • Real Red DSP – 2 1/2″ x 2″ flower die-cuts
  • Sweet Sorbet – 2 1/2″ x 2″ flower die-cuts
  • Basic White – 2 1/2″ x 2″ flower die-cuts
  • Night of Navy – 2 1/2″ x 2″ flower die-cuts
  • Garden Green – 2 3/4″ x 4 1/2″ stems die-cuts

Items used to complete this card:
Basket weave background

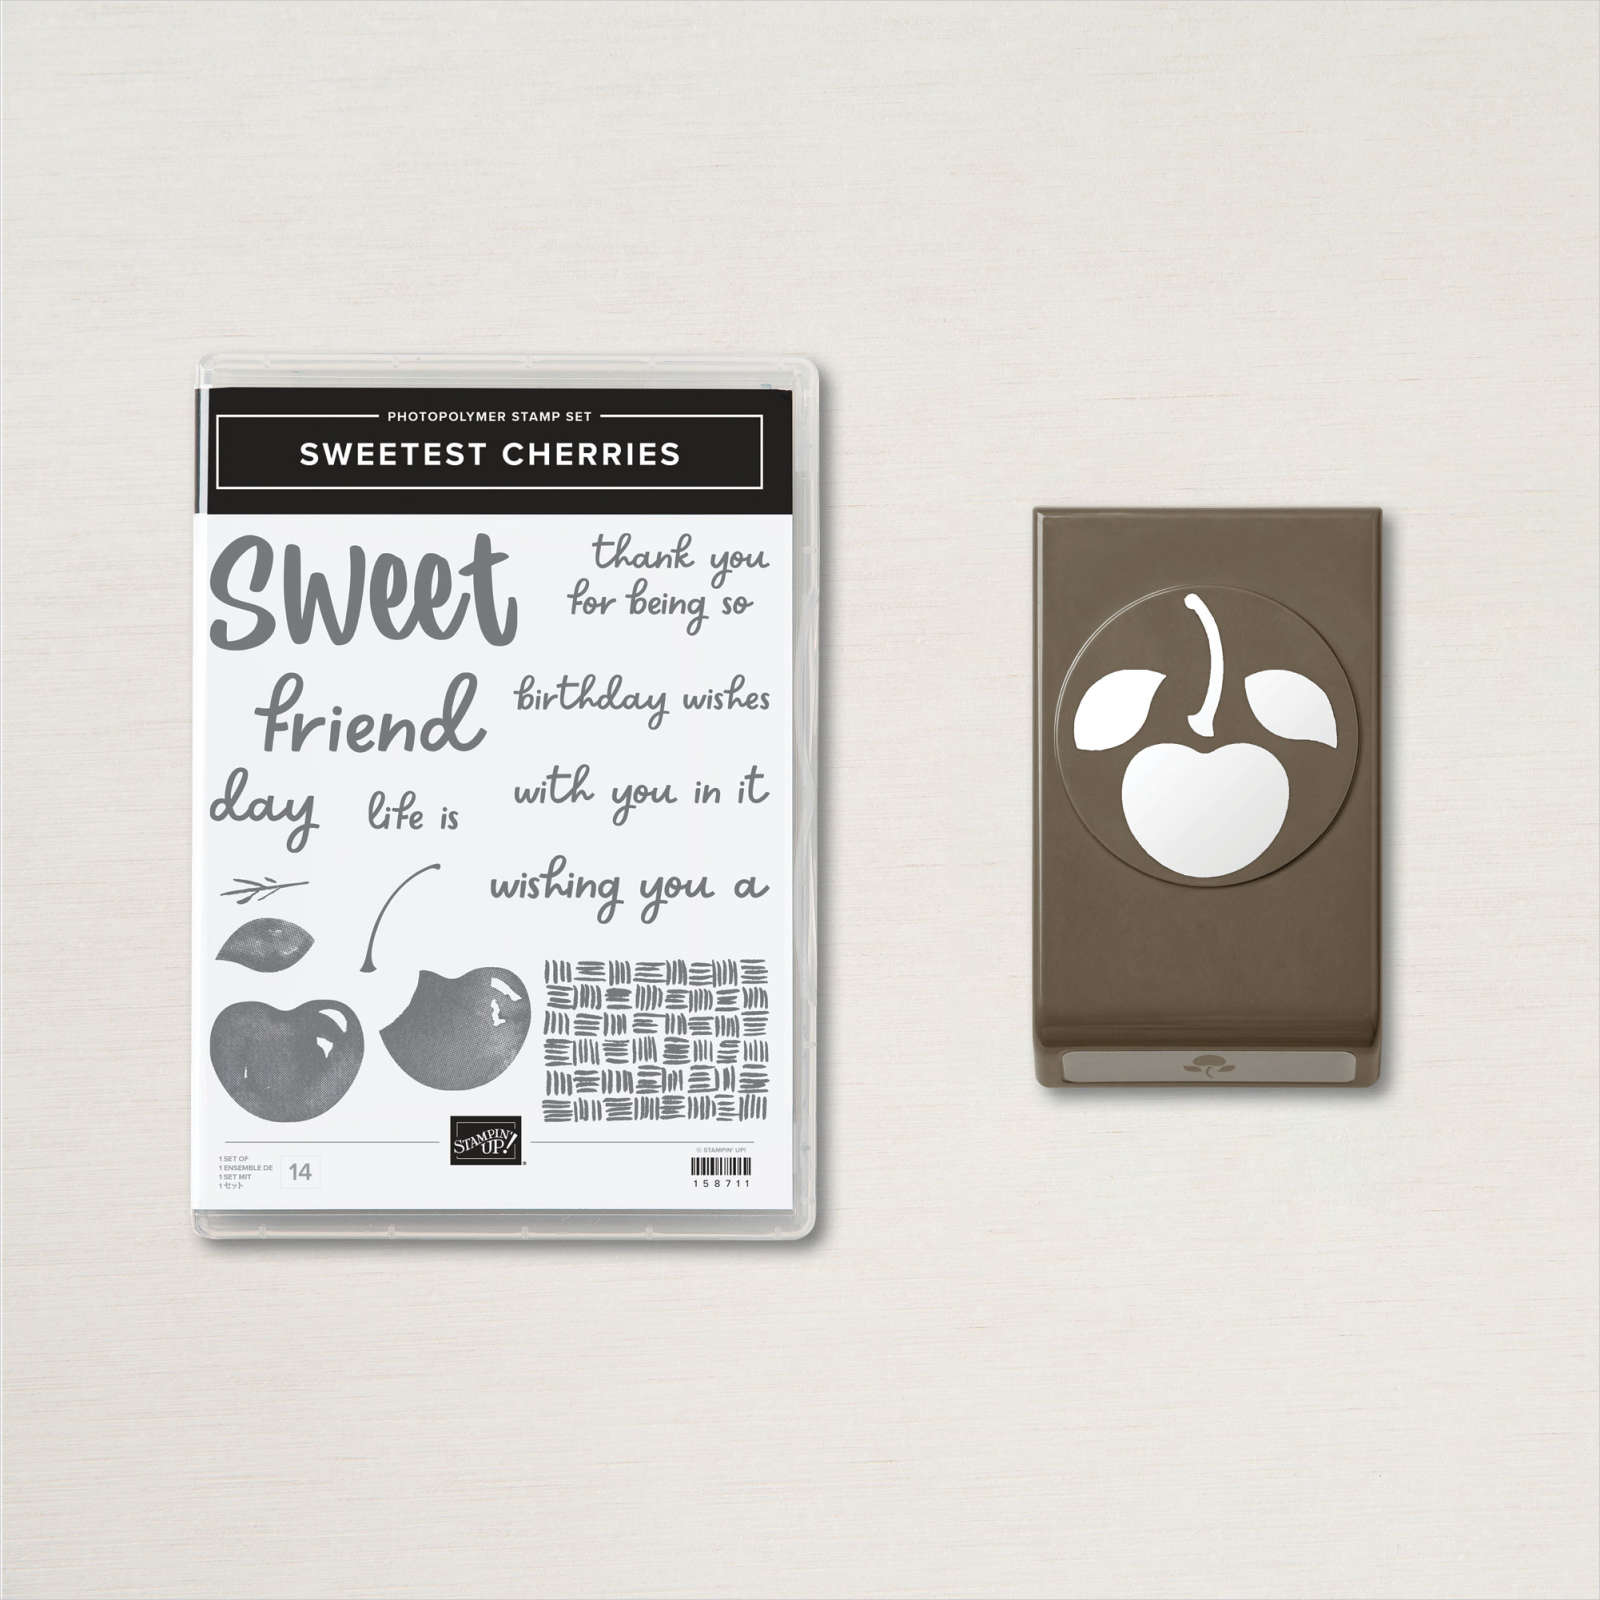
Hello, fellow crafters! Today I am sharing this sweet card using the uber-fun Sweetest Cherries bundle you will find on page 19 of the Stampin’ Up! Annual catalog. Did you notice the basket weave background on my card? I will show you how I did it. 

Basket weave background

To start this card, I stamped the sentiment “Sweet” all over the 5 1/2″ x 8 1/2″ (scored at 4 1/4″) Crumb Cake cardbase using Crumb Cake ink.

Tip:

I always start with stamping the first time in the middle of the cardstock, then out, up, and down. This will ensure the exact stamp placement throughout the card for a consistent design.

Next, I created the basket weave background!


Basket weave background

Creating the basket weave background

To create the basket weave background. I cut a bunch of strips of Crumb cake cardstock 1 3/8″ wide and 8 1/2″ long. I cut up a full sheet of cardstock and made extra strips because I wasn’t sure how many strips I would need, and now I have extra for another project.

Once I cut up all of the Crumb cake cardstock strips. I stamped the basket weave stamp image from the Sweetest Cherries stamp set down each strip of cardstock. The pattern lined up perfectly for me, so it is easy to achieve a consistent stamp image on each strip of cardstock. Once you have finished stamping each strip, take your Paper Trimmer and cut each strip into three separate strips between the basket weave pattern. Each strip should have two rows of the pattern.

Now I cut my smaller strips down to the size I had decided on for making this card. For this project, I have five strips at 4 3/4″ and seven at 3 1/4″. Now the fun part is that I laid down the five 4 3/4″ vertical strips first, then wove in the 3 1/4″ horizontal strips to create the basket weave background. After I was happy with the layout of the basket weave, I glued it to the center of my Crumb Cake cardbase.

Basket weave background

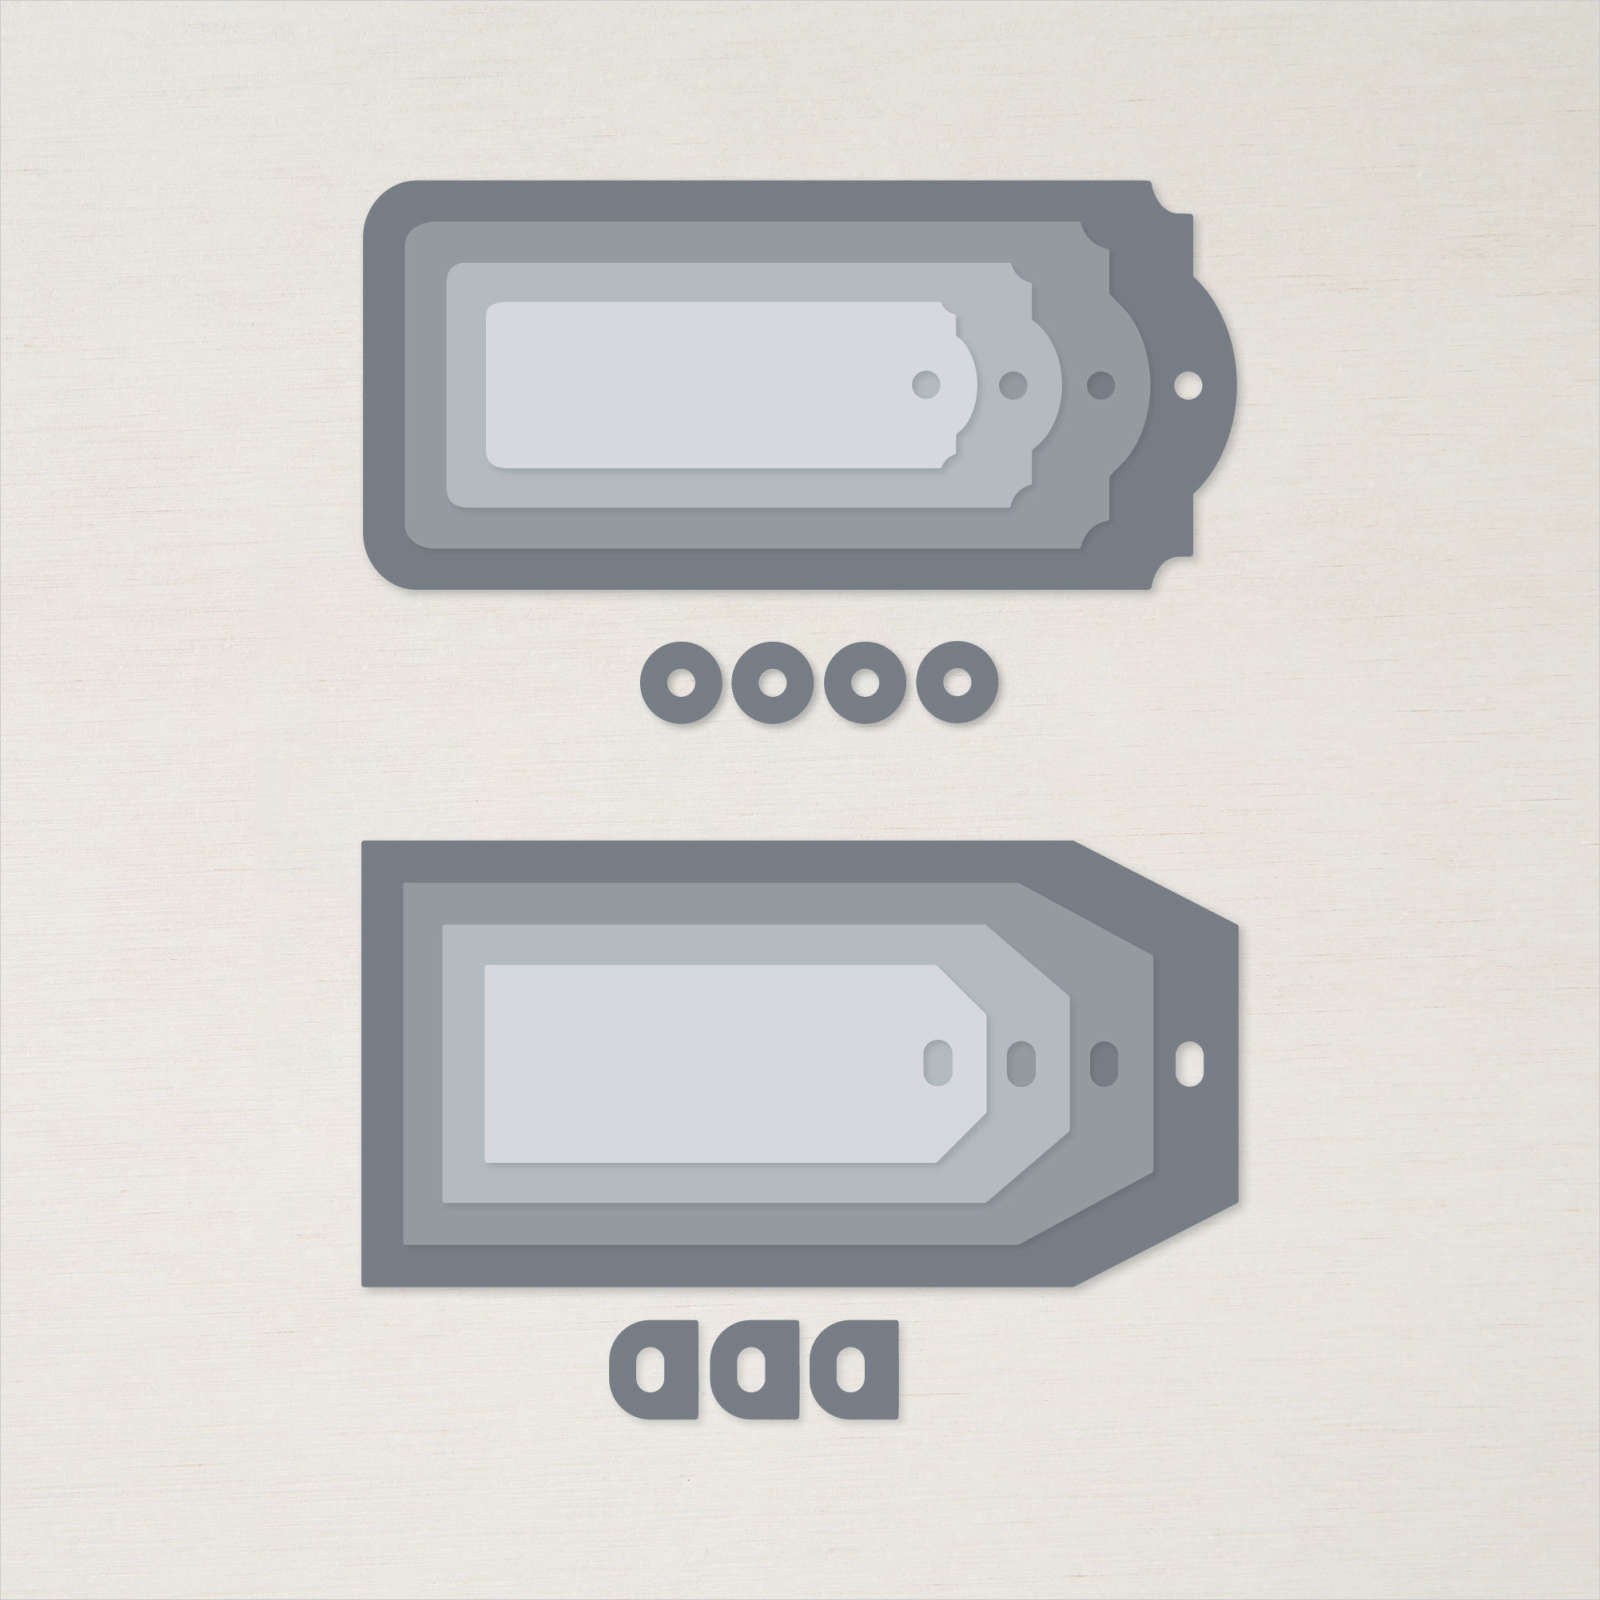
To finish out the card, I die-cut a Tahitian Tide Tailor Made Tag. I added three cherries with stems and leaves I punched out using the Cherry Builder Punch. Glue down the cherries and use a Stampin’ Dimensional just on the leaves. By doing that, you will give the cherries some dimension. I popped the word “Sweet” that I stamped in Memento Tuxedo Black ink onto Basic White cardstock and fussy cut it out. Then I stamped the sentiment “thank you for being so” above the word sweet.


To create the cherries:

  • Stamp three cherries using Real Red ink on a 1 1/4″ strip of  Basic White cardstock and punch out.
  • Stamp three stems and four leaves using Garden Green ink on a 1 1/4″ strip of  Basic White cardstock and punch out.
  • Glue the punched stems to the top of the cherries. I glued one left facing right. Then I glued two leaves facing opposite ways on another cherry. I left the last leaf off until the very end because I knew the top left cherry would run off the edge of the card.
Basket weave background

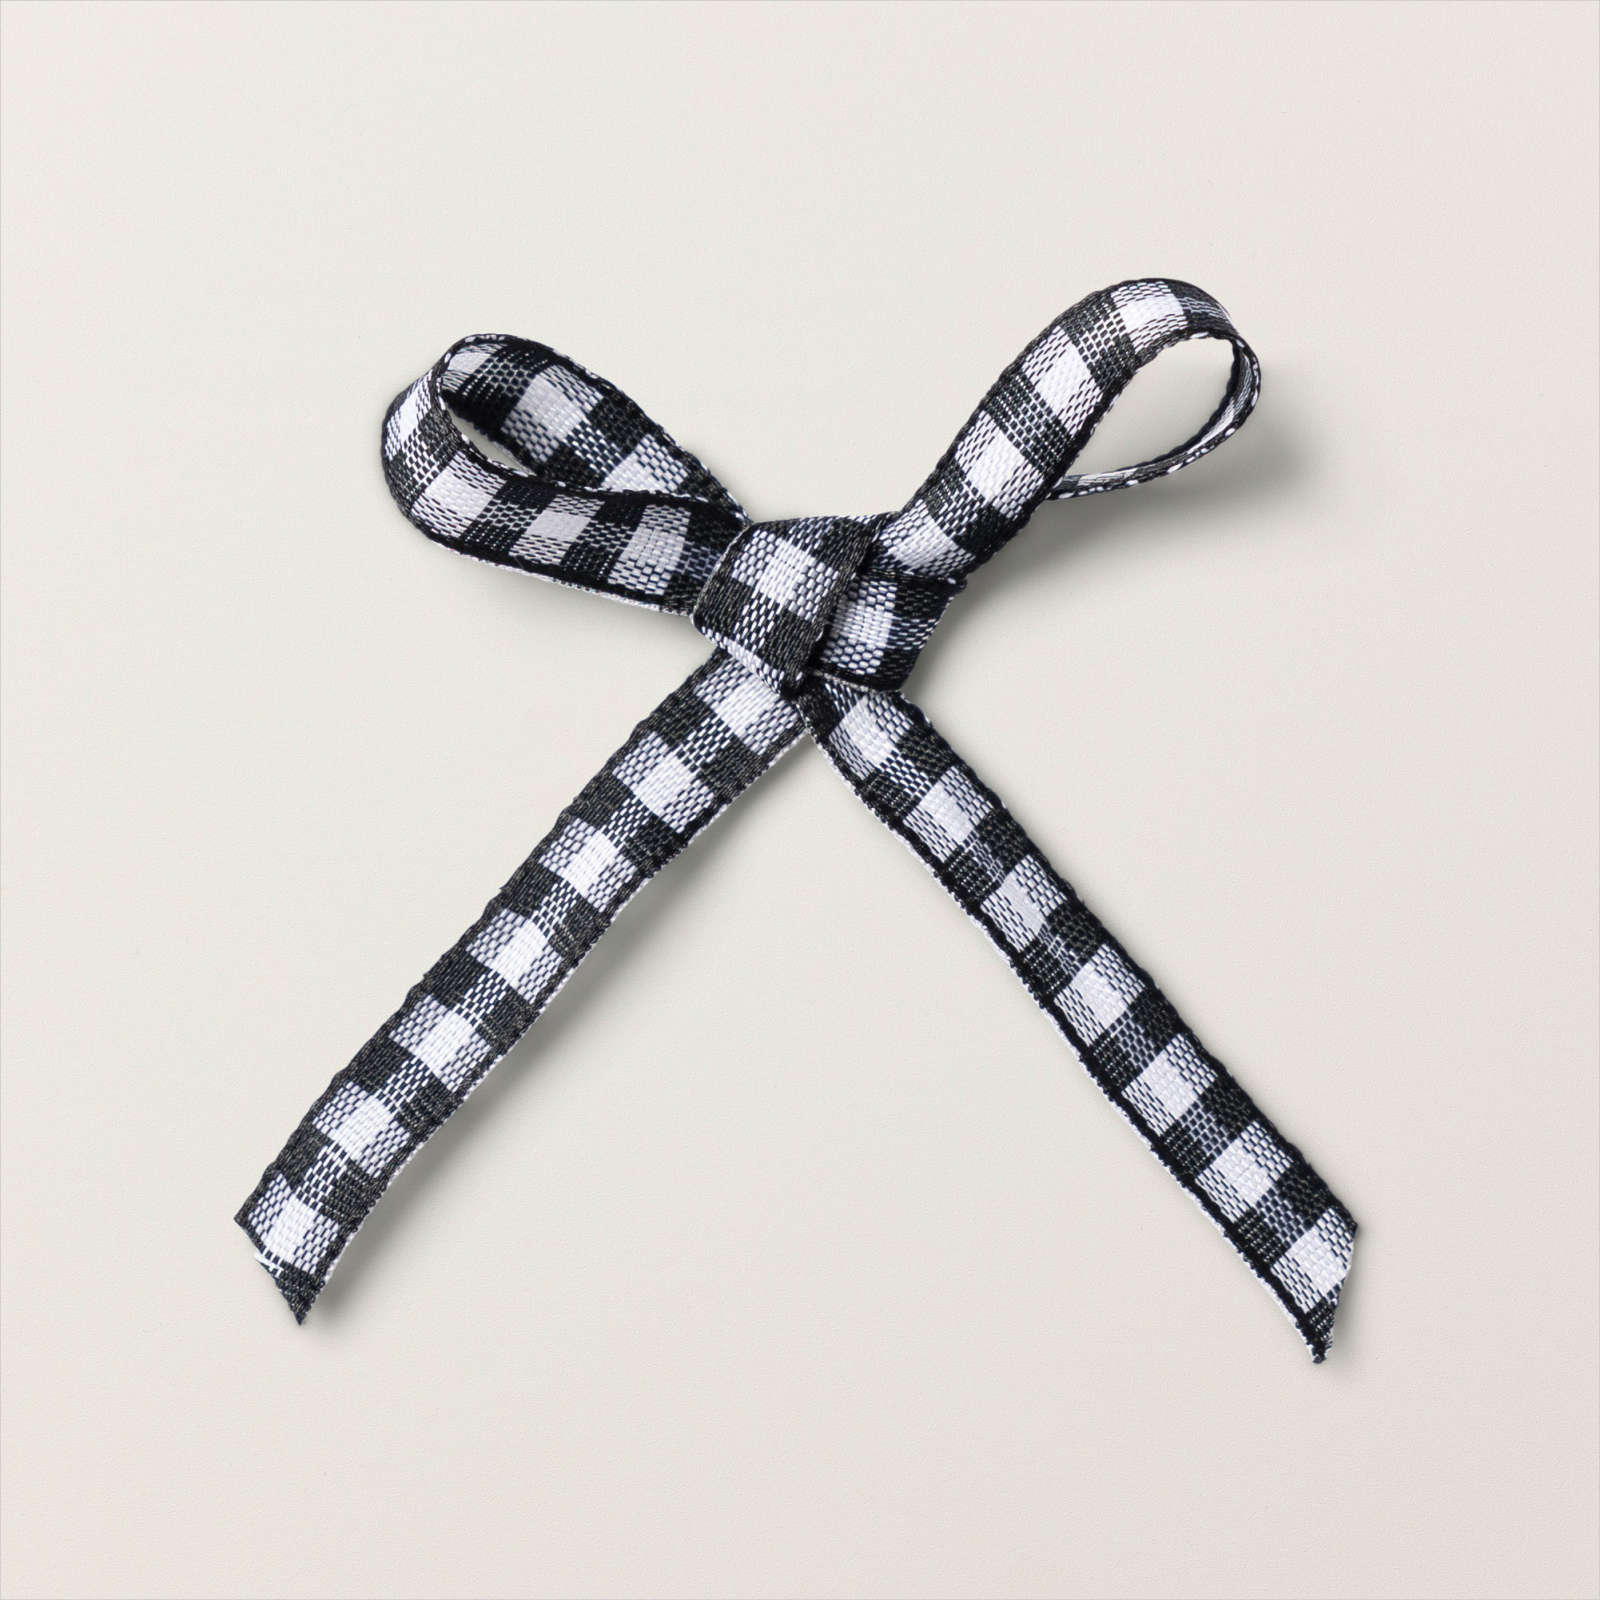
Once I had all of the tag elements glued down. I took two 4″ pieces of Black Gingham ribbon and cut them in half lengthwise to create four separate pieces of ribbon. I threaded the ribbon pieces through the tag hole, tied a piece of Sweet Sorbet bakers twine around, and made a bow. After finishing the tag, I adhered it to the center of the Crumb Cake cardbase using Stampin Dimensionals. Now that you have your tag on the cardbase, you can trim the upper left cherry stem and glue down the leaf, so it fits on the card. And bam, you are done! Holy smokes, that was a lot of typing…it probably would have been faster to do a video, LOL!

Isn’t the Sweetest Cherries Bundle awesome!!! I have had a lot of fun creating projects with this stamp set and coordinating punch! This is a must-have bundle in my book.

You may purchase these products I used in my online Stampin’ Up! Store by clicking any of the product photo links at the bottom of the post. 

Thanks for stopping by today.

Happy Stamping!


Card Stock Sizes:

  • Crumb Cake – 5 1/2″ x 8 1/2″
  • Crucb Cake – (4) 1 3/8″ x 4 3/4″ to create the basket weave background
  • Tahitian Tide – 2 1/8″ x 4″ – die-cut tag
  • Basic White -1 1/4″ strip for (3) cherries & stems and (4) leaves
  • Basic White – 3″ x 1 1/4″ Sentiment layer

Items used to complete this card:
Free Shipping June 21st

Today, June 21st, Stampin’ Up! offers FREE shipping on orders subtotaling $75 or more!

Free shipping June 21st
  • Check out the Last Chance Items and get your retiring favorites from the Jan-June Catalog before they are gone for good.
  • Hit up the Clearance Rack.
  • Don’t forget, the Kits Collection is having a buy one, get one 50% off promotion during the month of June also.
  • Order your pre-paid Paper Pumpkin Subscriptions.
  • All Stampin’ Up! products qualify for this promotion, EXCEPT monthly Paper Pumpkin subscriptions.
  • Free shipping only applies during the 24 hours the promotion is live; this means that the order must be opened and closed on 21 June 2022
You may place your orders online using the host code 7KHRU62W or this direct link
If you need help with your order please email me by 5:00 pm and I will get the order placed for you.


Quick no stamping Father’s Day card

Hey everyone! With Father’s Day right around the corner. Today I am sharing a quick no stamping Father’s Day card using the He’s The Man suite of products found on pages 78-79 in the Stampin’ Up! Annual catalog. 

quick no stamping fathers day card

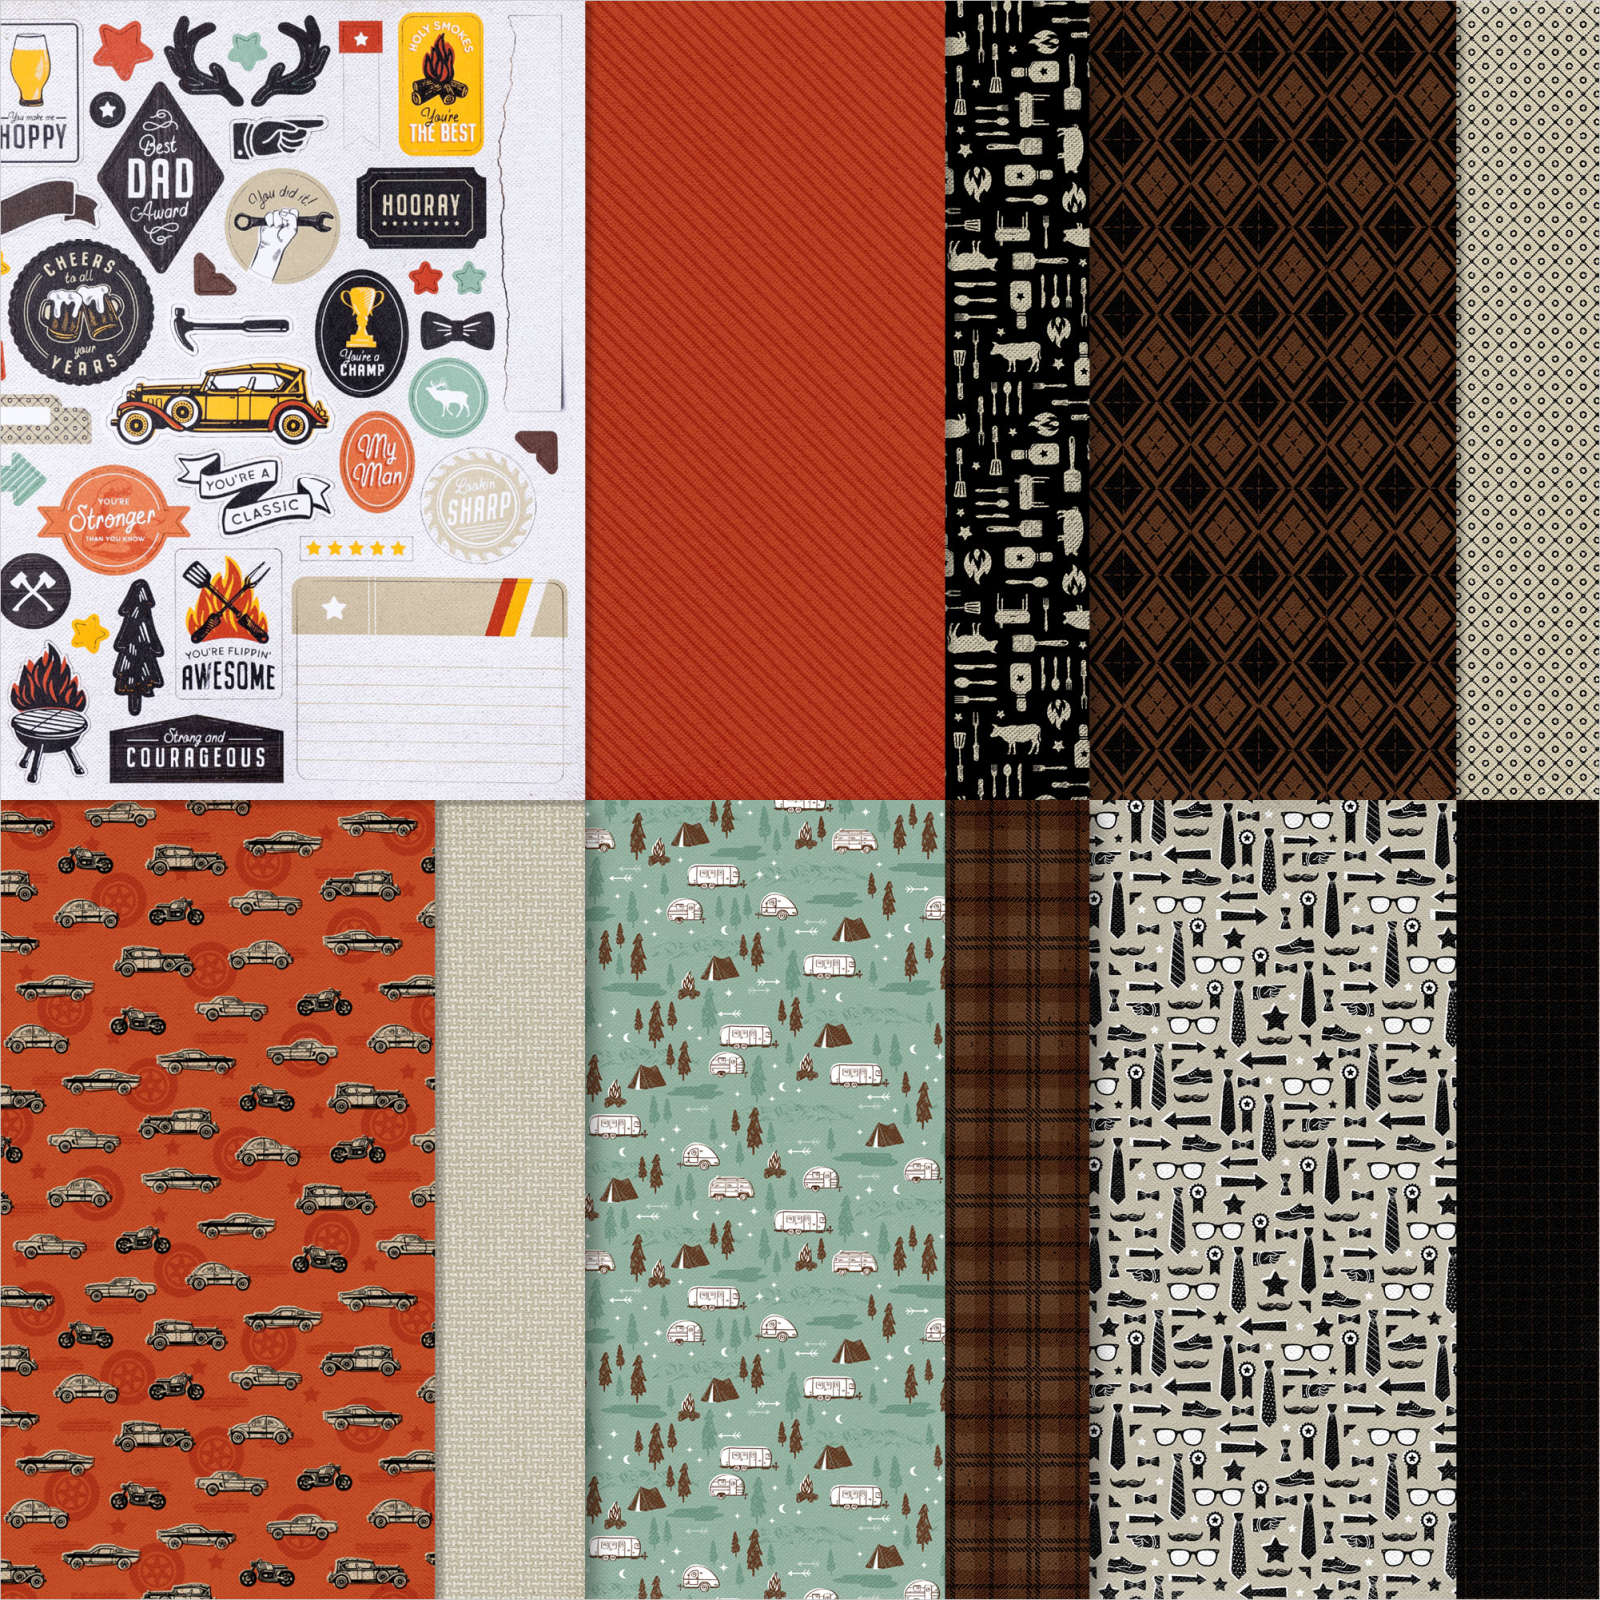
What is unique about this He’s The Man Suite of products is that the He’s The Man Specialty Designer Series paper has two full sheets of pre-printed die-cuts!!! What does that mean? That means you can create quick cards with no stamping!!!!

He's The Man Specialty Designer Series Paper

For this  slimline quick no stamping Father’s Day Card:


  • I started with a Sahara Sand cardstock base that I cut to 7″ x 8 1/2″ and scored at 3 1/2″
  • I used the edge of my Paper Snips to distress the edges of a 3 1/4″ x 8 1/4″ Sahara Sand cardstock. Then glue down the cardstock to the center of the cardbase.
  • I cut four strips of the He’s the Man SDSP using three different patterns and cut all of the Specialty Designer Series Paper ends at an angle. (see below for sizes)
  • Glue down the paper strips to the middle section of the cardbase in a random pattern.
  • I die-cut one Crushed Curry decorative tag, one brown argyle patterned rectangle tag (from the SDSP), and one Crushed Curry & Cajun Craze banner tag using the All That dies.
  • I added the brown argyle rectangular tag to the center of the cardbase on top of the glued SDSP strips using Stampin’ Dimensionals.
  • I cut off the long decorative edge from both sides of the Crushed Curry die-cut and glued them under the edges of the brown argyle rectangular tag.
  • Cut about 1″ off the ends of one Crushed Curry & Cajun Craze die-cut banner and glue them to the back of the lower edge of the pre-print die-cut from the He’s The Man SDSP packet.
  • Place five Stampin’ Dimensionals in a cluster in the center of the rectangle die-cut piece.
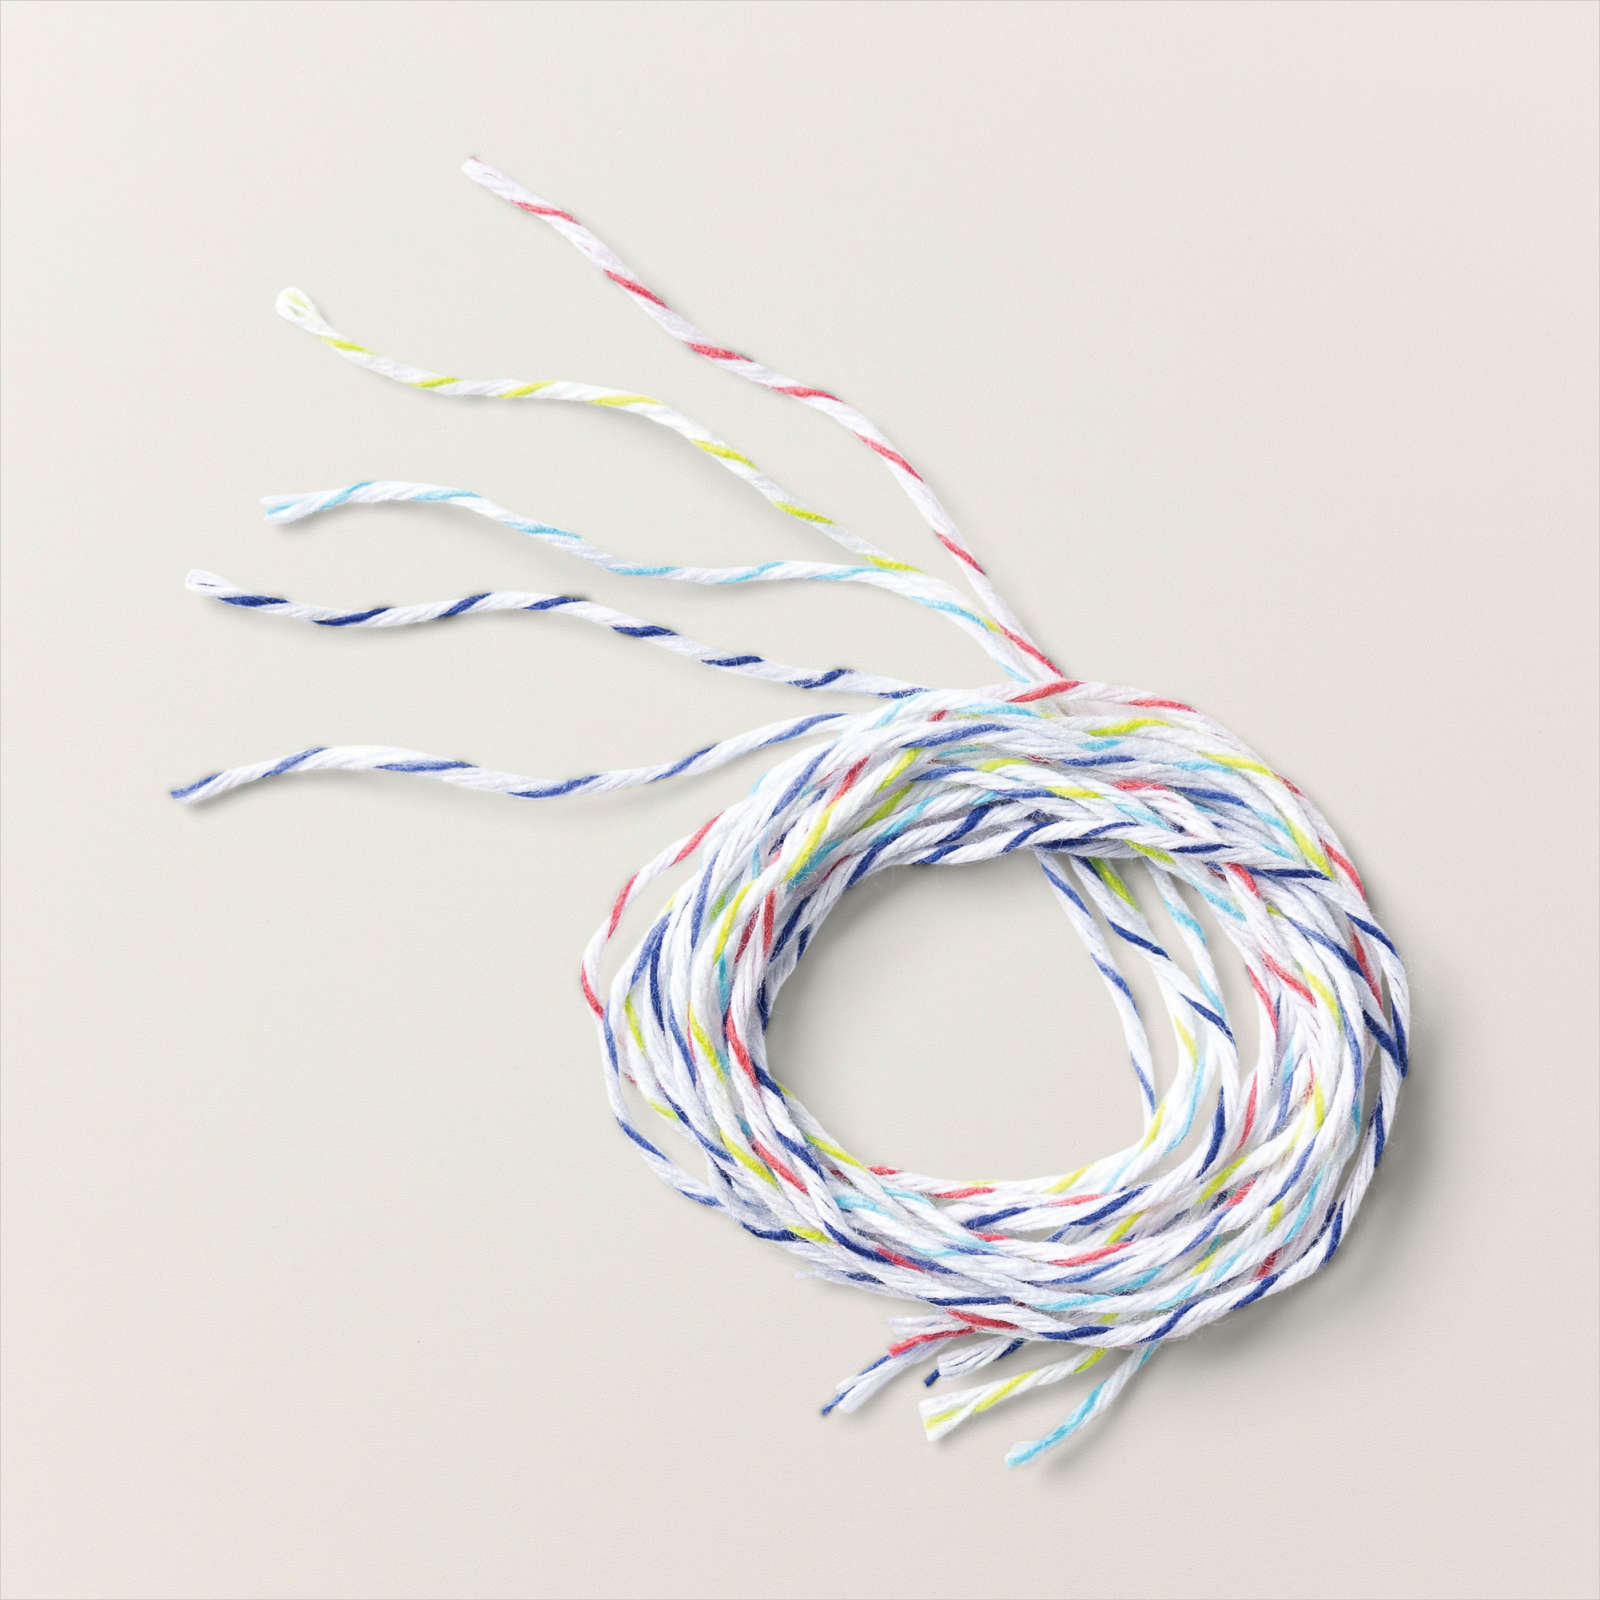
  • Take your spool of Linen Thread and wrap it around four of your fingers three times, and cut off the spool. Take the Linen Thread and press it down to the Stampin’ Dimensionals on the brown rectangular die-cut.
  • Attach the pre-printed diamond-shaped “Best Dad Award” tag to the center of the brown rectangular die-cut over the top of the Linen Thread. You may need to add Stampin’ Dimensional if the tag isn’t sticking well.
quick no stamping Father's Day card

If you don’t have this, He’s The Man SDSP. You could get the same effect for this card by stamping any sentiment you want on a punch or die-cut.

A quick tip: This card layout would be an excellent way to use up your scrap pieces of cardstock or Designer Series Paper you have laying around!!! You could use different embossing folders or background stamps to give plain cardstock some interest. 

All these products I used to create my project today may be purchased in my online Stampin’ Up! Store by clicking any of the product photo links at the bottom of the post. 

Thanks for stopping by today. I appreciate you taking the time out of your busy day!

Happy Stamping!


Card Stock Sizes:

  • Sahara Sand – 7″ x 8 1/2″
  • Sahara Sand – 3 1/4″ x 8 1/4″
  • He’s The Man Specialty DSP – (1) 3/4″ x 5″, (1) 3/4″ x 4 1/4″, (1) 1/2″ x 5 1/2″, (1) 1/2″ x 5 3/4″
  • He’s The Man Specialty DSP (Brown argyle pattern) – 2 3/4″ x 1 5/8″ – rectangle die-cut
  • Crushed Curry – 2 1/2″ x 1 3/4″ (decorative die-cut)
  • Crushed Curry – 1 1/4″ x 1 5/8″ (banner die-cut)
  • Cajun Craze – 1 1/4″ x 1 5/8″ (banner die-cut)
  • “Best Dad Award” pre-printed tag

Items used to complete this card:
A Paper Hug

Hello, and welcome back! I need to apologize for the lack of blog posts lately. I will be honest with you. I just haven’t had it in me to type the posts. I have projects, but every time I sat down to write a post, My mind was blank. So today, I am tuning everything out, and I will get this done! 

Today I am sharing this bright and fun paper hug card I made using a stamp set you would even think about using to create a card. The Limited Edition stamp set is a copyright set that you usually put on the back of your cards to comply with Stampin’ Up! Angel Policy*. I received this stamp set as a gift for attending a virtual demonstrator-only Stampin’ Up! event in April called On Tour (it was so much fun!!!) Su randomly sent each participating demo one of four stamp sets, and I received the Limited Edition set. We were then asked to create a swap card to share on a Facebook page for the event. At first, I was stumped about what to make with this set, but then I thought, why not make a background!

*if you sell your cards using Stampin’ Up! images, you need to have the Stampin” Up! copyright stamp on the back of your cards to comply. You can read the complete Angel Policy document HERE

A Paper Hug

To create your background, you need to choose your stamp set and ink colors for your project. I chose Polished Pink for both. I took a 4″ x 5 1/4″ piece of Polished Pink cardstock and inked up the stamp image using Polished pink ink.

Now on the stamp image is the Stampin’ Up! copyright name at the bottom of the image. I was able to stamp the image leaving off the copyright by stamping the circle part of the image on the edge of the stamp pad leaving off the ©STAMPIN’ UP!. If you struggle to get ink on the copyright portion of the stamp, you can either wipe the ink carefully with a damp rag or use the new Masking Paper to mask the copyright portion after you ink up the stamp.

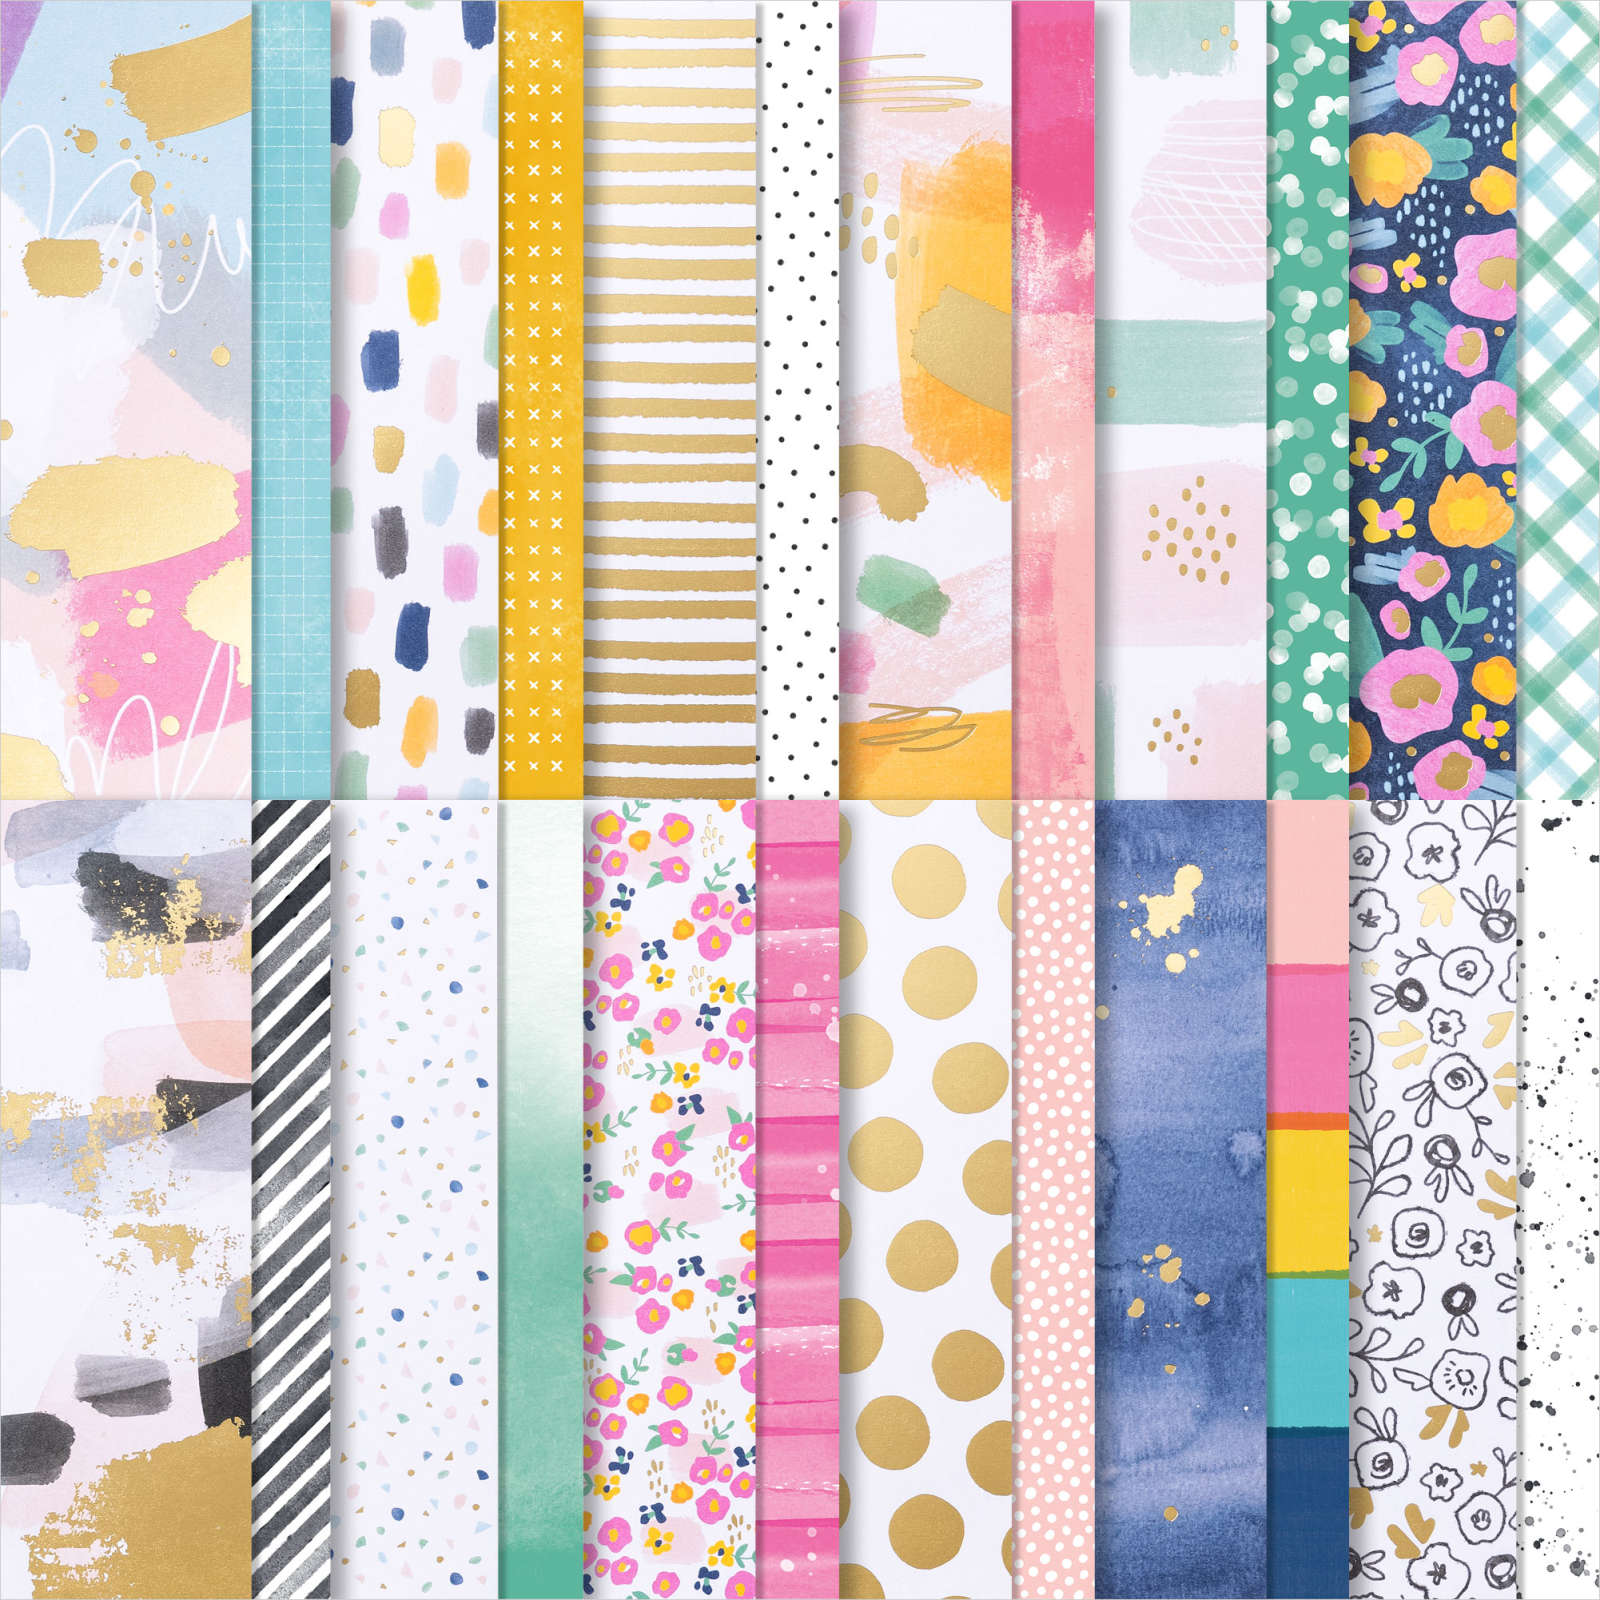
I stamped the image in an alternating pattern for each row. Once you are done stamping the background, you can glue it down to a Polished Pink A2 cardbase (4 1/4″ x 5 1/2″). I added a strip of Abstract Beauty Specialty Designer Series Paper which is on the retiring list, and it is only $7.50, so grab some while supplies last!

To create the sentiment tag:

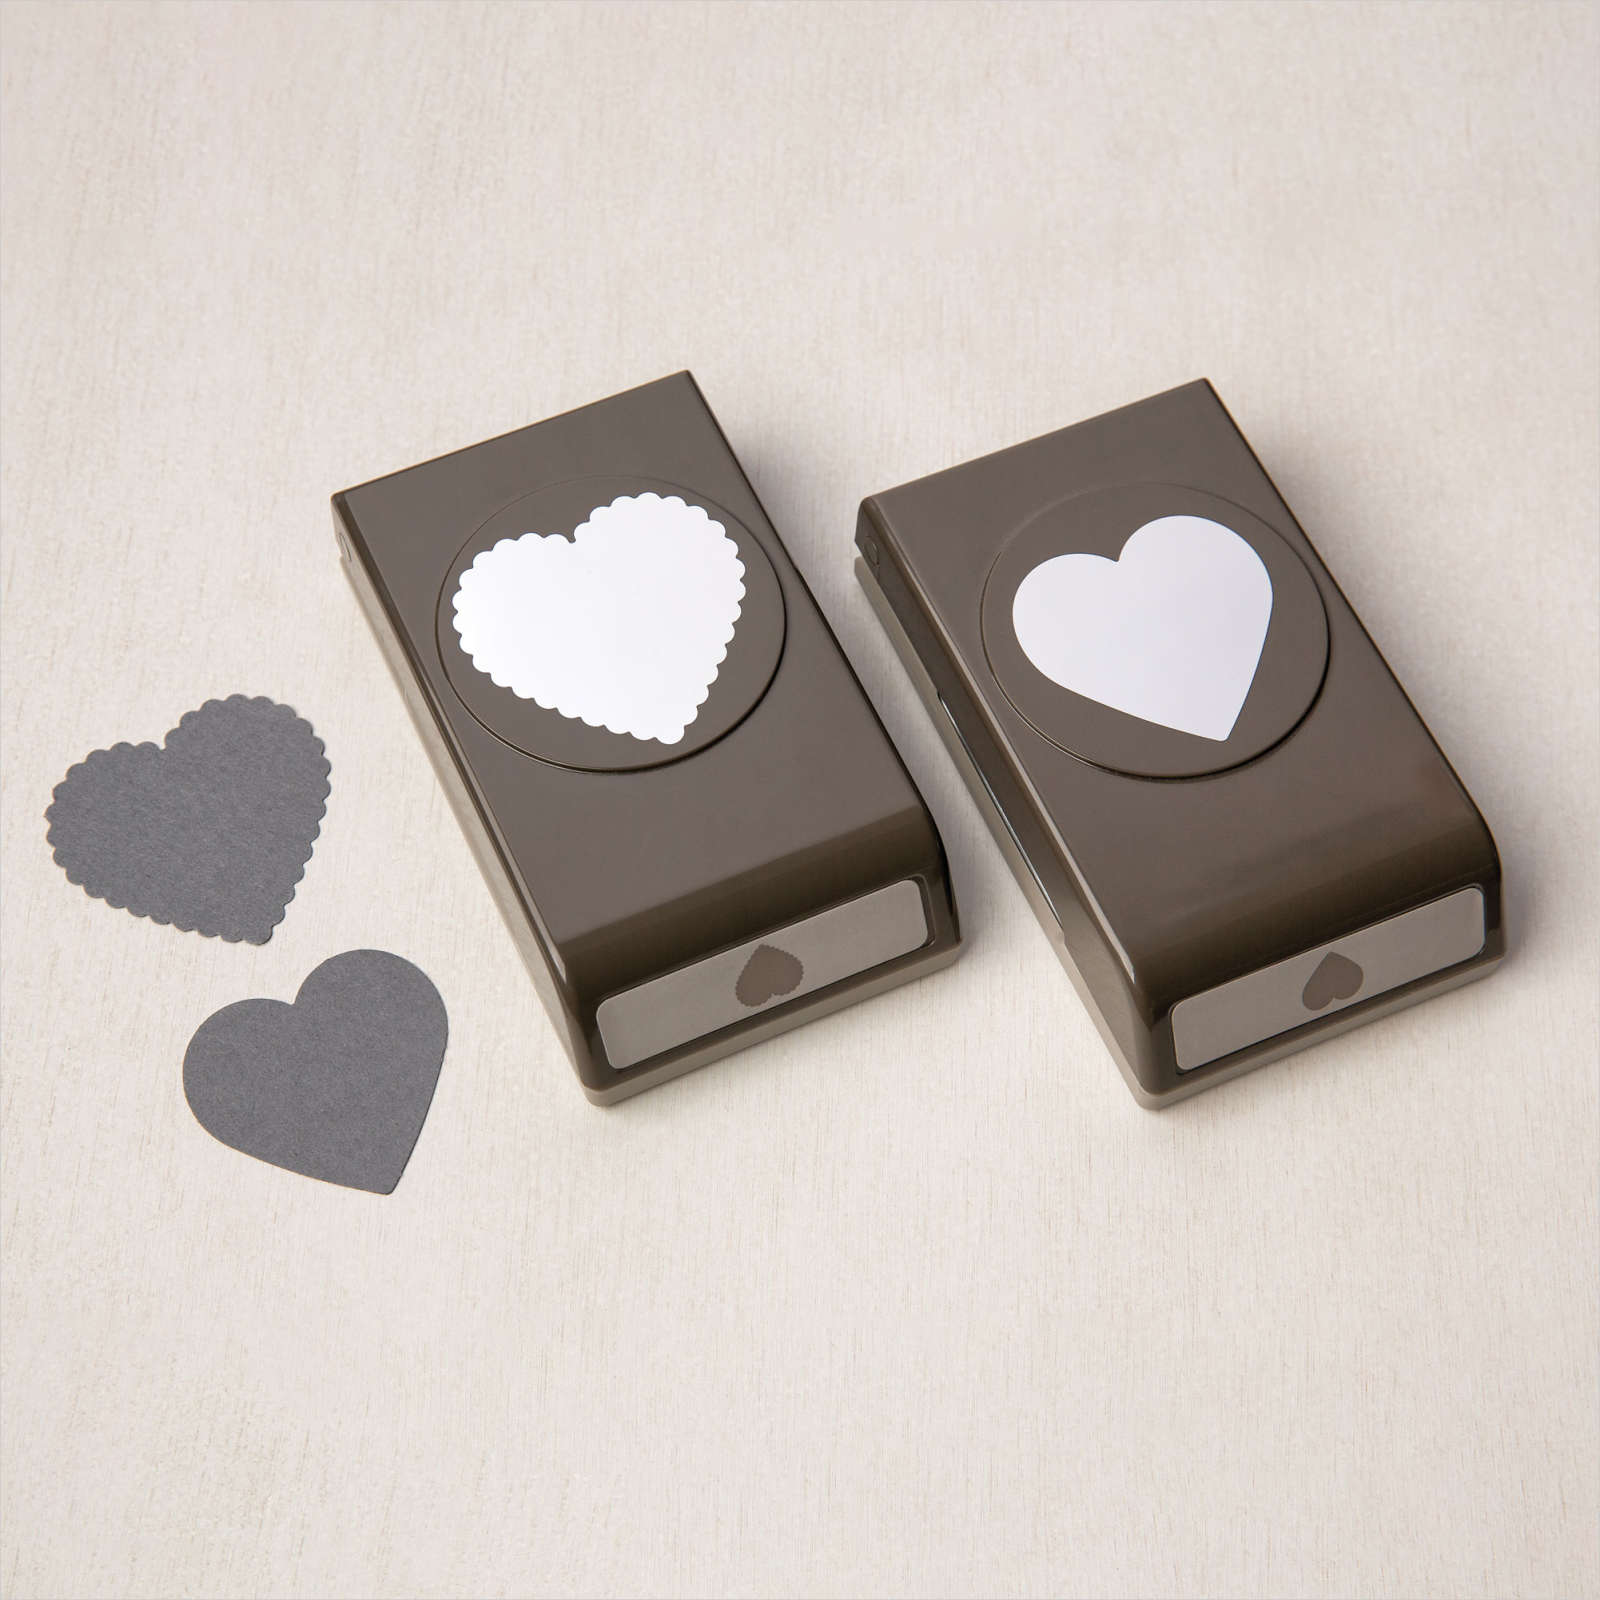
  • Punch a large heart in Crushed Curry DSP using the Heart Punch Pack
  • Stamp the “A Paper Hug From Me” using Night of Navy ink on a scrap of Basic White cardstock.
  • Punch it out with the small heart punch from the Heart Punch Pack.
  • Adhere the smaller heart punch to the center of the Crushed Curry larger heart.
  • Restamped the sentiment using Polished Pink ink on a scrap of Basic White cardstock.
  • Using paper snips too fussy, cut out just the word hug.
  • Attach the cut-out “hug”  over the top of the Night of Navy “hug” using a Stampin’ Dimensional.
  • Take a 10″ piece of Polished Pink 3/8″ Open Weave Ribbon and cut the edge off of the side of the ribbon, only leaving the open weave left. Tie a bow and attach it to the upper left of the sentiment.
  • Attach the sentiment tag to the cardbase over the DSP strip using Stampin Dimensionals.
  • Add some 21-23 In-Color Opal Rounds, and you are done!
Limited Edition Stamp Set

Whew, that was a lot of typing! I hope you have enjoyed my project this week. The color combination is very striking. You should give it a try and share your project with me in the comments below. I would love to see your creations! 

All of these products may be purchased in my online Stampin’ Up! Store by clicking any of the product photo links at the bottom of the post. 

Thanks for stopping by today.

Happy Stamping!


Card Stock Sizes:

  • Polished Pink – 4 1/4″ x 8 1/2″
  • Polished Pink – 5 1/4″ x 4″
  • Abstract Beauty DSP – 4″ x 3/4″
  • Crushed Curry DSP – 2 1/2″ x 2 1/2″ heart punch layer
  • Basic White – 2 1/2″ x 2 1/2″ heart punch sentiment
  • Basic White – 1 1/2″ x 3/4″ Sentiment layer

Items used to complete this card: