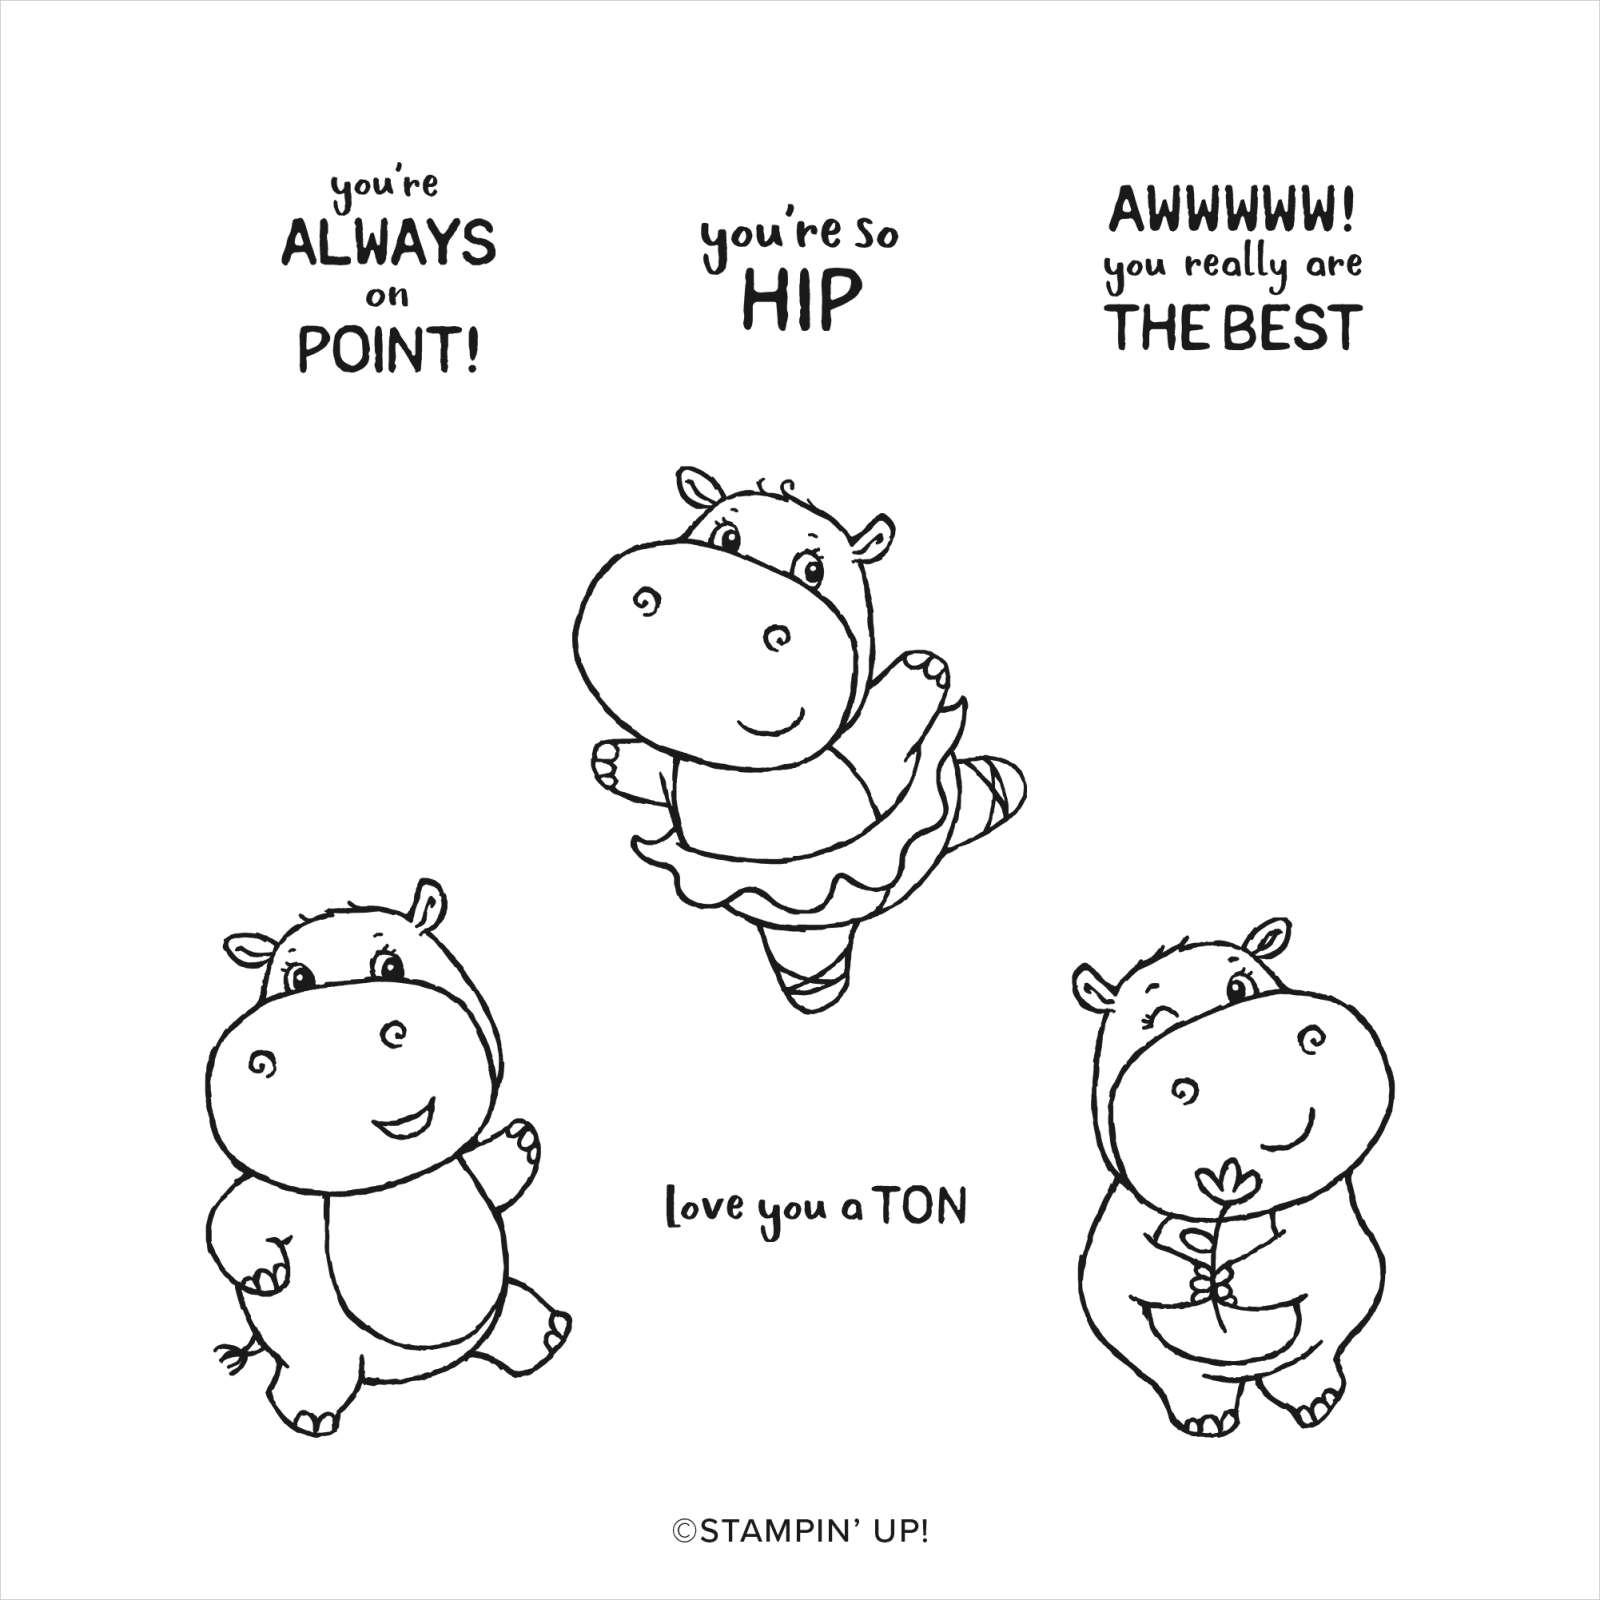
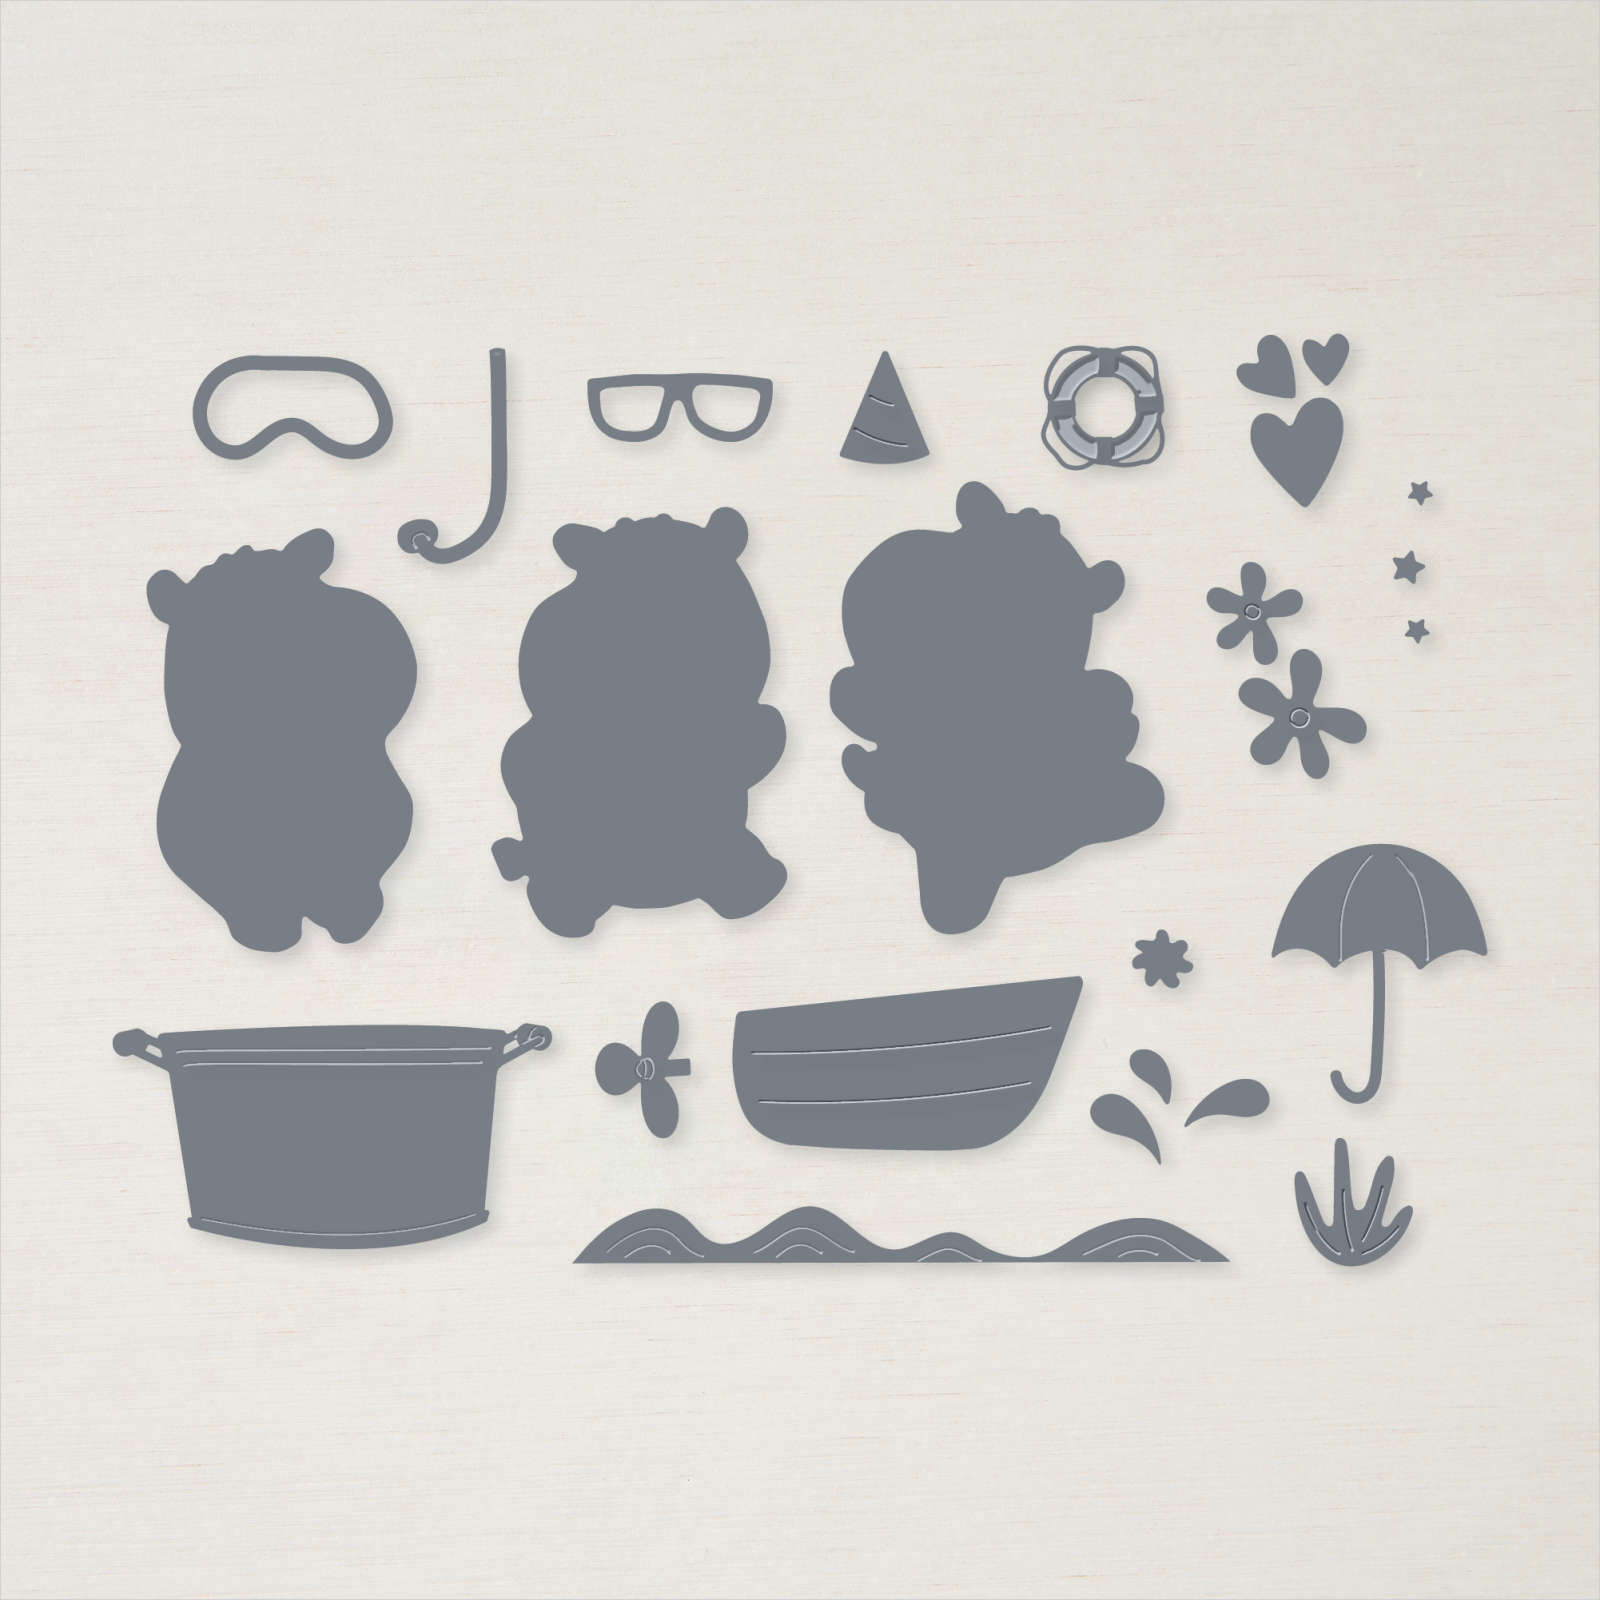
Hello, fellow crafters! Today I am sharing this super sweet Hey There Hippest Hippo card I made using the Hippest Hippo stamp set and Hippo Dies that you can earn for FREE during the Sale- A-Bration promotion Stampin’ Up! has going on until Aug 31st.
Don’t know what Sale-A-Bration is? This promotion is held twice a year by Stampin’ Up!. How it works is that for every $50 worth of merchandise you purchase (sub-total value, before tax and shipping), you get to choose a free product from the Sale-A-Bration catalog. That is, it is that simple!

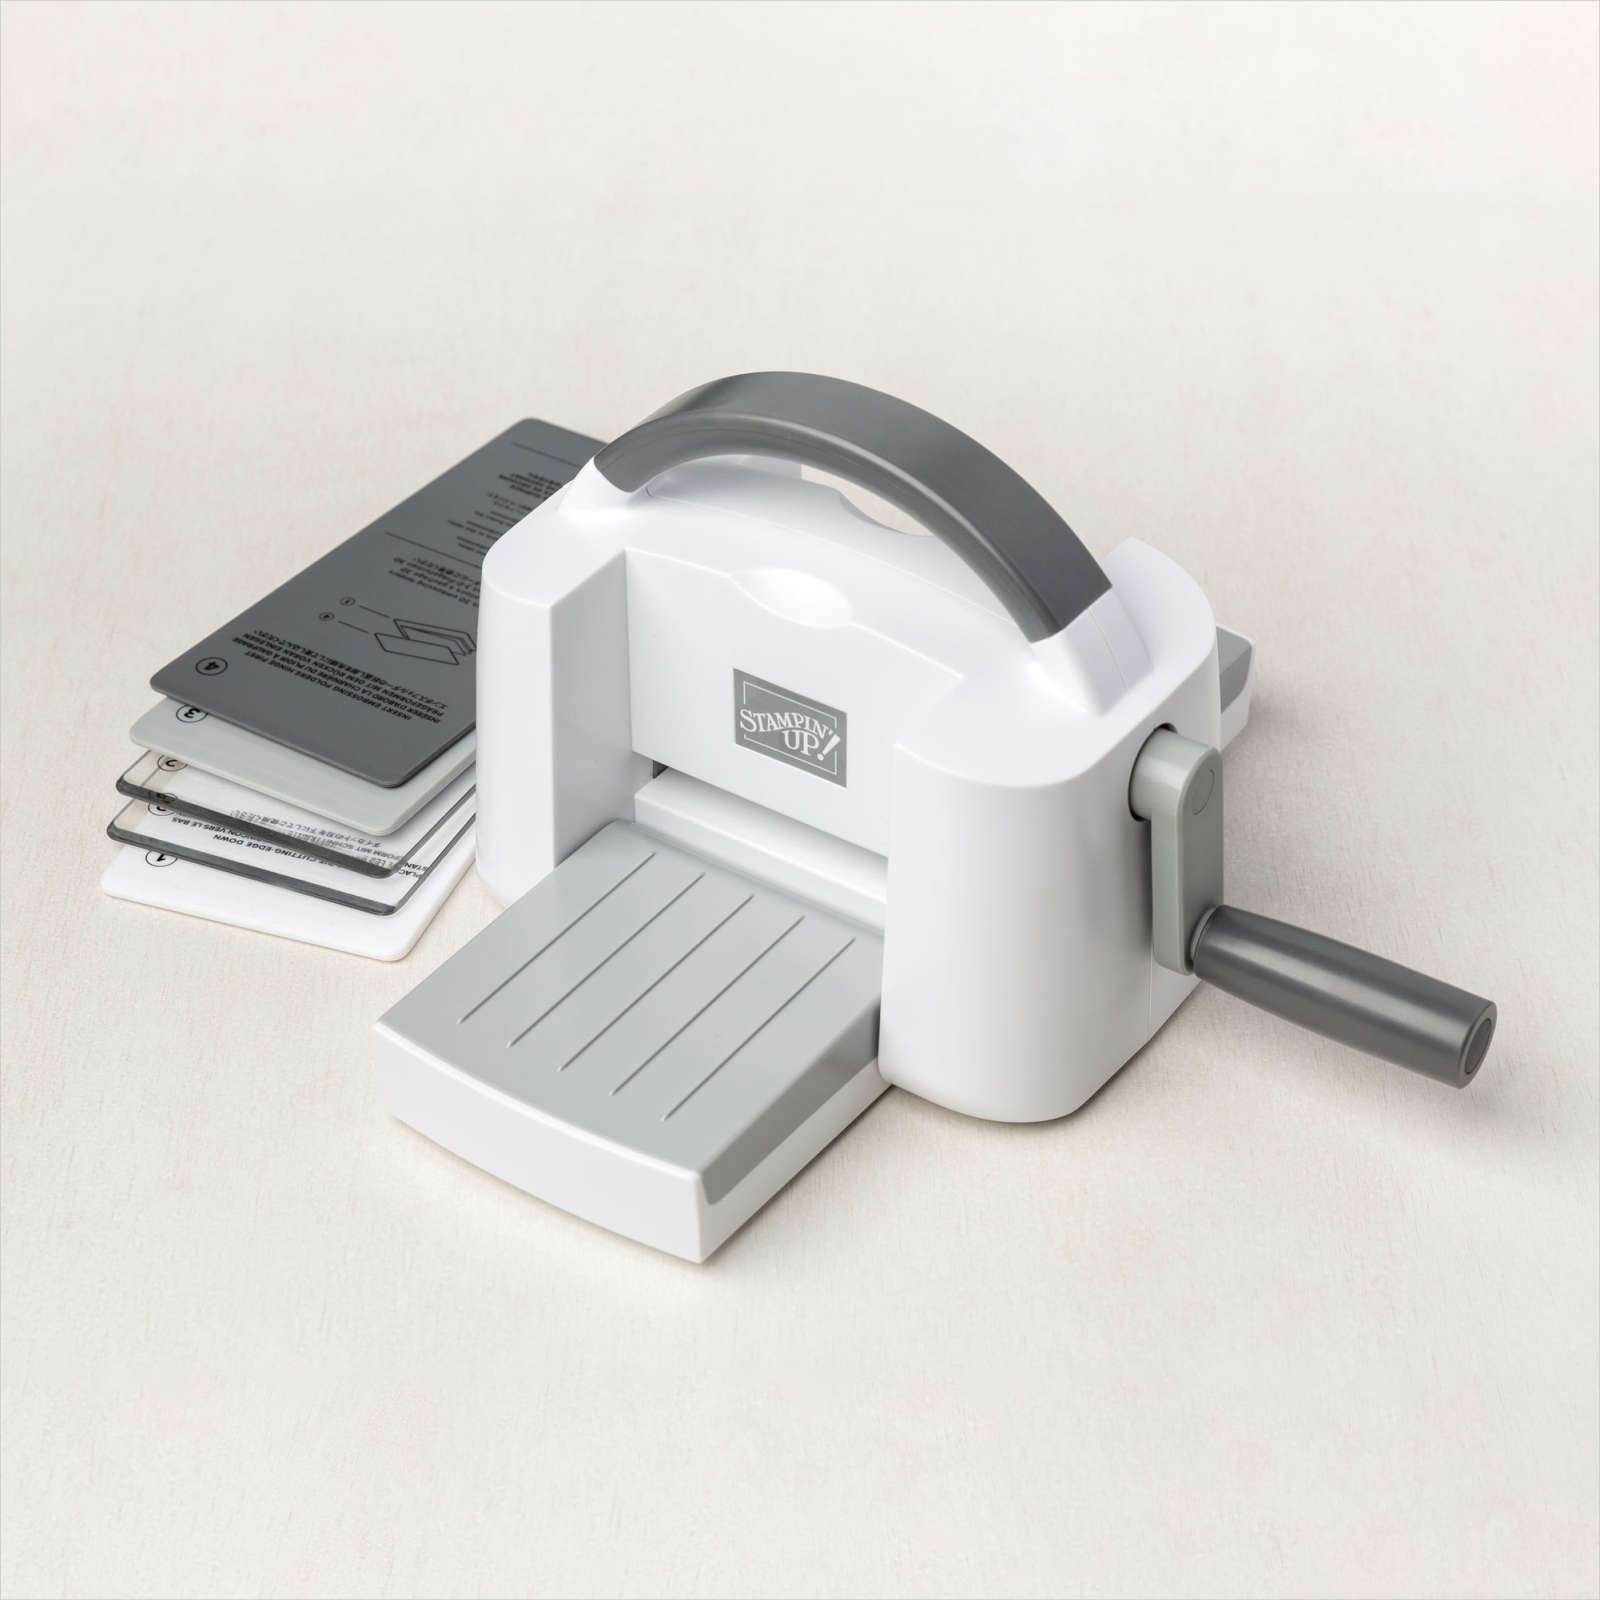
To start this card, I stamped the hippo image from the Hippest Hippo stamp set using Memento Black ink. Then I colored the Hippo using my Gray Granite Stampin Blends, leaving his tummy white, and his eye has a dot of Tahitian Tide DK blends to make the eye pop. After I was done coloring my cute little Hippo. I used the coordinating Hippo Dies to cut him out.
Tip:
If you are using Stampin Blends to color an image, you will need water-based ink like Memento Black ink to stamp your image before coloring. The image won’t bleed by using water-based ink with alcohol markers. The image won’t bleed.
This concept is the same for the Stampin Write Markers as well. You will need to stamp your image using Staz On ink to color with the water-based markers.

Water coloring the background
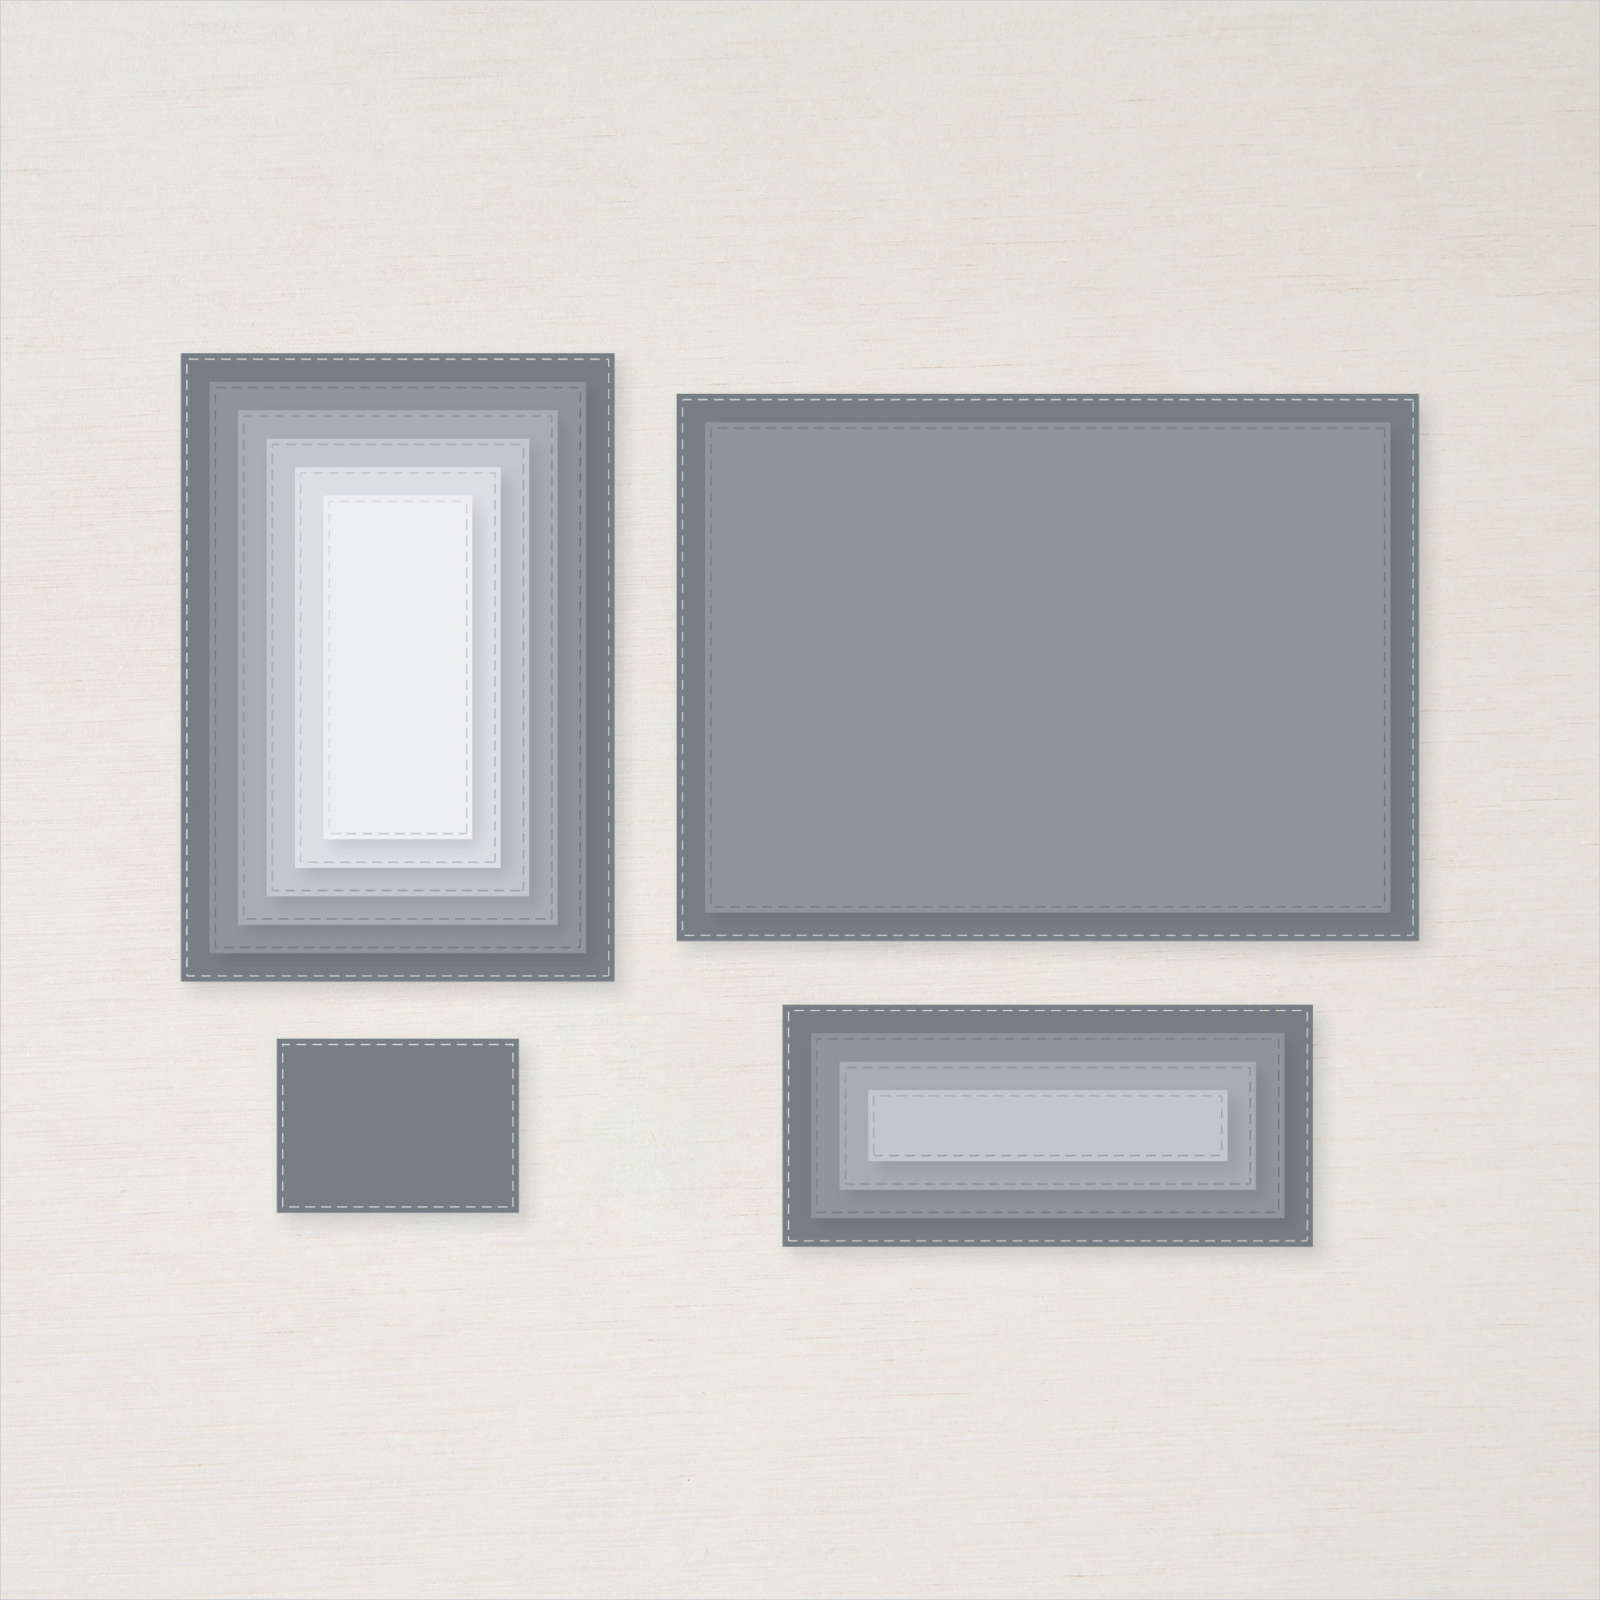
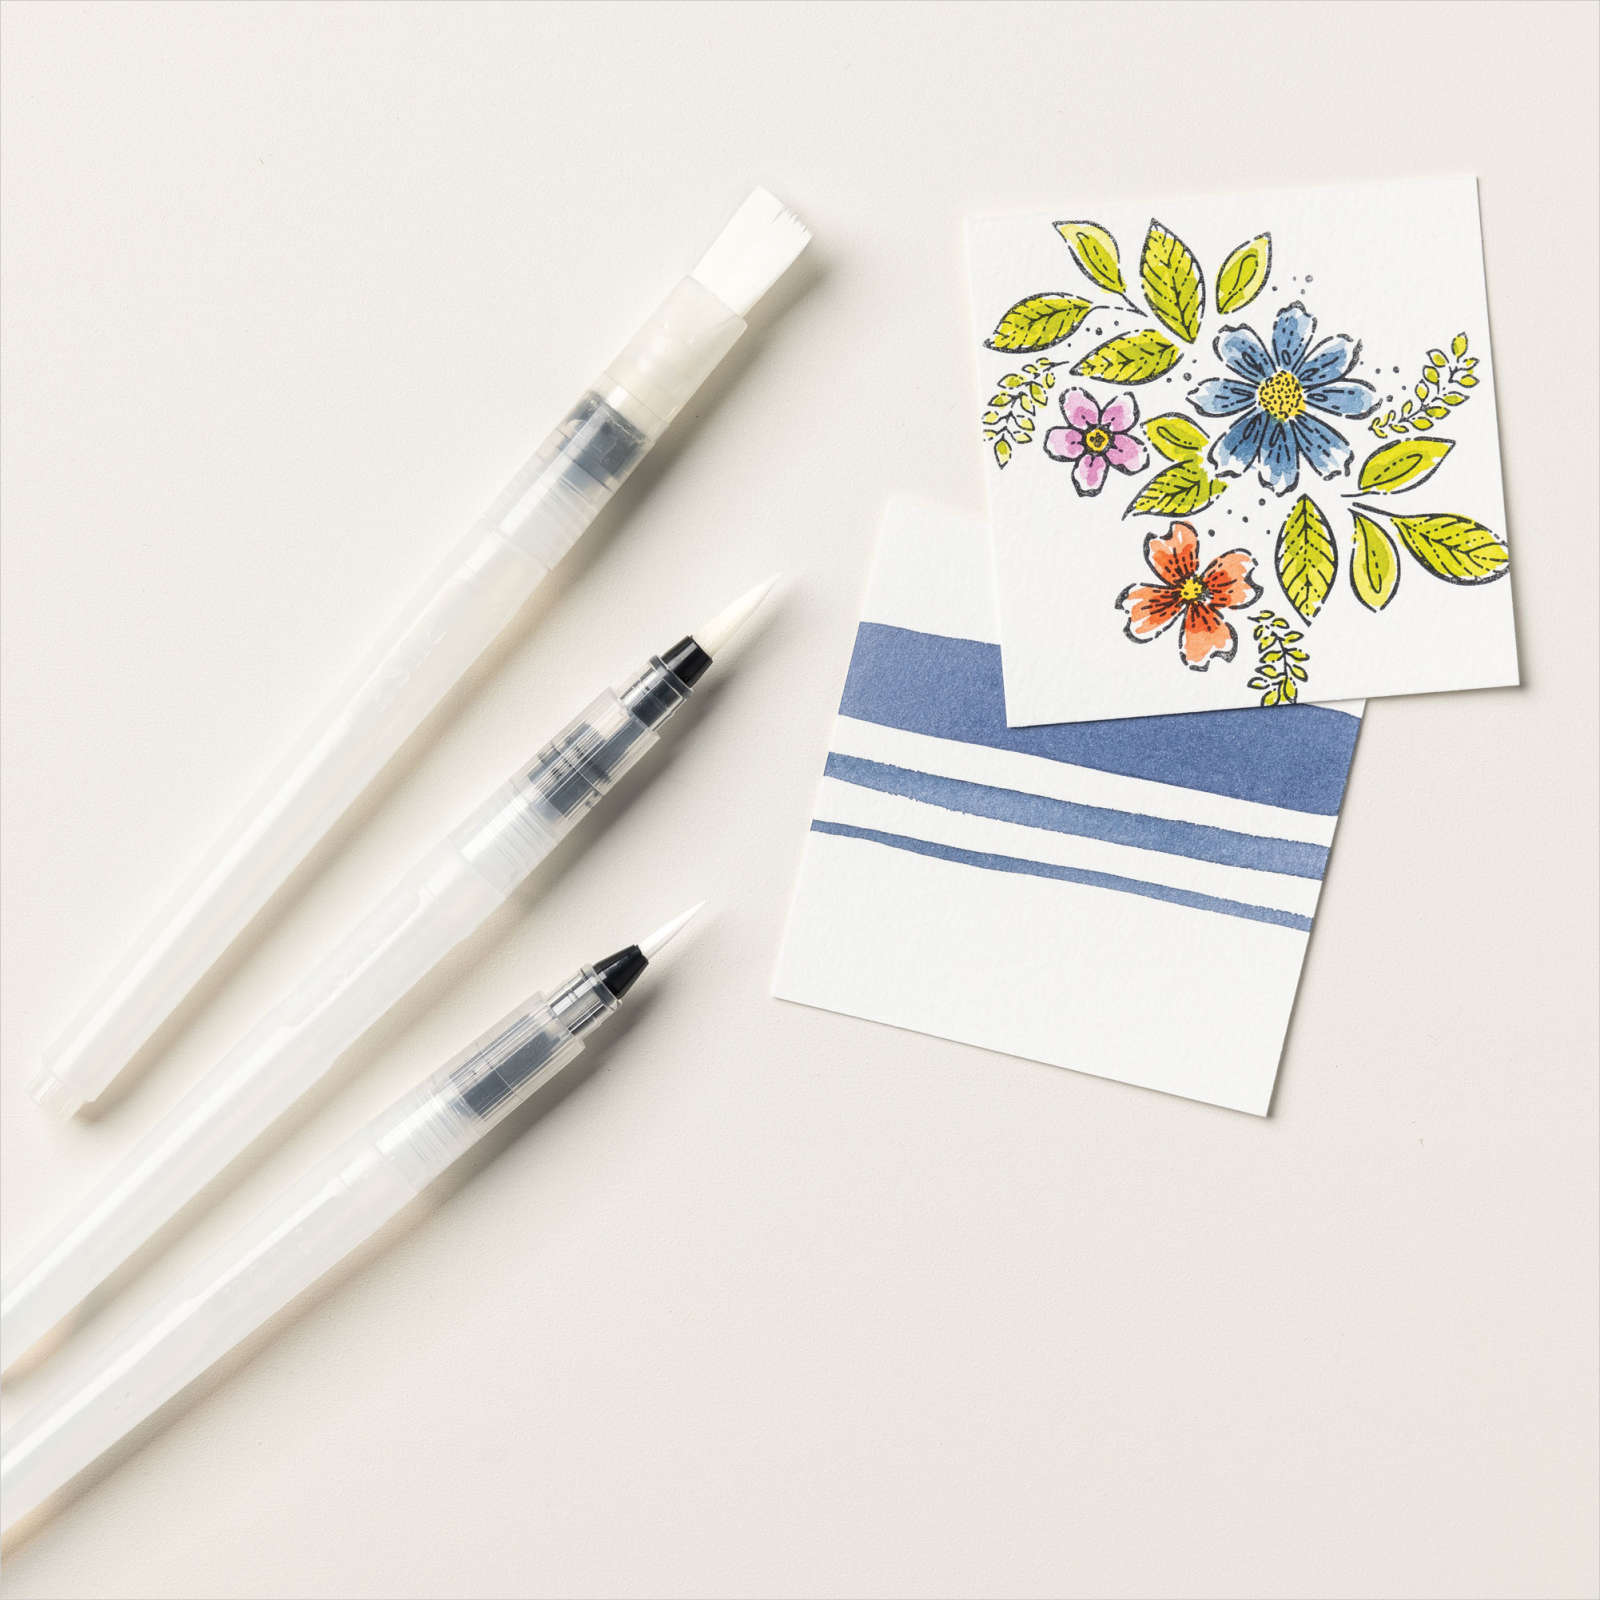
To create the water-colored background. I first die-cut the watercolor paper using the set’s 4th largest Rectangle Stitched Die. I grabbed my largest water painter, a paper towel, a dish of water, and my Pool Party ink refill and added a couple of drops to an acrylic block. Before adding ink to the paper, you must wet both sides of the watercolor paper with your water painter. Once the paper is wet, add a couple of drops of water to your Pool Party ink to dilute the re-inker. Now you can pick up the ink, start water coloring, and add ink until you are happy with the results.
To get the look of splotches on the paper, you can squeeze the water from your water painter onto the paper, which will look like rain spatters.
I used this same process to create the paper I used to cut the raindrops, but I also used Balmy Blue re-inker, as shown in the picture below.
Tip:
I use my heat tool to dry the paper, or it will take a while to dry. Make sure you dry both sides of the paper to keep it from curling up. I will rotate every minute until the page is dry.

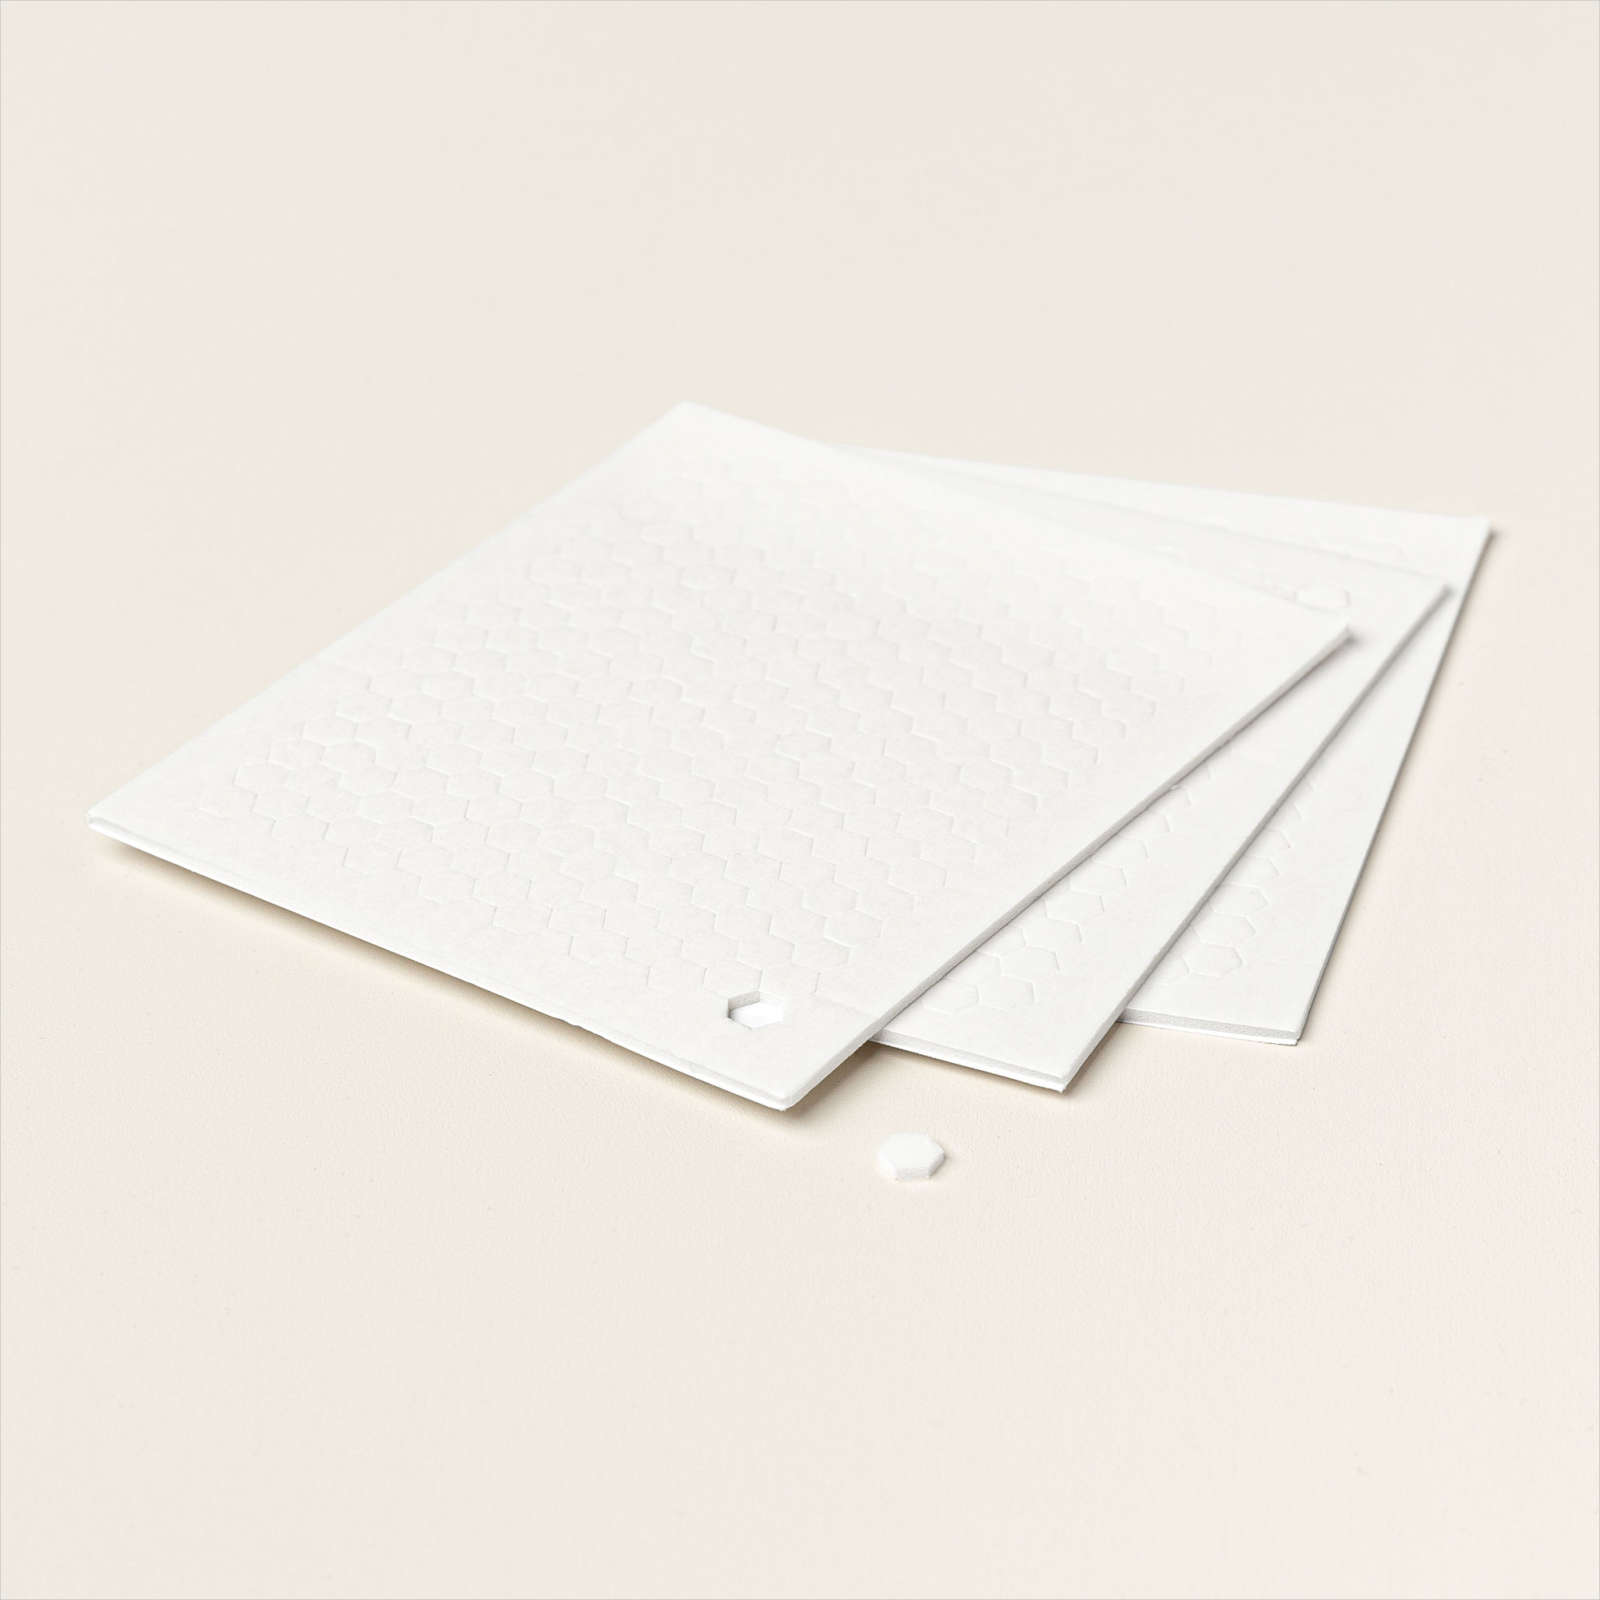
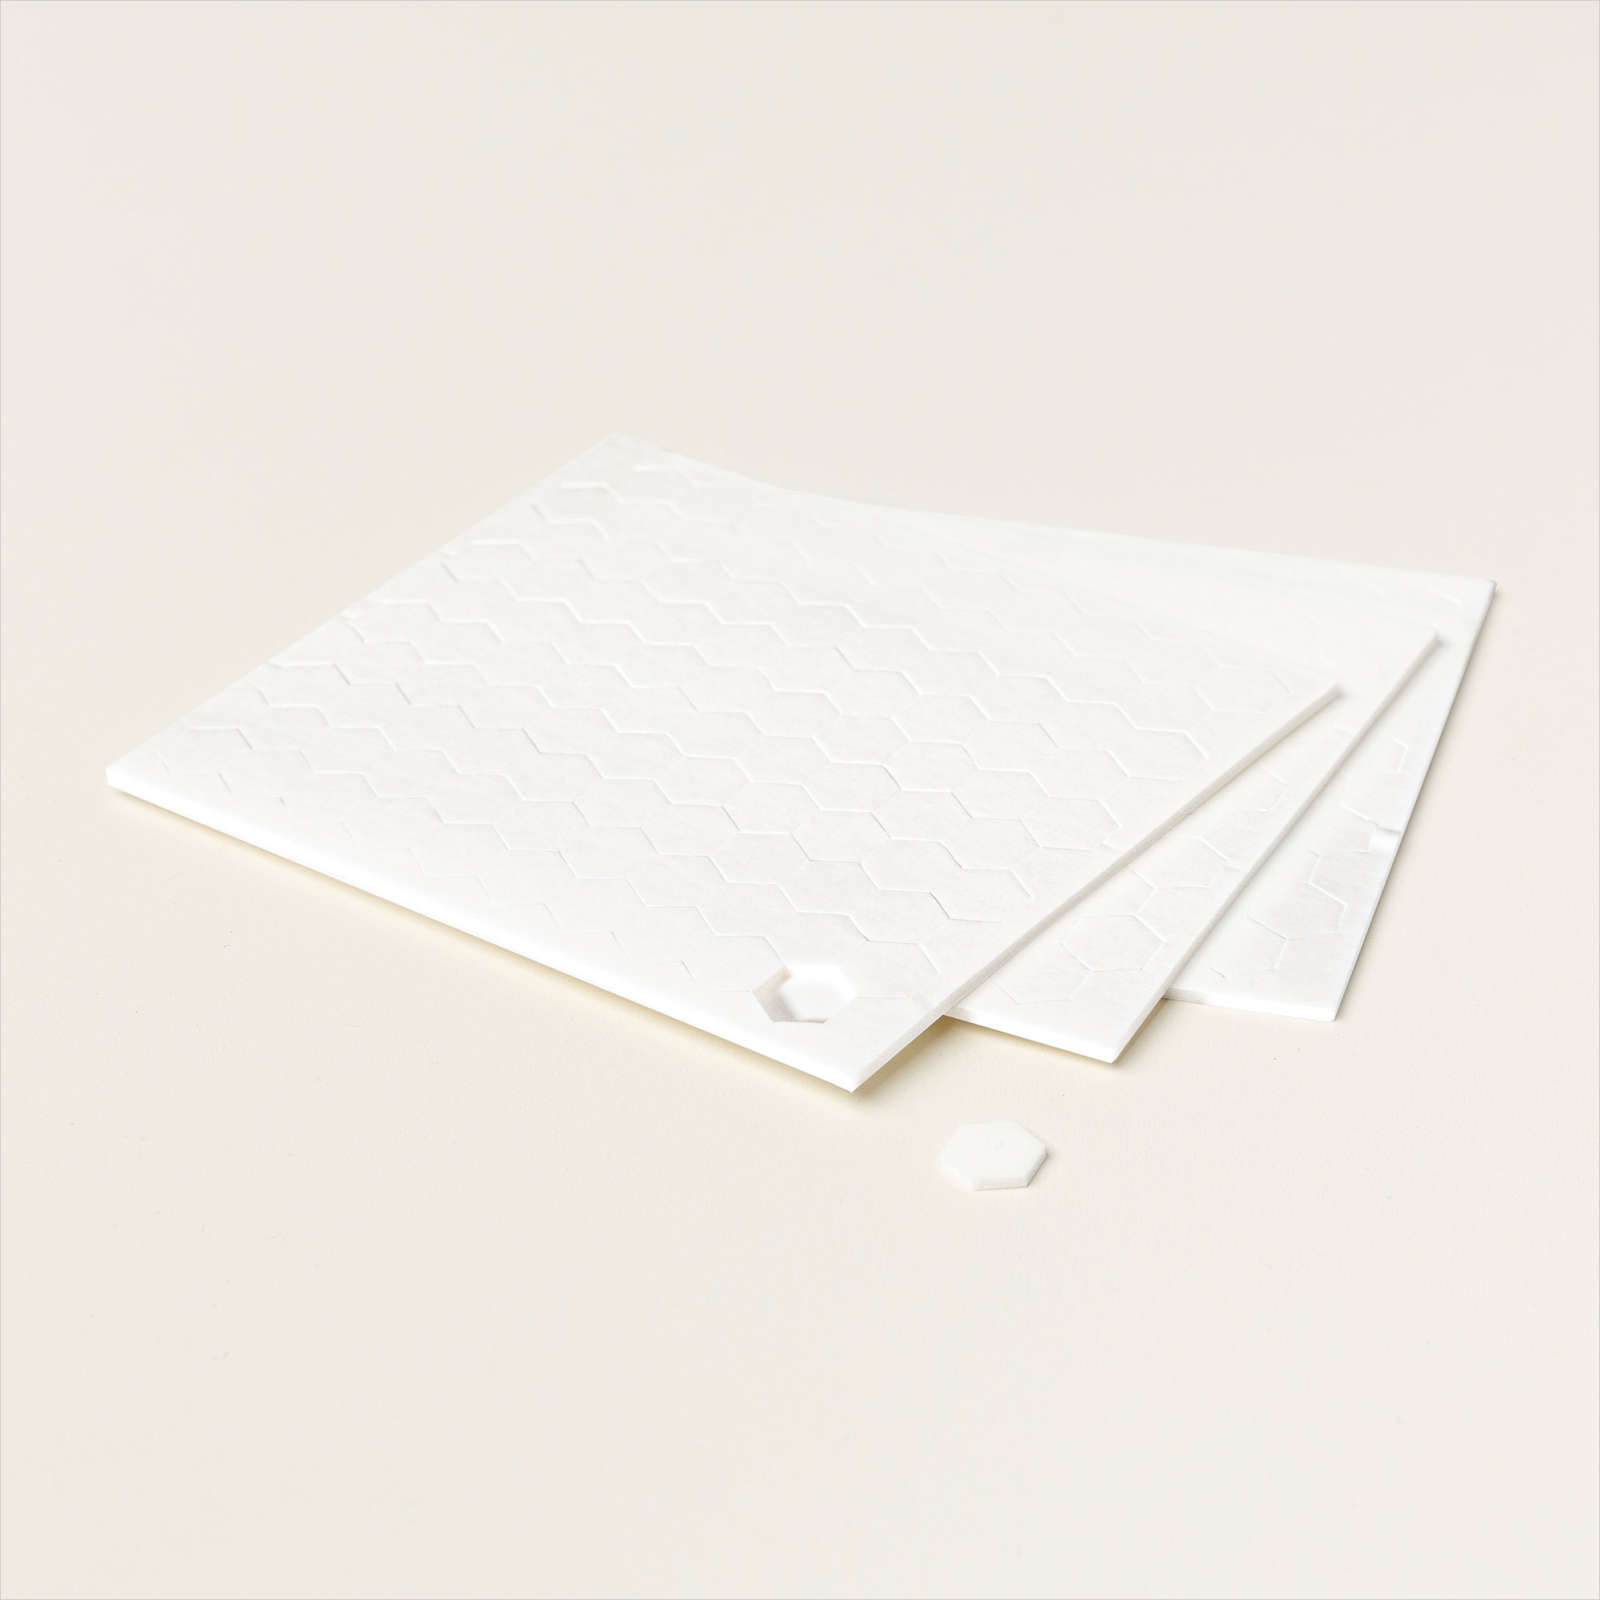
After finishing the water coloring, I adhered the hippo to the watercolor rectangle die-cut. Added some of the die-cut rain drops using mini Stampin dimensionals I cut up.
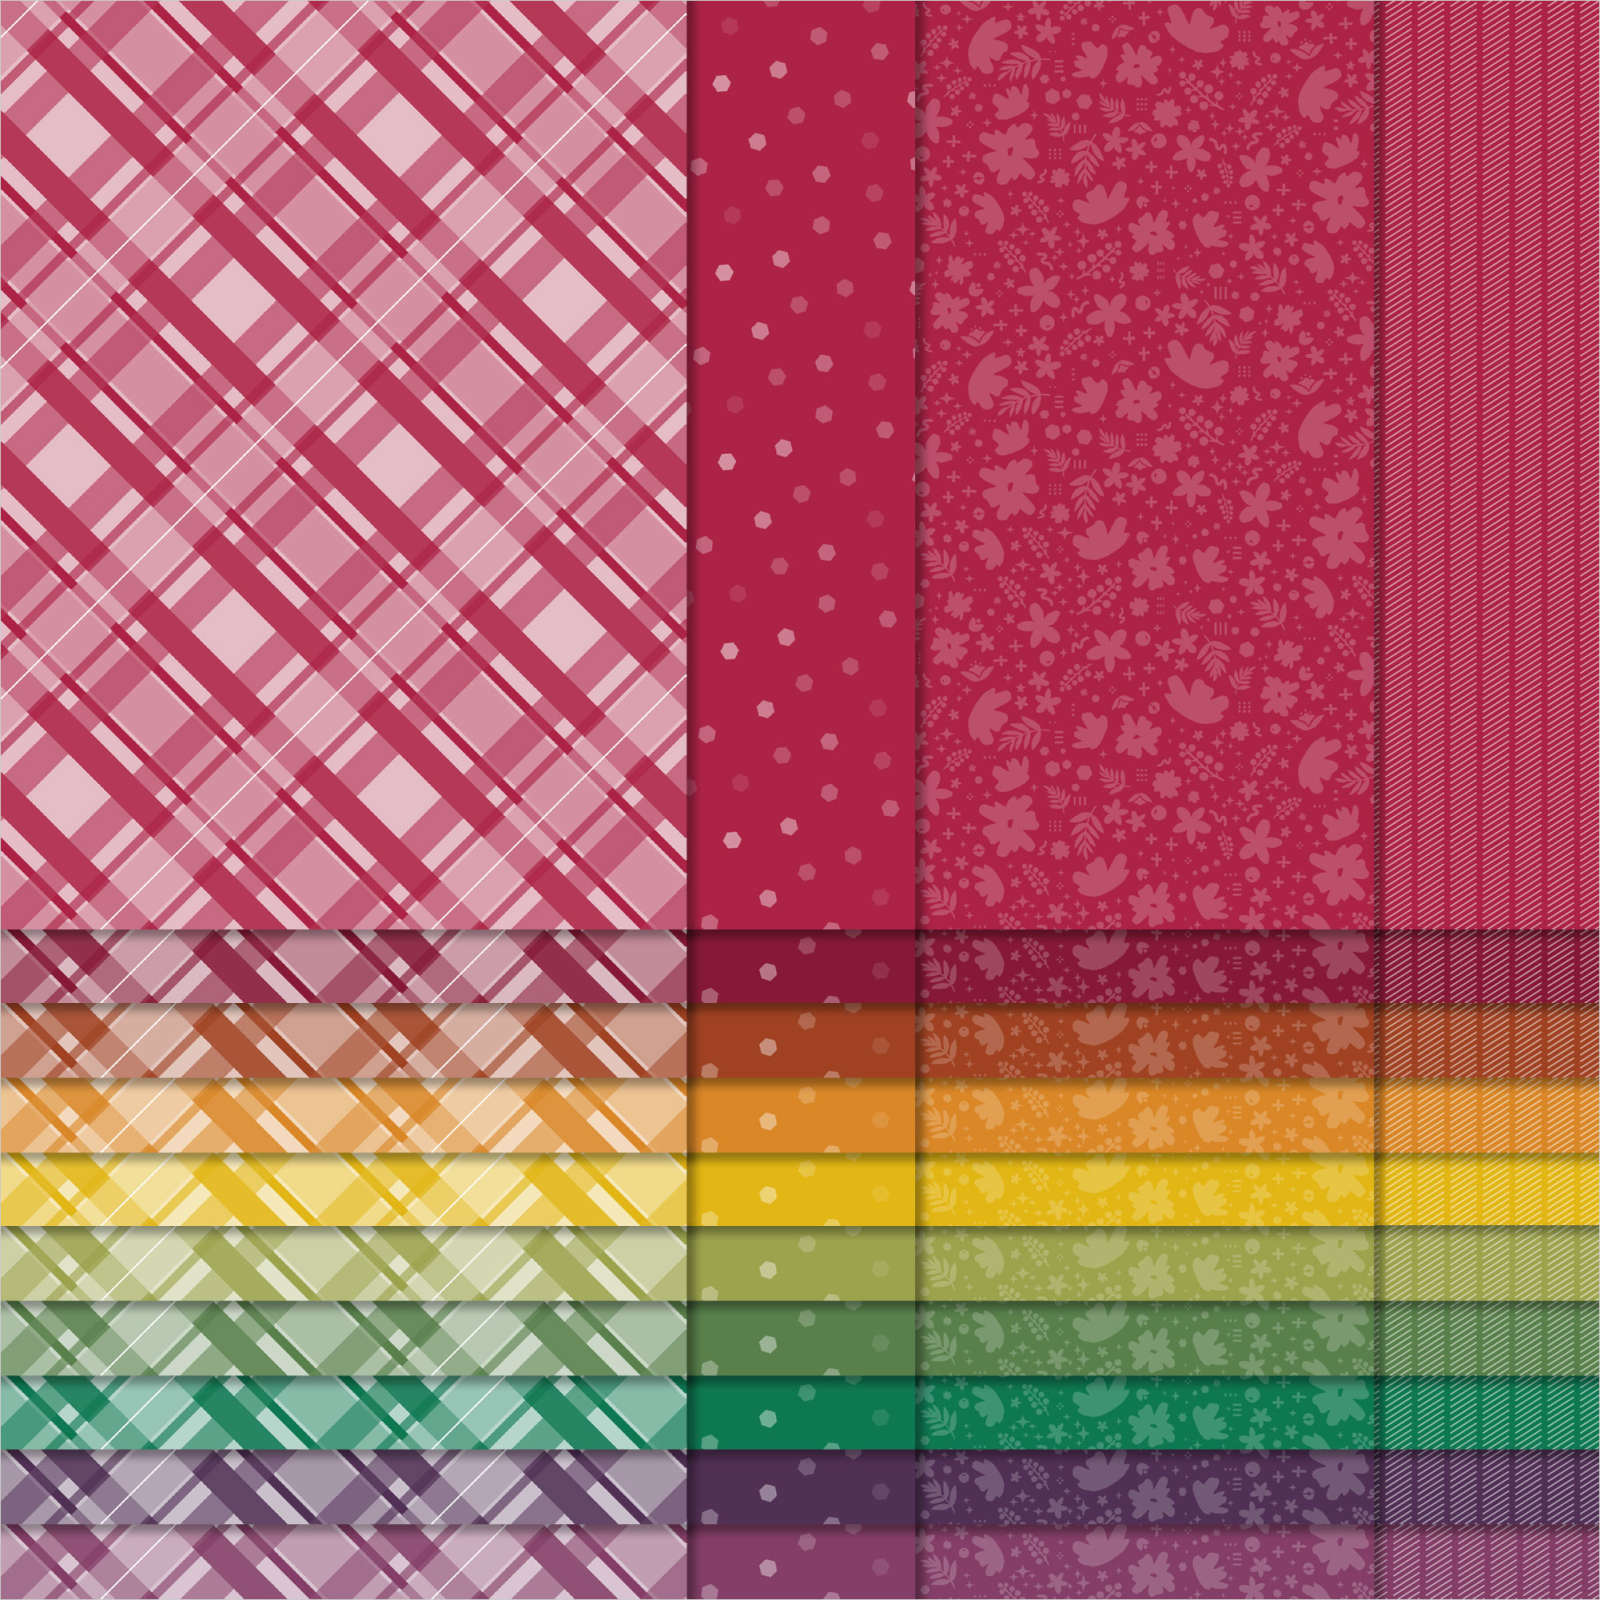
I then die-cut two umbrellas. One in black and one using the Celebrate Everything DSP pattern on the backside of the chevron pattern I used for the background. I cut the umbrella handle off the DSP die-cut and adhered it to the black umbrella using stampin dimensionals. Now glue the umbrella down under the hippo’s hand.
Stamp the “Hey There” Hippest Hippo sentiment onto the bottom edge of the hippo layers using Pacific Point ink.
To create the cardbase layers:
- Take a piece of 8 1/2″ x 5 1/2″ Pool party cardstock and score it at 4 1/2″ to use as your card base.
- Glue down the 4″ x 5 1/4″ Pool Party/Pacific Point chevron patterned DSP from the new Celebrate Everything paper pack to the center of the Pool Party cardbase.
- Take the Shaded Spruce polka dotted DSP, and your paper snips and carefully distress the DSP’s edges. Once you have finished distressing the paper, you can glue it to the cardbase.
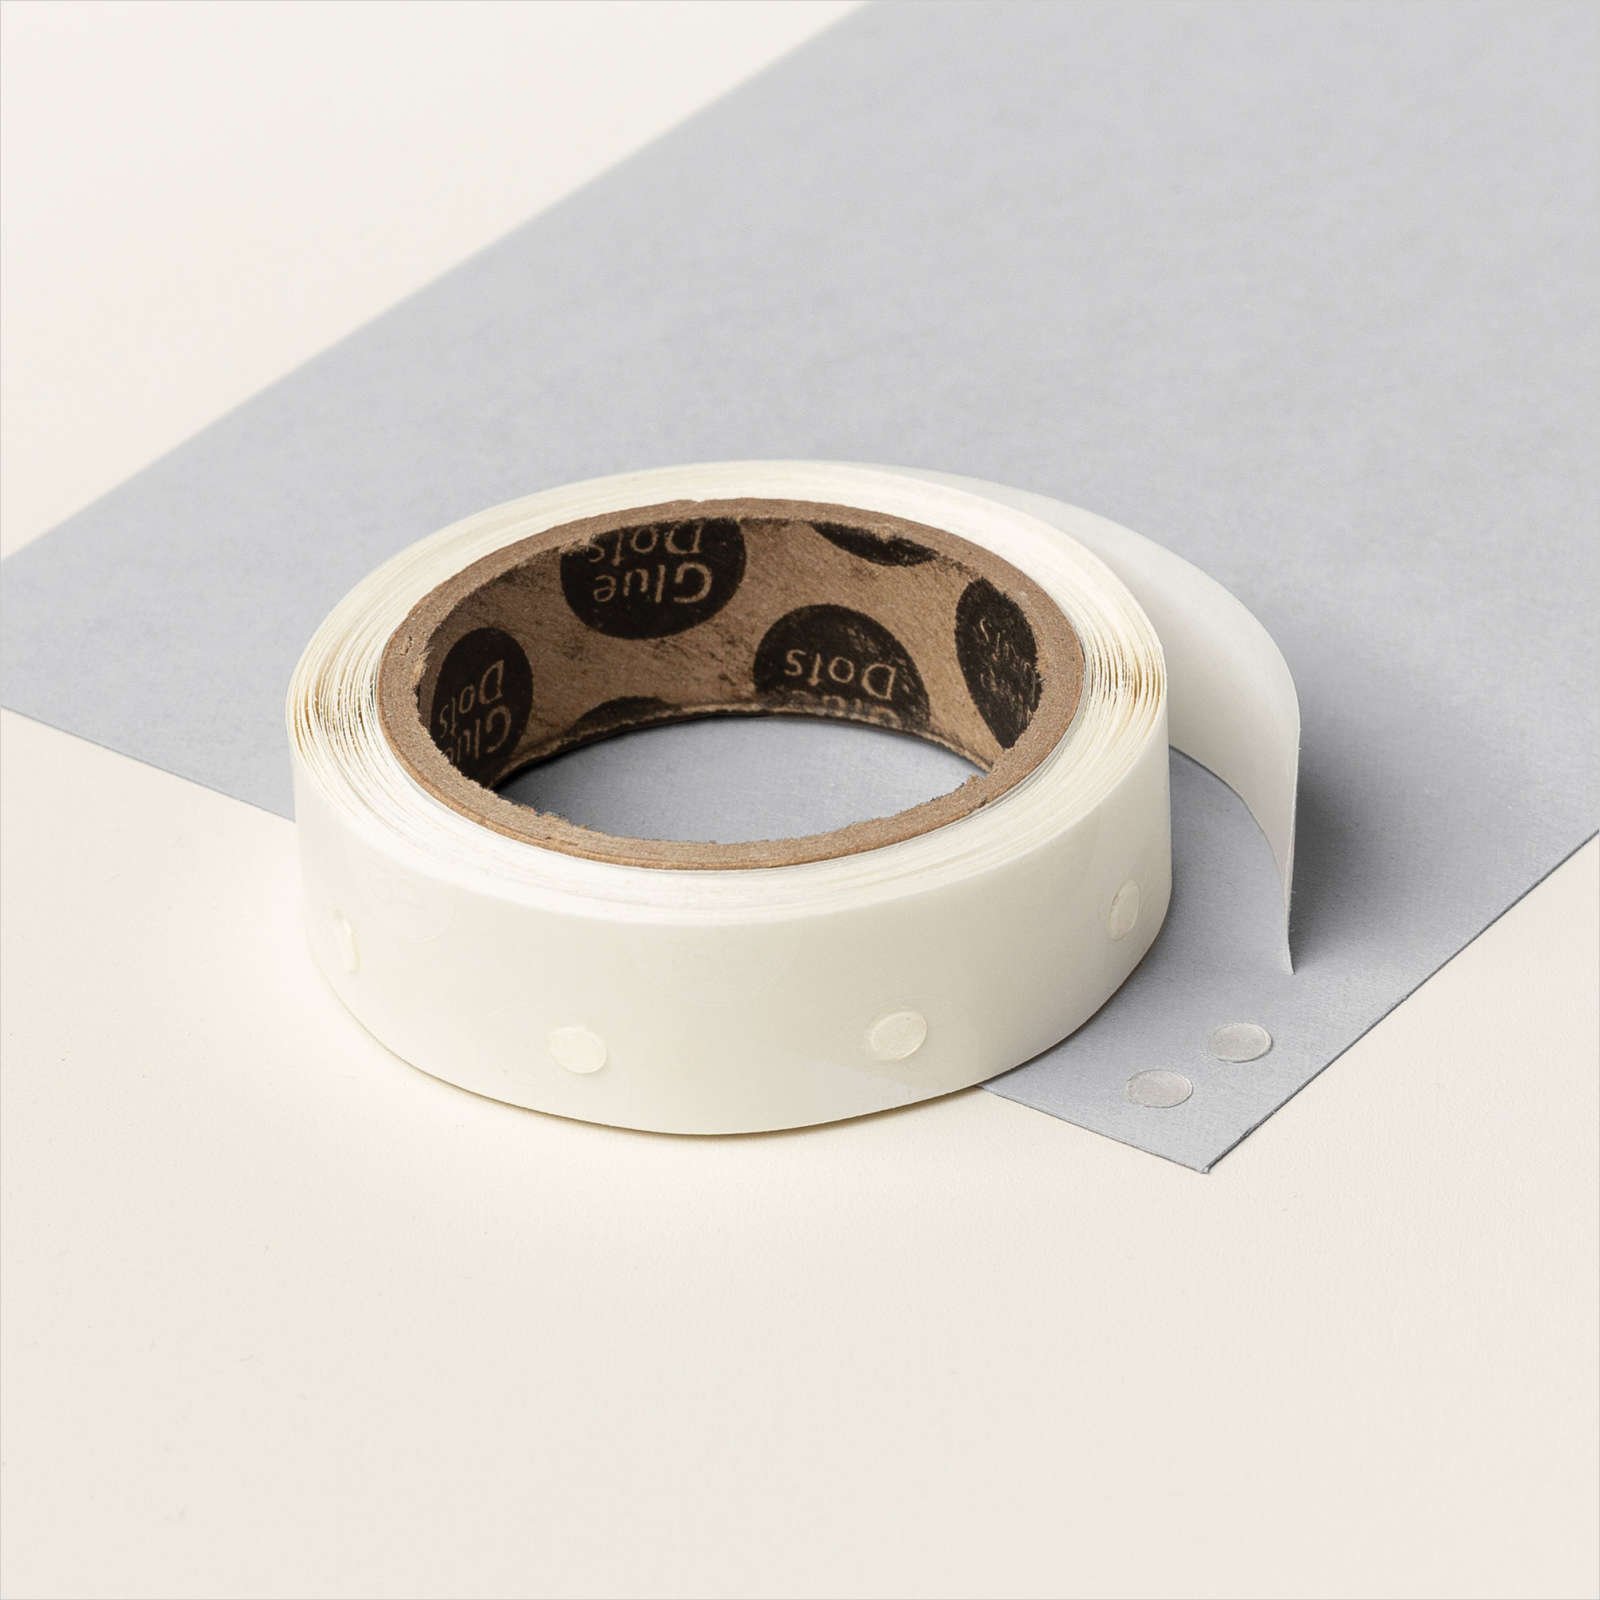
- Take a 4 1/2″ piece of the Frayed Ribbon and cut the outer edges off the ribbon lengthwise. Now, carefully start pulling a strand of the ribbon off each side until you have 1/4″ of the ribbon band left in the middle. Cut it to fit the Shaded Spruce distressed DSP strip and add it to the top using mini glue dots.

To finish off this cute card. You can now add the water-colored hippo rectangle die-cut piece to the center of the cardbase layers using stampin dimensional. You will not need wat to put dimensional where the shaded Spruce DSP layers are, or you will have a hump in your completed card.
The last step is to make the bow for the umbrella. I took a 10″ piece of the Pool Party Sheer ribbon, cut the ribbon lengthwise into three equal strips, and tied a bow with them. Add the bow to the umbrella using mini glue dots.
Now you have on a super cute hey there Hippest Hippo card! If you want to get this stamp set and matching Hippo dies. You will need to place a $100 order (before tax & shipping), and you can choose both of the products for FREE!
You may purchase these products I used in my online Stampin’ Up! Store by clicking any of the product photo links at the bottom of the post.
Thanks for stopping by today.
Happy Stamping!
Card Stock Sizes:
- Pool Party – 8 1/2″ x 5 1/2″
- Celebrate Everything DSP – 4″ x 5 1/4″
- Shaded Spruce DSP – 4 1/4″ x 1″
- Watercolor paper – 2 3/4″ x 4 & 2 x 1 1/2″ rain drops
- Basic White – 1 3/4″ x 2 1/2″ hippo
- Black & Celebrate Everything DSP – 1 1/2″ x 1 1/4″ umbrellas
Items used to complete this card:
