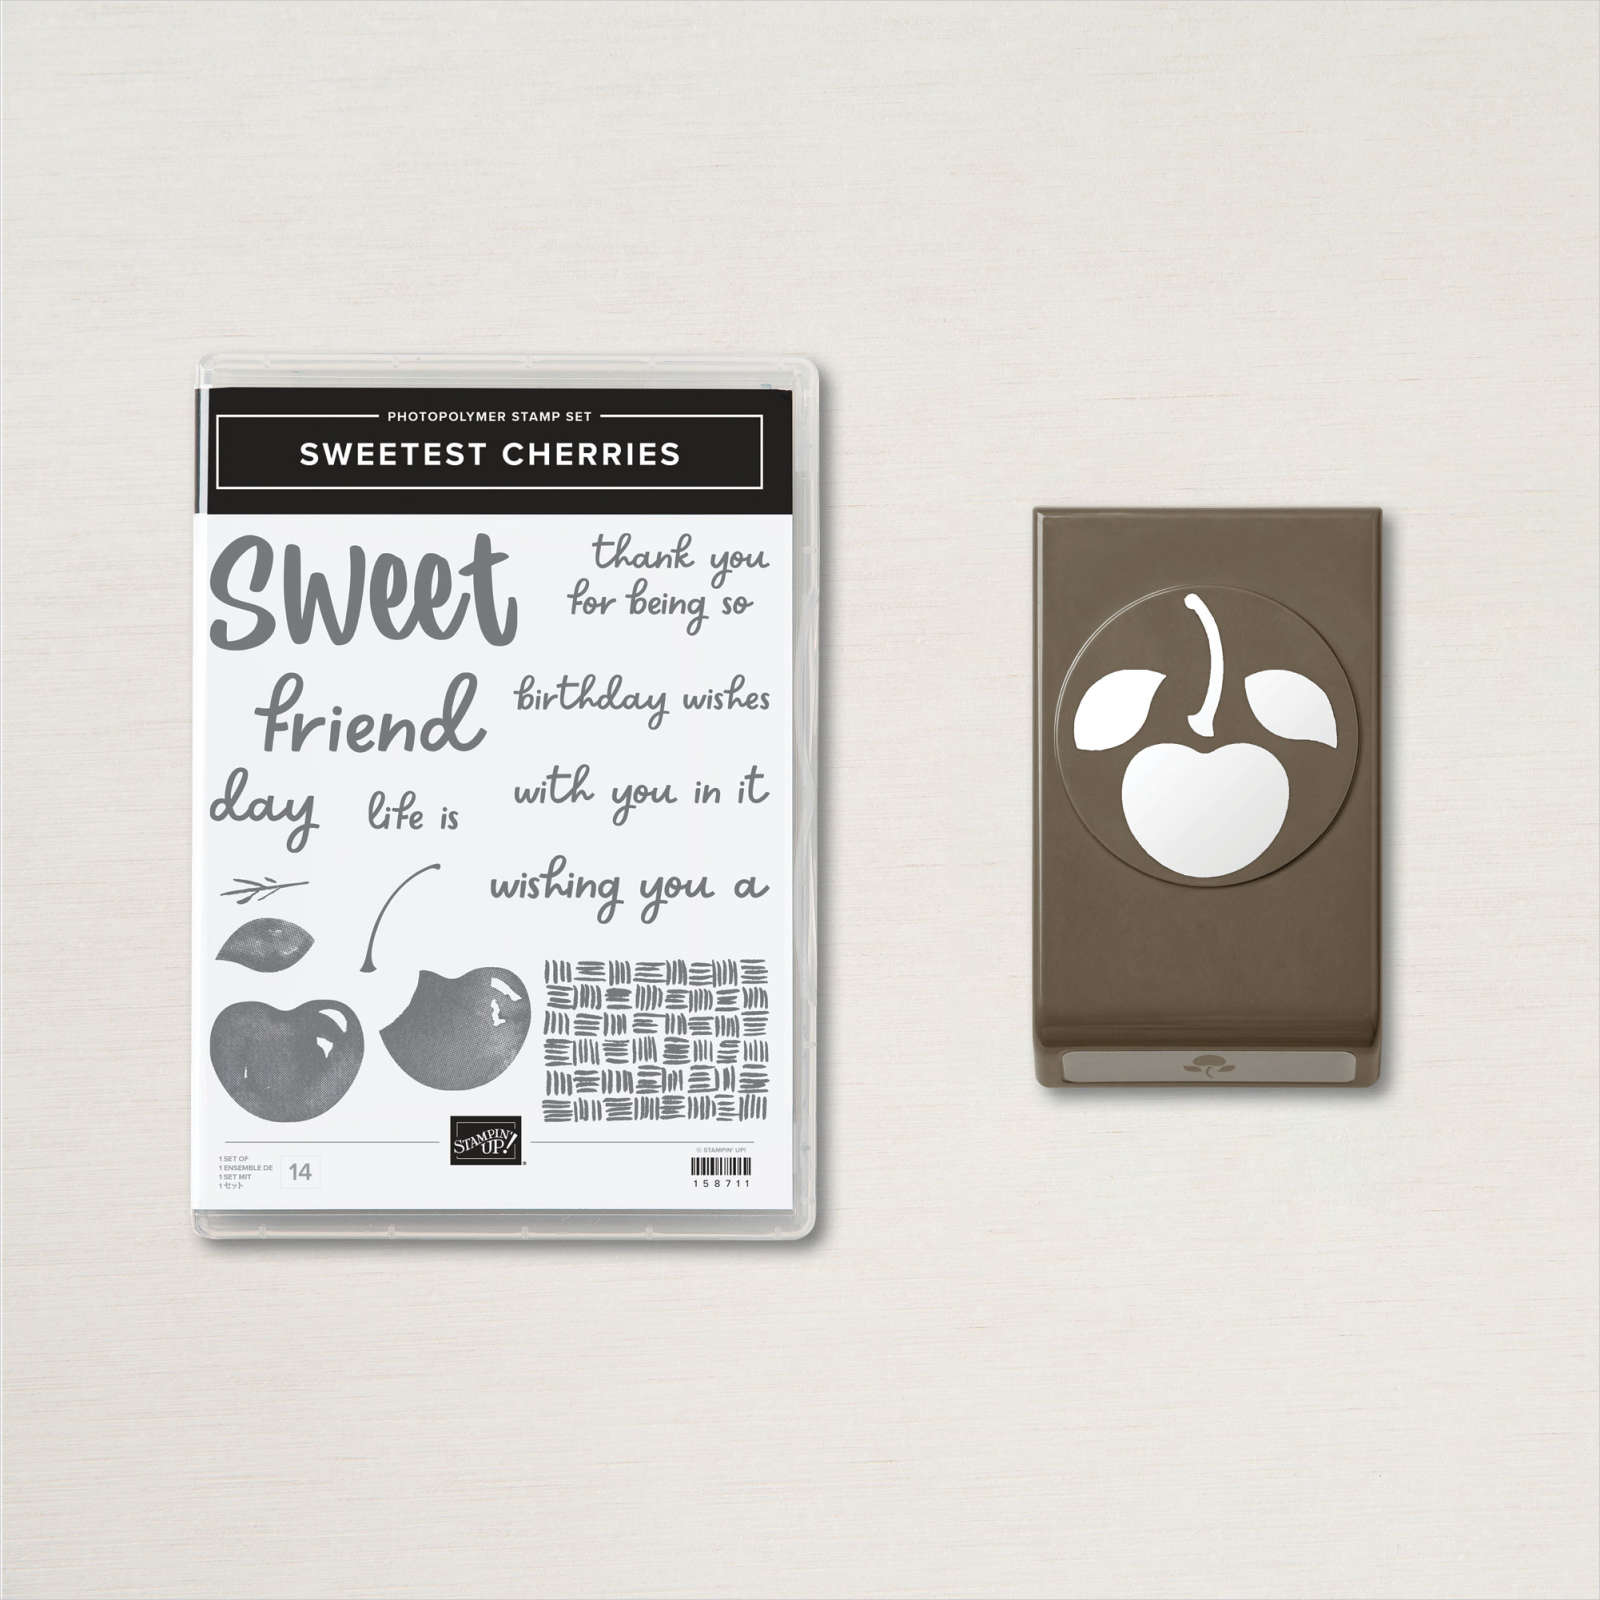
Hello, fellow crafters! Today I am sharing this sweet card using the uber-fun Sweetest Cherries bundle you will find on page 19 of the Stampin’ Up! Annual catalog. Did you notice the basket weave background on my card? I will show you how I did it.

To start this card, I stamped the sentiment “Sweet” all over the 5 1/2″ x 8 1/2″ (scored at 4 1/4″) Crumb Cake cardbase using Crumb Cake ink.
Tip:
I always start with stamping the first time in the middle of the cardstock, then out, up, and down. This will ensure the exact stamp placement throughout the card for a consistent design.
Next, I created the basket weave background!

Creating the basket weave background
To create the basket weave background. I cut a bunch of strips of Crumb cake cardstock 1 3/8″ wide and 8 1/2″ long. I cut up a full sheet of cardstock and made extra strips because I wasn’t sure how many strips I would need, and now I have extra for another project.
Once I cut up all of the Crumb cake cardstock strips. I stamped the basket weave stamp image from the Sweetest Cherries stamp set down each strip of cardstock. The pattern lined up perfectly for me, so it is easy to achieve a consistent stamp image on each strip of cardstock. Once you have finished stamping each strip, take your Paper Trimmer and cut each strip into three separate strips between the basket weave pattern. Each strip should have two rows of the pattern.
Now I cut my smaller strips down to the size I had decided on for making this card. For this project, I have five strips at 4 3/4″ and seven at 3 1/4″. Now the fun part is that I laid down the five 4 3/4″ vertical strips first, then wove in the 3 1/4″ horizontal strips to create the basket weave background. After I was happy with the layout of the basket weave, I glued it to the center of my Crumb Cake cardbase.

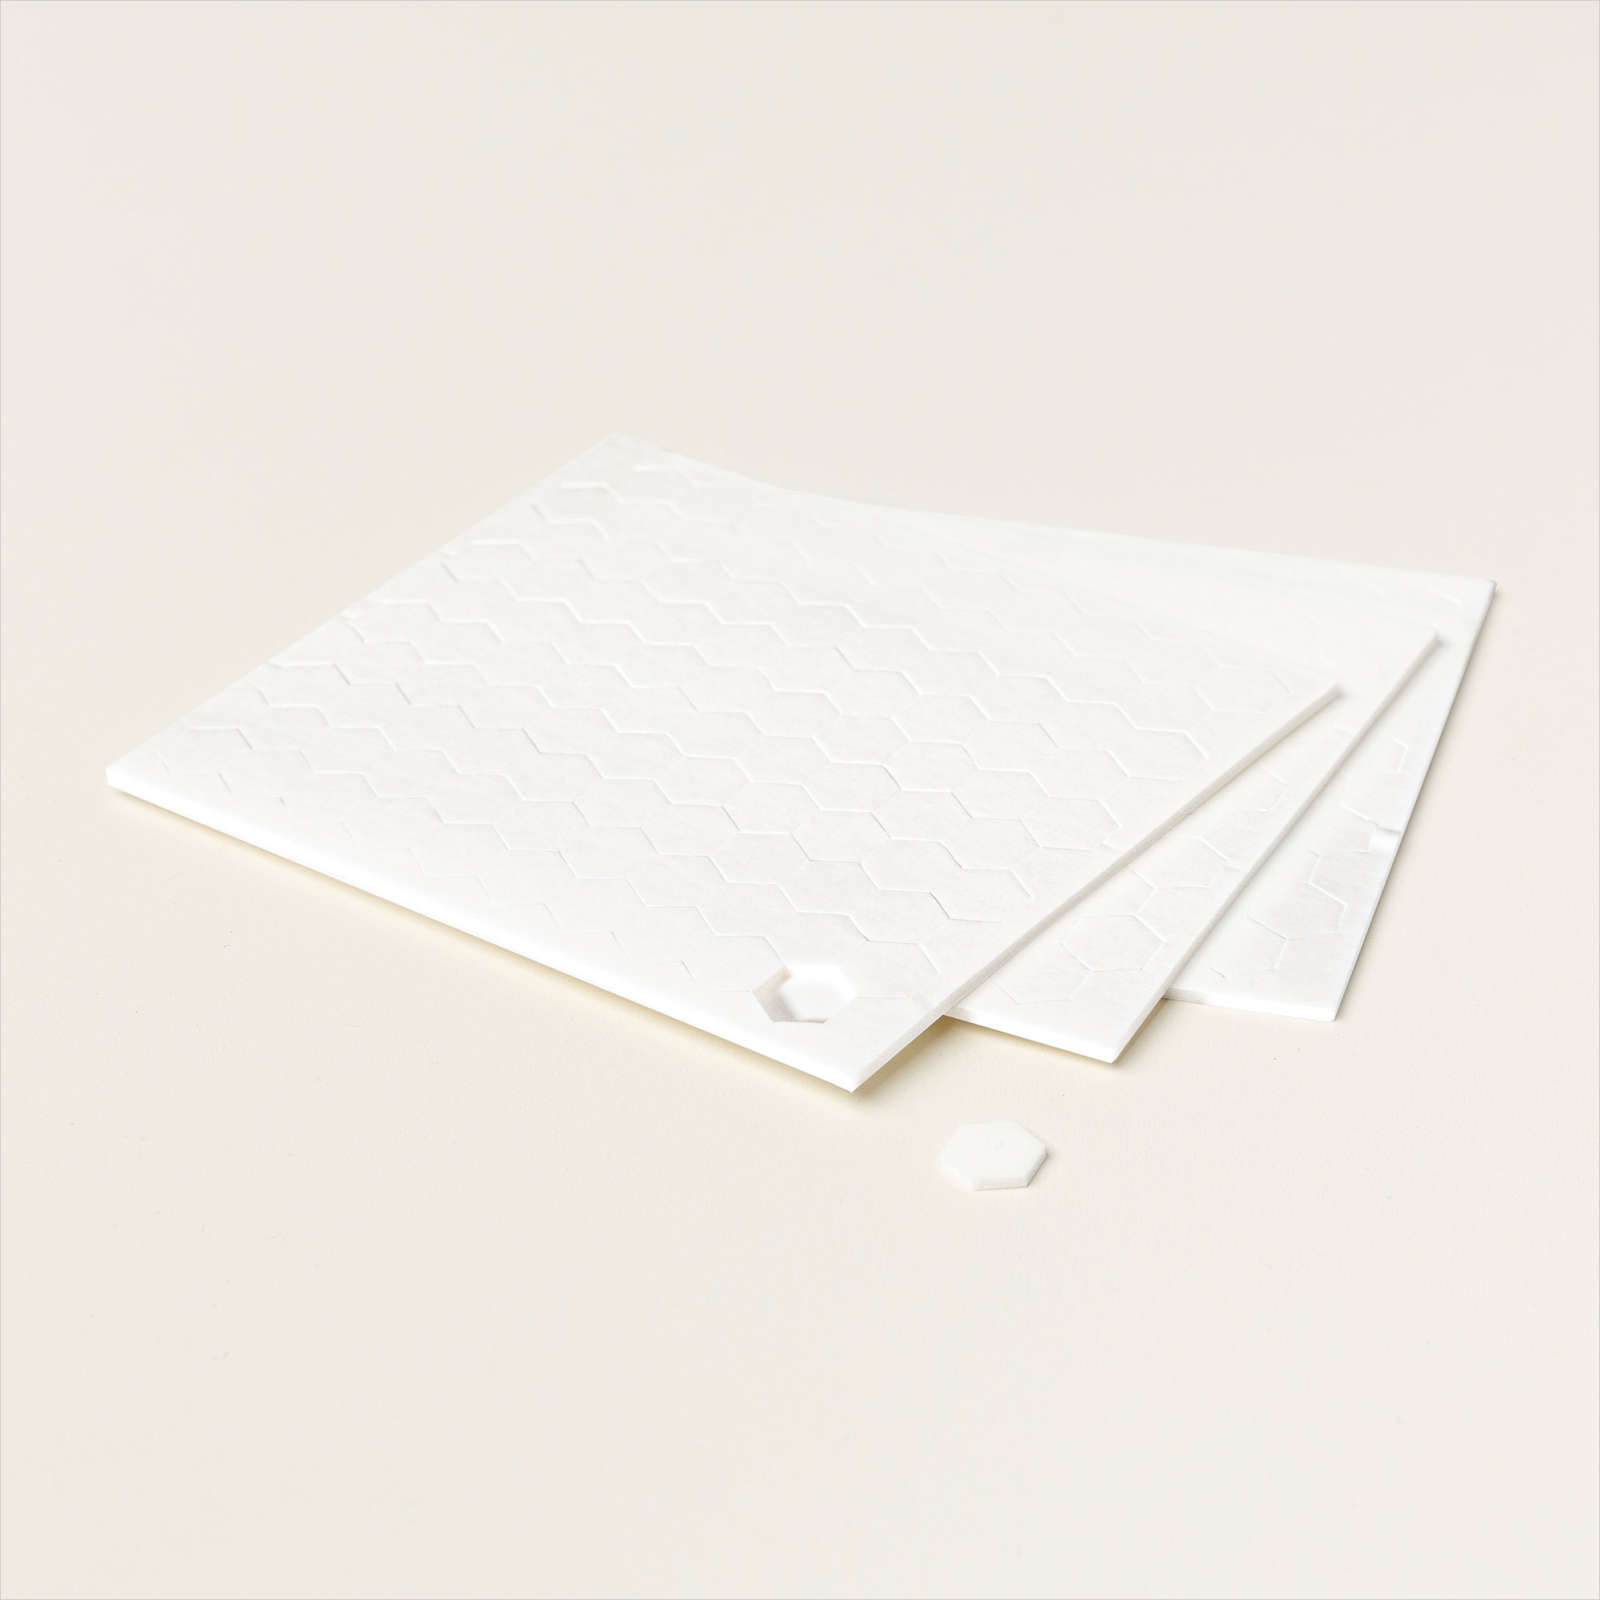
To finish out the card, I die-cut a Tahitian Tide Tailor Made Tag. I added three cherries with stems and leaves I punched out using the Cherry Builder Punch. Glue down the cherries and use a Stampin’ Dimensional just on the leaves. By doing that, you will give the cherries some dimension. I popped the word “Sweet” that I stamped in Memento Tuxedo Black ink onto Basic White cardstock and fussy cut it out. Then I stamped the sentiment “thank you for being so” above the word sweet.
To create the cherries:
- Stamp three cherries using Real Red ink on a 1 1/4″ strip of Basic White cardstock and punch out.
- Stamp three stems and four leaves using Garden Green ink on a 1 1/4″ strip of Basic White cardstock and punch out.
- Glue the punched stems to the top of the cherries. I glued one left facing right. Then I glued two leaves facing opposite ways on another cherry. I left the last leaf off until the very end because I knew the top left cherry would run off the edge of the card.

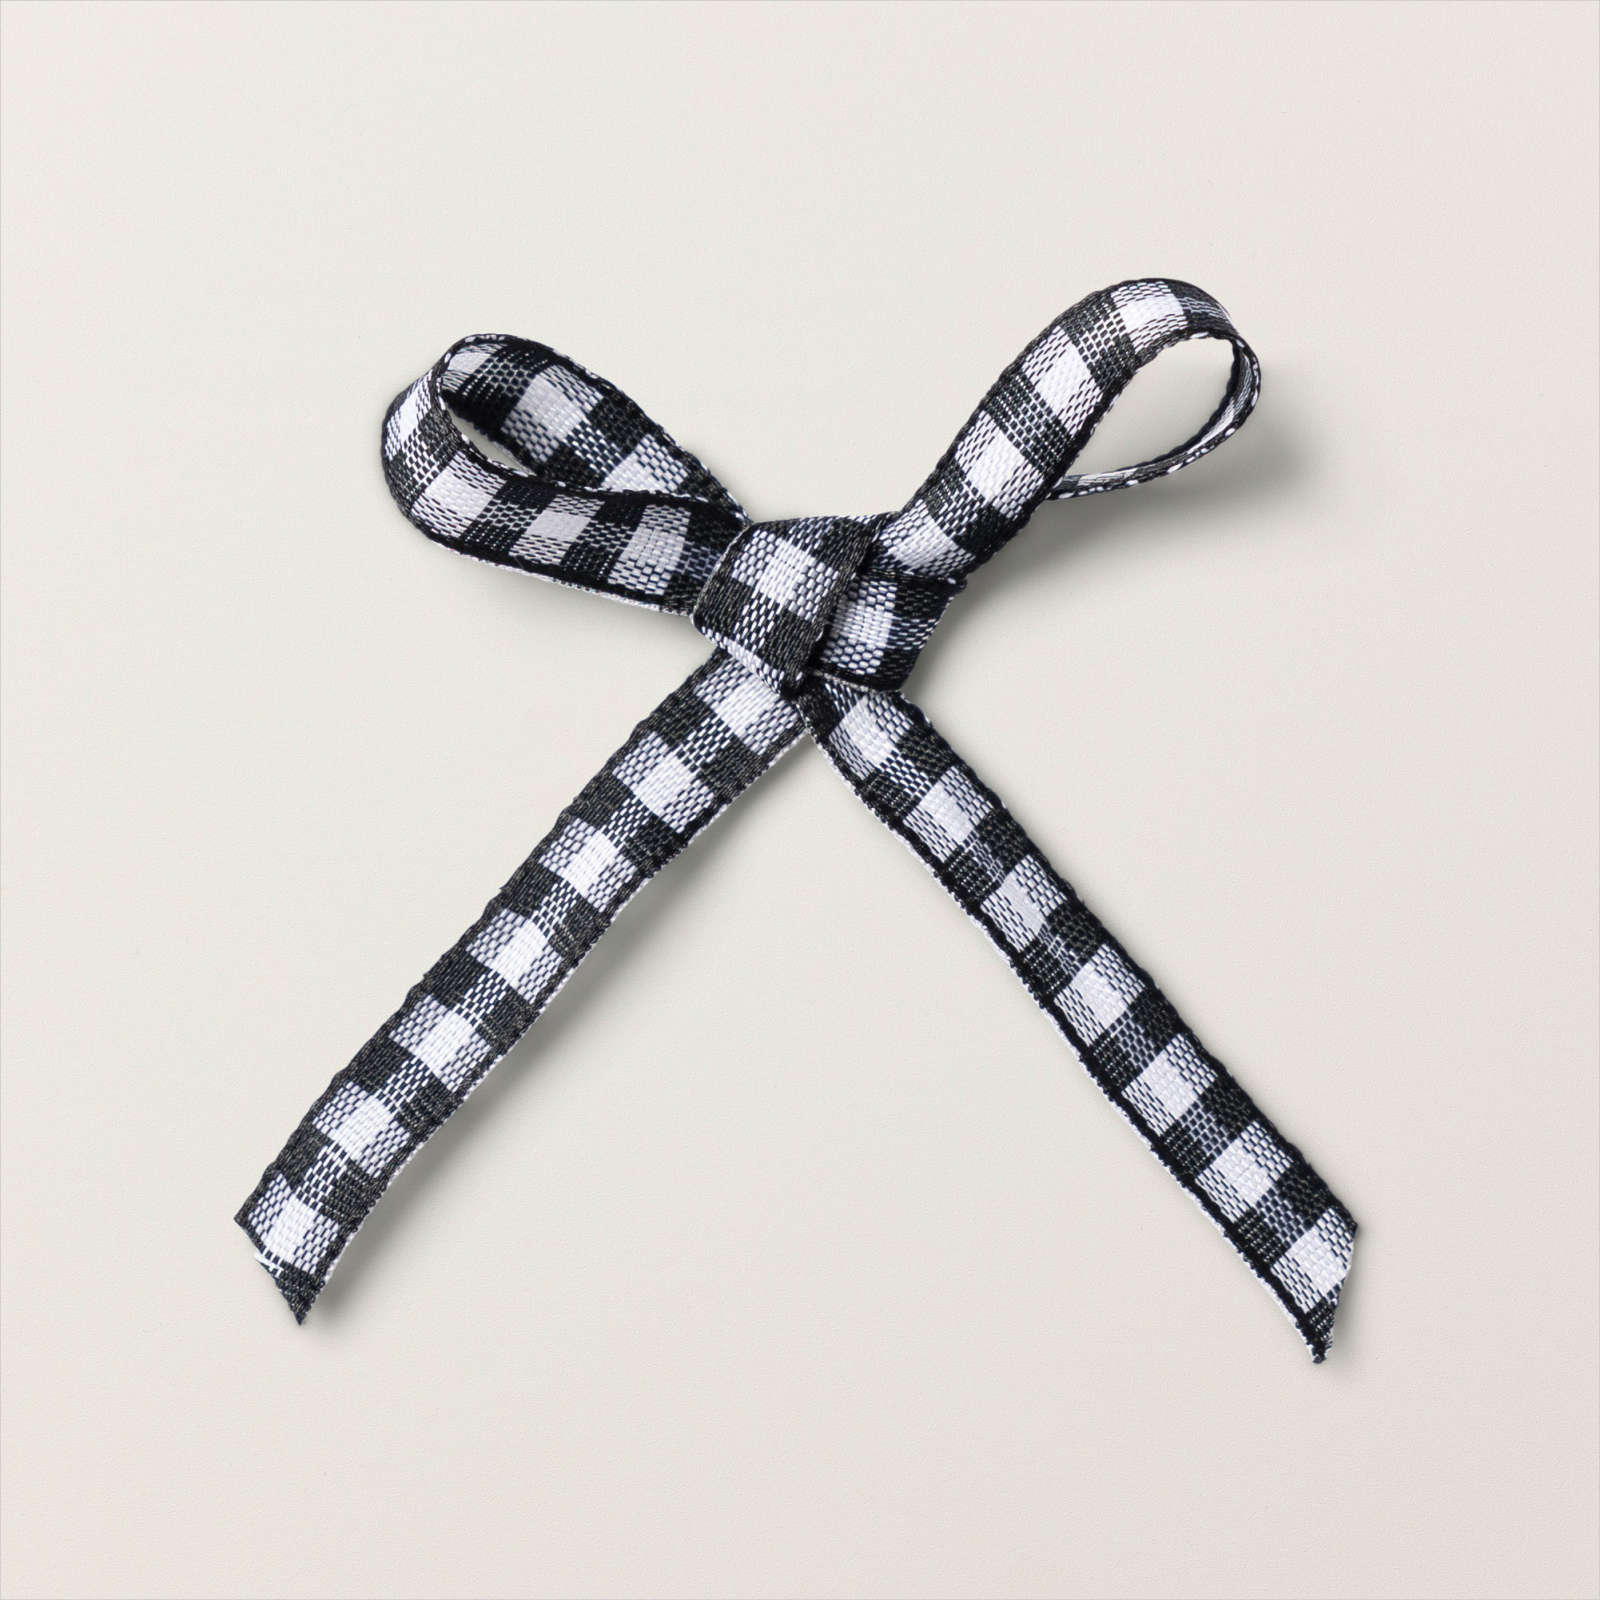
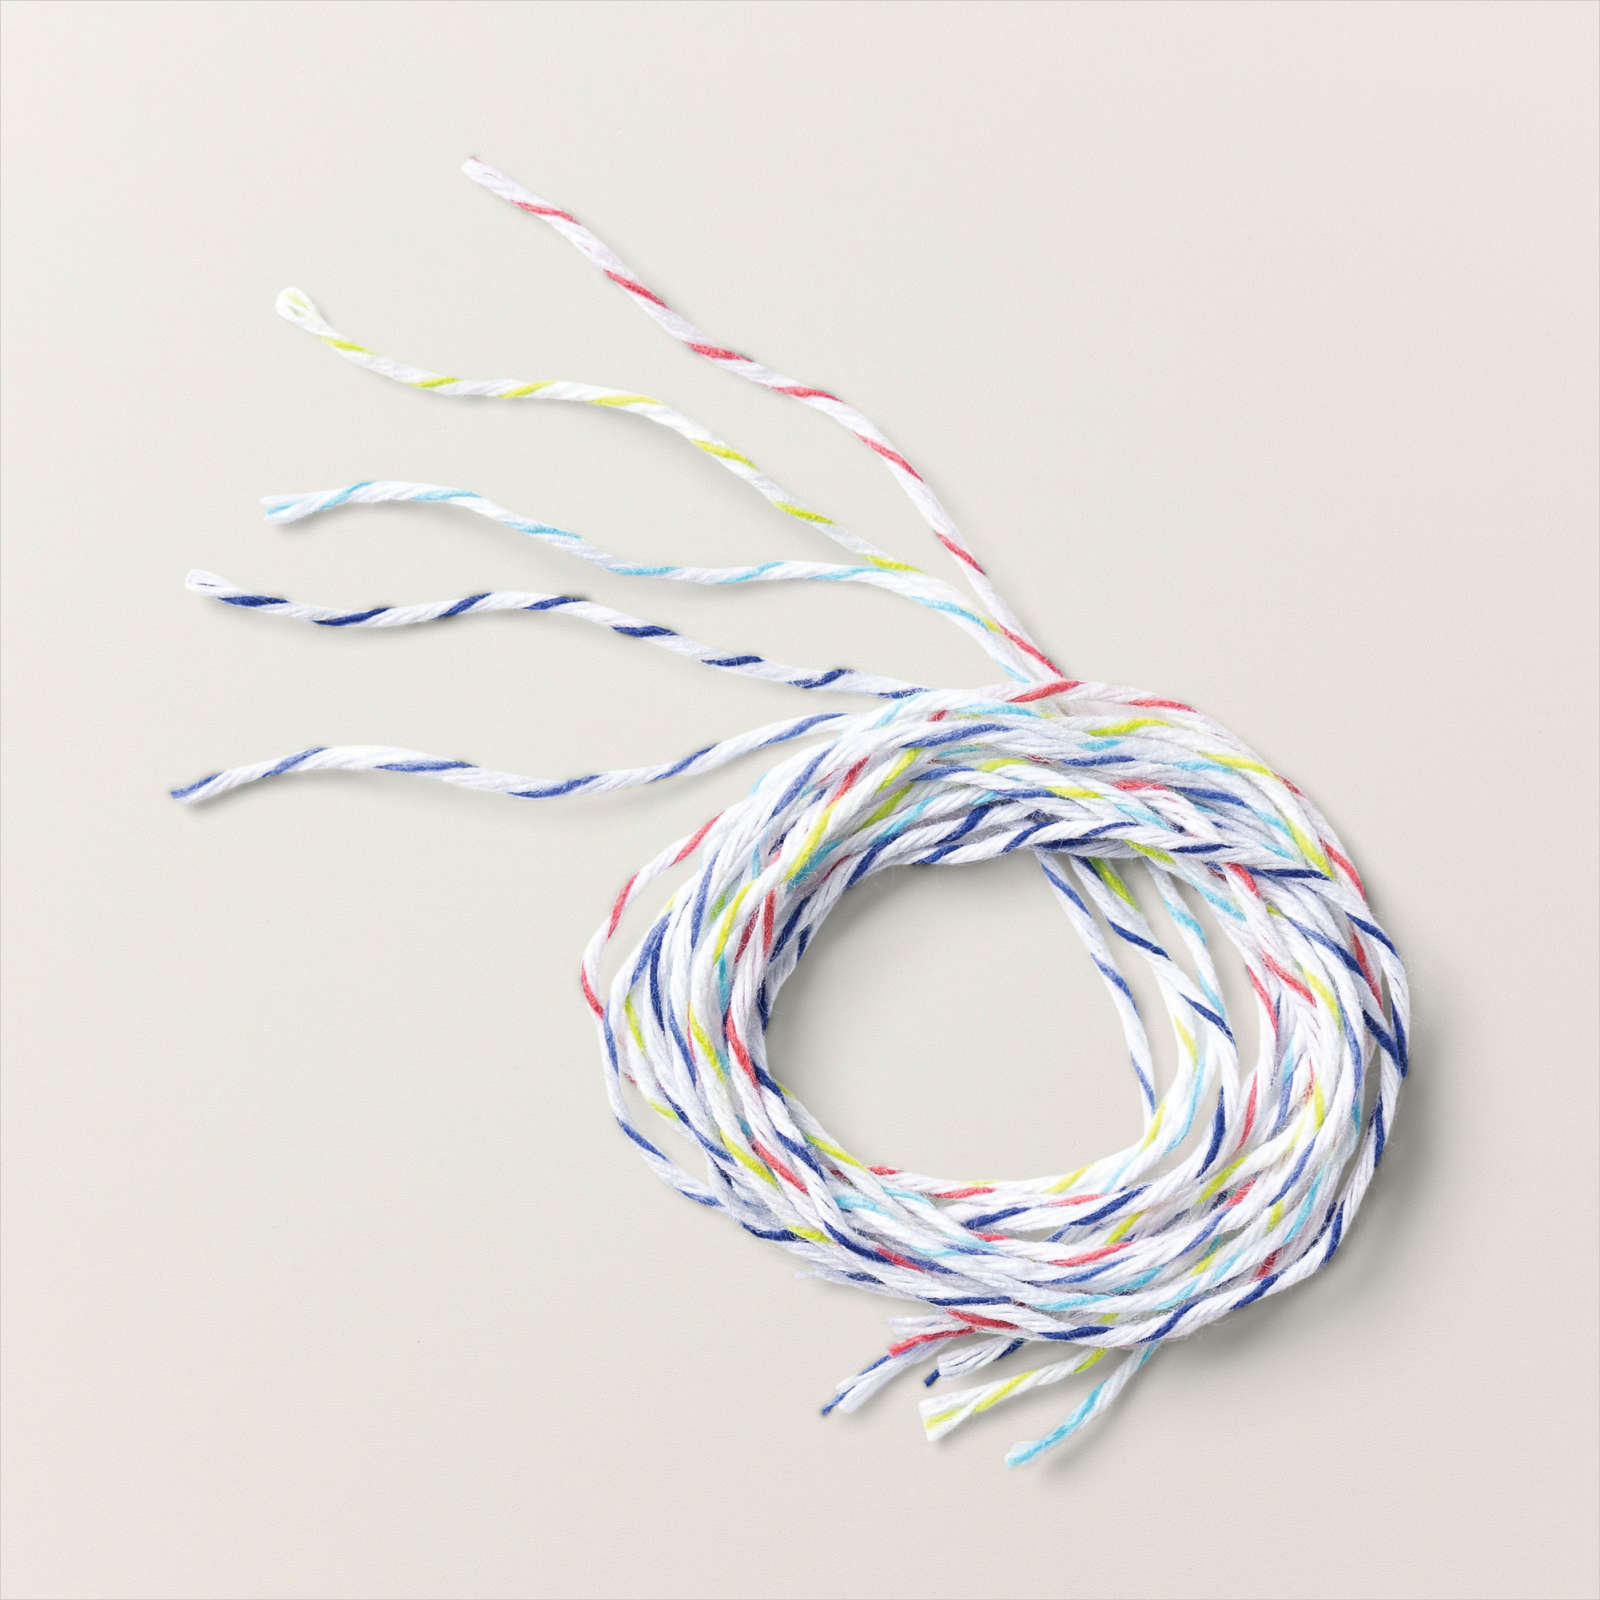
Once I had all of the tag elements glued down. I took two 4″ pieces of Black Gingham ribbon and cut them in half lengthwise to create four separate pieces of ribbon. I threaded the ribbon pieces through the tag hole, tied a piece of Sweet Sorbet bakers twine around, and made a bow. After finishing the tag, I adhered it to the center of the Crumb Cake cardbase using Stampin Dimensionals. Now that you have your tag on the cardbase, you can trim the upper left cherry stem and glue down the leaf, so it fits on the card. And bam, you are done! Holy smokes, that was a lot of typing…it probably would have been faster to do a video, LOL!
Isn’t the Sweetest Cherries Bundle awesome!!! I have had a lot of fun creating projects with this stamp set and coordinating punch! This is a must-have bundle in my book.
You may purchase these products I used in my online Stampin’ Up! Store by clicking any of the product photo links at the bottom of the post.
Thanks for stopping by today.
Happy Stamping!
Card Stock Sizes:
- Crumb Cake – 5 1/2″ x 8 1/2″
- Crucb Cake – (4) 1 3/8″ x 4 3/4″ to create the basket weave background
- Tahitian Tide – 2 1/8″ x 4″ – die-cut tag
- Basic White -1 1/4″ strip for (3) cherries & stems and (4) leaves
- Basic White – 3″ x 1 1/4″ Sentiment layer
Items used to complete this card:

