Hello, and welcome back! I need to apologize for the lack of blog posts lately. I will be honest with you. I just haven’t had it in me to type the posts. I have projects, but every time I sat down to write a post, My mind was blank. So today, I am tuning everything out, and I will get this done!
Today I am sharing this bright and fun paper hug card I made using a stamp set you would even think about using to create a card. The Limited Edition stamp set is a copyright set that you usually put on the back of your cards to comply with Stampin’ Up! Angel Policy*. I received this stamp set as a gift for attending a virtual demonstrator-only Stampin’ Up! event in April called On Tour (it was so much fun!!!) Su randomly sent each participating demo one of four stamp sets, and I received the Limited Edition set. We were then asked to create a swap card to share on a Facebook page for the event. At first, I was stumped about what to make with this set, but then I thought, why not make a background!
*if you sell your cards using Stampin’ Up! images, you need to have the Stampin” Up! copyright stamp on the back of your cards to comply. You can read the complete Angel Policy document HERE

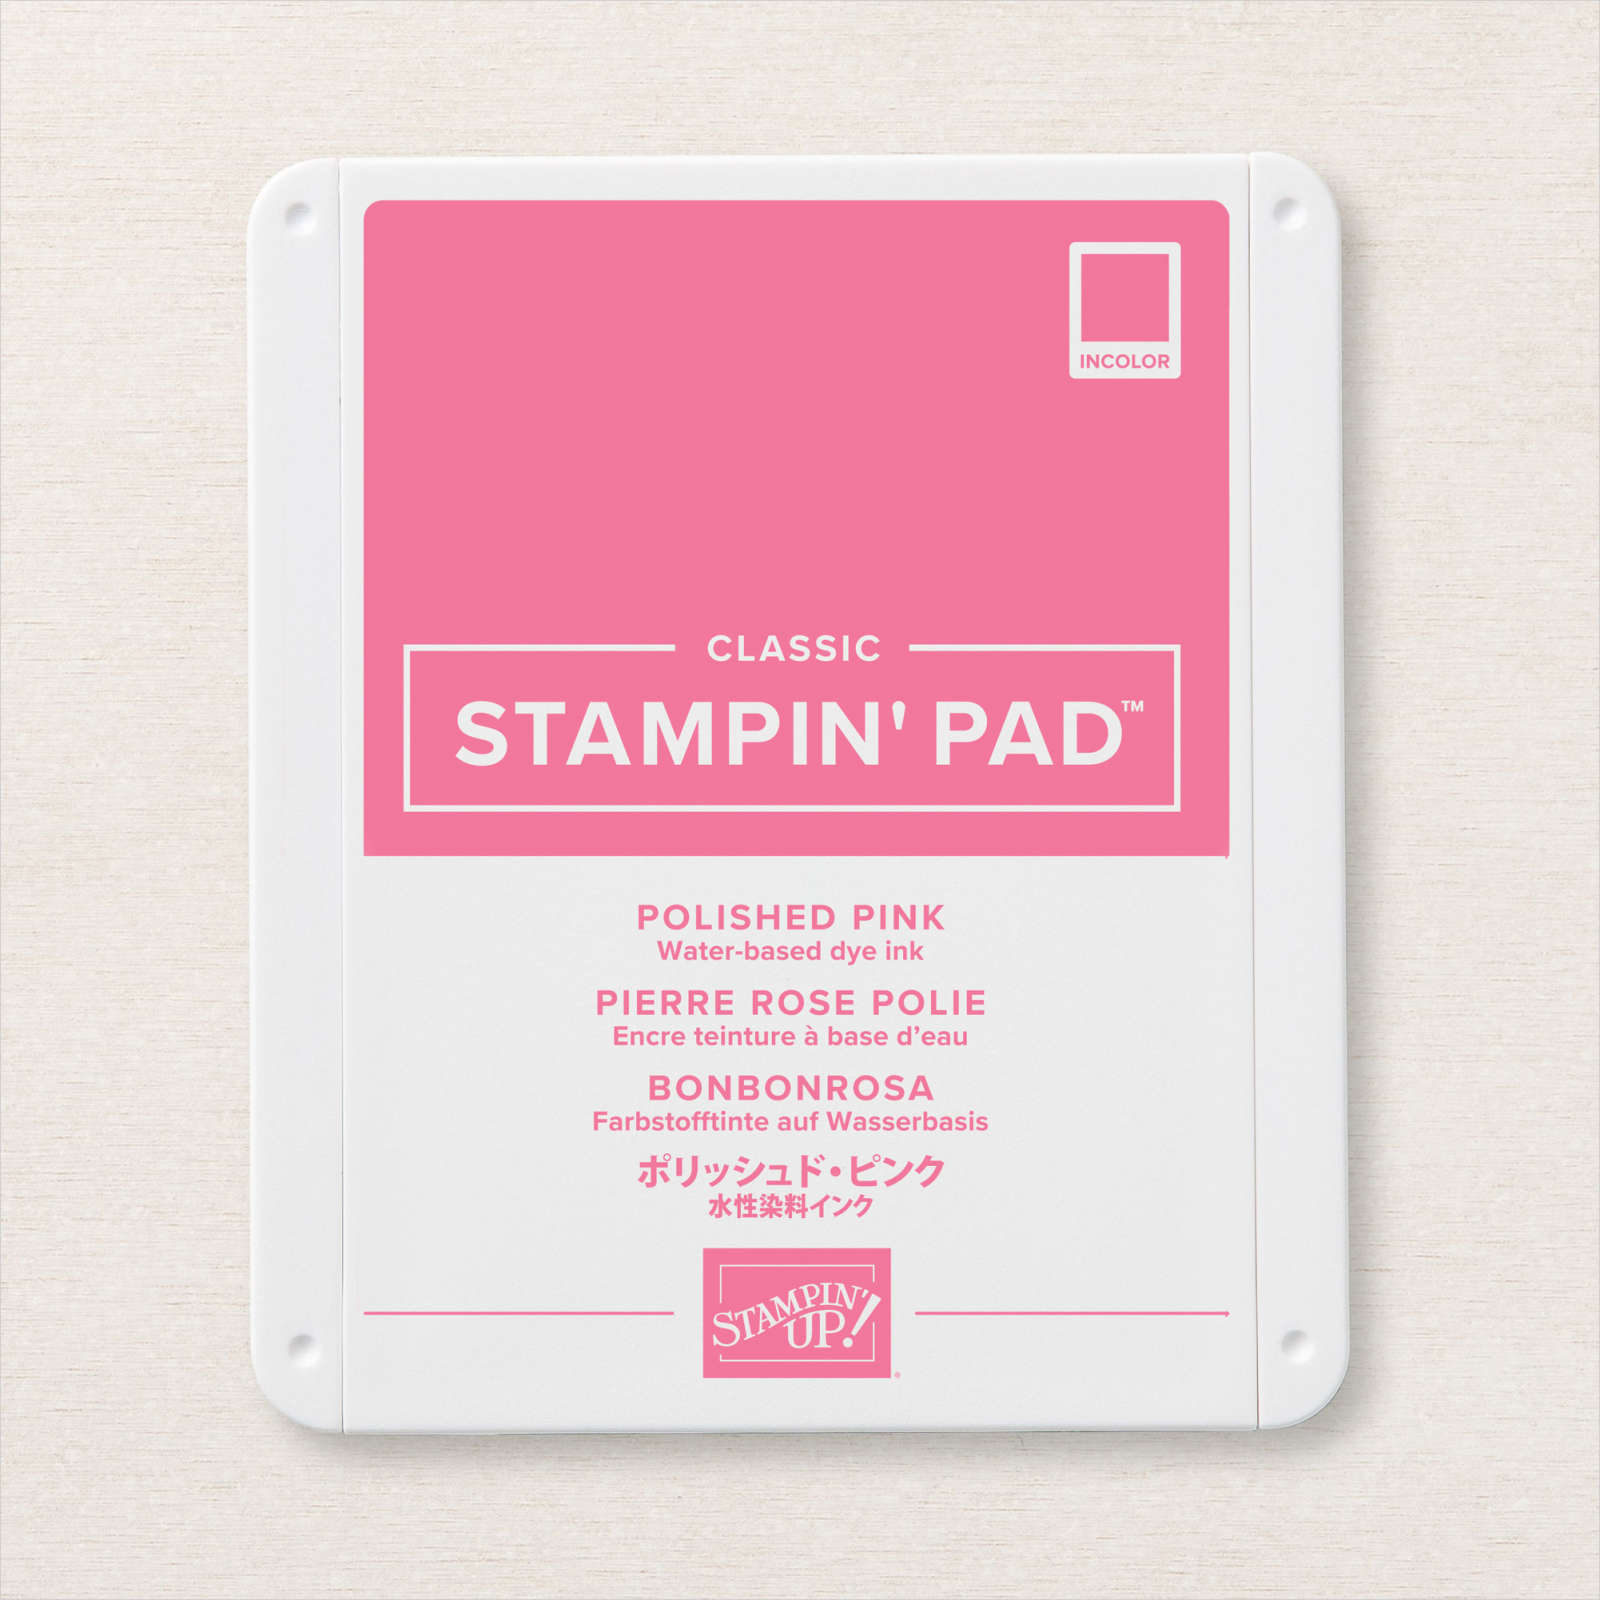
To create your background, you need to choose your stamp set and ink colors for your project. I chose Polished Pink for both. I took a 4″ x 5 1/4″ piece of Polished Pink cardstock and inked up the stamp image using Polished pink ink.
Now on the stamp image is the Stampin’ Up! copyright name at the bottom of the image. I was able to stamp the image leaving off the copyright by stamping the circle part of the image on the edge of the stamp pad leaving off the ©STAMPIN’ UP!. If you struggle to get ink on the copyright portion of the stamp, you can either wipe the ink carefully with a damp rag or use the new Masking Paper to mask the copyright portion after you ink up the stamp.
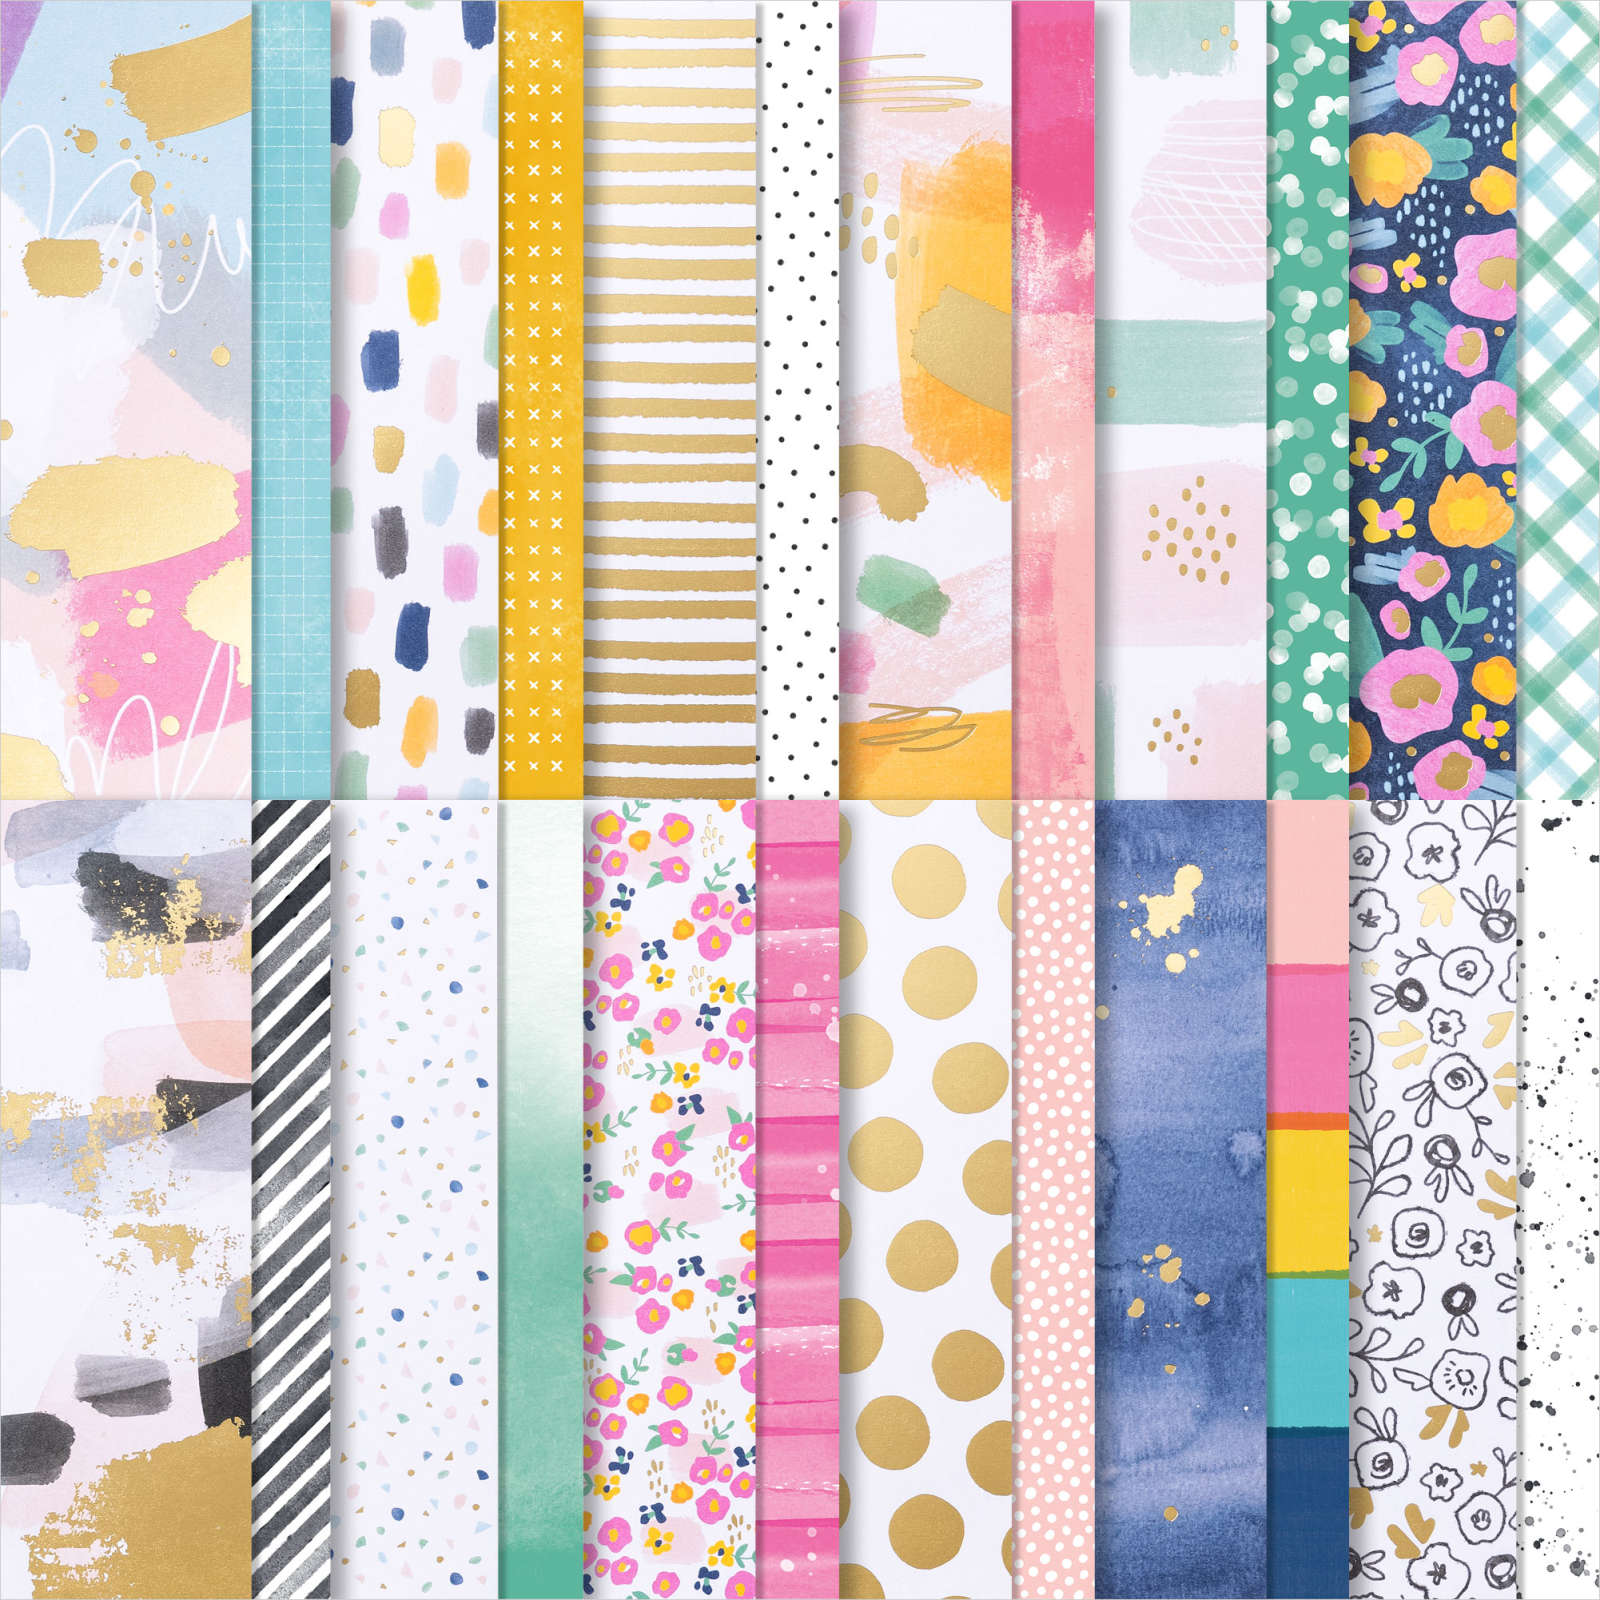
I stamped the image in an alternating pattern for each row. Once you are done stamping the background, you can glue it down to a Polished Pink A2 cardbase (4 1/4″ x 5 1/2″). I added a strip of Abstract Beauty Specialty Designer Series Paper which is on the retiring list, and it is only $7.50, so grab some while supplies last!
To create the sentiment tag:
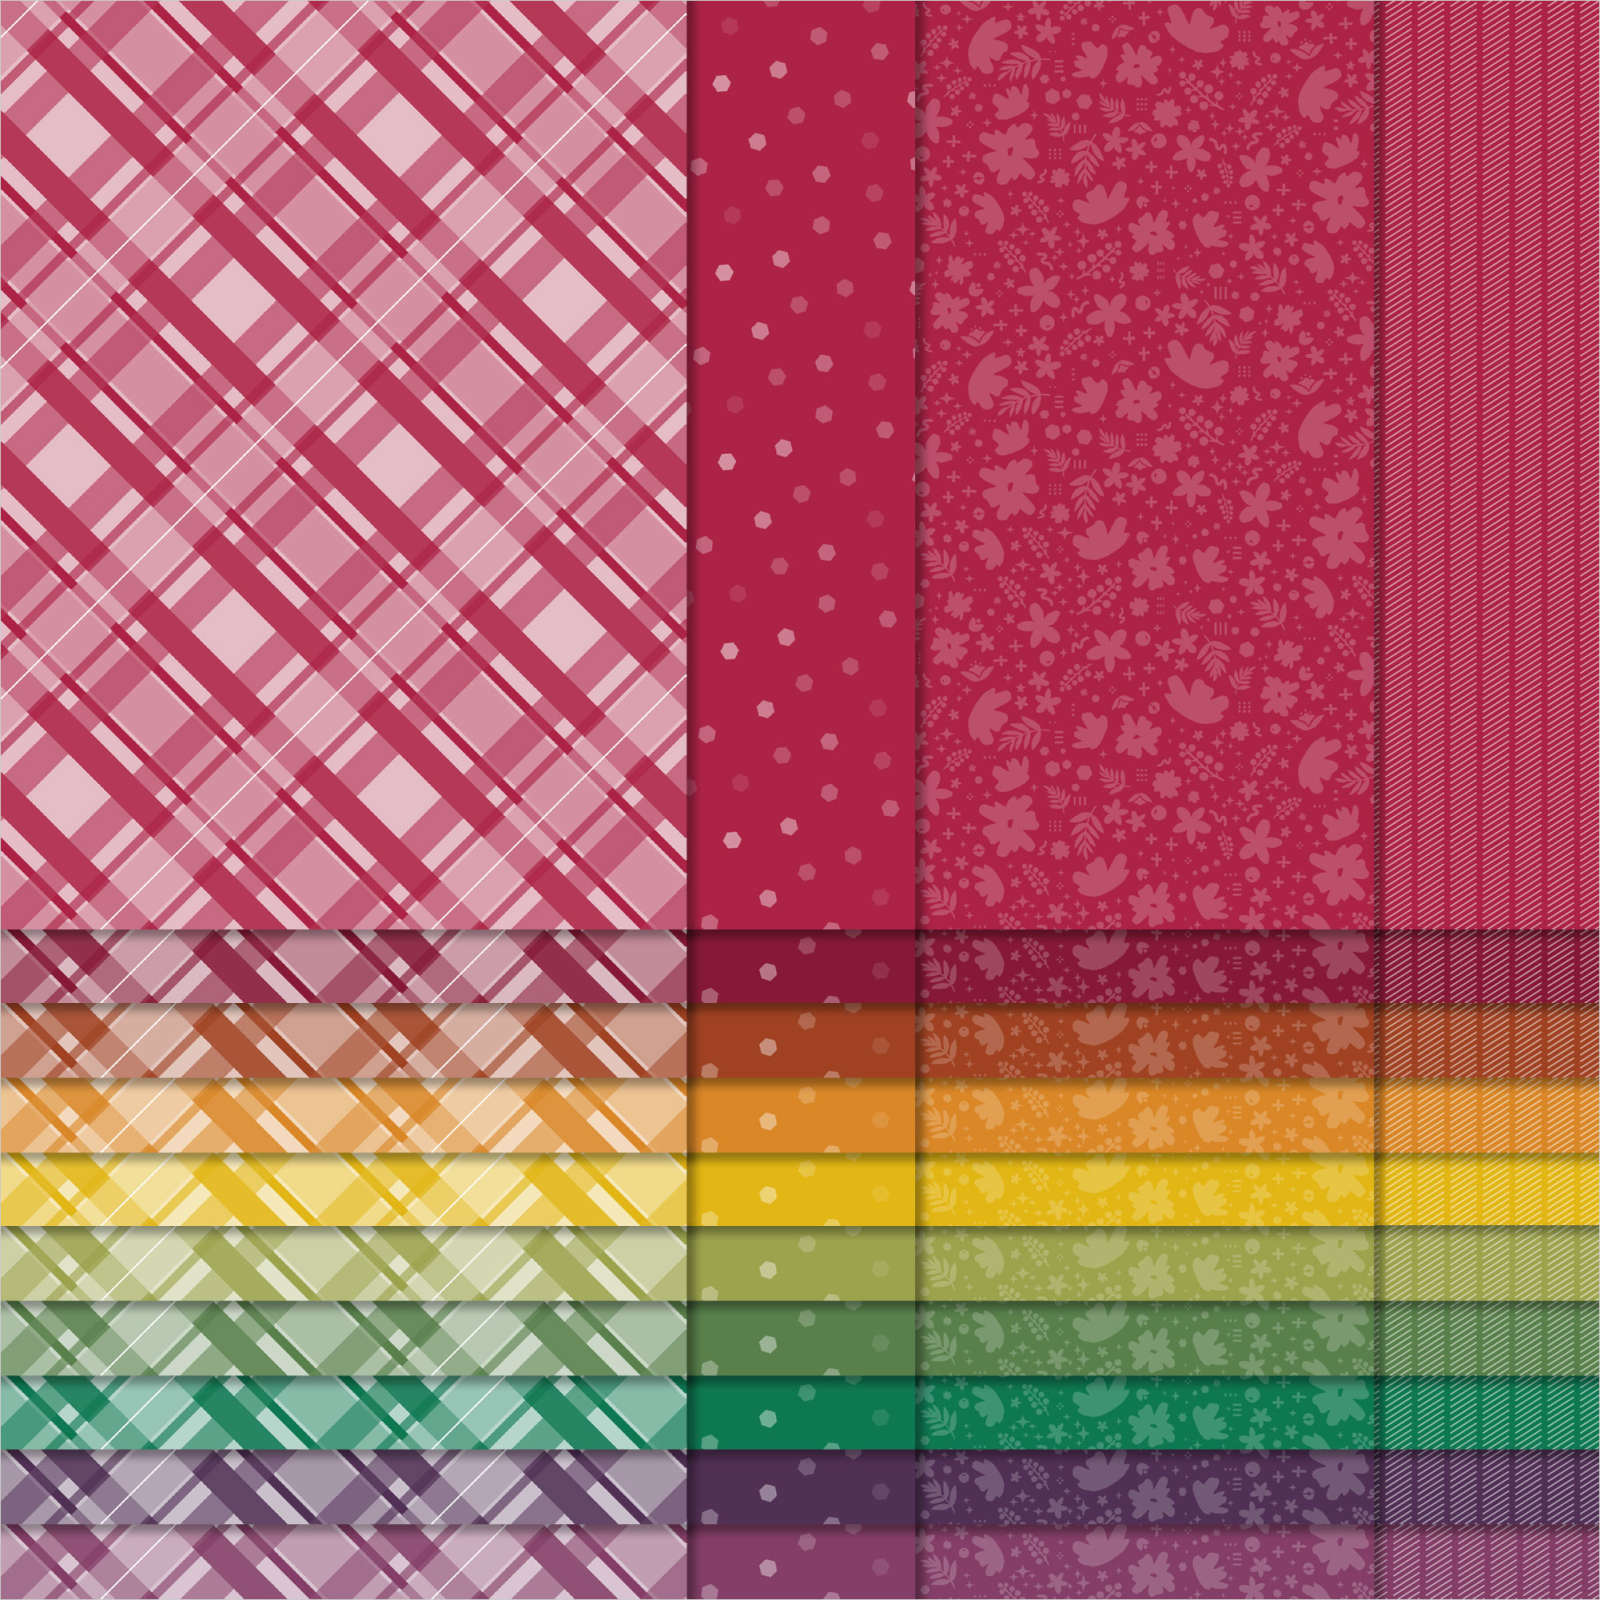
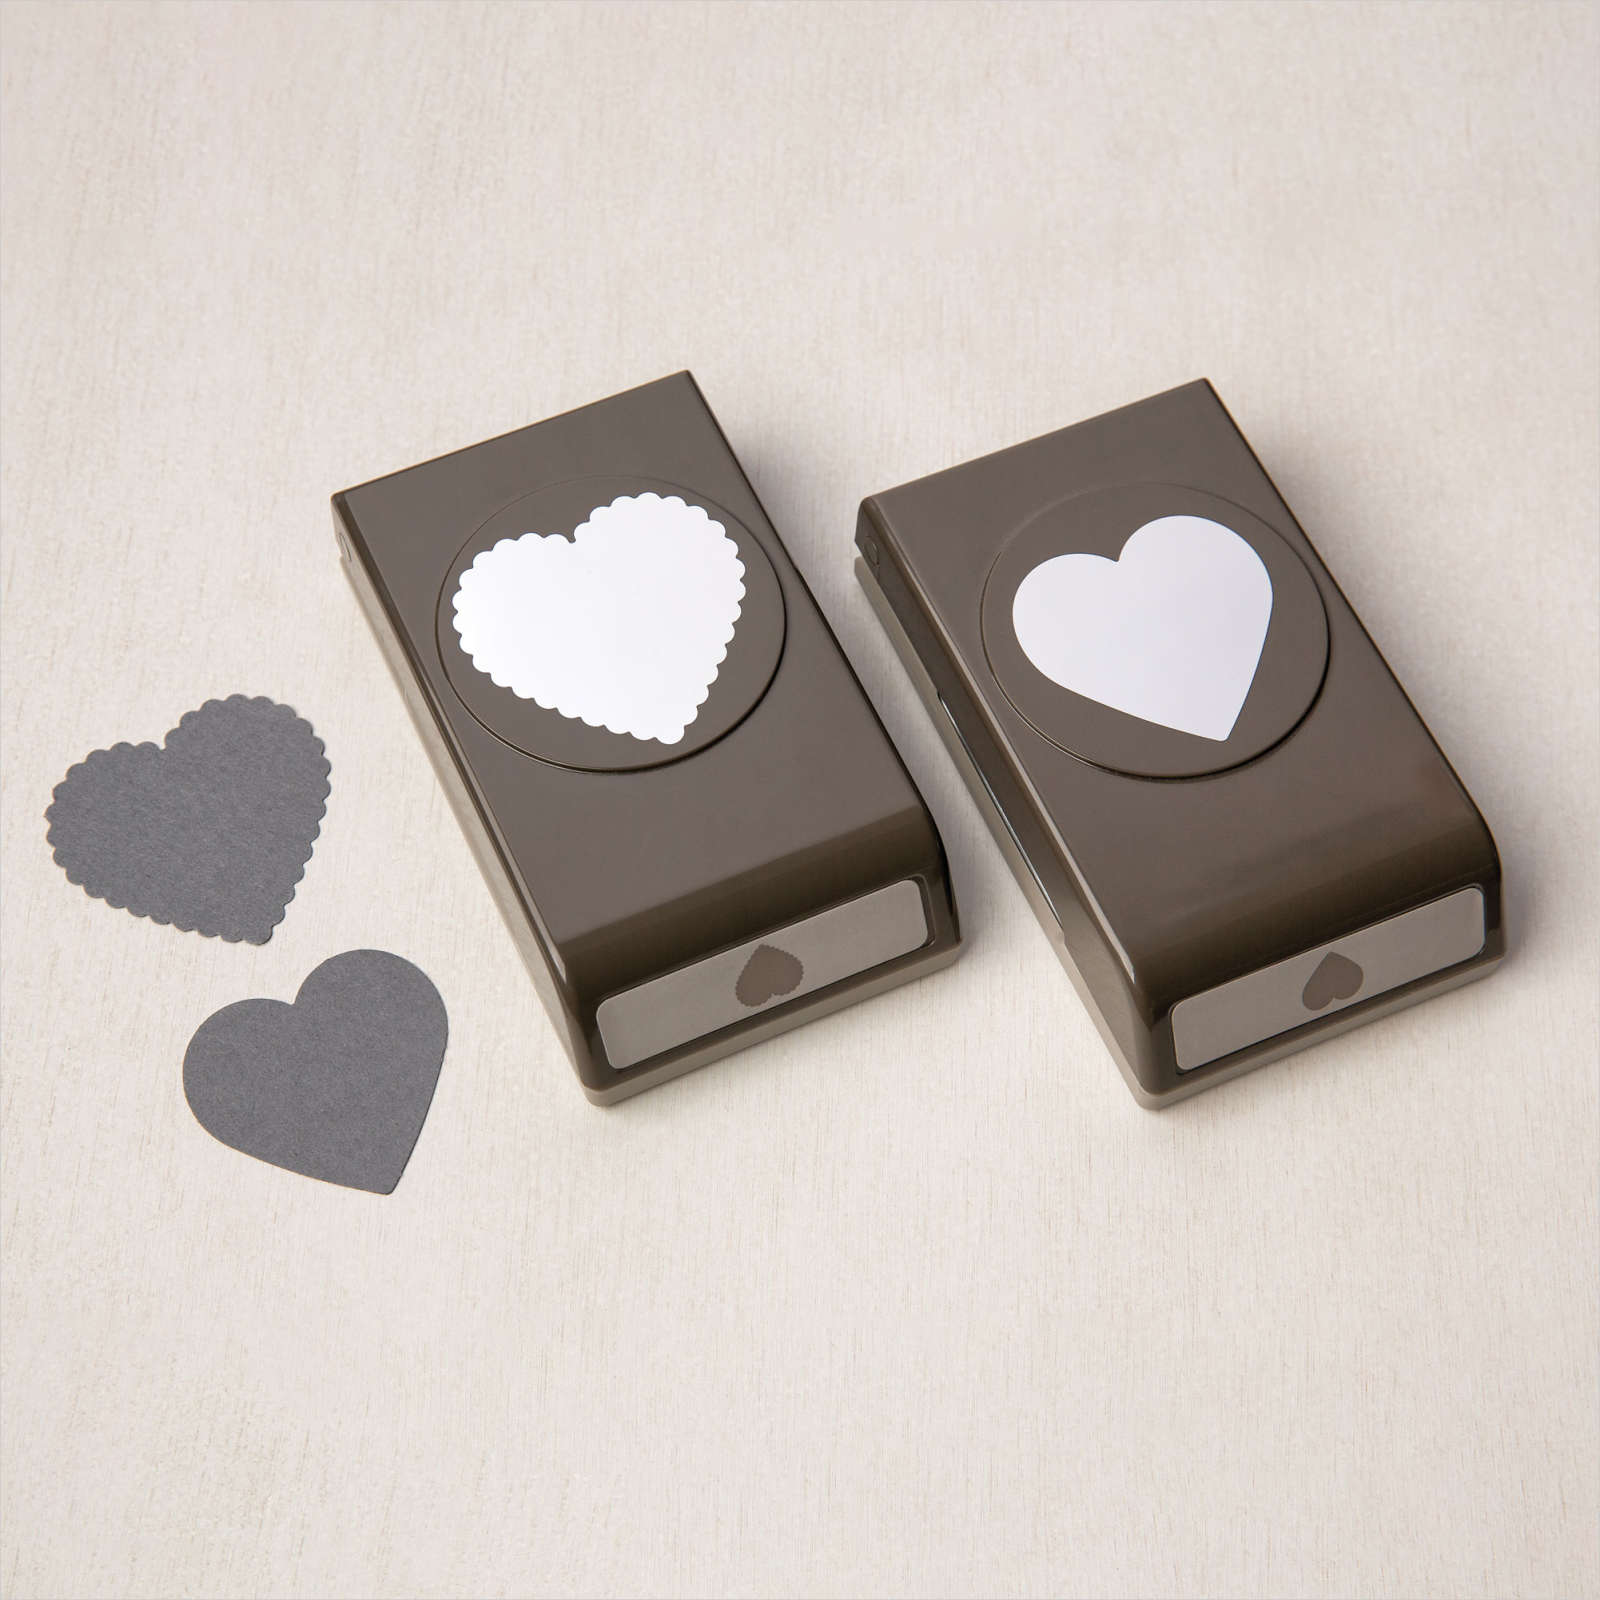
- Punch a large heart in Crushed Curry DSP using the Heart Punch Pack
- Stamp the “A Paper Hug From Me” using Night of Navy ink on a scrap of Basic White cardstock.
- Punch it out with the small heart punch from the Heart Punch Pack.
- Adhere the smaller heart punch to the center of the Crushed Curry larger heart.
- Restamped the sentiment using Polished Pink ink on a scrap of Basic White cardstock.
- Using paper snips too fussy, cut out just the word hug.
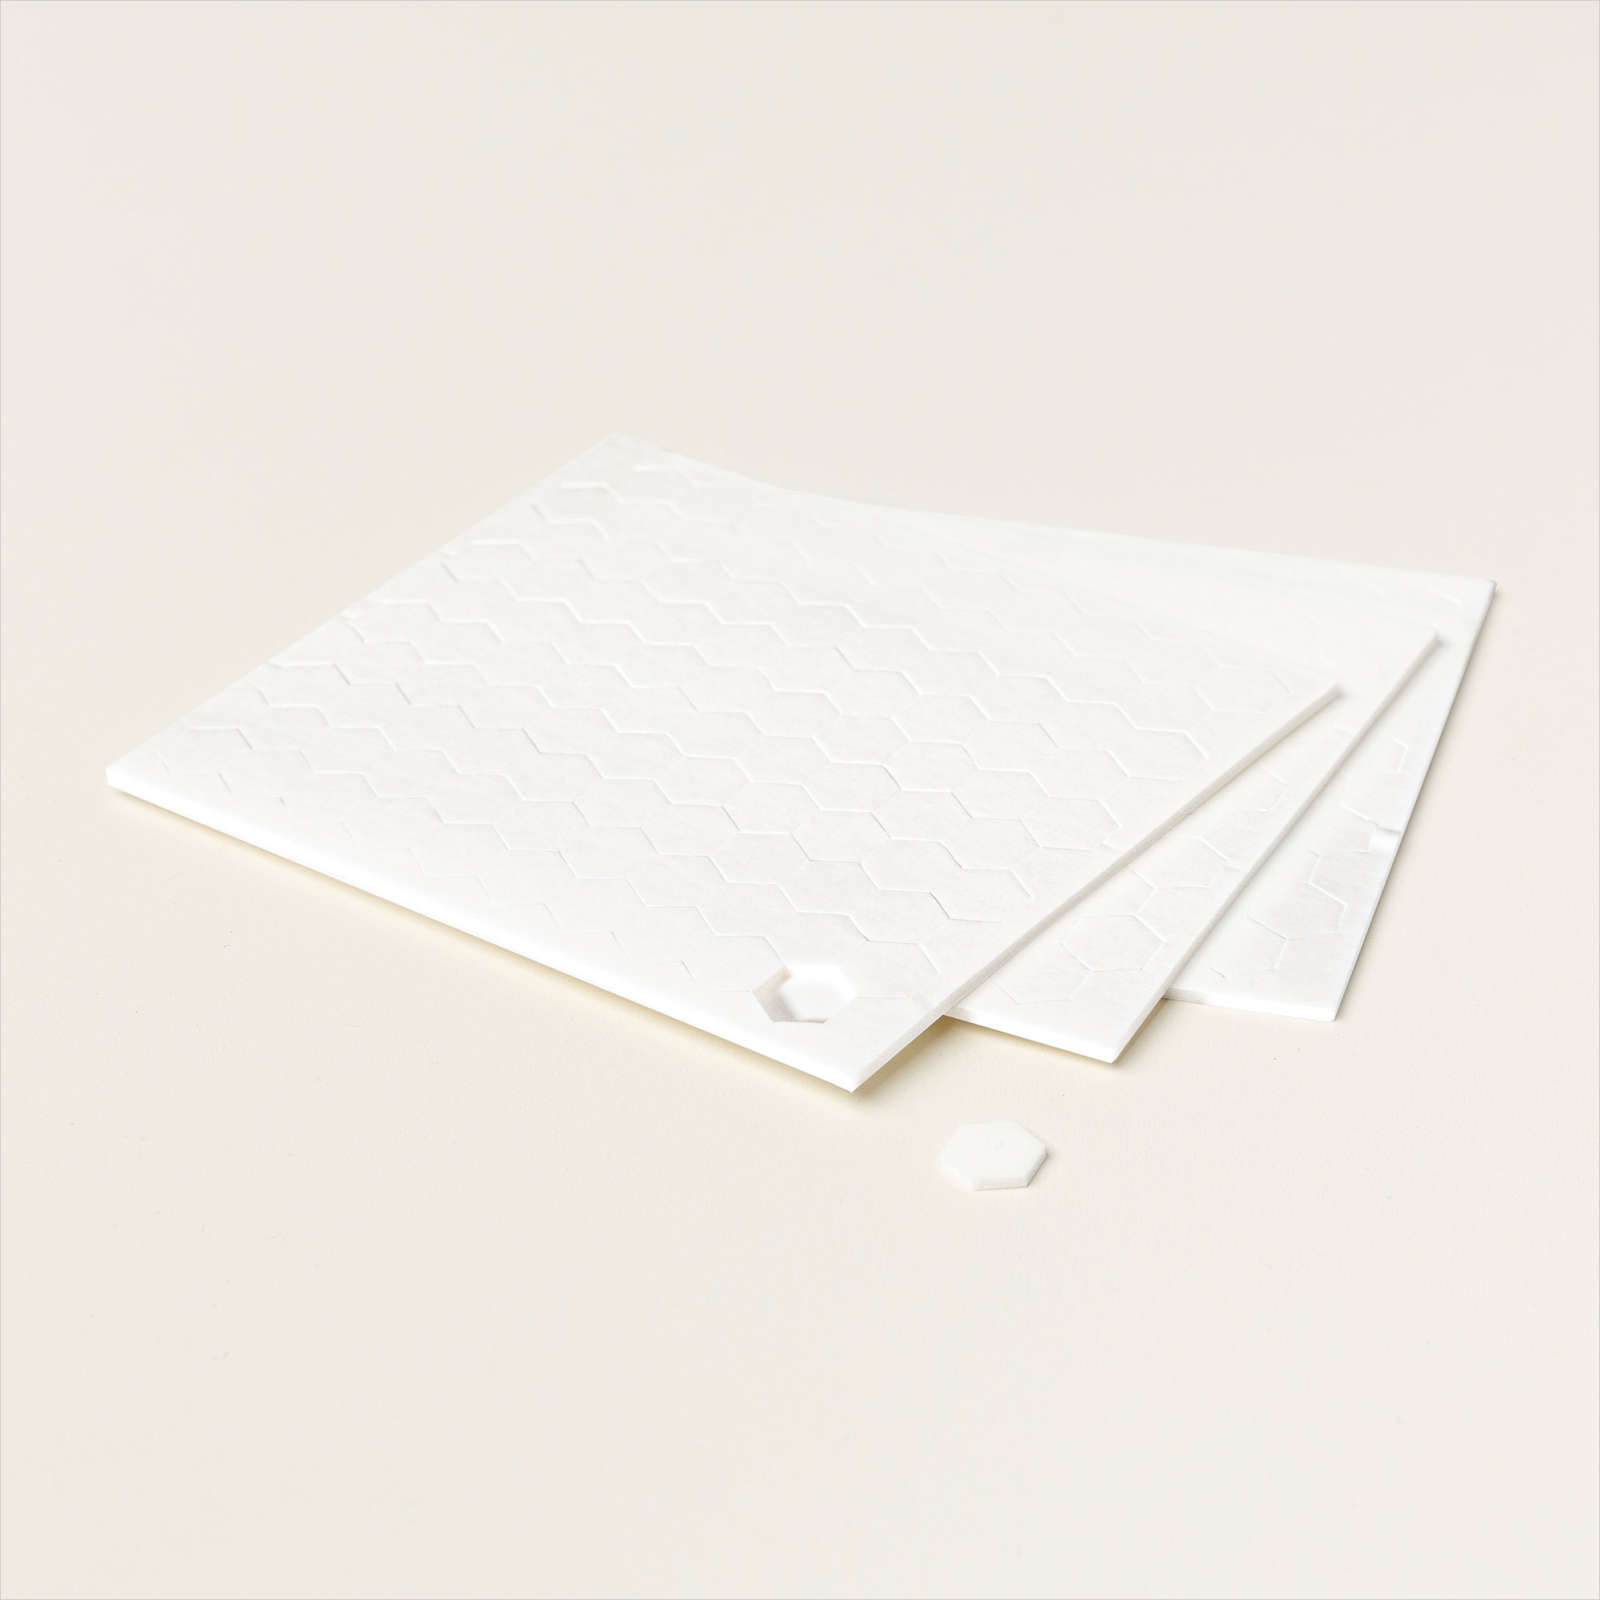
- Attach the cut-out “hug” over the top of the Night of Navy “hug” using a Stampin’ Dimensional.
- Take a 10″ piece of Polished Pink 3/8″ Open Weave Ribbon and cut the edge off of the side of the ribbon, only leaving the open weave left. Tie a bow and attach it to the upper left of the sentiment.
- Attach the sentiment tag to the cardbase over the DSP strip using Stampin Dimensionals.
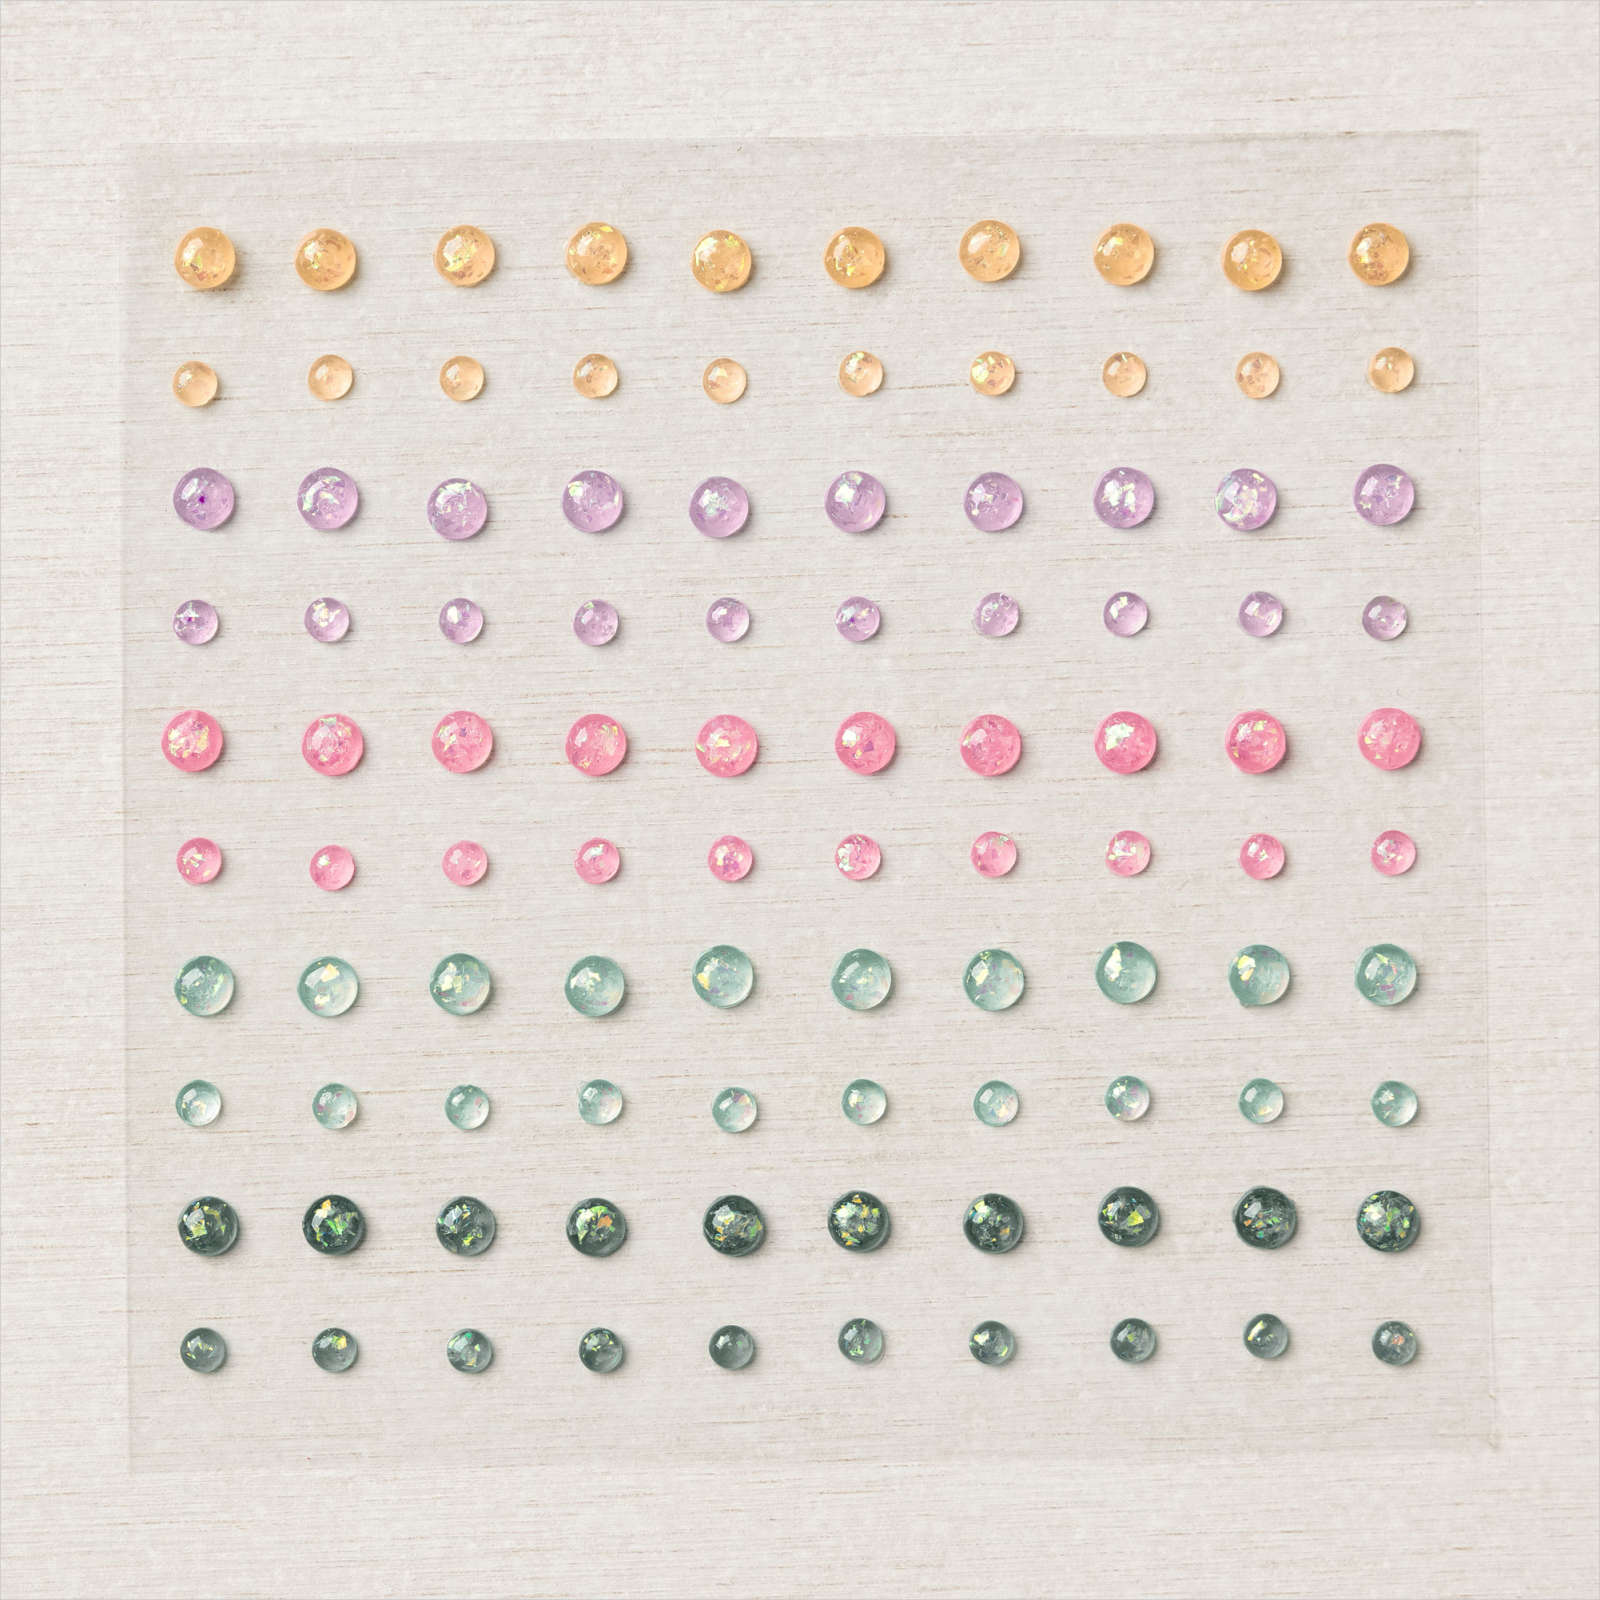
- Add some 21-23 In-Color Opal Rounds, and you are done!
Whew, that was a lot of typing! I hope you have enjoyed my project this week. The color combination is very striking. You should give it a try and share your project with me in the comments below. I would love to see your creations!
All of these products may be purchased in my online Stampin’ Up! Store by clicking any of the product photo links at the bottom of the post.
Thanks for stopping by today.
Happy Stamping!
Card Stock Sizes:
- Polished Pink – 4 1/4″ x 8 1/2″
- Polished Pink – 5 1/4″ x 4″
- Abstract Beauty DSP – 4″ x 3/4″
- Crushed Curry DSP – 2 1/2″ x 2 1/2″ heart punch layer
- Basic White – 2 1/2″ x 2 1/2″ heart punch sentiment
- Basic White – 1 1/2″ x 3/4″ Sentiment layer
Items used to complete this card:
