Hello, my friends! Are you all ready for Halloween? I am almost there. I will be ready for the kiddos with a little more decorating. Today I am sharing a Bewitching Halloween card I made using the Bewitching Stamp Set & coordinating Witch Hat Builder Punch from Stampin’ Up!. The colors I used in this card were inspired by all the super cute witch costumes I see every year grace my doorstep.

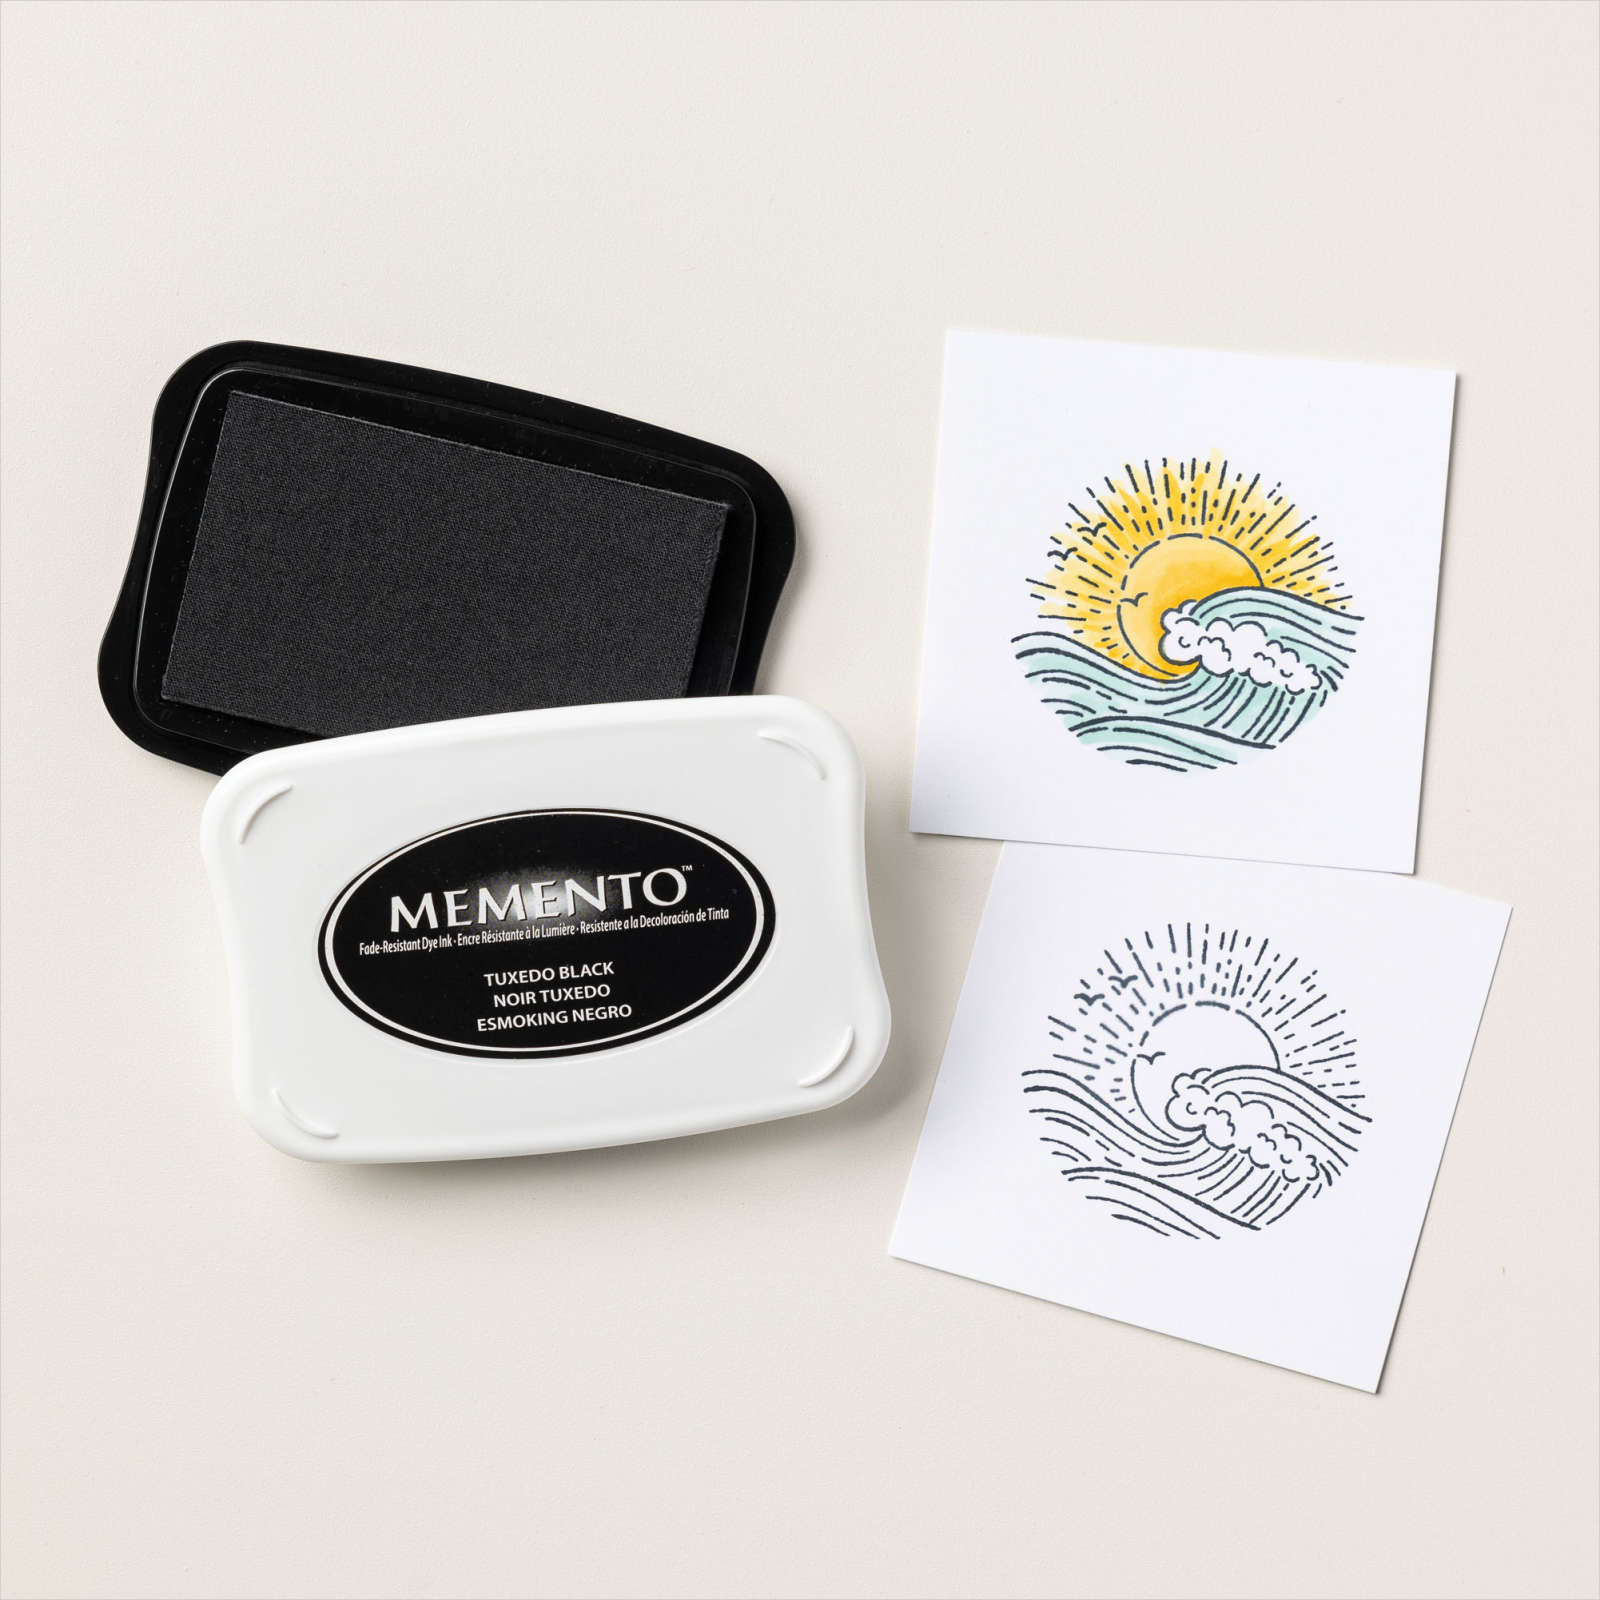
- To start this card. I stamped the witch hat using Gorgeous Grape ink, and stocking /boot images from the Bewitching Stamp Set using Memento Tuxedo Black ink onto Basic White cardstock.
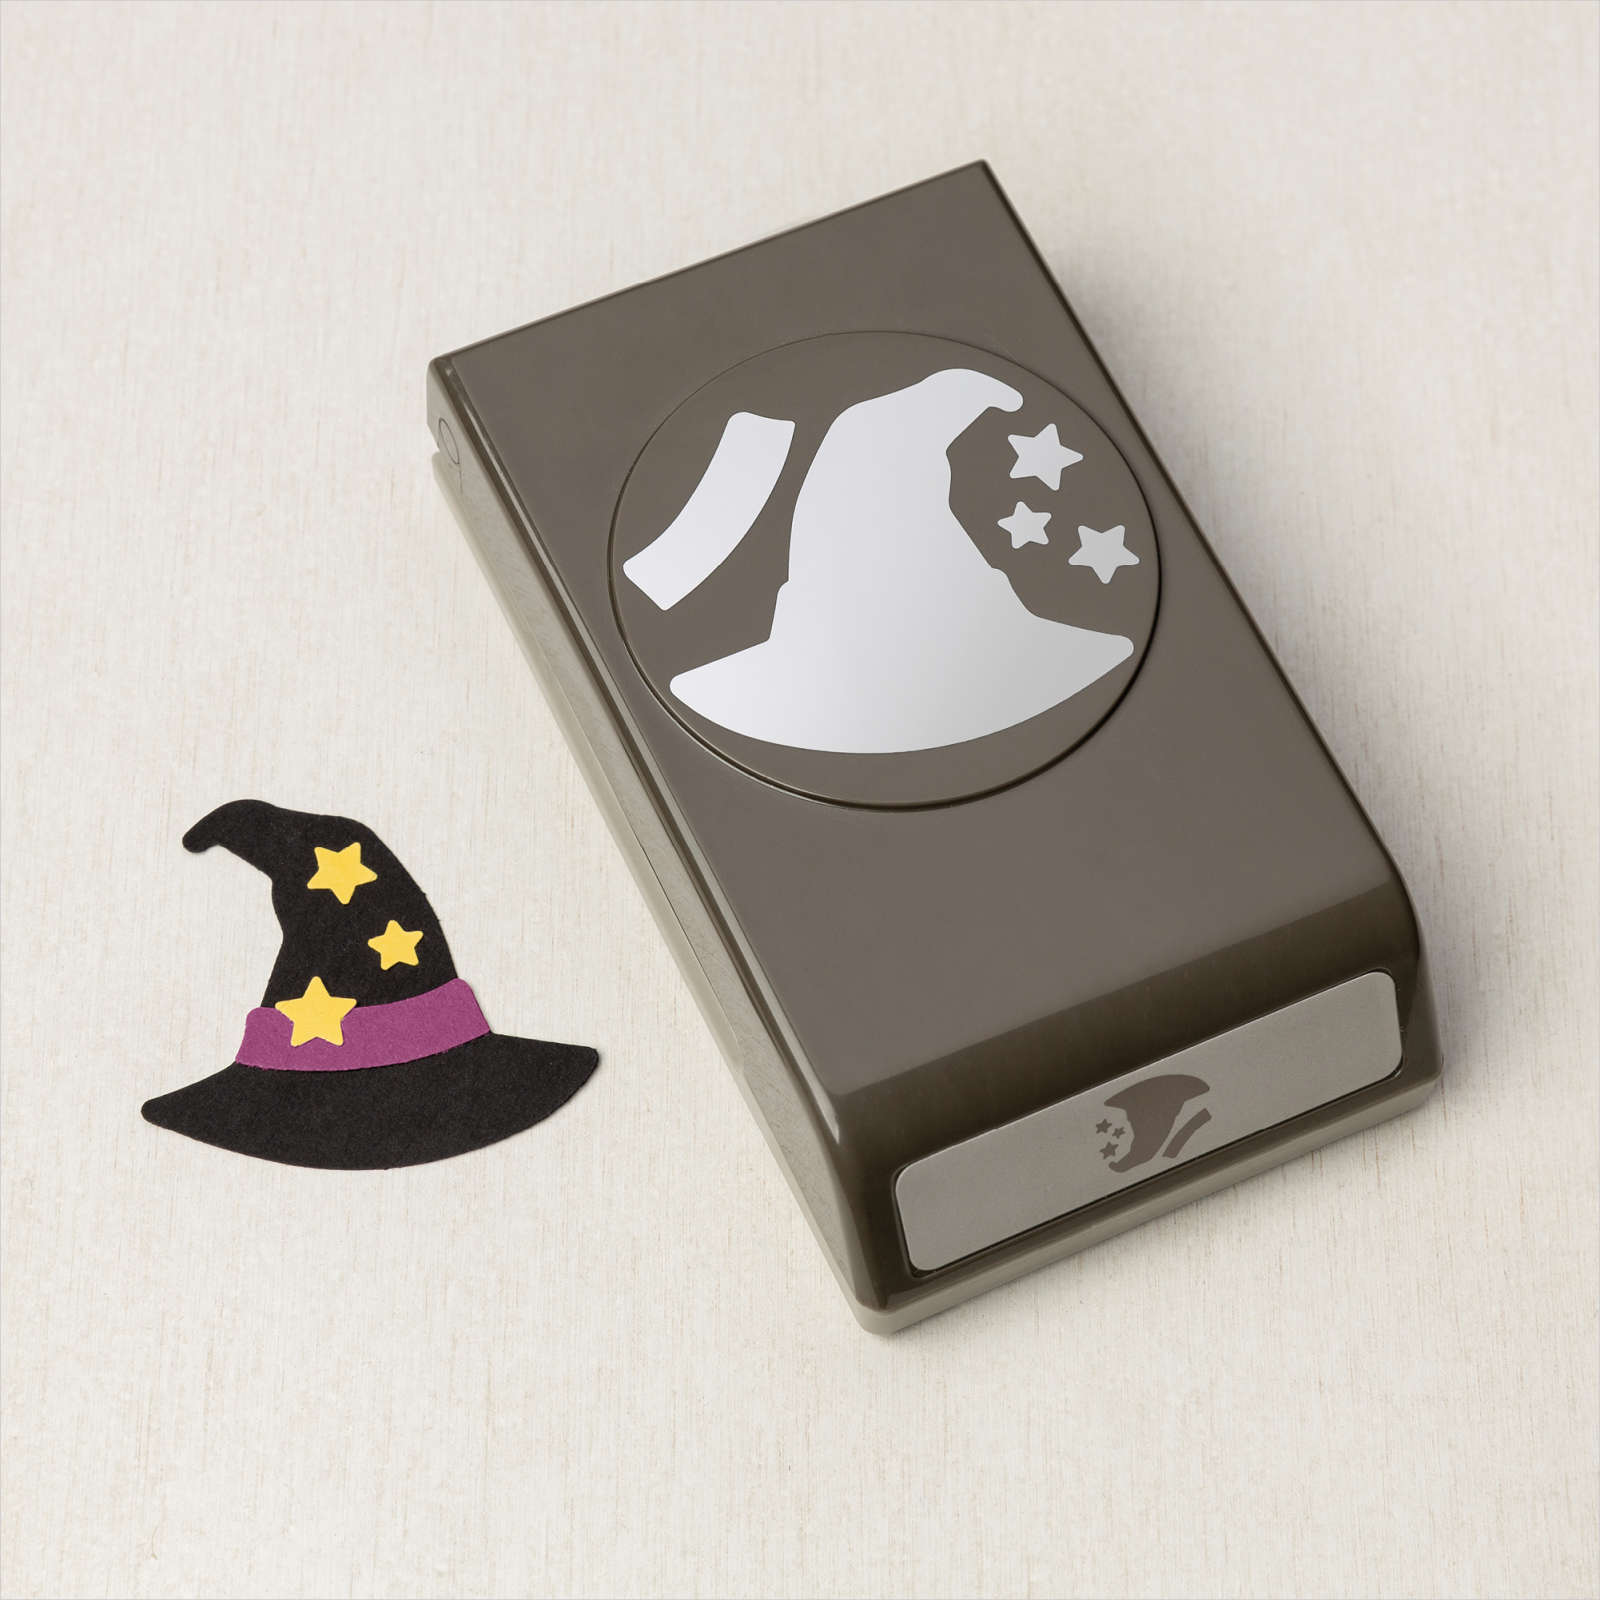
- I punched out the hat using the Witch Builder Hat Punch and fussy cut the stockings/boots image using my paper snips. Note: when I created this blog post, I didn’t know the Witch hat Builder Punch wouldn’t be available to order. You could use the paper snips to cutout the witches hat.
- Once I had the hat and shoes cut out, I colored them using Highland Heather DK, Black DK, Daffodil Delight DK, and Granny Apple Green Dk Stampin Blends.
- I stamped the “Let’s Celebrate” sentiment from the Celebrate With Tags Stamp Set onto the right side 3″ x 3/4″ Basic White cardstock. You will be tucking the left side under the Basic Black square.
- Stamp the image of the stars onto the sentiment tag using Daffodil Delight ink.
- Die-cut the 2 1/2″ x 2 1/2″ Basic Black cardstock using the 2 5/16″square from the Stylish Shapes Dies.
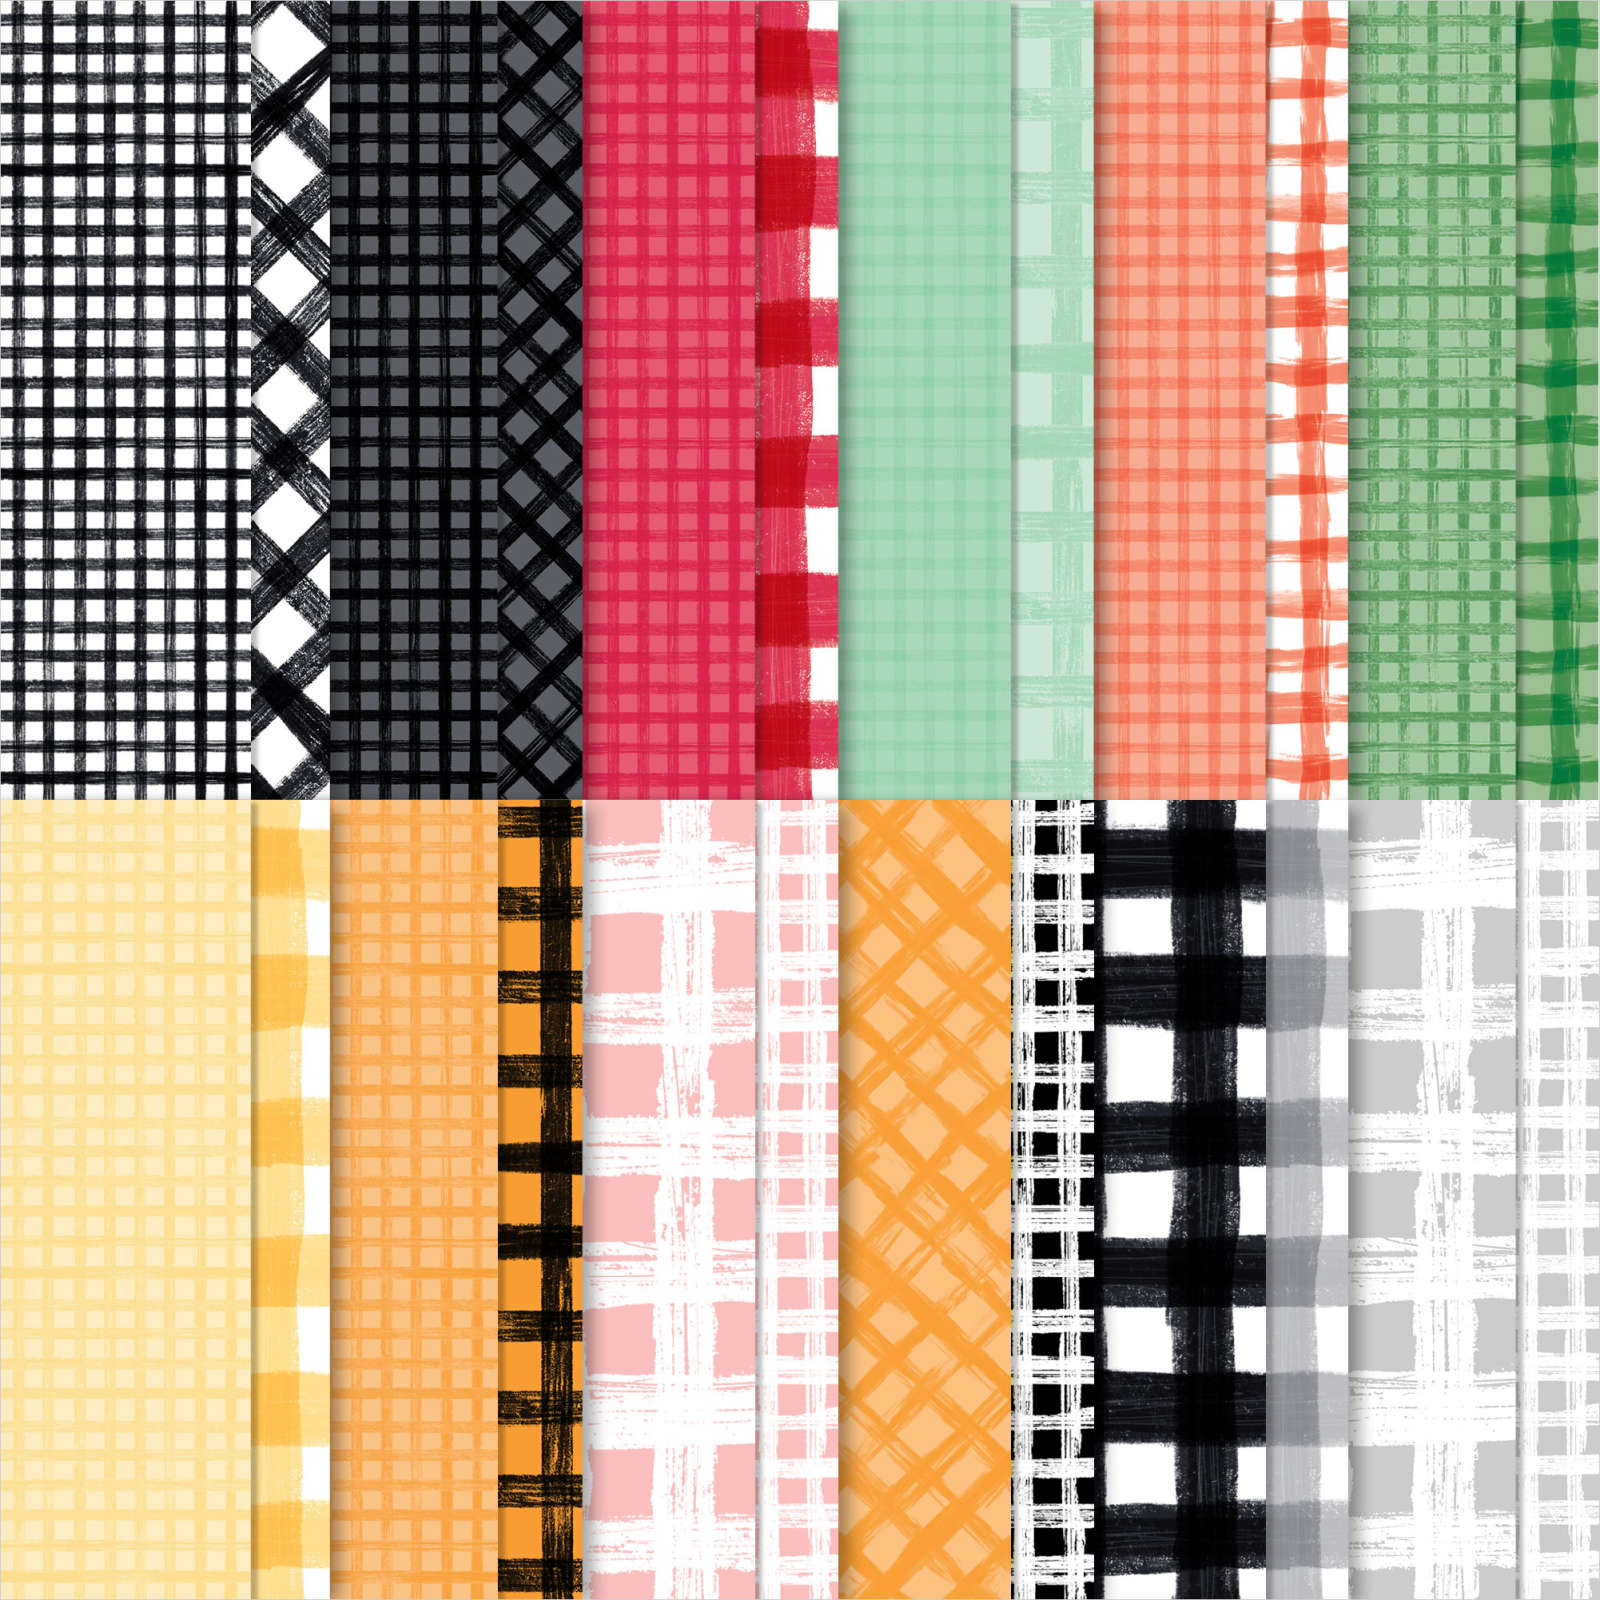
- Glue the 4 3/4″ x 3 1/2″ Pumpkin Pie gingham DSP to the 4 7/8″ x 3 5/8″ Gorgeous Grape cardstock. Glue these layers to the center of the Basic Black card front.
- Glue down the 5 1/2″ x 1 1/2″ Granny Apple Green DSP strip about 1 1/4″ from the bottom edge of the cardbase.
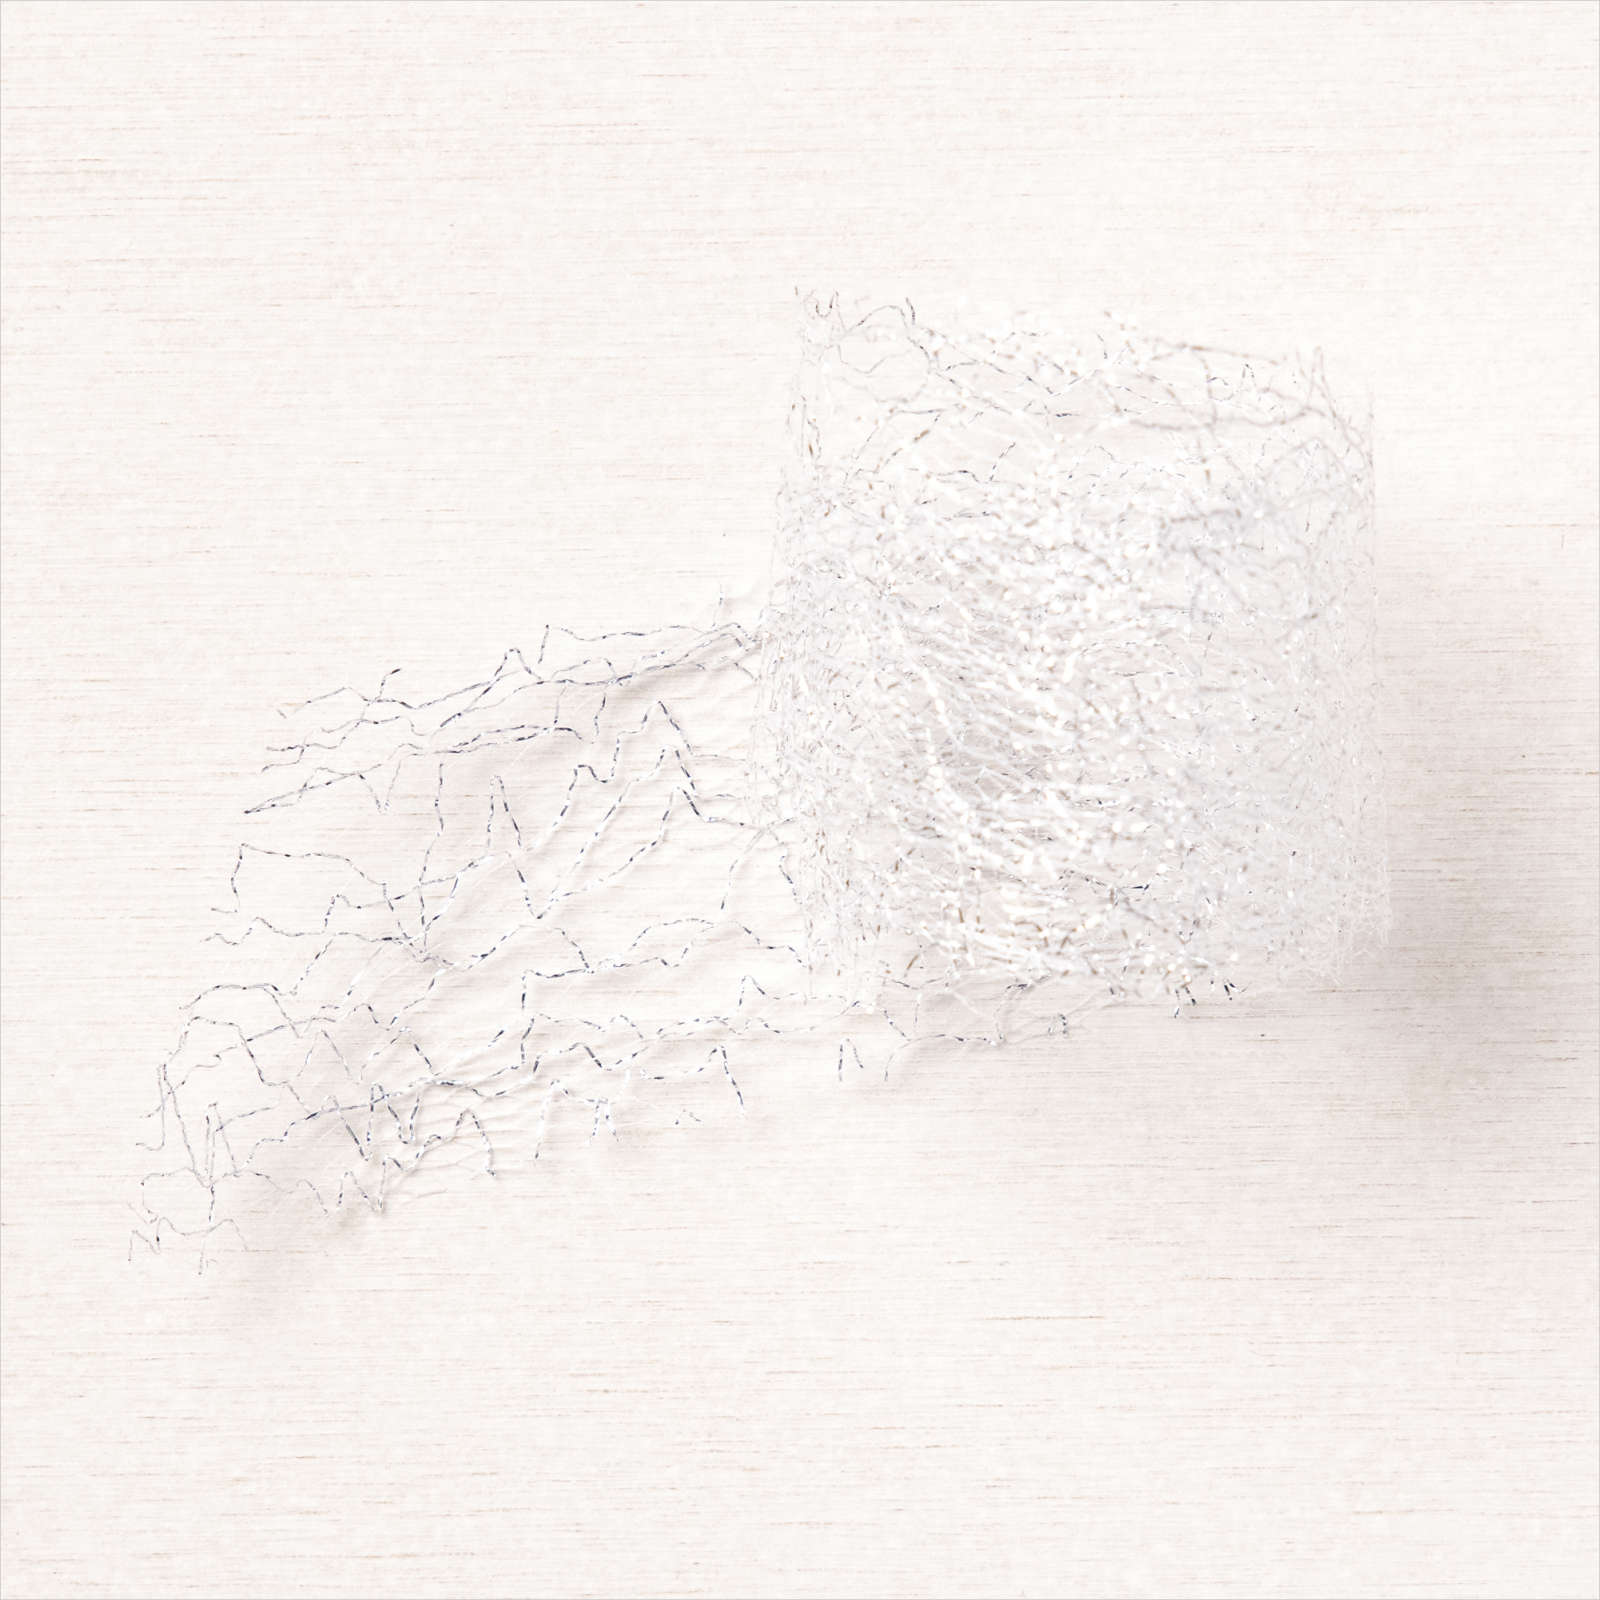
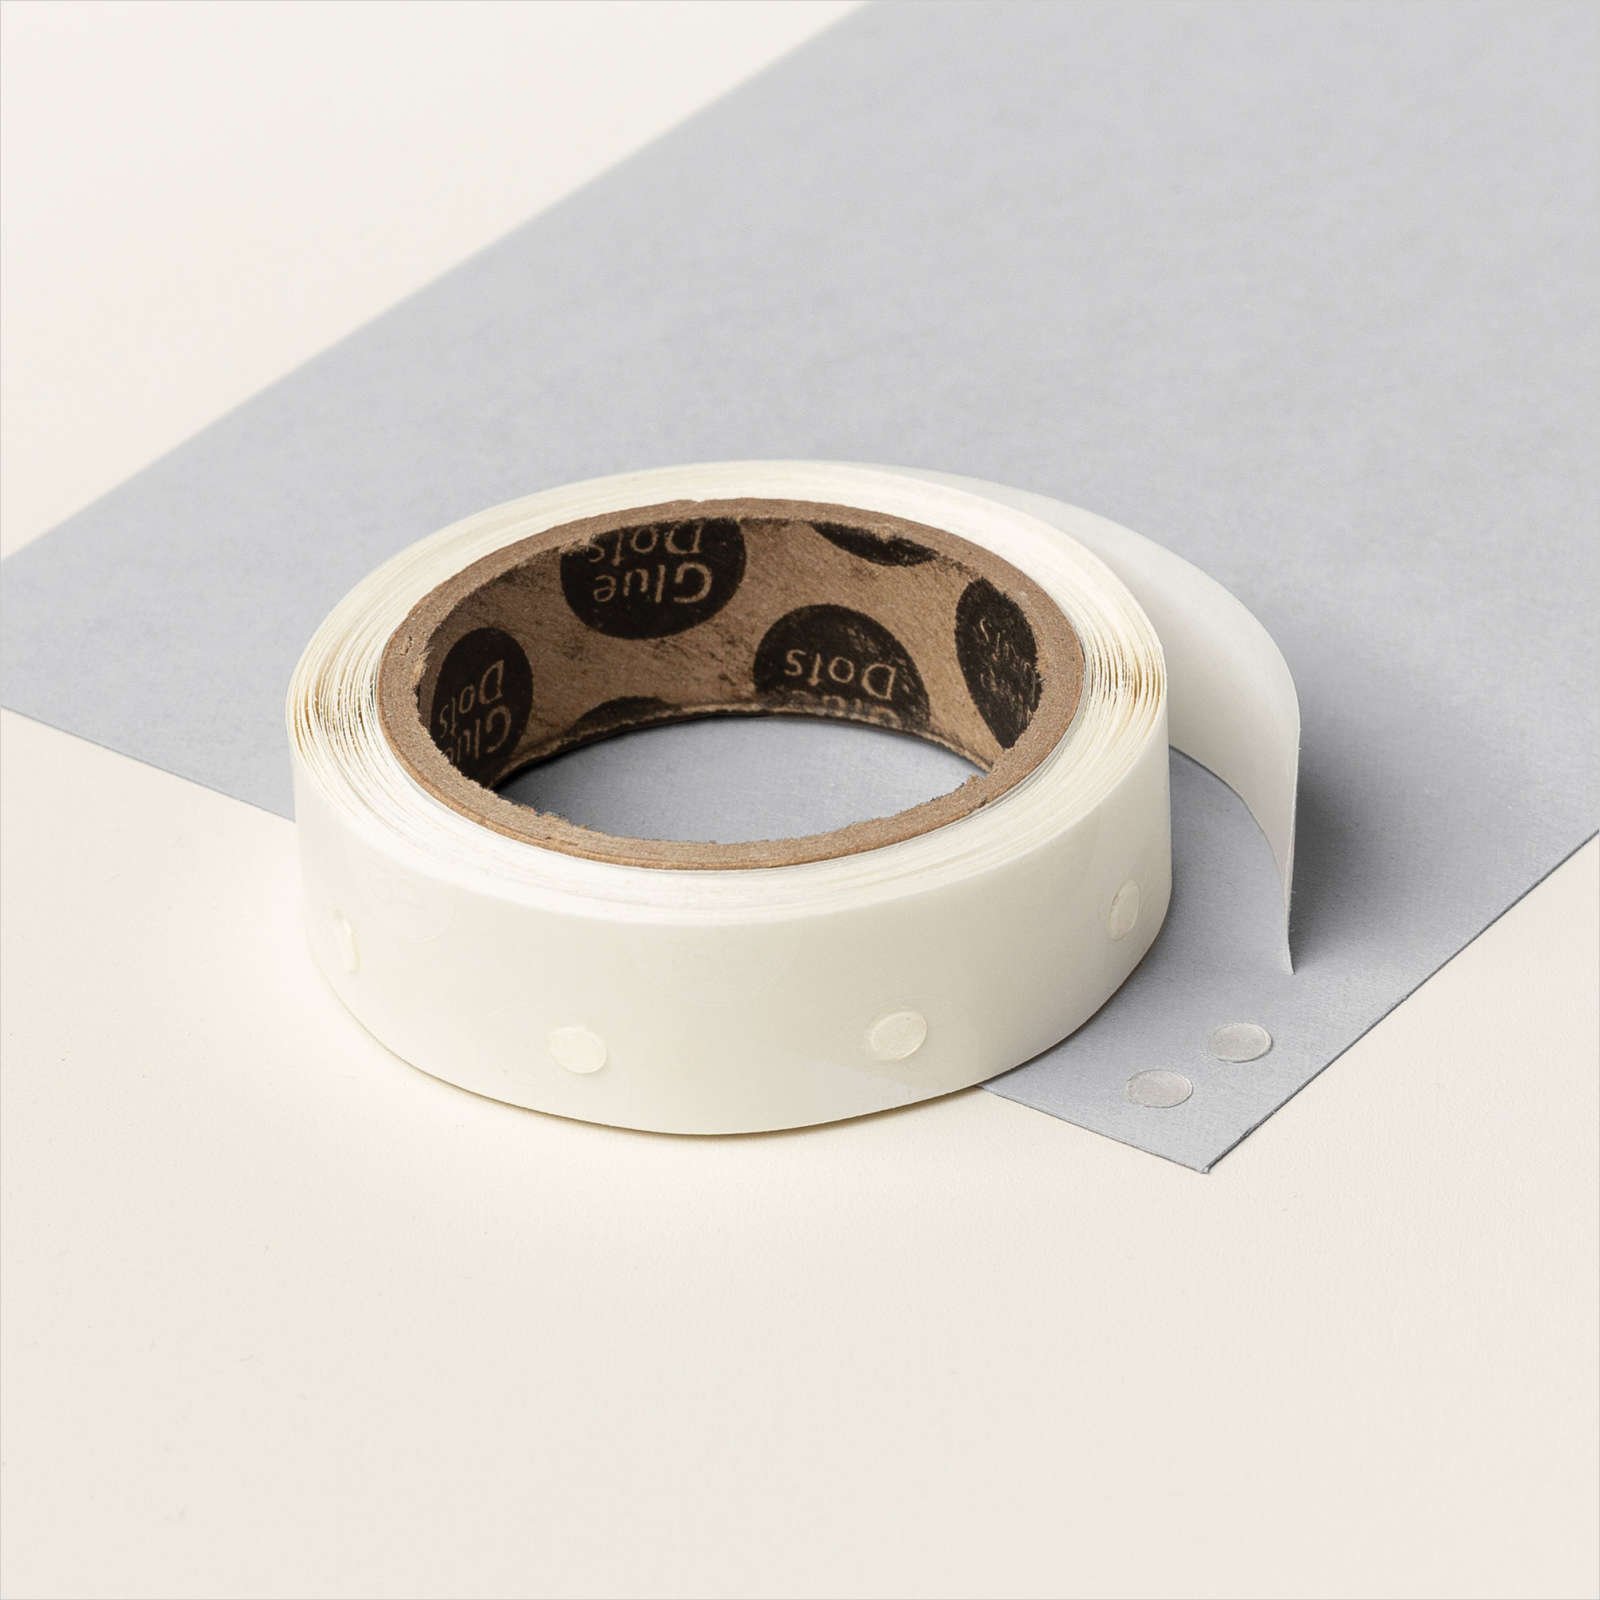
- Cut a 5 1/2″ piece of the Metallic Mesh Ribbon and adhere it to the top of the Granny Apple Green DSP using Mini Glue Dots. Make sure you keep the glue dots in the center of the DSP, so they don’t show through the ribbon.
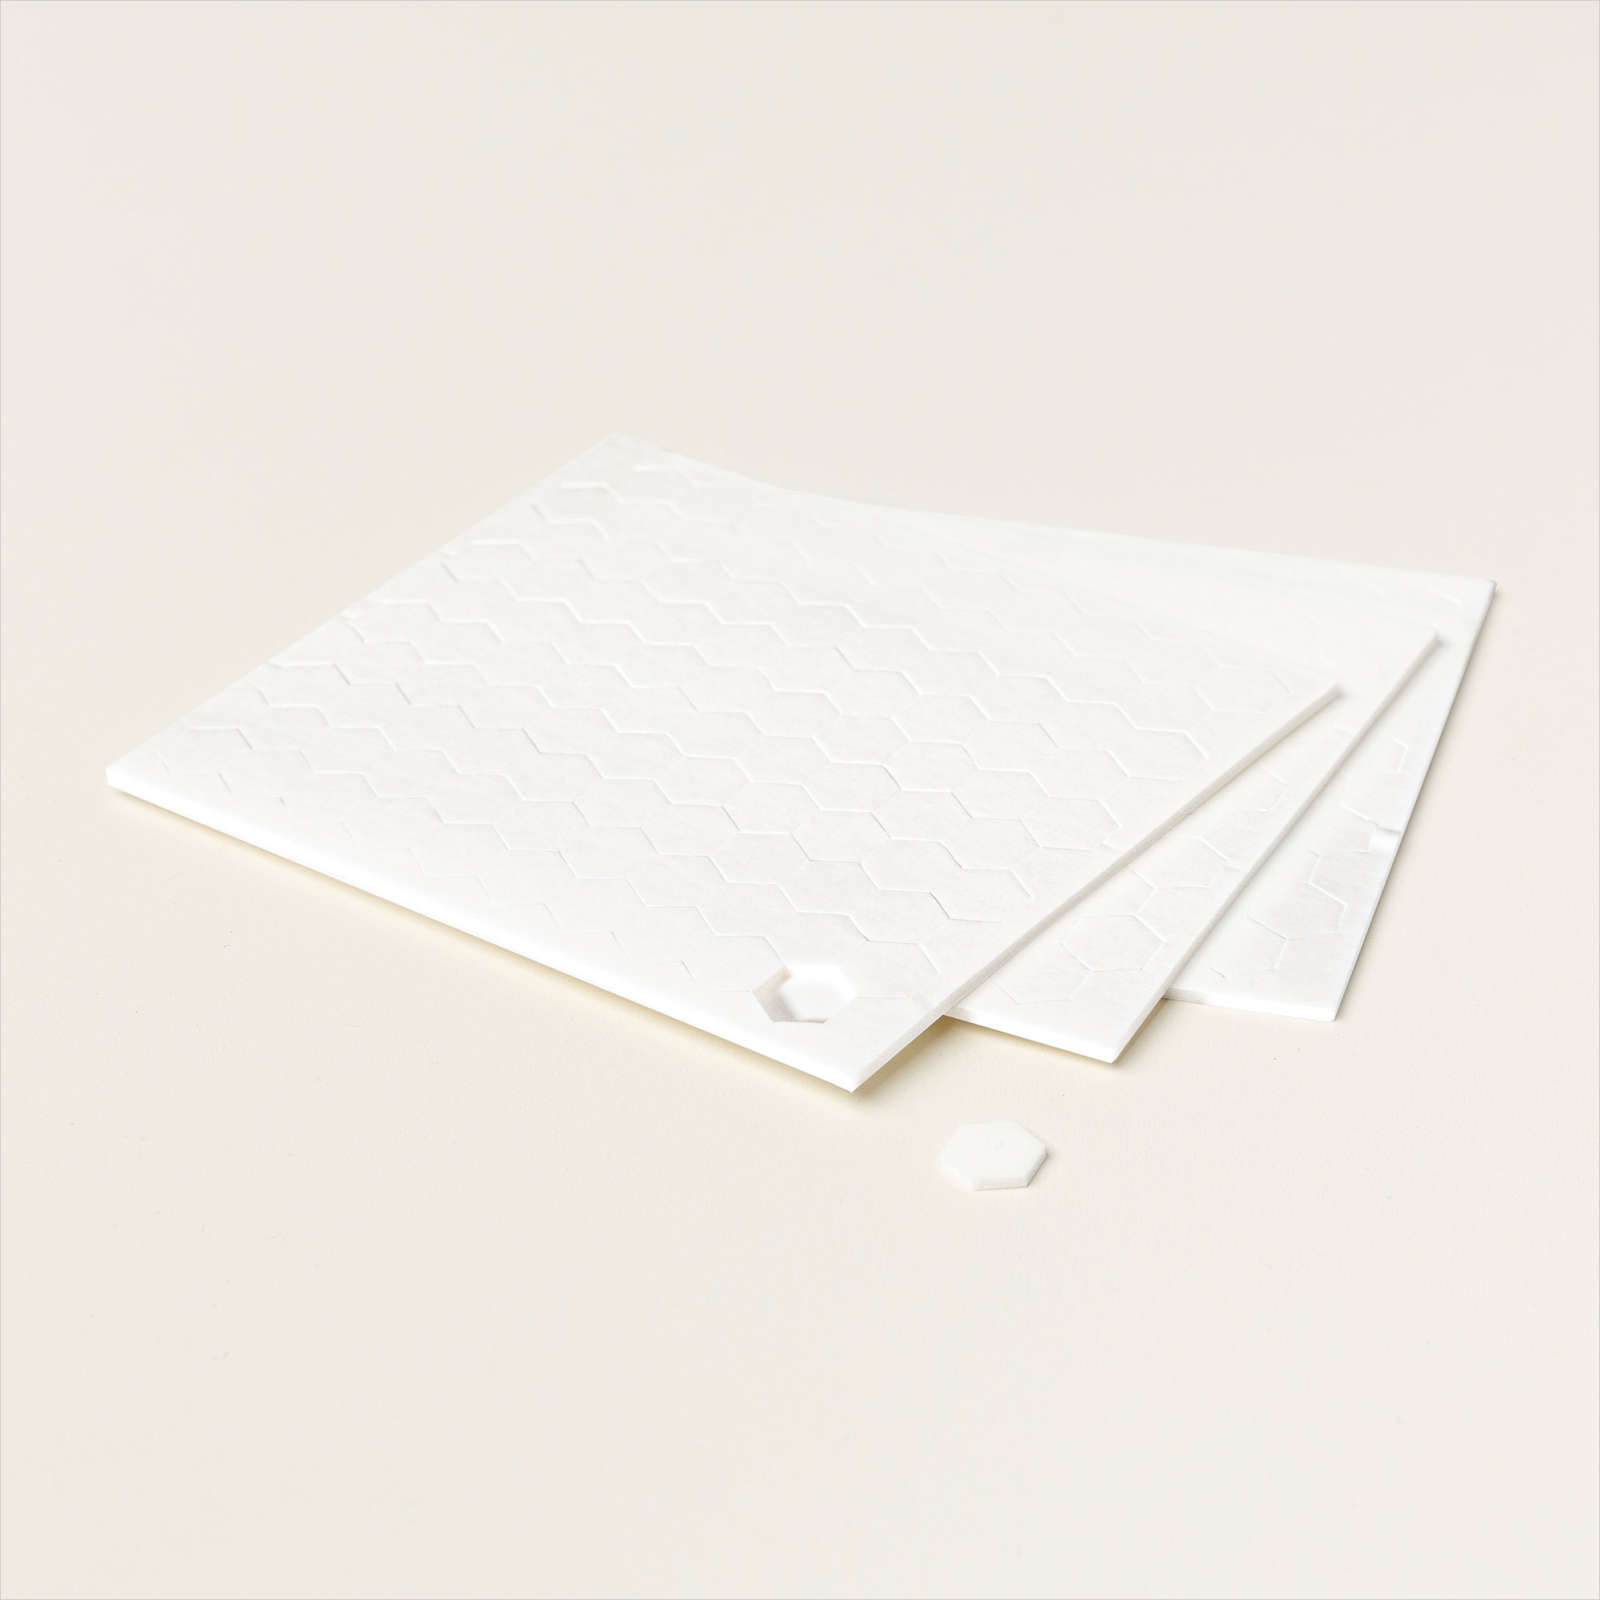
- Adhere the die-cut stitched edge Basic Black Square to the left side of the card front using Stampin’ Dimensionals.
- Tuck the sentiment tag under the Basic Black die cut and glue it down.
- Glue down the witches’ shoes to the Basic Black die-cut and adhere the witch’s hat using Stampin’ Dimensionals.

To make the bow, I cut a 16″ piece of the Black Bakers Twine and Highland Heather Grossgrain Ribbon that I cut into three strips. I took two of the Highland Heather ribbon pieces and the Black Bakers Twine and made a bow. I attached the bow with Mini Glue Dots.
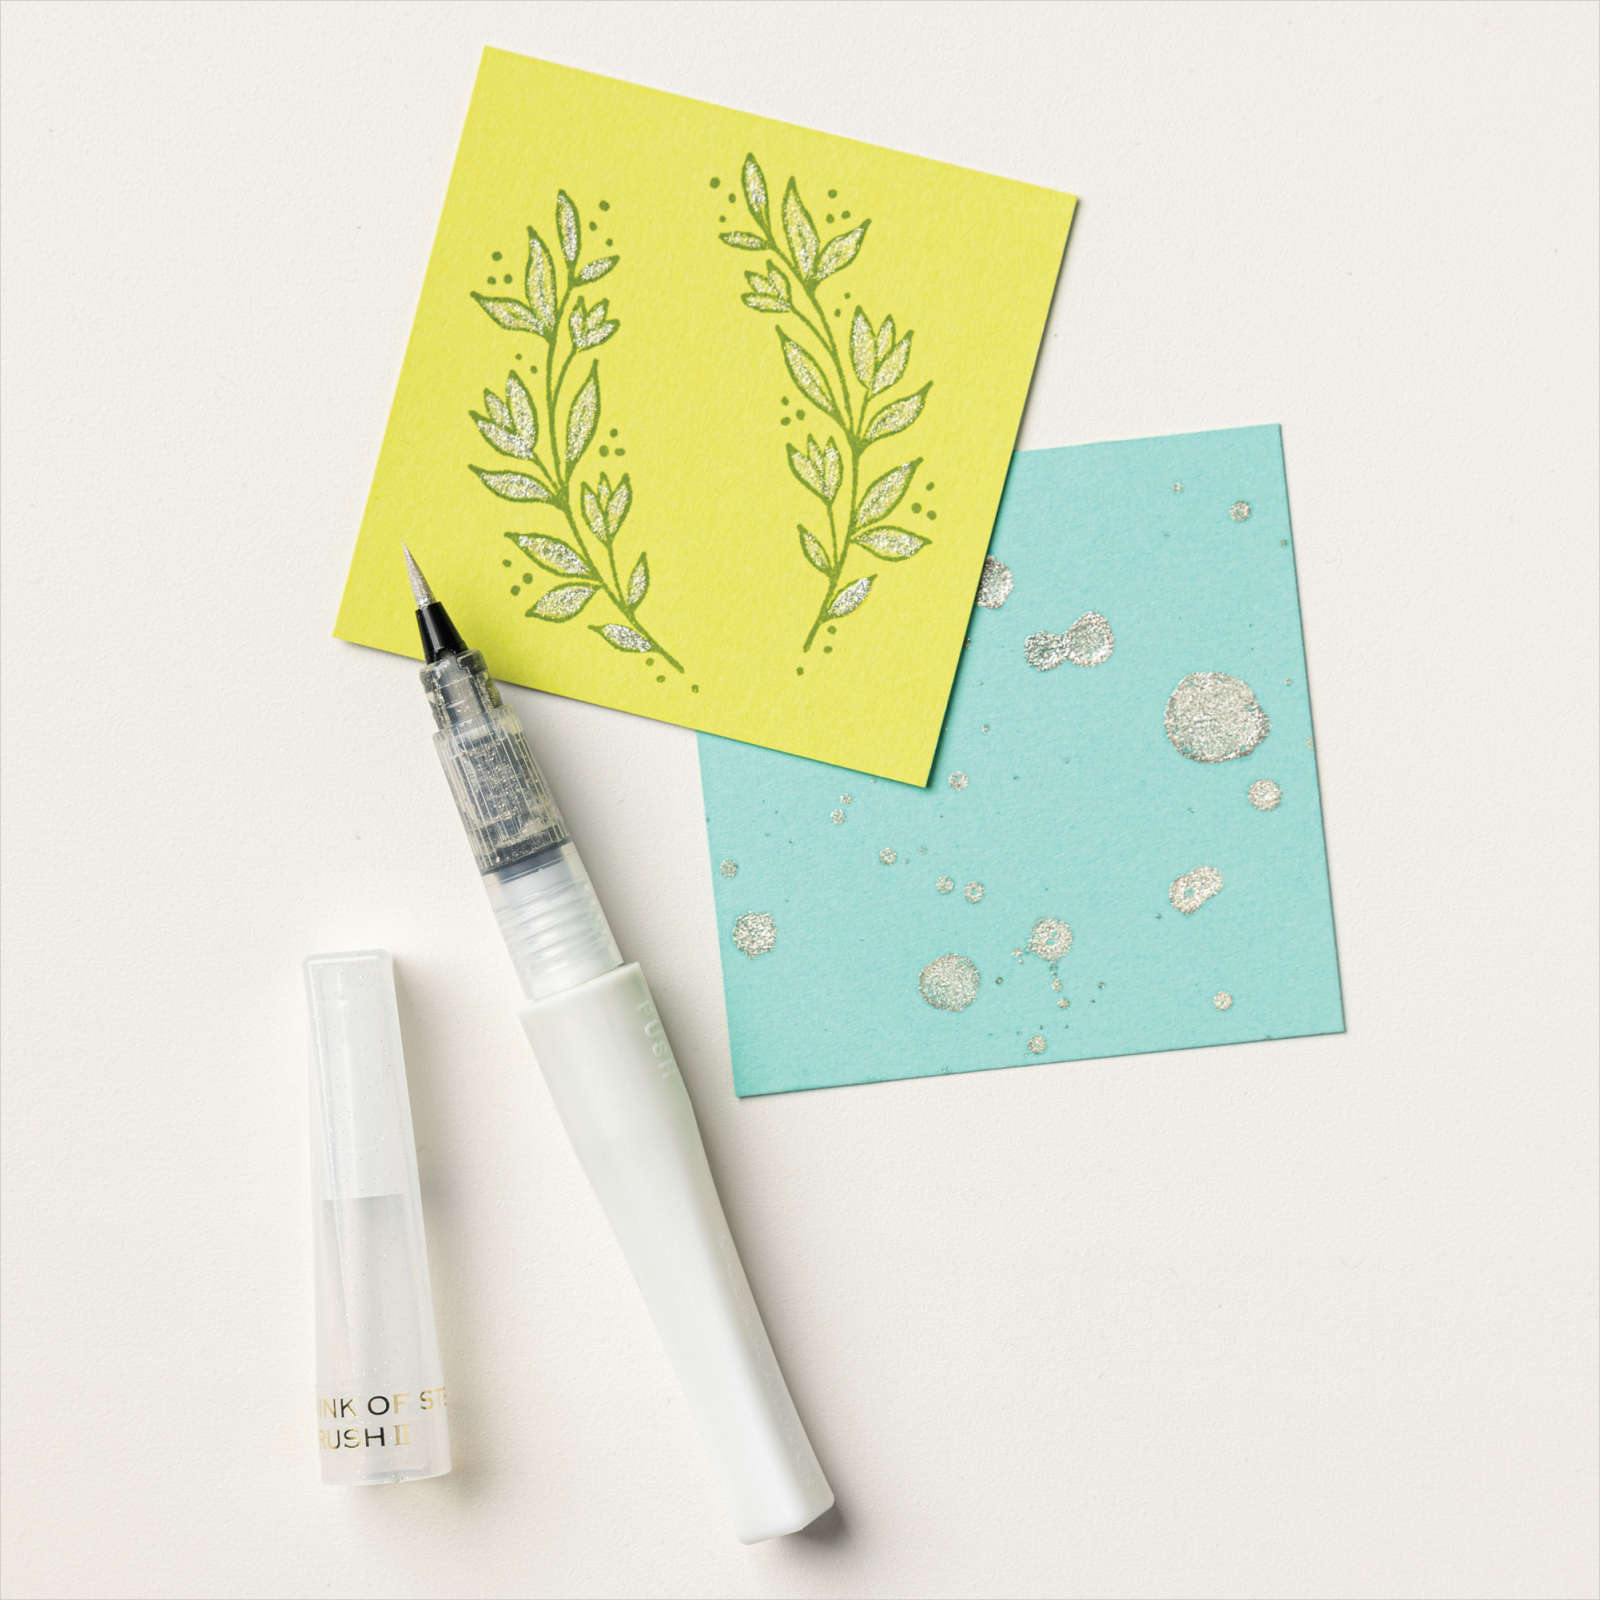
The last step I took to make this card perfect in my book was adding some Wink of Stella to the black boots. I LOVE Wink of Stella. It adds that special sparkle to any project! You must get some if you have never used it.
I hope you have enjoyed this card as much as I did. Suppose you don’t need a card. You could take just the black die-cut with the witches hat and boots to make a cute tag for a Halloween treat to hand out or gift packaging as well!
You may purchase these products I used in my online Stampin’ Up! Store by clicking any of the product photo links at the bottom of the post.
Thanks for stopping by today.
Happy Stamping!
Card Stock Sizes:
- Basic Black – 5 1/2″ x 8 1/2″
- Gorgeous Grape – 4 7/8″ x 3 5/8″
- Gingham Cottage DSP – Pumpkin Pie – 4 3/4″ x 3 1/2″
- Granny Apple Green DSP – Brights Collections – 5 1/2″ x 1 1/2″
- Basic Black – 2 1/2″ x 2 1/2″
- Basic White – 2 1/2″ x 4″ Hat & shoes punched pieces
- Basic White – 3″ x 3/4″ Sentiment layer
Items used to complete this card:


